Advanced Field Validation with JetFormBuilder: Use Cases
Validation is extremely important for form fields to ensure that forms do the job, the submitted data is correct, and that it will be processed as intended.
In this article, I will discuss the practical use cases for advanced form field validation rules in JetFormBuilder and how to implement them.
Also, I will talk about the custom add-on that can interact with the existing website’s queries and compare them with the data submitted to the current field. The cool thing there is that you can get creative with the queries, so your creativity is the limit for its use cases.
Tools for Form Field Validation in JetFormBuilder
Without further ado, let’s get started with the tools for field validation and cases for using them.
If you are a JetFormBuilder user, you might have already checked the section about advanced validation in the plugin’s Documentation. Here, I will go a bit more into detail and provide examples of how to use them.
First, it’s important to say that we are talking about field validation happening on the field, not the entire form level. This means that when you add a new field and go to the right panel (the Block tab), you will see the settings for validation. It can have three values:
- Inherit, which means it’s inherited from the settings on the entire form level;
- Default – the default validation set in a browser;
- Advanced, meaning that you can create your own rules and error messages on the block (field) level.
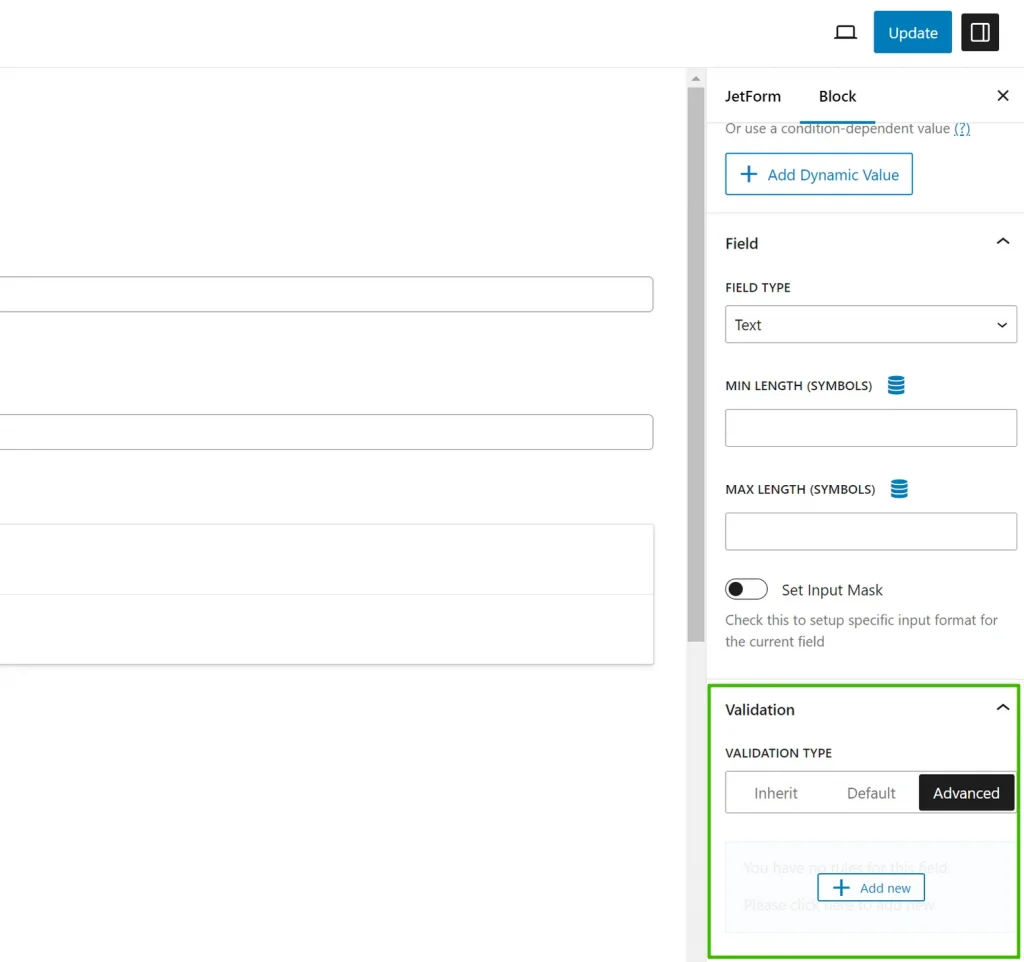
In this article, we will only talk about the Advanced type and its rules.
After choosing the Advanced tab, you will see the “Add rule” button appear. After clicking it, you will see a pop-up with a set of rule types:
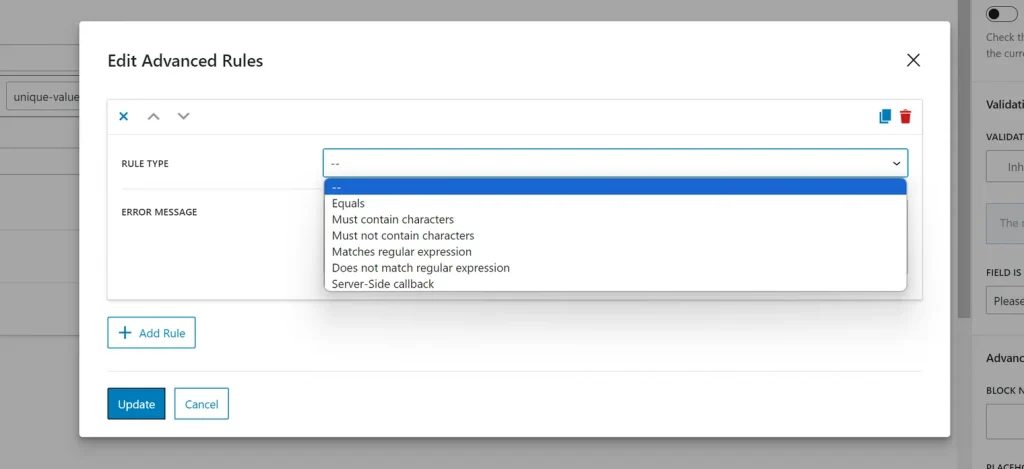
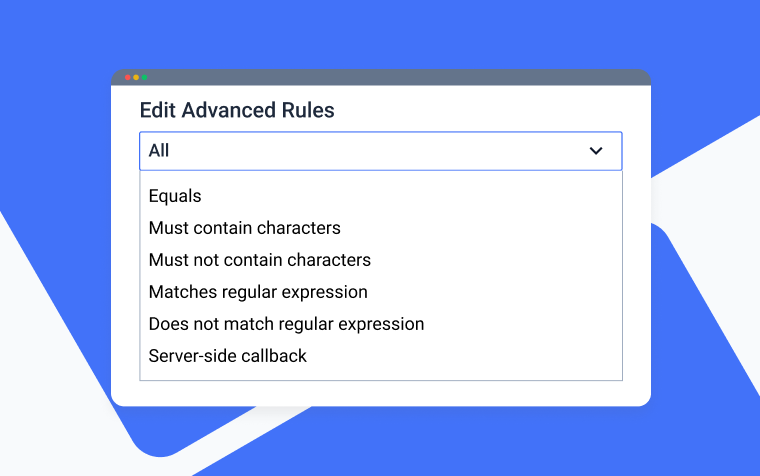
There are six of them, and more might be added. As of now, there are:
- Equals;
- Must contain characters;
- Must not contain characters;
- Matches regular expression;
- Does not match regular expression;
- Server-side callback.
You can add several rules to one field.
Let’s go through each of the rule types and the usage examples.
Equals
The logic here is straightforward – the value in the input must be equal to the value you set. Now, the fun part: when Pandora’s box of dynamic options opens.
So, you can set the value manually, e.g., “123,” and if the user enters something else, the error will be shown. It’s easy.
However, you can fetch any of the fields that belong to the current post or user and, of course, the other fields from the same forms that can be used either alone or in combination. Except for the Posts and Users, there are two interesting options available: query variables and Option Pages.
All these options can be used with other validation rule types, not just “Equals.”
⛏️ Use cases for the “Equals” rule
- Password confirmation. Use it for the “Confirm password” field, which must be equal to the previously filled “Password” field.
- Entering a promo code. Choose “custom value” and type the promo code in the settings. The user should enter exactly the same code; otherwise, they will see an error message.
- Validating the user’s custom access code. Let’s say the user got a special code for a personal discount or special access to the website’s restricted area, and it’s stored in one of their custom fields (you can add them using the Meta Box feature). Choose Equals > Custom Value, then click on the database icon, choose Current User > Meta field, and type the field name where the unique user’s access code is stored.
Must contain characters / Must not contain characters
These rule types can be used to make customers use certain characters or avoid some of them. Also, it can work for words or values of other fields or custom fields dynamically fetched from current or queried posts and users (see the last example from the previous section).
⛏️ Use cases for the “Must contain characters” / “Must not contain characters” rules
- Setting rules for required/restricted symbols. For example, not have # or $.
- Make sure the field contains or doesn’t contain values from other fields. For example, to ensure the field value is unique, use several rules for one field, with the “Must not contain characters” validation rule.
Matches / Doesn’t match regular expression
Regular expressions give more flexibility in setting up a range of allowed/restricted symbols than just a normal symbol field.
⛏️ Use cases for the “Matches regular expression” / “Doesn’t match regular expression” rules
- Setting up masks with the characters that are allowed or not allowed in the field. For example, this is the regular expression for an email address: ^[a-zA-Z0-9._%+-]+@[a-zA-Z0-9.-]+\.[a-zA-Z]{2,}$
- Specific requirements for passwords. Let’s say you want a password to be at least eight (8) characters, including one uppercase letter, one lowercase letter, one digit, and one special character. This is the regular expression for it: ^(?=.*[A-Z])(?=.*[a-z])(?=.*\d)(?=.*[@$!%*?&])[A-Za-z\d@$!%*?&]{8,}$
Don’t forget to explain the requirements to the users.
Server-side callback
This type of validation rule gives developers a lot of freedom. You will find a template for a callback right in the dialog window for the validation rules.
⛏️ Use cases for the Server-side validation callbacks
- Check if the email is already registered:
function custom_jfb_field_validation( $value, $context ): bool {
	// Check if the email is already registered
	$user = get_user_by( 'email', $value );
	if ( $user ) {
		return false; // Email is already registered
	}
	return true; // Email is not registered
}- Check for prohibited words. Let’s say my prohibited words are “table,” “spoon,” and “forest.” This is how to make the form show an error if the user enters them:
function custom_jfb_field_validation( $value, $context ): bool {
    $prohibited_words = array( 'table', 'spoon', 'forest' );

    foreach ( $prohibited_words as $word ) {
        if ( stripos( $value, $word ) !== false ) {
            return false; // The value contains a prohibited word
        }
    }
    return true; // The value is acceptable
}
Bottom Line
Forms are a very powerful and flexible asset if you use the right instrument that has all the functionality to implement your ideas. They can be the main part of users’ dashboards, pass a lot of information using hidden fields, guide customers by means of multi-step forms with conditional logic, help with selecting complex values and purchasing goods, and so many more cases.
In this article, I’ve used different examples to demonstrate how you can not only build such forms but also validate the submitted information in a few different ways.

