Dynamic Form on WordPress Without Coding
If you need a website form that dynamically fetches and displays data and acts interactively, you should choose a dynamic form builder plugin for WordPress. How to create such forms, why they are a great solution for most websites, and what plugin offers powerful functionality for creating dynamic forms are the topics we will discuss in this article.
What Are WordPress Dynamic Forms?
Forms are the key element of a website, enabling users to submit information and fostering proper interaction. They can be as simple as contact forms with a few fields or as complex as forms that resemble dashboards. However, regardless of the complexity, dynamic functionality is a vital feature for most forms. This functionality includes:
- multiple after-submit actions, from email sending to calling webhooks or registering a user to generating a PDF;
- conditional logic to have different scenarios for the form and lead the user;
- fields validation and autocomplete to streamline the process of filling a form;
- form scheduling and limiting form responses, which is essential for registering for events;
- integration with third-party services via webhooks;
- adding or updating posts and users on the website.
There could be more examples of dynamic form functionality, but the idea is still the same.
How to Create a WordPress Dynamic Form with JetFormBuilder
JetFormBuilder is a powerful plugin. The core version is free, but the add-ons are paid, so you can choose the best pricing option for you. It also has seamless integration with other Crocoblock plugins, particularly JetEngine, the plugin for dynamic website creation. It offers the full toolkit for it, from adding custom post types to performing SQL queries or REST API connections.
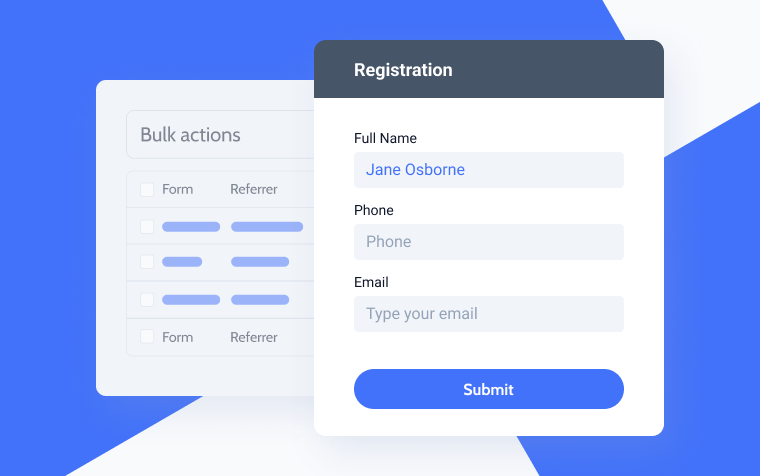
Let’s create a form for users to add website posts. This is useful for listing websites, and you can test such a form on a demo website here. You can also add payment methods there and charge for such postings.
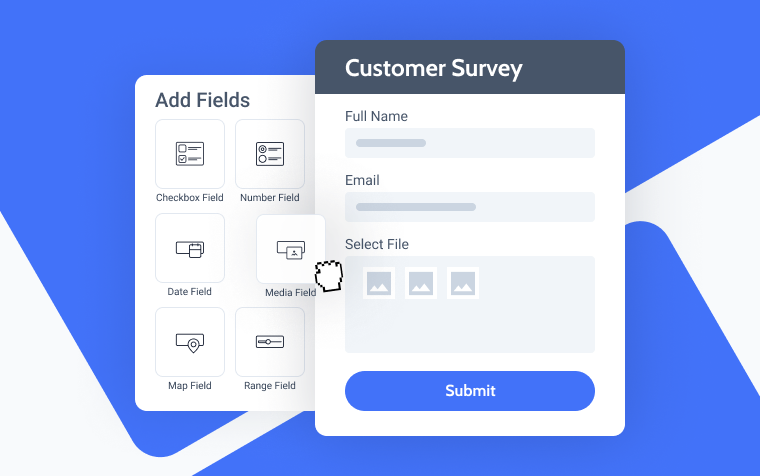
JetFormBuilder uses a native Block Editor interface to create forms. It’s an advantage because you can mix form block inputs with other blocks. Because Block Editor is not that great when it comes to styling elements, there are widgets for Elementor and Bricks builders where you can customize the way the form looks. For those who prefer building sites with Block Editor, there’s a JetStyleManager add-on.
This is the form I’m going to build and the post to be generated after filling the form:
In my case, there are two things to be done before going to build a form. As it’s a listing website where users post their ads for selling different types of cars, I will need to create a custom post type, “Ads.” It has quite many custom fields; these are some of them:
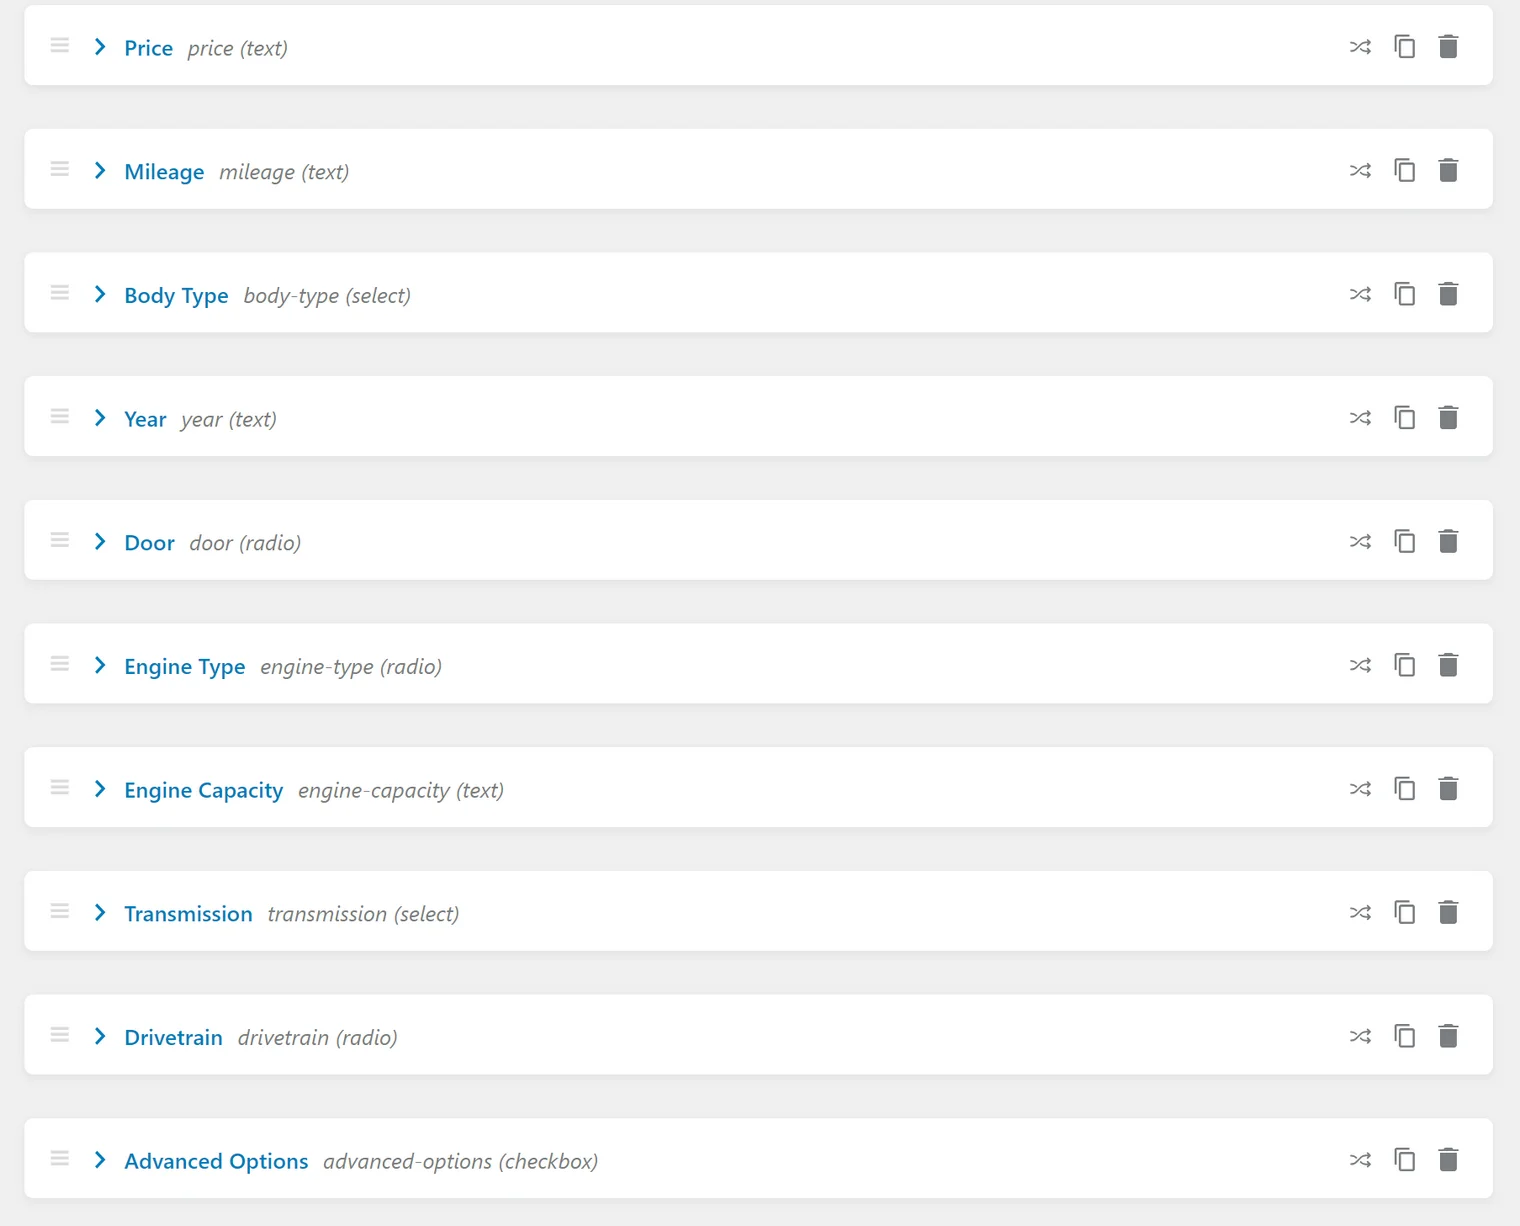
As you can see, there are different types of fields, including text, radio, checkbox, and select. We will use exactly the same fields for the form, so the custom fields of posts will be populated from the form inputs.
I added the Ads custom post type with custom fields using the JetEngine plugin.
One more thing to do before creating a form is to create taxonomies for the transport so they will be used for organizing posts and filters. Go to JetEngine > Taxonomies and add them. Check the “Hierarchical” option because we need categories, not tags. There are Types of Transport, Models, Makes, State, and Color taxonomies. After that, add categories within each taxonomy. For example, I have “Cars,” “Machinery,” “Motorcycles,” etc., categories in the Types of Transport taxonomy.
Later, users will be able to select the appropriate category in the corresponding section while filling out a form.
Creating the form
Now, go to Dashboard > JetFormBuilder > Add New, and you will see a blank Gutenberg page. Add all the required fields by pressing the “+” icon.
Let’s pay attention to the Select fields and how they are generated dynamically. In the previous step, we created categories to be a source for selection. After adding the Select block, click on the Fill options from dropdown, and you will see a list of available options:
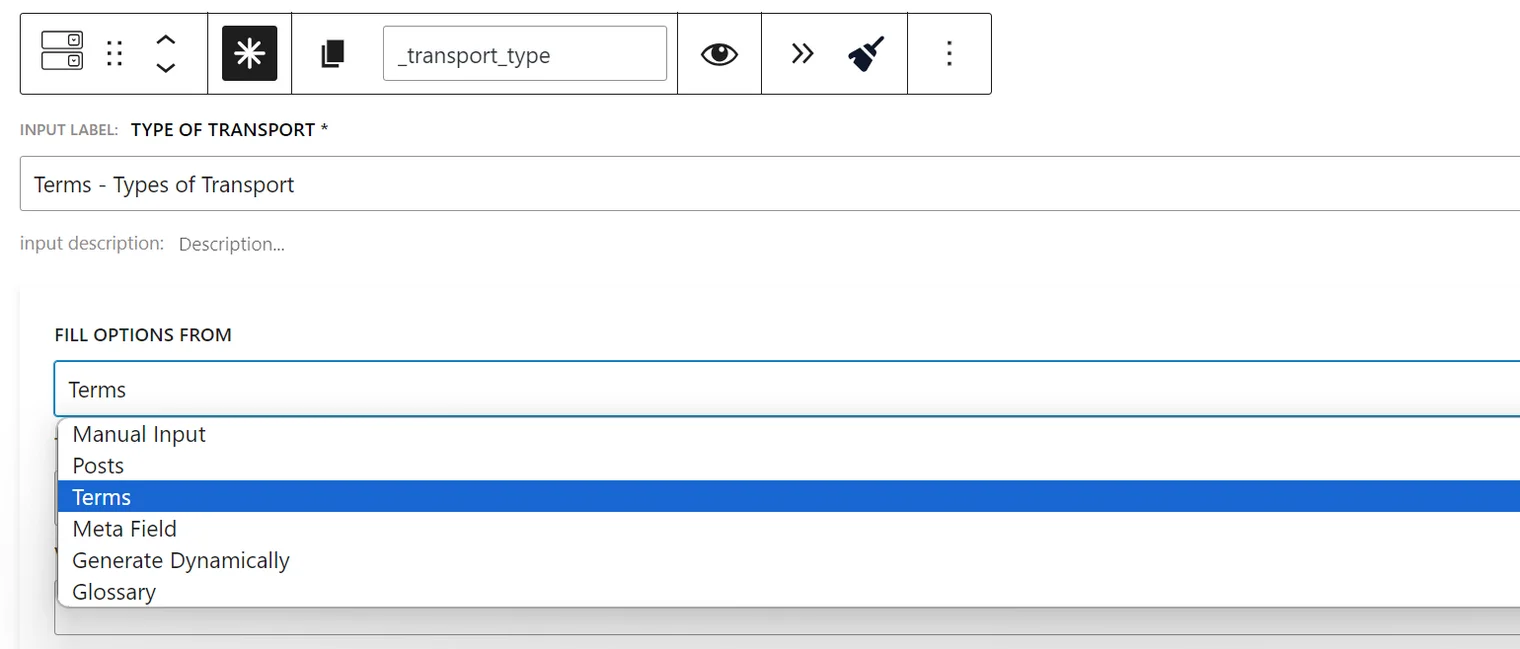
Except for the manual input, when you set options by writing them, you can choose from the “Posts,” “Terms,” “Meta fields,” and “Generate Dynamically” options. In my screenshot, you can see a Glossary option as well. It becomes available only if you have the JetEngine plugin installed and created glossaries. In short, it’s a reusable storage of options for Select, Radio, and Checkbox form fields or meta fields for custom post types. It not only saves you time but helps avoid typos and mistakes while adding options. Read more about this feature here.
But let’s get back to the Select field. In my example, it’s for the Types of Transport taxonomy. I choose “Terms” and then choose the Types of Transport. That’s it; now, the select field will be generated dynamically and show all the categories in this taxonomy.
In my form, all the Select/Checkbox fields are generated either from Terms (so users can choose the category of their listing) or Glossaries.
Generating posts from content submitted via forms
It’s time for the fun part: generating a post from the submitted content. As I mentioned in the previous section, it’s important to create a custom post type with all the meta fields so they can be populated dynamically from the form inputs.
It might seem like a complicated process, but it’s not if you use JetFormBuilder. All you need to do is switch to the JetForm tab on the right panel, and you will see the Post Submit Actions section. There, you can find a lot of options, and what we need is the Insert/Update Post one.
On my screenshot, I also have a Redirect to Page action, but it’s definitely a simple one, and the interface is very intuitive.
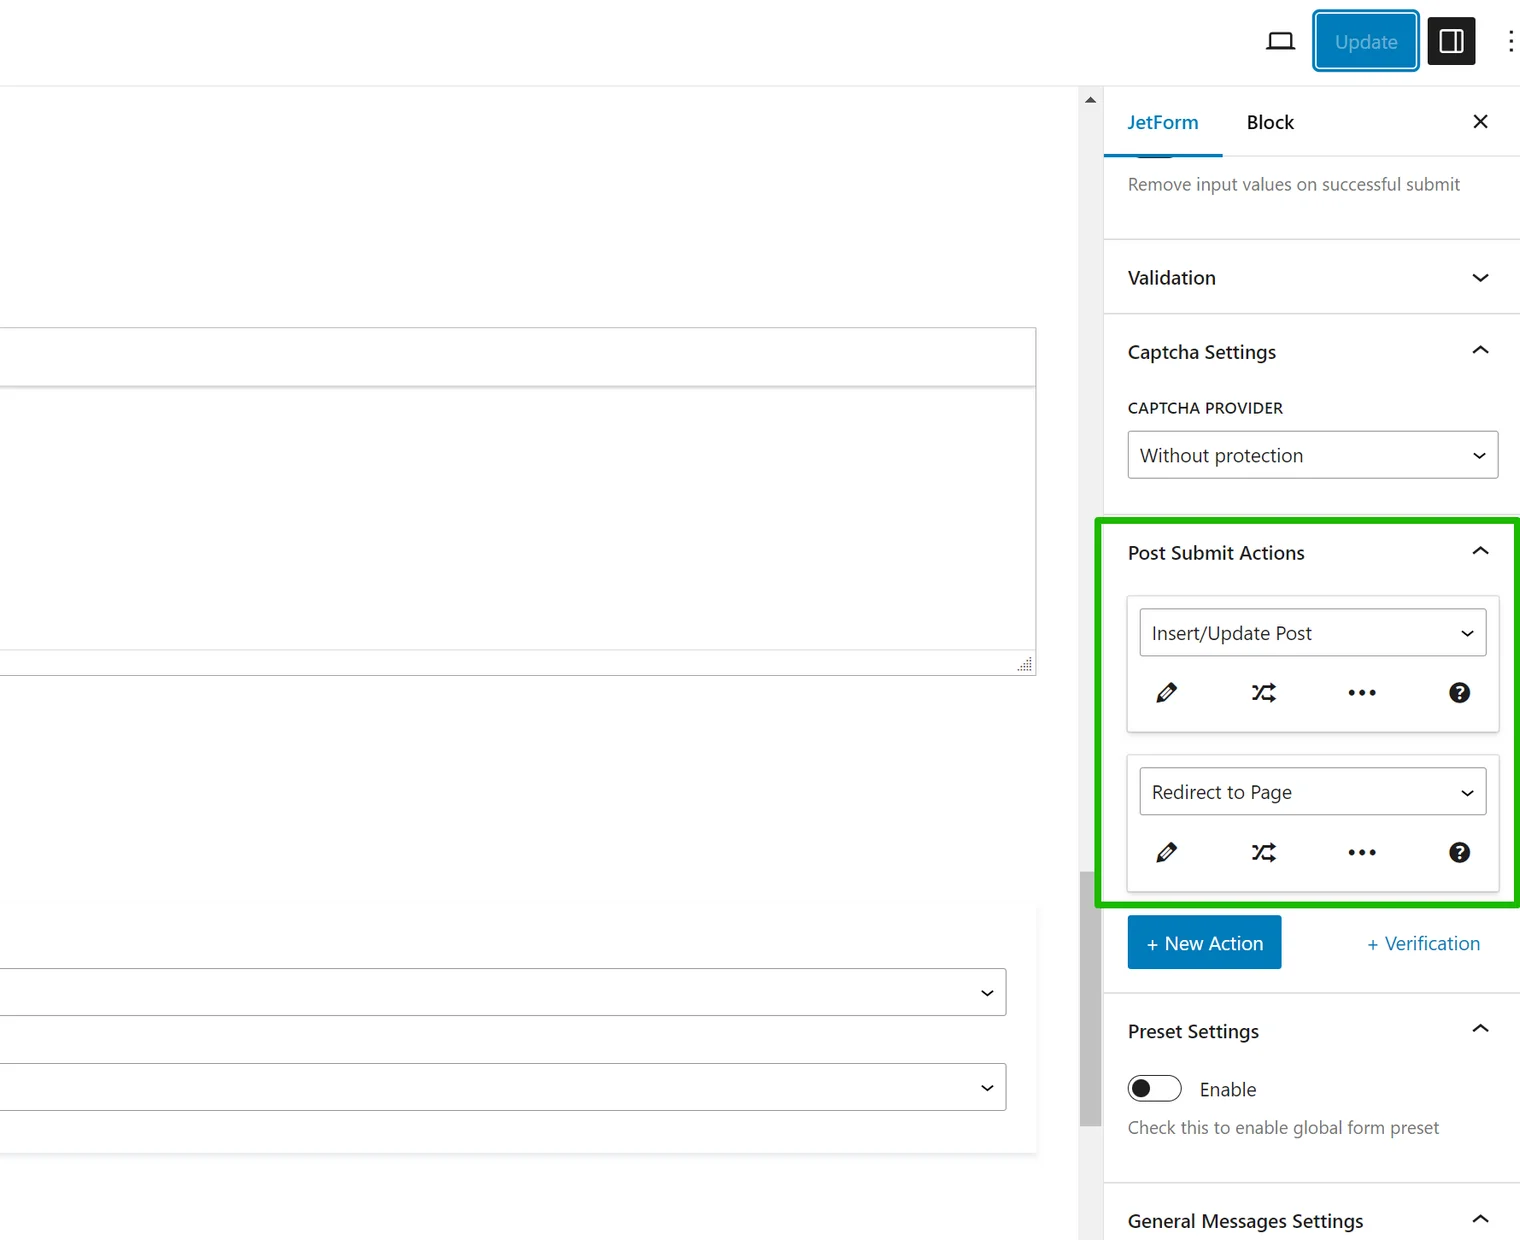
What we should do now is to match the input fields with the meta fields of the custom post type “Ads.”
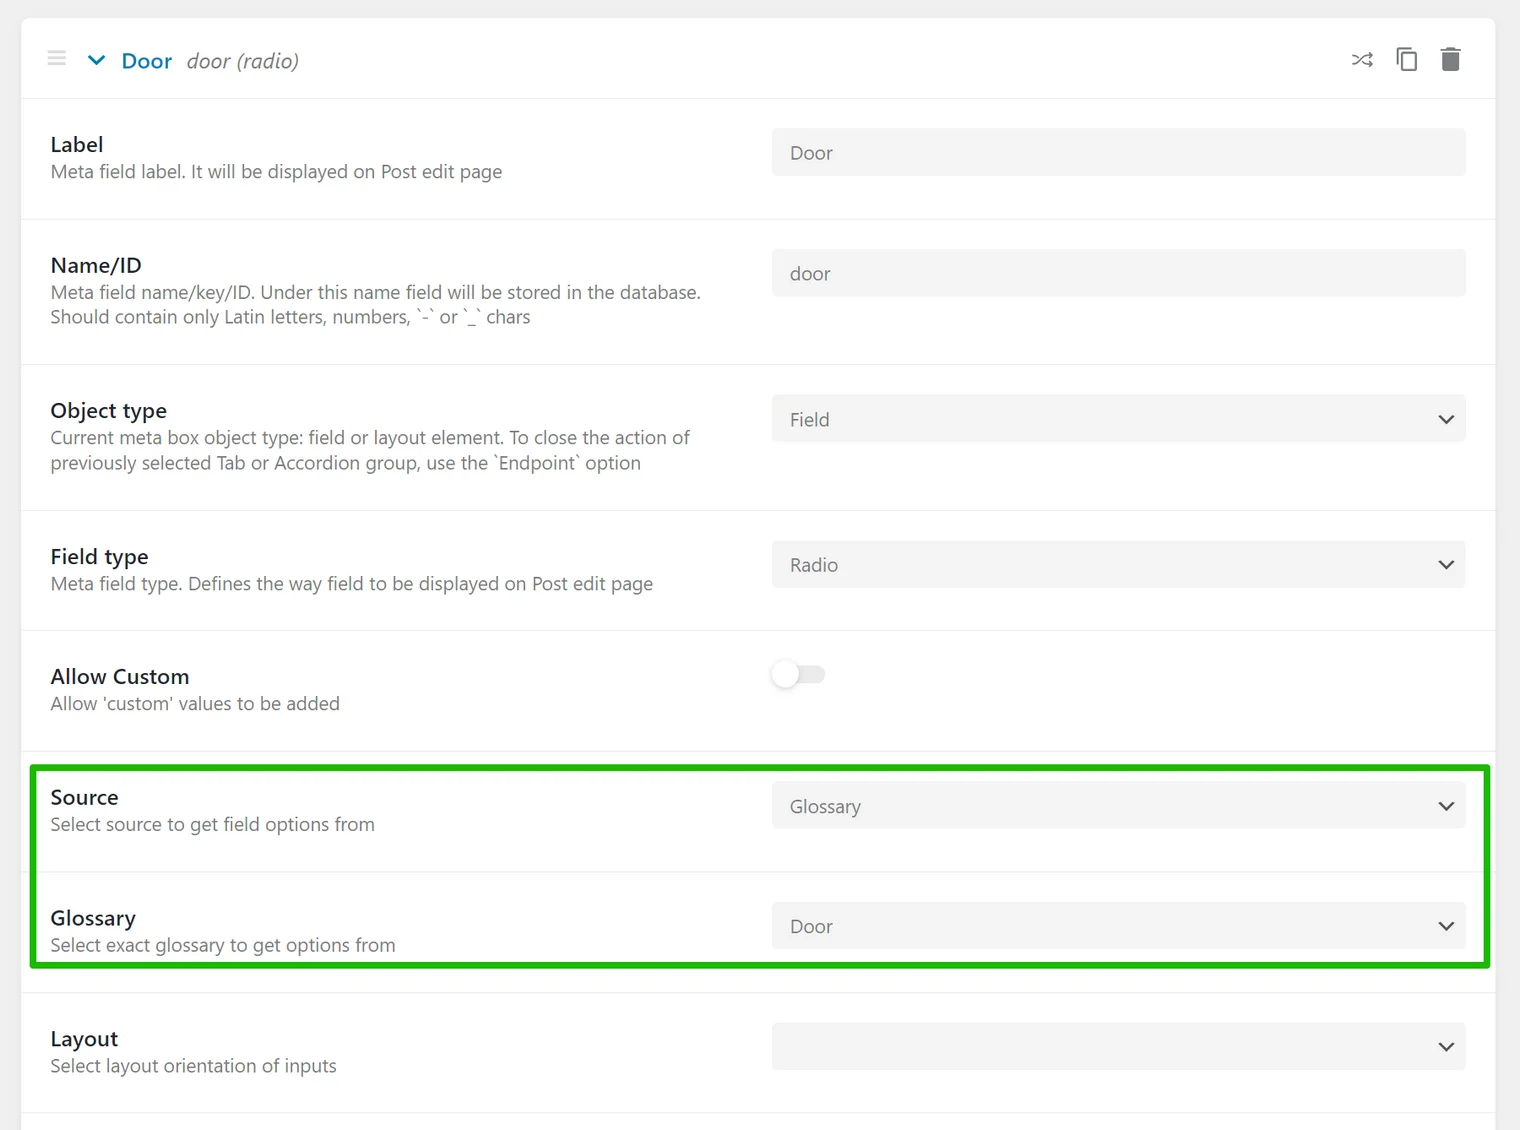
Click on the pencil icon to map the fields of the form to the existing meta fields. All you need to do is choose a Meta Field option and then copy and paste the corresponding meta field names from your custom post type.
❗ The Source of the meta fields of your custom post type must have the same source as a form field. For example, if you use “Glossaries,” choose this source both for the meta field and the corresponding form input; if you use “Manual,” use it in both places, etc.
After you’ve mapped all the input fields with the corresponding meta fields, you are done, and you can test how the form works.
Add more post-submit actions, like redirecting or sending an email to your form if needed.
Bottom Line
Dynamic forms on WordPress are essential for almost any website, so it’s important to find a plugin that can do it all. That’s why I showed you the case with the JetFormBuilder plugin, which is one of the most powerful dynamic instruments for almost any case. Follow this guide if you want to build a similar form, or read the documentation for more information.
Still have some questions?
What is a dynamic website form?
It’s a form that generates certain content dynamically, depending on the user’s interaction or previous actions.
How to create a dynamic form on WordPress?
Use a form builder plugin that has all the features you need in the form, including the website post submission, dynamic selection, or calculation.
How to create an interactive form?
Use a dynamic form plugin with a lot of options to fetch fields and posts dynamically.

Written bу
Related articles
Created with JetFormBuilder
WordPress Form Submission: JetFormBuilder Scenarios

Created with JetFormBuilder
Best Practices for Creating High-Conversion Multi-Step Forms in WordPress