Send Email
The “Send Email” Post Submit Action allows sending emails to one or some users, sending attachments, selecting options dynamically, using CC/BCC, deactivating auto-formatting, and more.
The “Send Email” Post Submit Action can be used separately or as part of another Post Submit Action (i.e., it allows sending a link for verification of a user, sending a confirmation email with booking details, or sending a PDF file after submission of a form, etc.).
More details about managing the Post Submit Actions can be found in the Post Submit Action Controls Overview.
- Adding the “Send Email” Post Submit Action
- Editing the “Send Email” Post Submit Action Settings
- Setting Conditions
- Deleting and Turning Off
- Setting Verification
- Dynamic Emailing for Guest Posts
Adding the “Send Email” Post Submit Action
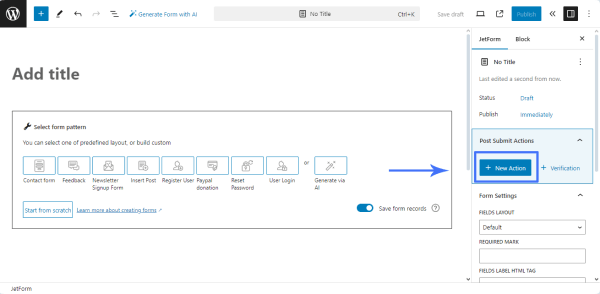
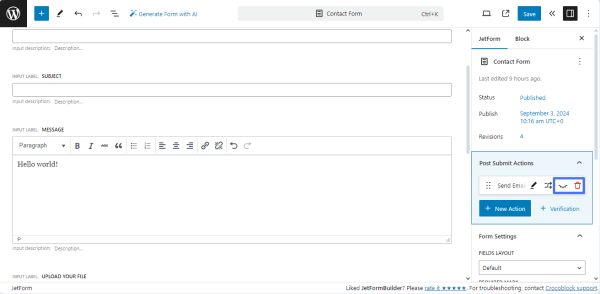
To set the “Send Email” Post Submit Action, open the JetForm settings tab, scroll down to the Post Submit Action section, and press the “+ New Action” button.
Then, pick the “Send Email” option in the newly-appeared Add new action pop-up.
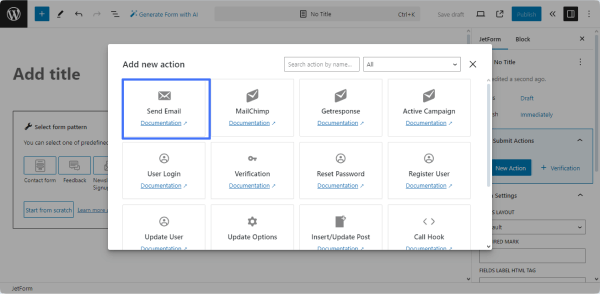
Once the “Send Email” Post Submit Action is picked, the Edit Send Email pop-up will appear.
Editing the “Send Email” Post Submit Action Settings
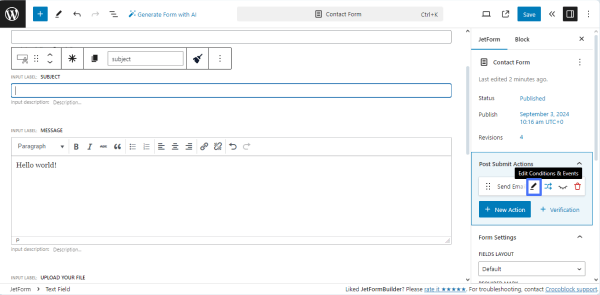
The Edit Send Email pop-up appears if you select the corresponding Post Submit Action while creating it or when you press the pencil-shaped “Edit Action” button on the “Send Email” Post Submit Action panel.
In this tutorial, we first created a new form and then added the “Send Email” Post Submit Action.
The Edit Send Email pop-up has the following settings:
- MAIL TO 一 a required field to select who will receive the message. It includes the following options:
- Admin email 一 an option that, if selected, allows sending email to the admin email address configured in General Settings of your site;
- Email from submitted form field 一 an option that, if selected, enables the FROM FIELD drop-down list 一 a menu that allows selecting a form’s field for taking the email from.
- Custom email 一 an option that, if selected, activates the EMAIL ADDRESS text field where the email address(es) can be entered to which the message will be sent.
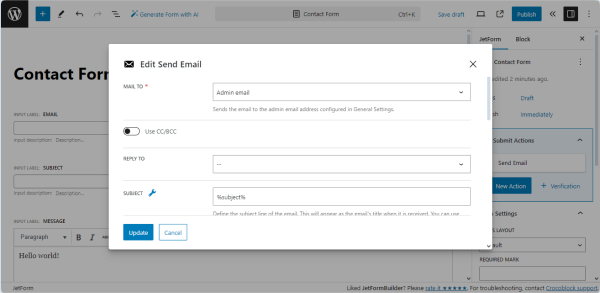
- Use CC/BCC 一 a toggle that enables the CC ADDRESS FROM and BCC ADDRESS FROM drop-down lists, which allows sending the secondary and hidden recipients of the email, respectively. These drop-down lists have the “Admin email,” “Email from submitted form field,” and “Custom email” options that provide the same functionality as the corresponding MAIL TO list options.
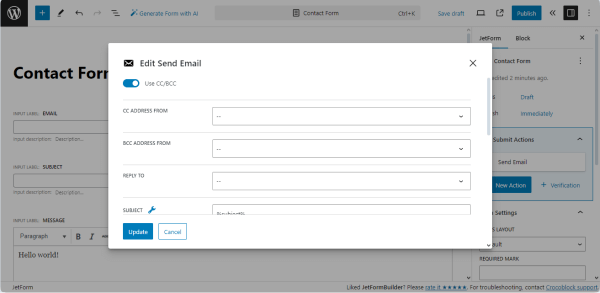
- REPLY TO 一 a drop-down list that allows setting the email that you would like to use for receiving answers. These drop-down lists have the “Admin email,” “Email from submitted form field,” and “Custom email” options that provide the same functionality as the corresponding MAIL TO list options.
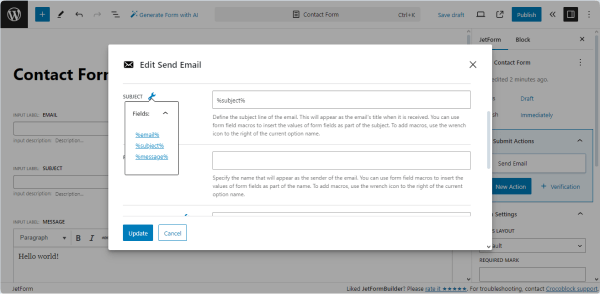
- SUBJECT 一 a text field that is intended to enter the subject of the letter that the user will receive. It can be simple text, and you also have the option to insert values from the fields of the submitted form. To do this, click the “wrench” icon and choose the desired macros.
- FROM NAME and FROM EMAIL ADDRESS 一 text fields for inserting the name that will appear as the email’s sender and the email address that will be added as the address of the letter sender, respectively. Both these fields allow text to be entered or data to be inserted from the form’s fields by pressing the “wrench” icon and picking the needed field from the enlisted ones.
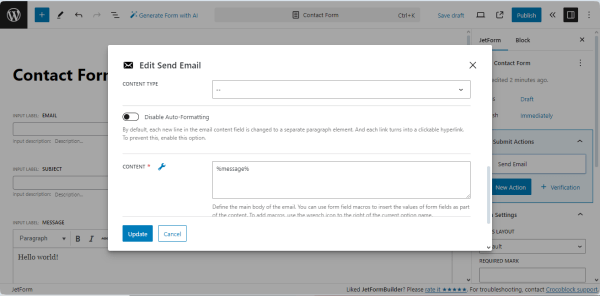
- CONTENT TYPE 一 a drop-down list allowing choosing if the message will be Plain Text or an HTML code:
- Plain Text 一 an option that specifies that the email content text will have no images and/or other multimedia;
- HTML 一 an option that allows using rich text, images, and other multimedia elements in the email content. When this option is selected, the Disable Auto-Formatting toggle is activated, which disallows the default to separate the email content text into paragraphs and turn links into clickable hyperlinks;
- CONTENT 一 a textarea field intended for adding the body of the email. It allows adding texts, HTML code, or data from form fields. To add macros to insert the form field data, click the “wrench” icon to the right of the current option name.
- ATTACHMENT 一 a drop-down list for selecting the field from which the attachment will be taken.
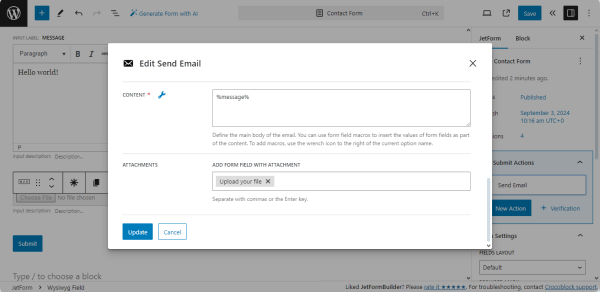
Finally, to save the changes, press the “Update” button in the left bottom corner of the pop-up.
Setting Conditions
To set the conditions when the “Send Email” Post Submit Action should be performed, press the “criss crossed arrow” icon on the “Send Email” Post Submit Action panel. If no conditions are set, the action will be performed by default after submission.
For an in-depth understanding of how to set one or some conditions, customize their options, and meet requirements, read the Conditions overview.
Deleting and Turning Off
For temporary deactivation of this action, click the “Turn off/Turn on” button (the “closed eye” icon) on the “Send Email” Post Submit Action panel. To delete this action, press the “Delete Action” button (the “recycle bin” icon) on the “Send Email” Post Submit Action panel.
Setting Verification
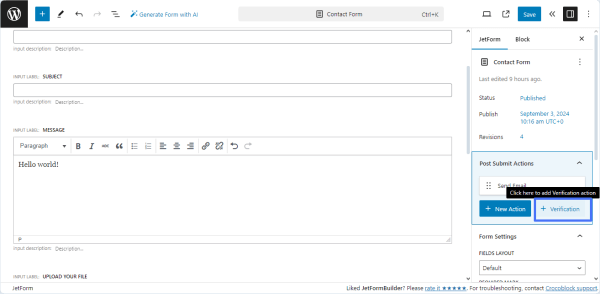
To allow user verification via email, press the “+ Verification” button on the “Send Email” Post Submit Action panel.
Then, the “Verification” Post Submit Action panel will be added above the “Send Email” Post Submit Action panel. Press the “Edit Action” button on the “Verification” Post Submit Action panel. The Setting Up Email Verification tutorial explains in detail how to customize the verification settings, define specific events, and send a confirmation email with a verification link.
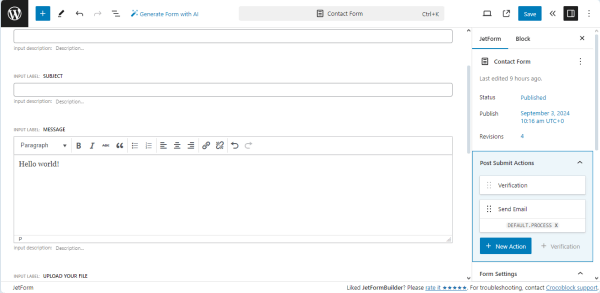
In turn, the “Runs on verification” warning text and the “Run always” link will be added to the “Send Email” Post Submit Action panel. Press the “Run always” link to separate these actions. Then, the “DEFAULT. PROCESS X” text will be added under the “Send Email” text.
Dynamic Emailing for Guest Posts
In scenarios like guest posting, you may need to notify the original author when an Admin publishes or updates their post. Since the “Current User” at that moment is the Admin, you should pull the author’s email dynamically.
Generate the Current Post Author shortcode
To target the post author rather than the current editor, proceed to WordPress Dashboard > JetEngine > JetEngine > Shortcode Generator feature and set such options:

- “JetEngine Data” for the Shortcode dropdown;
- “Post/Term/User/Object Data” for the Source dropdown;
- “E-mail” of the User section for the Object Field dropdown;

- “Current Post Author” for the Context dropdown.
Copy the generated shortcode (e.g., vanessa@jetmonsters.me).
Configure the Hidden Field
Add a Hidden Field to your form to act as a “data bridge” and adjust such settings:

- Keep the FIELD VALUE unselected;
- Set FORM FIELD NAME, for example, “author_email”;
- Into the DEFAULT VALUE, enter the generated shortcode.
Set the Send Email action
After that, ensure to customize the “Send Email” Post Submit Action settings:

- Select the “Custom email” for the MAIL TO dropdown;
- Enter the Hidden Field name (“author_email” in our case) into the EMAIL ADDRESS field.
After customizing the form settings, save it.
That’s all. Now you know more about the “Send Email” Post Submit Action settings of the JetFormBuilder WordPress plugin.