Insert/Update Post
Description
This Post-Submit Action creates a new post of some post type or edits the existing one according to the data the user puts into the form. The information from the form fields is inserted into the post’s meta fields you choose. In case of the updating, the values of the selected meta fields are rewritten according to the data the user adds to the form fields.
Settings
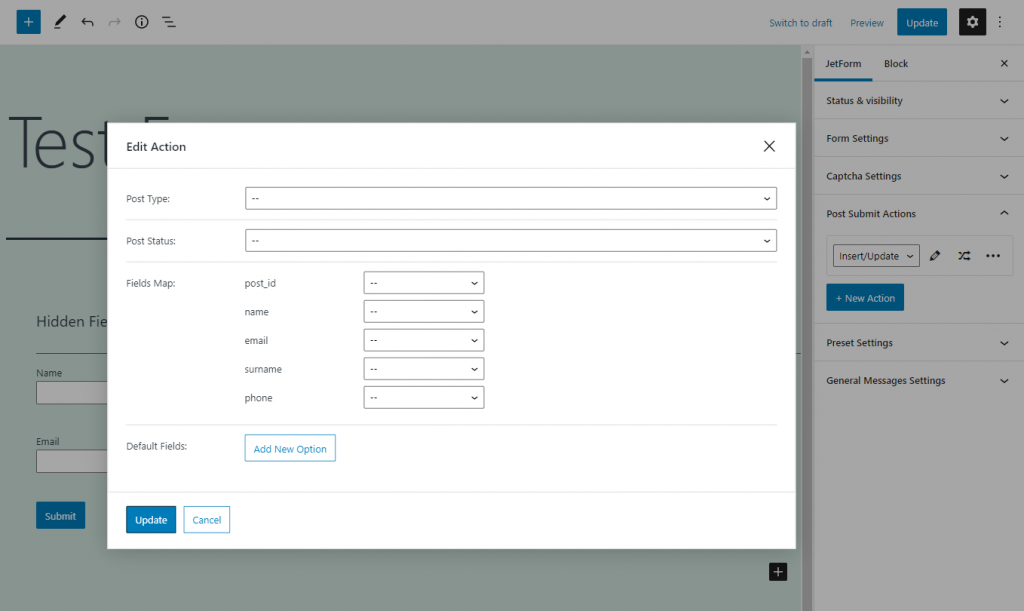
- Post Type. In this drop-down menu, you will find all types of posts available to you. If you’ve created some Custom Post Types using such plugins as JetEngine or ACF, they will be on the list too;
- Post Status. Here you can choose the status of the created or updated post after the Action is performed. For example, if you choose “Published” for Insert Post Action, the created post will be immediately published;
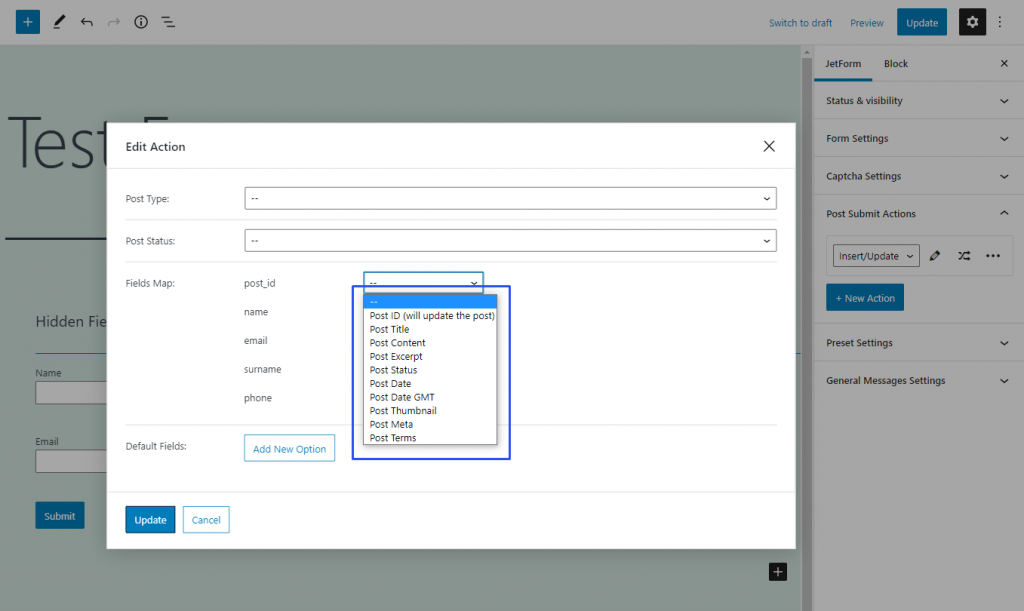
- Fields Map. All the fields you have added to the form will be listed here, named by their Field Names. And there is a drop-down menu next to every field’s name. In that drop-down, you can choose the post’s meta field where the data from the form field will land. As you can see, it is possible to link the form field not only to custom meta fields but to the default ones like Post Title or Post Content, too;
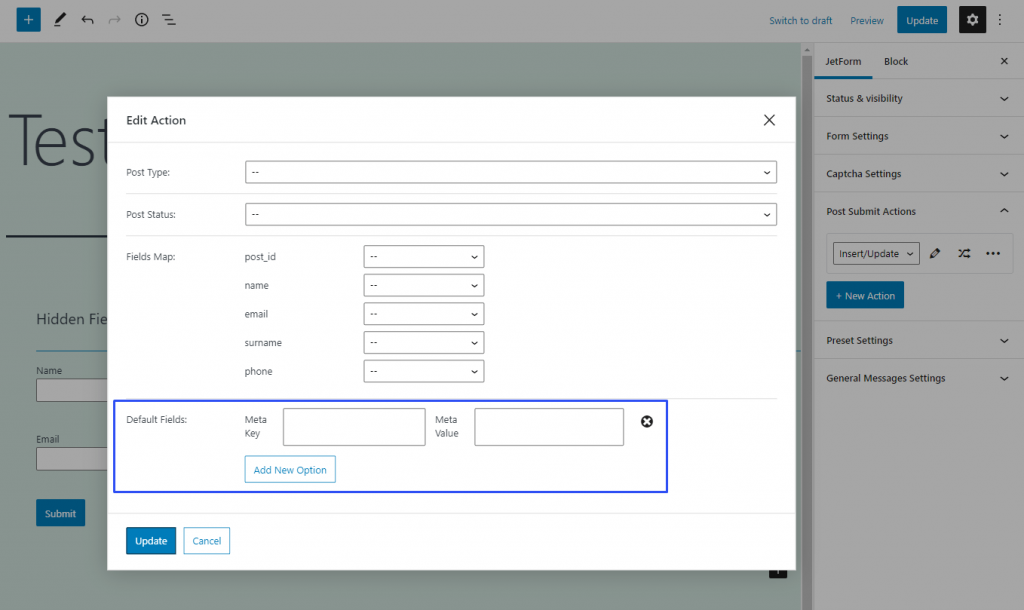
- Default Fields. If some of the post’s meta fields have to be filled with specific data, you can set them here. In the Meta Key bar, you type in the name of the meta field and add the value you need to the Meta Value text area. The default value will be added to the meta field only if that field is not connected to any of the form fields.
How to Create a Post via the Form?
Proceed to the JetFormBuilder > Add New tab on the WordPress Dashboard.
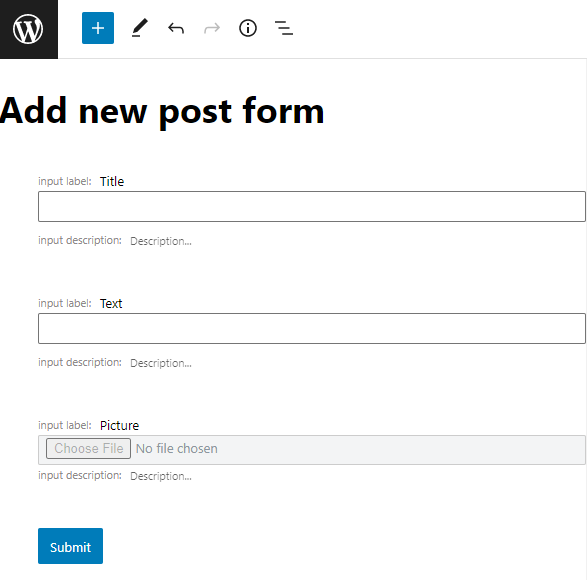
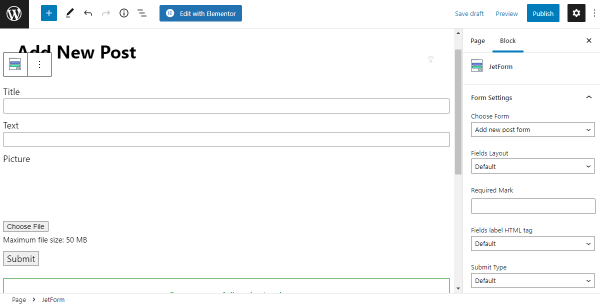
Give the form a name and add as many fields as necessary. For this tutorial, we created a few:
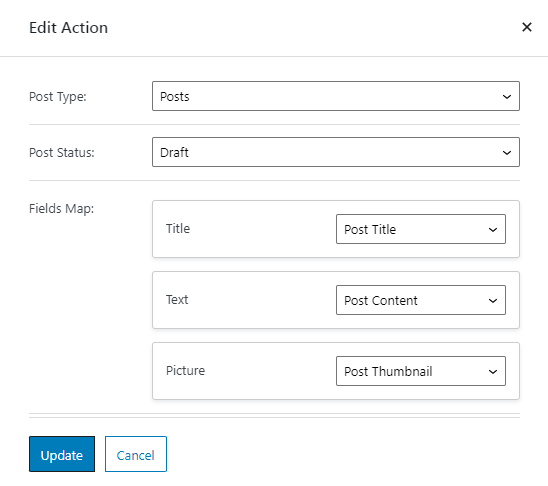
Go to the JetForm section and move to the Post Submit Actions tab. Select the “Insert/Update Post” option and hit the pencil-shaped button.

In the Post Type field, choose the post type for which posts will be created. It could be a default WordPress post type (e.g., Posts, Pages) or a custom post type (created with the help of the JetEngine plugin, for example).
In the Post Status field, you need to select the status of future posts.
The next is to set the Field Map block, where form fields should be assigned to the appropriate post fields names.
Then, click the “Update” button.
When you finish working with the form, press the “Publish/Update” button.
Navigate to any page, place the JetForm block onto it, and select the newly created form in the Choose Form field.
After you’ve done with form customizing, push the “Publish/Update” button.
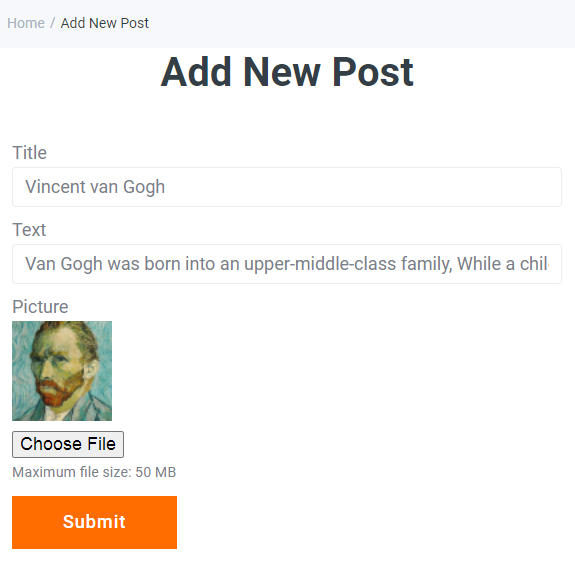
To check if the form works correctly, open the page on the front end, fill in the form fields, and hit the “Submit” button.
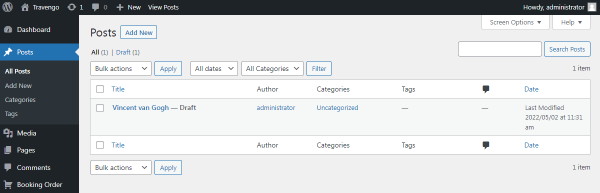
Also, you can proceed to the post type and inspect if a new post appears.
How to Update a Post via the Form?
The form for the post updating works most effectively if it is placed on the Single Page. You can create such a template for the default WordPress post type (e.g., Posts, Pages) or a custom post type created with the help of the JetEngine plugin.
To create a form, go to the JetFormBuilder > Add New tab on the WordPress Dashboard.
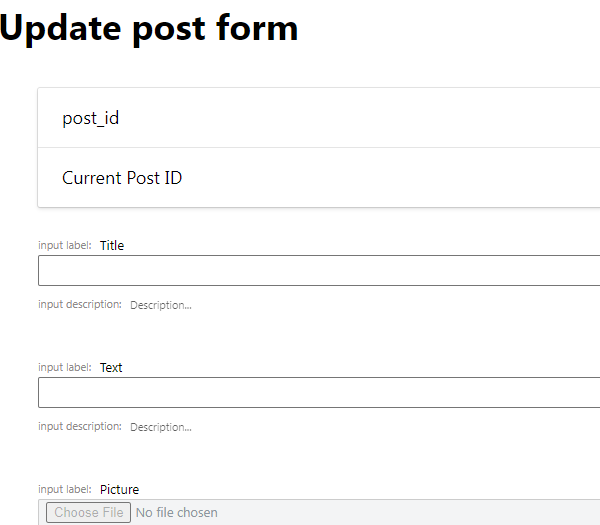
Give the form a name, and add as many fields as necessary. For this tutorial, we created a few:
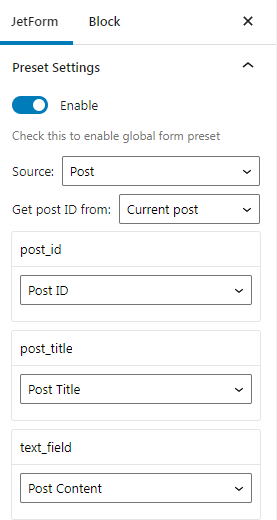
Also, for the data to be rewritten, proceed to the JetForm section, Preset Settings tab, and enable the toggle.
Select the “Post” option as the Source, “Current Post” in the Get post ID from field, and choose the “Post ID” option under the post_id field. Set other fields, so they match the required post data.
Move to the Post Submit Actions tab. Select the “Insert/Update Post” option and hit the pencil-shaped button.
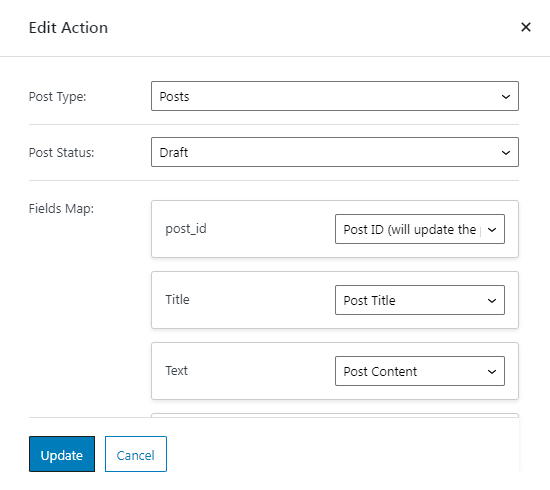
In the Post Type field, choose the post type for which the fields will be updated.
In the Post Status field, you need to select which status the updated posts will have.
The next is to set the Field Map block, where form fields should be assigned to the appropriate post fields names.
It’s obligatory to choose the “Post ID (will update the post)” option for the post_id field as it is responsible for a post update.
Then, click the “Update” button.
When you finish working with the form, press the “Publish/Update” button.
Navigate to the Single Page, place the JetForm block onto it, and select the newly created form in the Choose Form field. After you’ve done with form customizing, push the “Publish/Update” button.
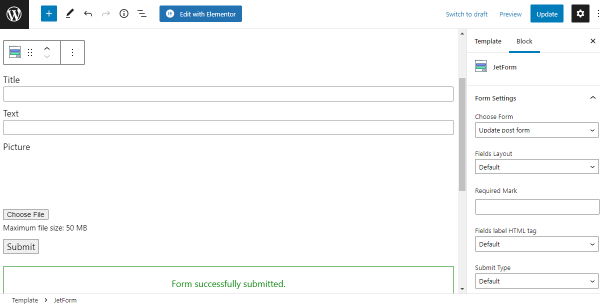
To check if the form works correctly, open any post on the front end, change the preset date on the form fields, and hit the “Submit” button.

That’s all about the Insert/Update Post action, with the help of which you can submit new posts and update the created ones.