Submit new ads to the car dealer website through a post submission form and use the Hierarchy Select to organize such car specifications as make, brand, model, etc.
Hierarchical Select Addon
A form-enriching tweak that allows you to output cascading dropdown lists in the Select field.
Buy from $49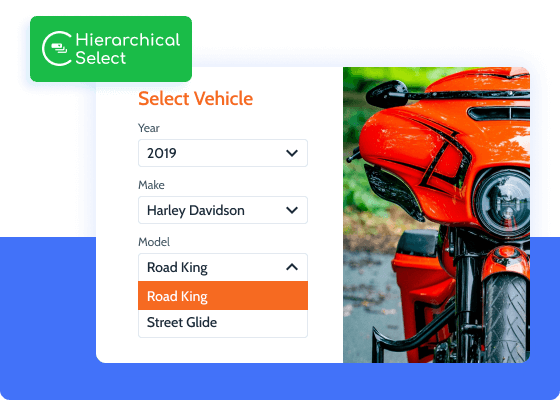
Order the child taxonomy terms
Hierarchical Select is a JetFormBuilder plugin adding a new field type/block to the WordPress website. Use it to showcase a Select field group in the form, where child terms are taken from a parent hierarchical taxonomy and displayed as cascading dropdown lists. It is particularly useful to add Hierarchical Select to the post submitting/editing forms.
Hierarchical Select Use Cases
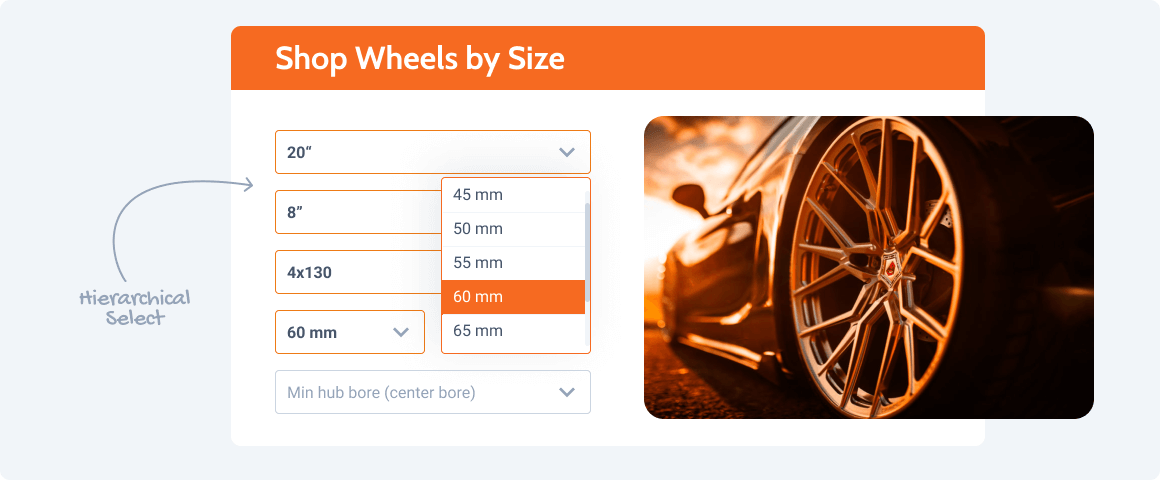
Use the Hierarchical Select block when updating the product details pertaining to multi-level hierarchy like Men > Collection > Jeans.
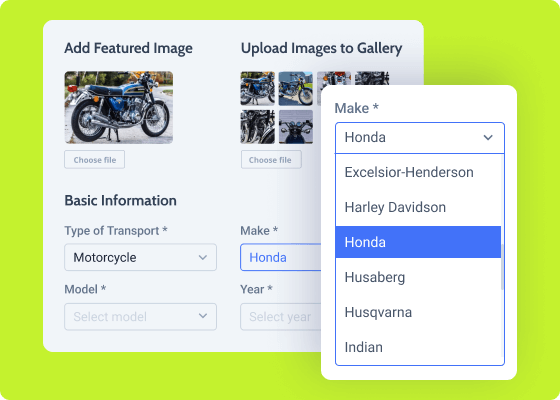
Add Hierarchical Select to the job application form and allow the applicants to pick the preferred company type, job position, and vacancy type.
Explore Functionality
Ability to add new terms
Hierarchical taxonomy output
Term value updating
Unlock All Addon Options
Add a block to create a multi-level select fields structure.
Provide a custom field label for the Hierarchical Select field block.
Edit the Hierarchical Select field slug if needed.
Use inline editing to add a description to the field.
Provide the value that would be shown by default.
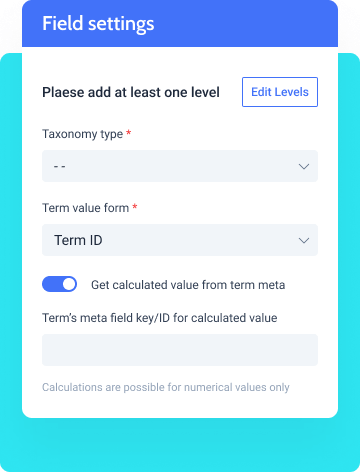
A Select field where you pick the needed hierarchical taxonomy.
Pick the needed option to pull the term data from its ID, Name, Slug, or Meta.
Use it to edit and add new hierarchy levels as options of the Select field.
Activate the toggle to use a different numerical value but the term meta.
How to Configure Hierarchical Select
Navigate to JetFormBuilder > Addons and discover the “Hierarchical Select” addon in the All Available Addons section to install the addon. Press the “Install Addon” button and, once installed, it will appear on Your Installed Addons. Next, click “Activate Addon” to get it ready for further work.
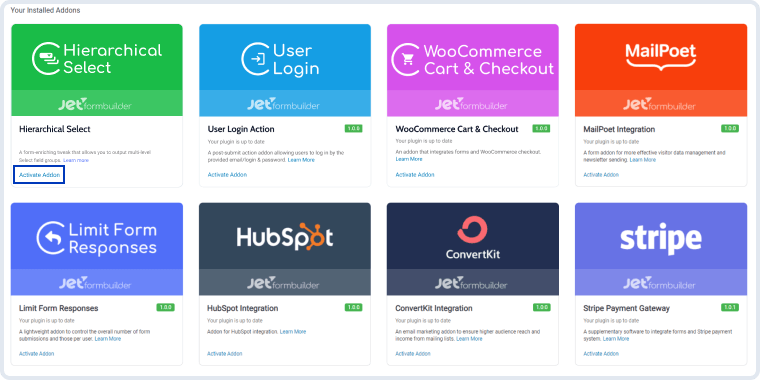
As you can see, all PRO version addons can be easily installed and activated via JetFormBuilder Dashboard.
After installing and activating the plugin, a WordPress block called “Hierarchical Select” will appear in the JetFormBuilder blocks.
Proceed to JetFormBuilder > Forms and open the existing form or create a new one. Click on the “Add block” button and choose the Hierarchical Select block.
Additionally, you can check the Hierarchical Select in WordPress Forms article.
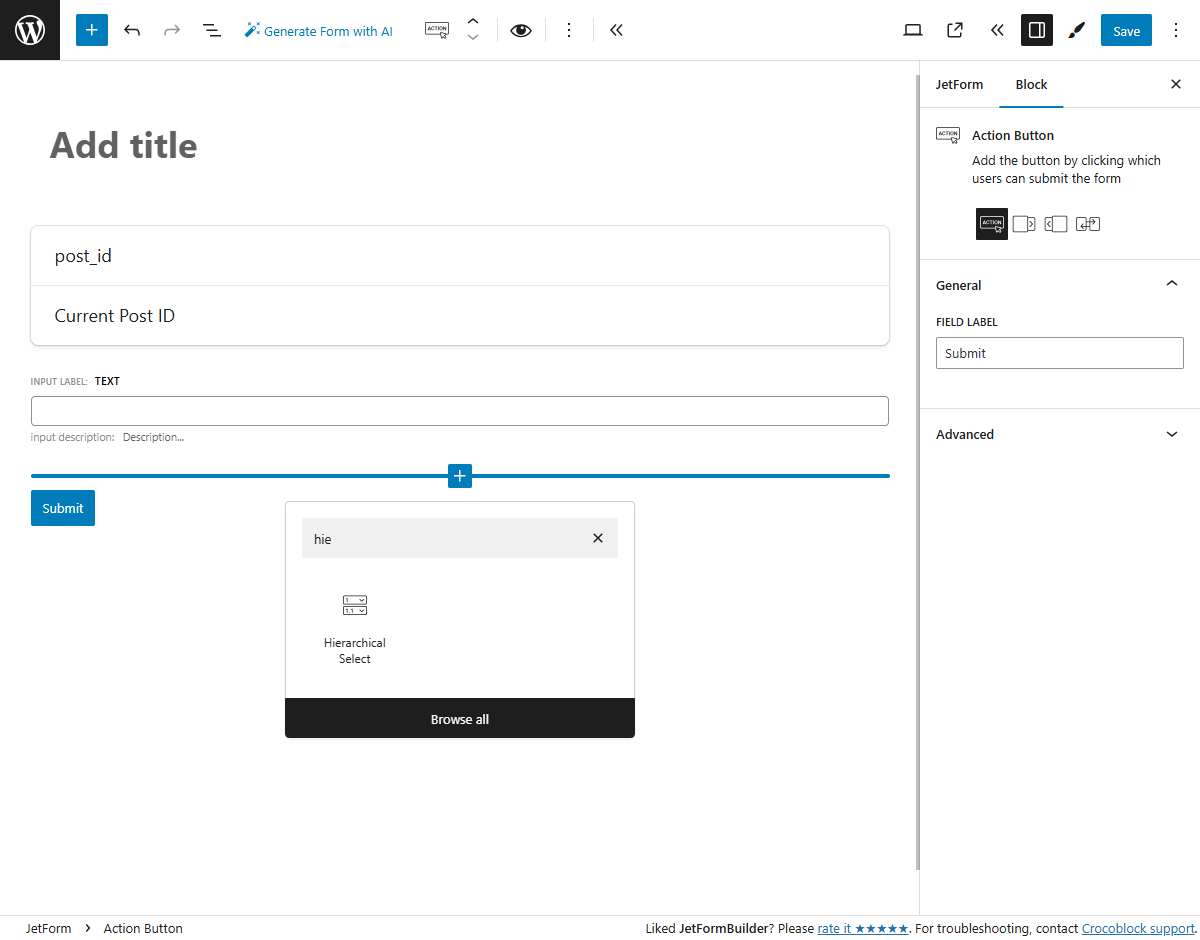
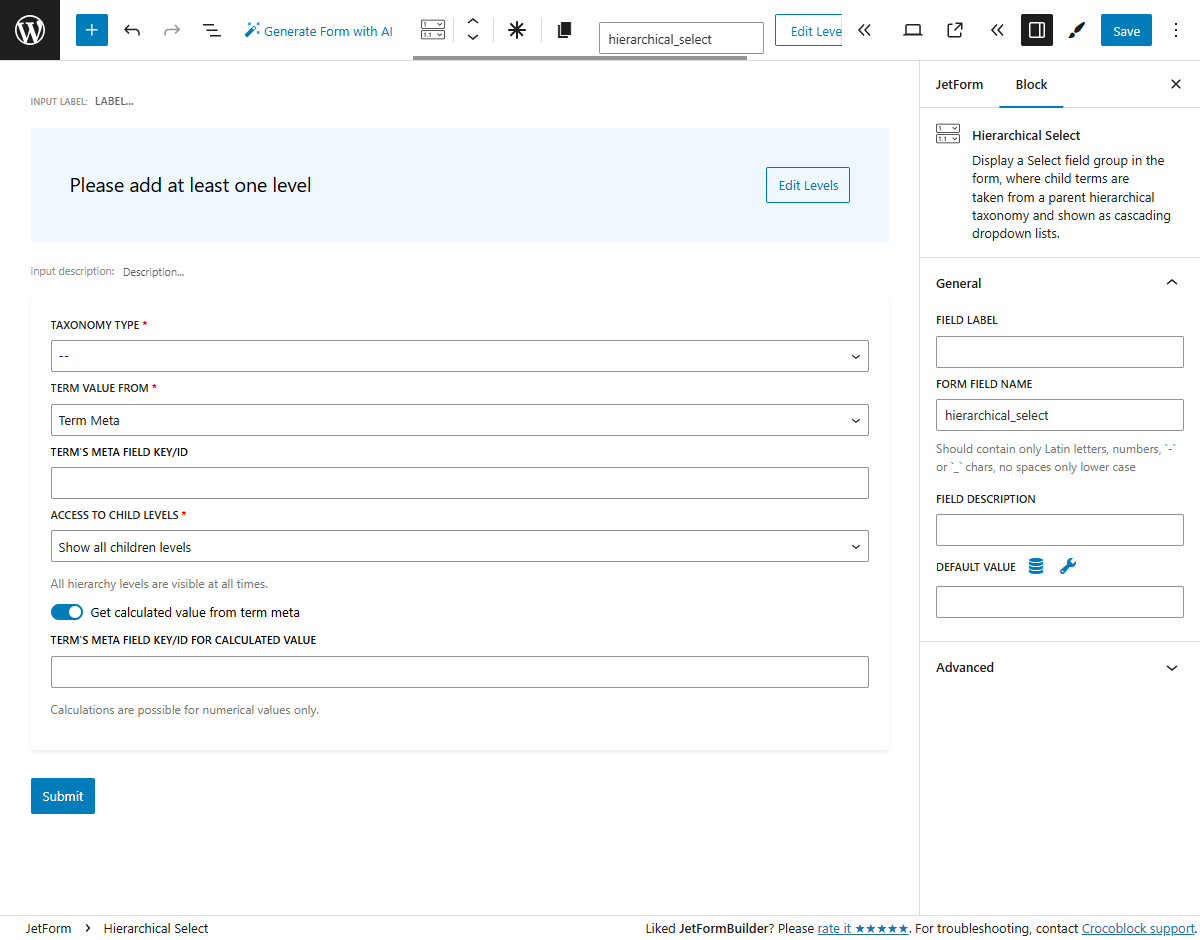
Let’s go over the Hierarchical Select add-on’s settings:
- TAXONOMY TYPE — a drop-down select where the needed taxonomy can be picked. Since this add-on has been created for hierarchical taxonomies (categories), you cannot select tags;
- TERM VALUE FROM — a drop-down select where the data that will be used as values can be chosen: “Term ID”, “Term Name”, “Term Slug”, and “Term Meta”. If you choose the “Term Meta” option, you should specify the meta field name in the TERM’S META FIELD KEY/ID field.
- ACCESS TO CHILD LEVELS — contains options for what to do with the child objects, which users haven’t accessed yet:
- Show all children levels — all hierarchy levels are visible all the time;
- Hide all children levels until parent level selected — each subsequent level becomes visible only if the previous level has a selected value and the current level has available options;
- Disable all children levels until parent level selected — all hierarchy levels are visible but initially disabled. Each level becomes enabled only when the previous level has a selected value and the current level has available options.
- Get calculated value from term meta — this option allows getting values for the Calculated Field. Be aware that if you turn on this option, the Enable manual input feature isn’t available in the Edit Levels pop-up;
- If you enable the previous toggle, you should specify the meta field key/ID in the TERM’S META FIELD KEY/ID FOR CALCULATED VALUE field.
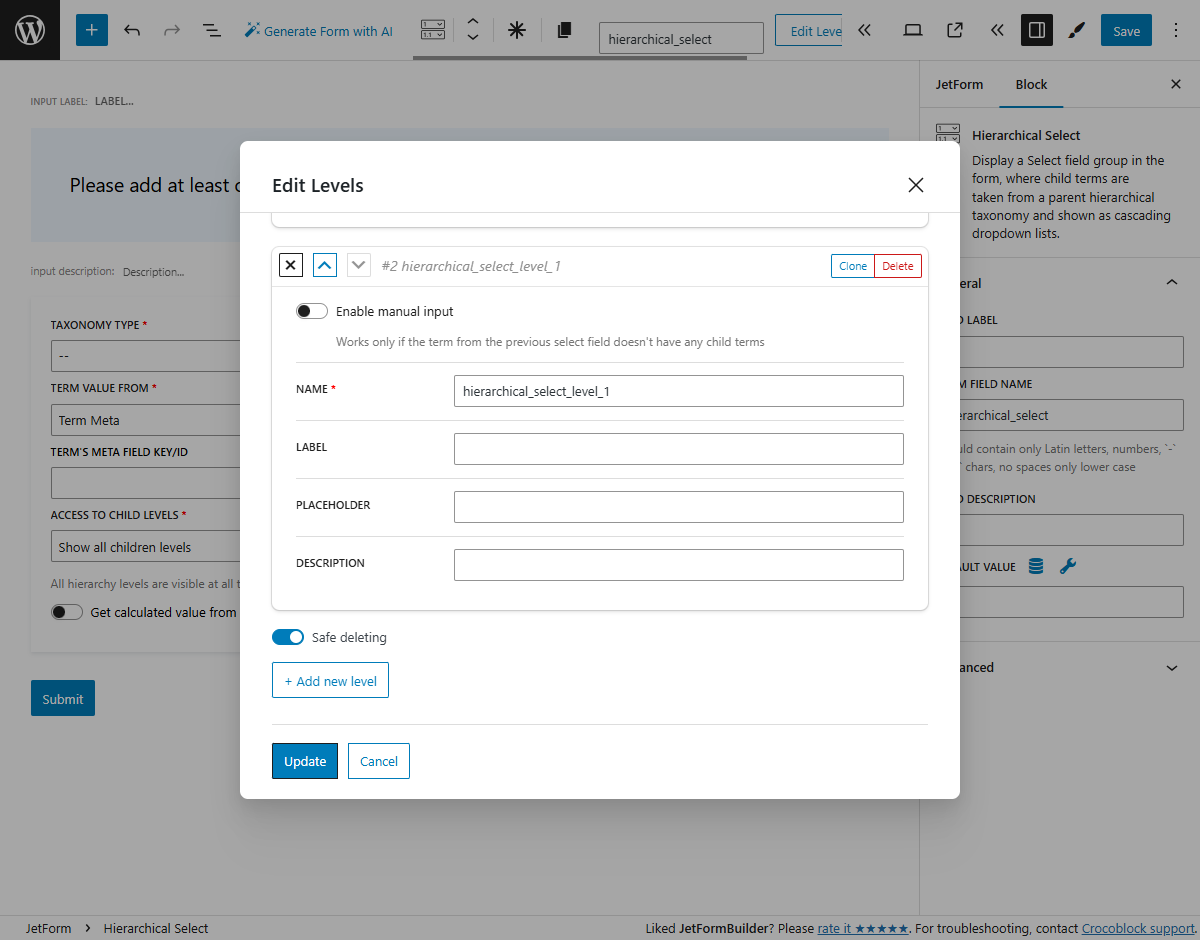
Once the settings are adjusted, hit the “Edit Levels” button. In the new pop-up window, we have such settings:
- Safe deleting — when you click on the “Delete” button, you can receive a notification message that asks you one last time if you are sure about deleting. This measure can help if you have hit the deletion button by accident. That notification can be disabled by turning off the Safe deleting toggle;
- NAME — if you click on this field, a level will be named by default, but you can change the name. Just be aware that all level names in the whole form must not be repeated;
- LABEL — a title of the field that will be shown to users in the form;
- PLACEHOLDER — a text displayed in the select field before the option is chosen;
- DESCRIPTION — a piece of additional information to notify about the selector level purpose;
- + Add new level — a button that allows you to create as many levels as you need;
- Enable manual input — allows you to add a new term via the form with this option. Read more about it a little further. Works only if the term from the previous select field doesn’t have any child terms.
Then, set the Post Submit Action, push the “Publish” or “Update” buttons, add the form to the page if you haven’t done it yet, and check out how it looks on the front end.
You need to adjust the Preset Settings to edit posts via the form. Proceed to the Preset Settings section and select the “Post Term” option and the taxonomy name for your first level of a hierarchical taxonomy.
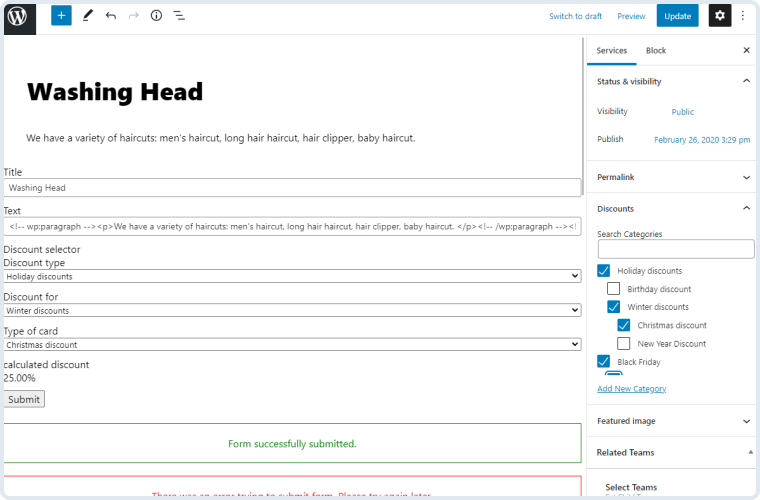
When a preset is set up and the preset term has child terms, the entire hierarchy of terms is displayed in the form fields on the front end. Otherwise, if the Enable manual input option is enabled, the Text field will be rendered instead of the Select field with the child terms. Only one branch will be displayed if a post has multiple branches.
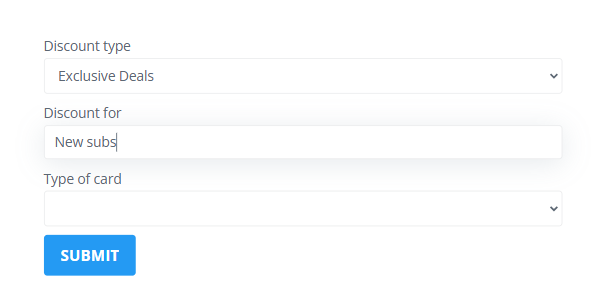
You can do this with the Enable manual input option. This option is available for the second and upper levels. If the previous term doesn’t have any child terms, you or users can create a new term manually while, e.g., creating or editing a post. After that, the Text field in the form will be changed to the Select field, and a new term will appear in the taxonomy.
Be aware that you should select the “Insert/Update Post” Post Submit Action and choose the “Post Term” option and the taxonomy name to add new terms to the Fields Map.
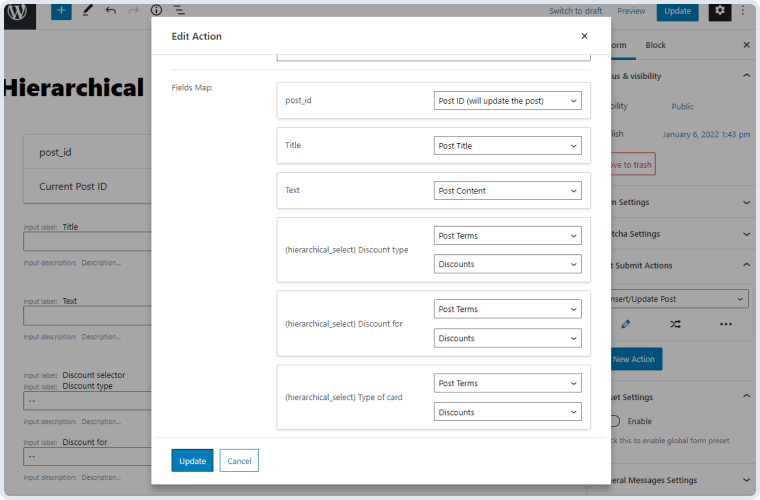
For that, you should select the “Term ID” option in the Term value from field and choose the levels from which you want to save terms for the post in the “Insert/Update Post” Post Submit Action.
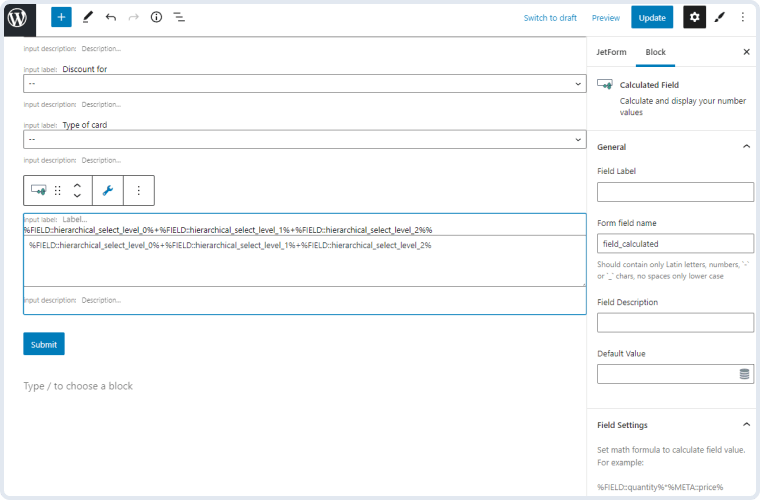
For the Hierarchical Select field, you need to enter the %FIELD::quantity% macro in the Calculated Field. Replace the “quantity” with the name of the level. You need to enter separate macros for every level with the value into the formula. Click the “gear” icon to insert the level names easily.
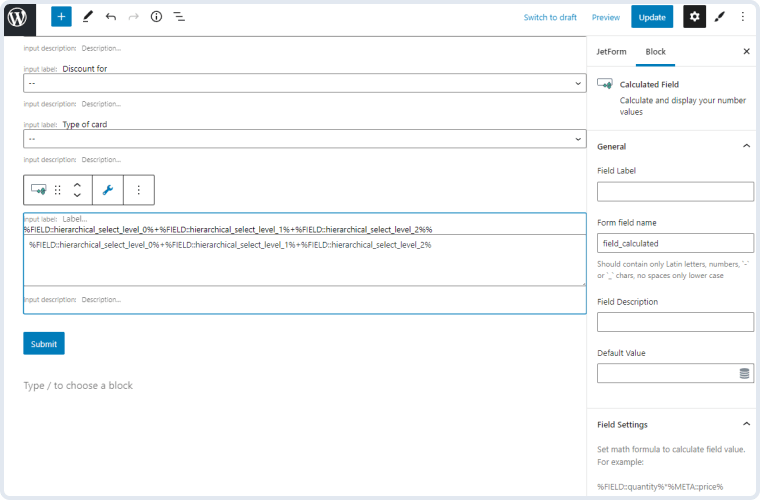
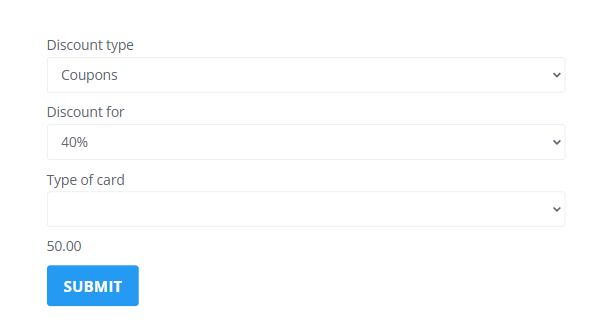
In the described case, the “Coupons” term has a “10” value, and the “40%” term has a “40” value. By adding the formula in the Calculated Field, we have gotten a “50%” discount as a sum.
- jet-form-builder/hr-select/taxonomies-list – changes the first argument when calling the get_taxonomies function;
- jet-form-builder/hr-select/query-terms-params – use it to change the arguments of terms reception and query a field object storing all settings in the block_attrs field;
- jet-form-builder/hr-select/prepare-terms – allows custom processing of the received terms and returns the parent term ID and field object parameters.
The WordPress Way
to Build Forms
Buy JetFormBuilder Pro – get all Addons at once
Explore more Addons
Signature
Provides the ability for the user to draw a signature, which will be saved as an image and can be us…
Learn moreproPDF-attachment
A form addon to convert user-submitted data from a WordPress form to PDF attachments.
Learn moreproFormless Actions Endpoints
A tweak to execute specific after-submit actions without front-end forms.
Learn morepro