Ability to run a form upon button click
Create functional buttons by pasting the JSON object into the Button widget/block/element.
A tweak to execute specific after-submit actions without front-end forms.
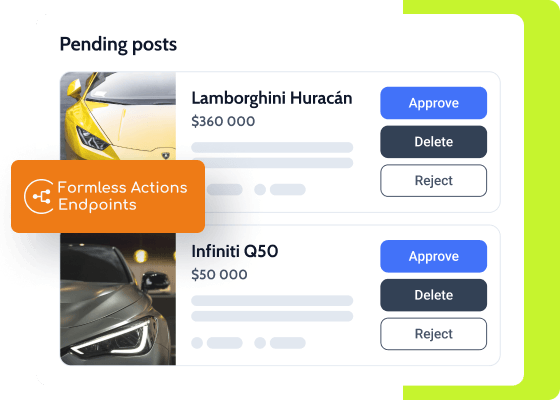
Formless Actions Endpoints Addon helps execute the needed after-submit actions using a single button on the front end without the actual form. It can submit forms both within one site and between different web spots. The add-on creates a secure environment for data transfers and restricts action execution by user role and capability.
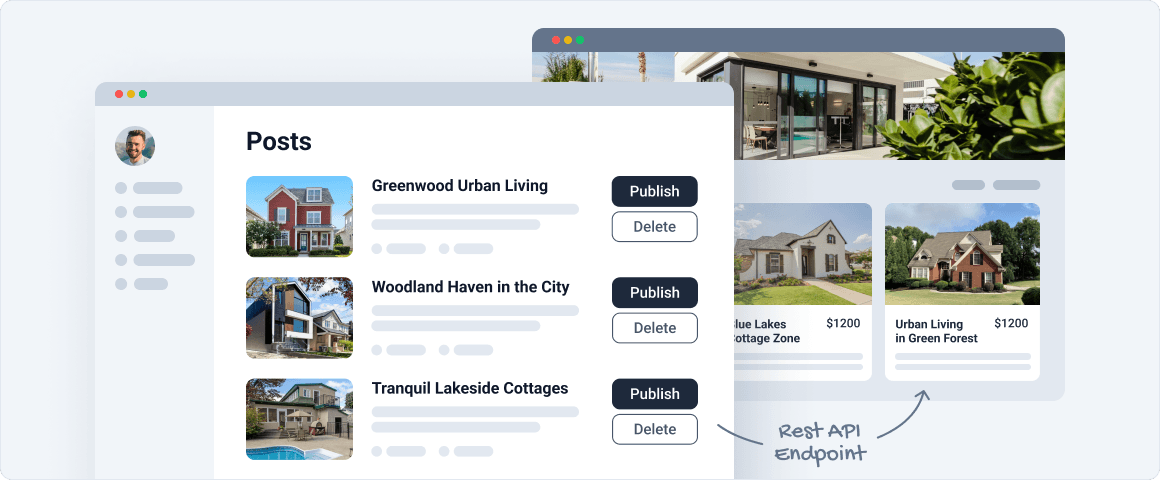
Its use cases include primarily functional site buttons and REST API endpoints. The latter can turn the site into a backend for applications. Functional buttons would allow you to change posts and user statuses, delete users and posts, add posts from another website via REST API, make one-click purchases, etc.
Create functional buttons by pasting the JSON object into the Button widget/block/element.
Configure a WordPress REST API endpoint to send form submissions from one site to another.
Specify the namespace and path of the form endpoint in the corresponding settings fields.
Pick the needed form from which you wish to get data fields for the configured submit actions.
Choose how the action will be executed; the options include WordPress AJAX, URL Query String, and Rest API Endpoint.
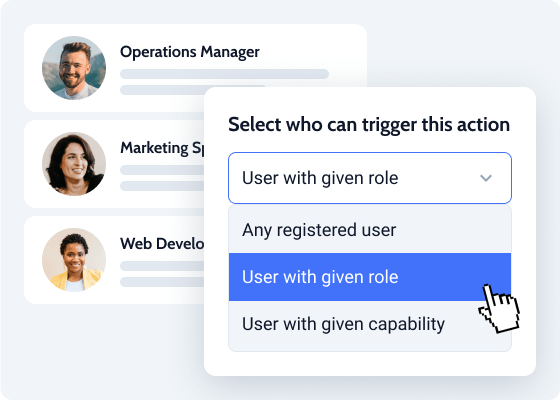
Set who will be able to trigger form actions – any registered user or users who match certain criteria.
Activate it to allow the requests log to be kept for their further viewing.
Build the form’s data structure by specifying its fields, their types, default and sample values.
Contains formatted data, which you can copy for further use in Elementor, Gutenberg, and Bricks.
In the given tutorial, we consider the case of applying a functional button to a CPT listing that can be created with the JetEngine plugin to change the post status after clicking on this button.
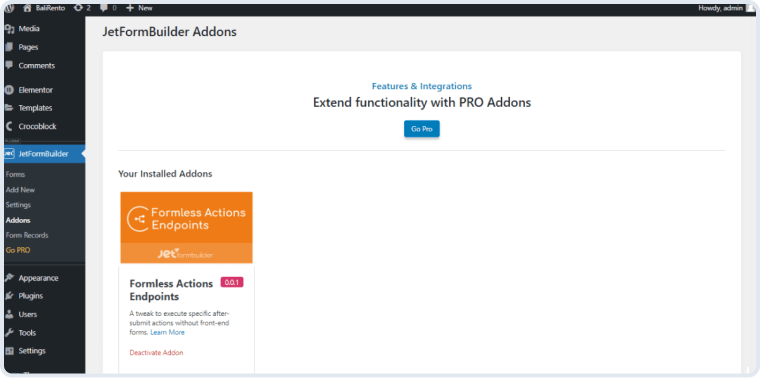
To install the add-on, go to WordPress Dashboard > JetFormBuilder > Addons and find the “Custom Actions” add-on in the All Available Addons section. Press the “Install Addon” button, and once installed, it will appear in Your Installed Addons. Next, click “Activate Addon” to prepare it for further work.
Navigate to the WordPress Dashboard > JetFormBuilder > Add New tab to create a new form.
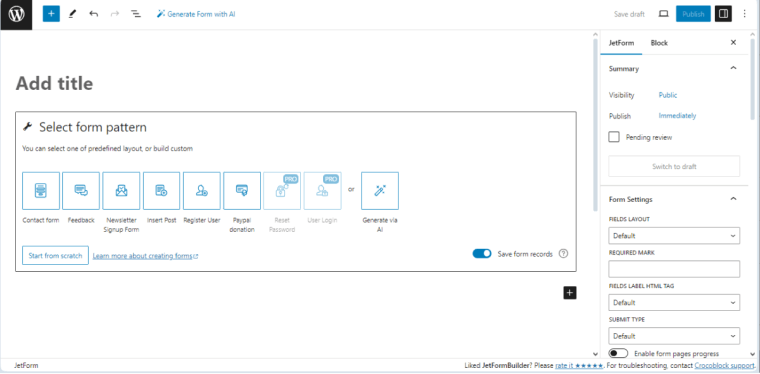
Press the “Start from scratch” button in the Welcome block to develop your own form. Type the form’s name (“Delete Post Form” for this case) instead of the Add title placeholder. Delete the unnecessary field blocks (the default Text Field for this case).
This form creation tutorial explains how to build forms.
Unroll the default Hidden Field settings.
In the Block settings tab on the right side, navigate to the Value tab and press the “Dynamic tags” button above the DEFAULT VALUE field to open the pop-up.
Select the following options from the Edit Preset pop-up settings:
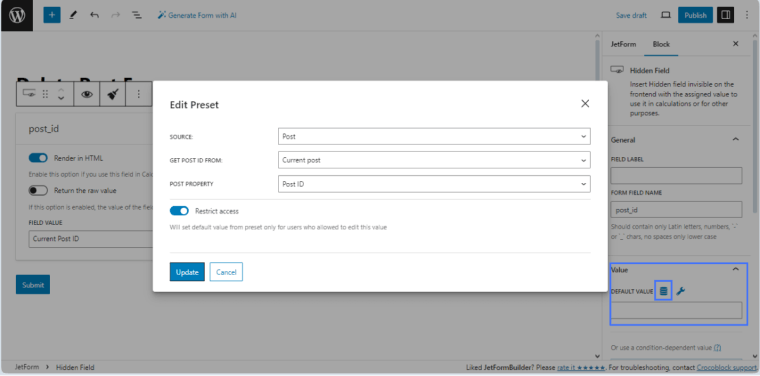
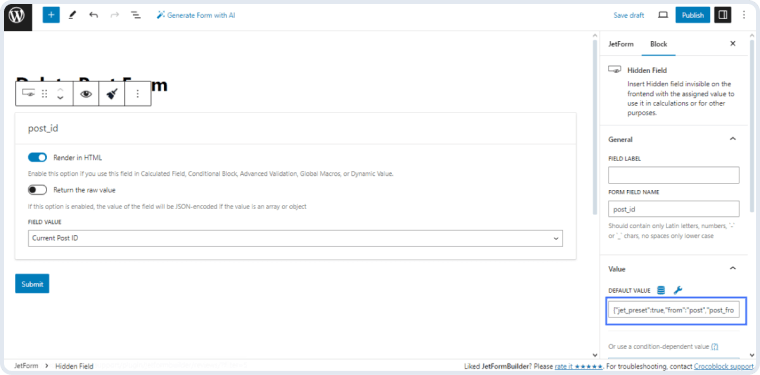
Pressing the “Update” button closes the pop-up and adds the appropriate text to the Default Value field, i.e., as in this case:
{“jet_preset”:true,”from”:”post”,”post_from”:”current_post”,”current_field_prop”:”ID”}
Navigate to the JetForm settings tab and unroll the Post Submit Actions.
Press the “New Action” button under the default “Save Form Record” action to add a new one. Select the “Insert/Update Post” option from the drop-down list.
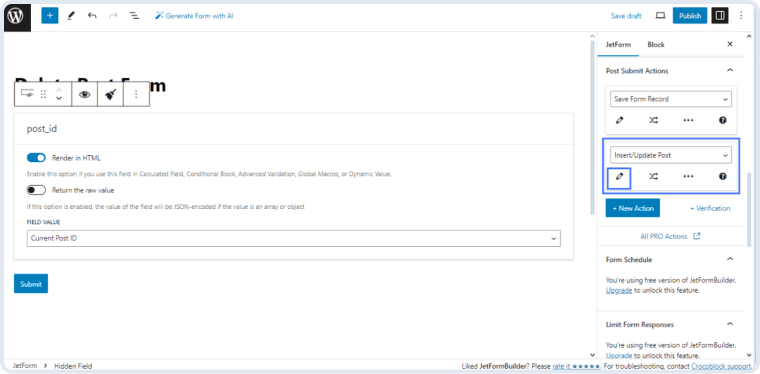
Press the “pencil” icon to set the action’s settings:
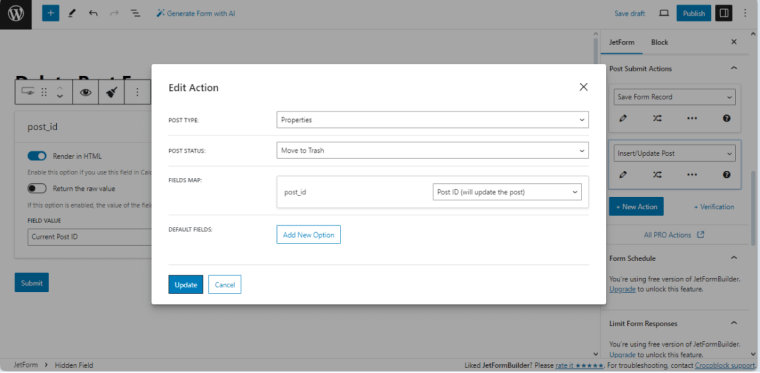
Press the “Update” button.
Finally, publish the form.
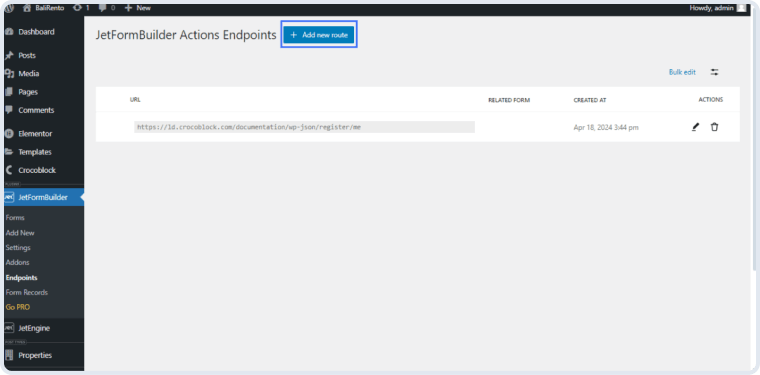
Navigate to the WordPress Dashboard > JetFormBuilder > Endpoints tab to set the needed route options. The tab displays URLs of all developed routes and allows filtering/sorting by the Related form and Created at column. You can also delete one or more endpoints at the same time. To edit a previously created route, click the “pencil” icon or press the “Add new route” button to create a new one.
Fill in the following route settings:
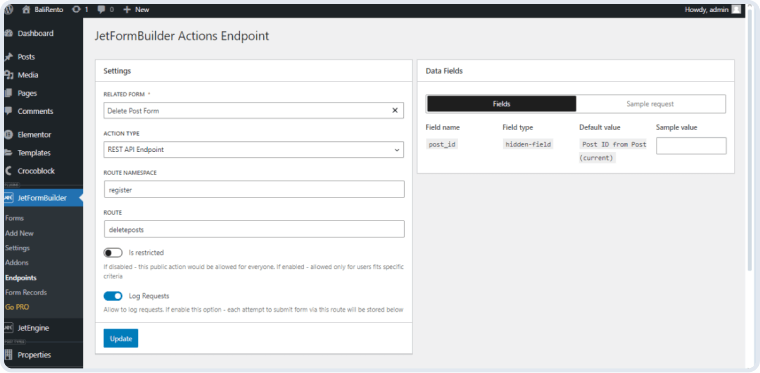
In the given case, we selected the “Rest API Endpoint” option from the ACTION TYPE drop-down list. This option activates the ROUTE NAMESPACE and ROUTE text fields, where we typed the first and second parts of the Rest API URL (the “register” and “deleteposts” texts, respectively).
Things to know!
The ROUTE NAMESPACE and ROUTE text fields allow the usage only of lowercase Latin letters, numbers, and the hyphen sign.
We left the Is restricted toggle disabled to allow all users to perform the pre-specified action. In contrast, we enabled the Log Request toggle to allow logging requests to collect all attempts to submit the form via this route.
Press the “Update” button.
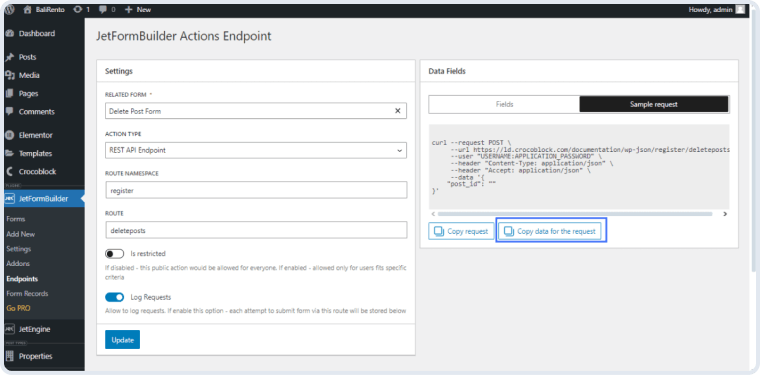
Navigate to the Data Fields section of the JetFormBuilder Actions Endpoints page and click the “Sample request” button.
The text field under the “Fields” and “Sample request” buttons displays the request data. Press the “Copy data for the request” button to copy the aforementioned data.
Build a listing item with needed dynamic fields.
Add the Button (by Elementor) or Button (by the JetElements plugin) widget to the page opened in the Elementor editor.
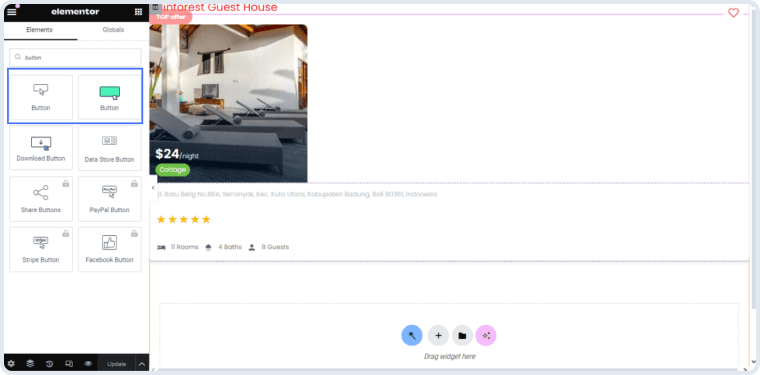
In the given case, we added the Elementor’s Button widget and then typed the text needed to be displayed on the button (the “Trash!” text).
Unroll the Content > Submit JetformBuilder Form tab and set the following options:
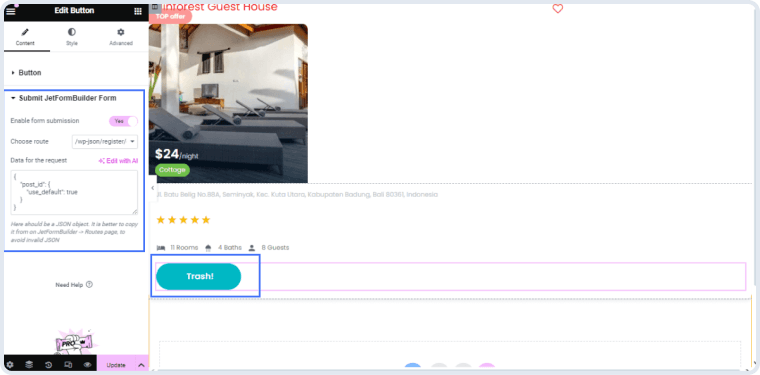
Press the “Update” button.
Create a page, add the Listing Grid, and select the needed Listing.
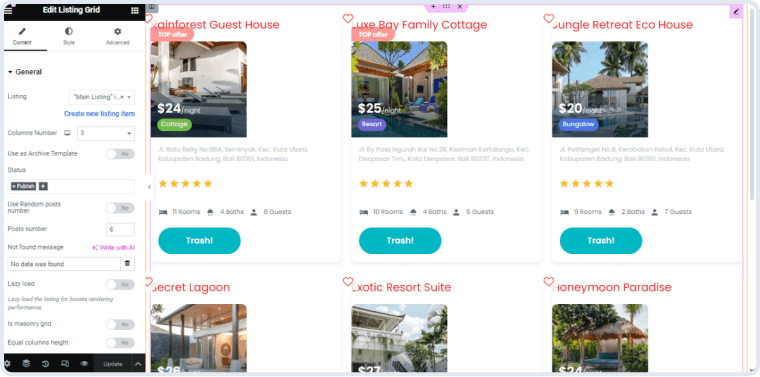
Press the “Update” button and navigate to the front end of the page.
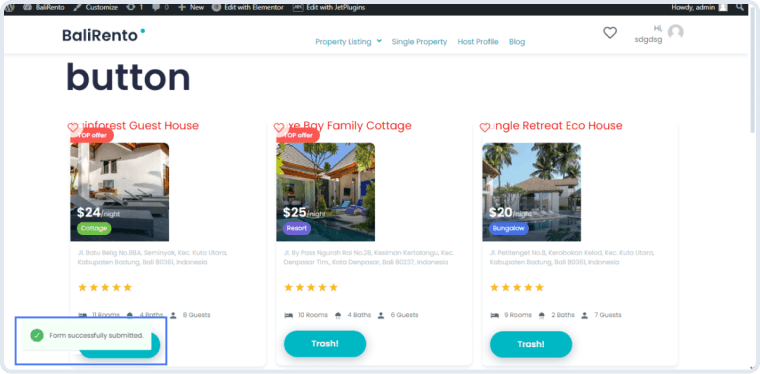
After pressing the button (“Trash!” in the given case), the “Form successfully submitted” text will appear.
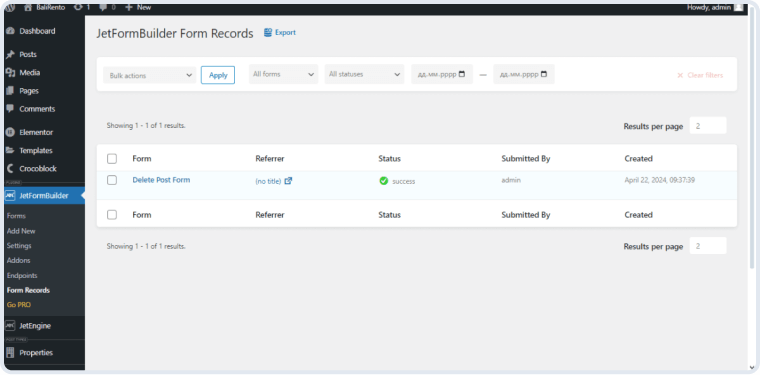
The submitted forms will be stored in the JetFormBuilder > Form Records tab due to the “Save Form Record” action.
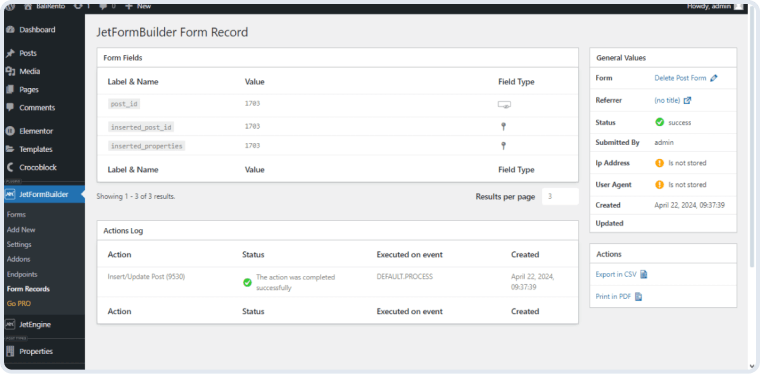
Unroll the needed form to see the detailed data of the submitted form.
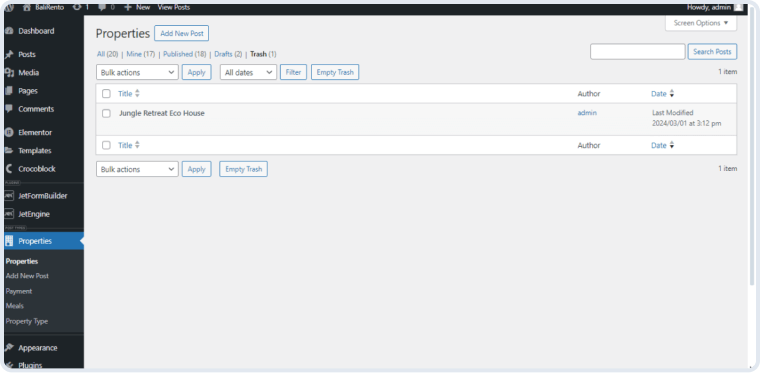
The selected CPT post will change its status and be transferred to the trash.
That’s all about how to set up the Formless Action Endpoints add-on.
Buy JetFormBuilder Pro – get all Addons at once
A drag-and-drop interface for uploading multiple media files to the site via a form.
Learn moreproA form-enriching extension to add signature functionality to different form types online.
Learn moreproA form addon to convert user-submitted data from a WordPress form to PDF attachments.
Learn morepro


