Creating a Custom User Registration Form with JetFormBuilder
Custom user registration forms are essential for websites with members beyond just administrators and editors. They not only provide a more user-friendly interface but also allow users to submit additional information, which is often required for membership sites.
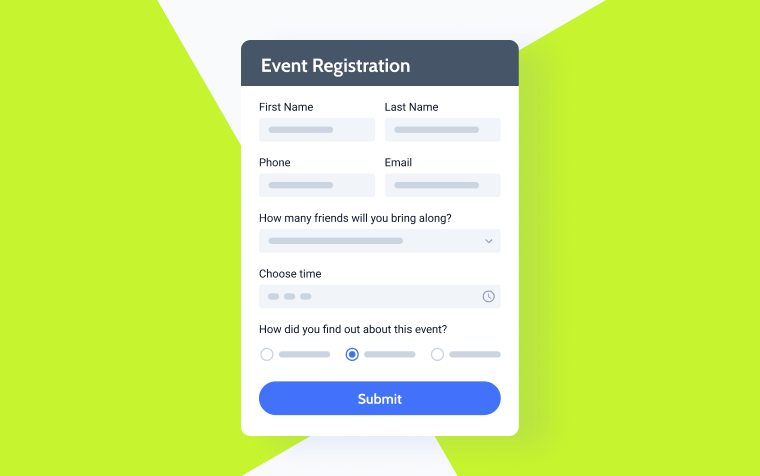
In this article, we’ll show you how to create a custom registration form with JetFormBuilder to enhance your website’s UI, UX, and overall functionality.
Default WordPress User Registration Forms
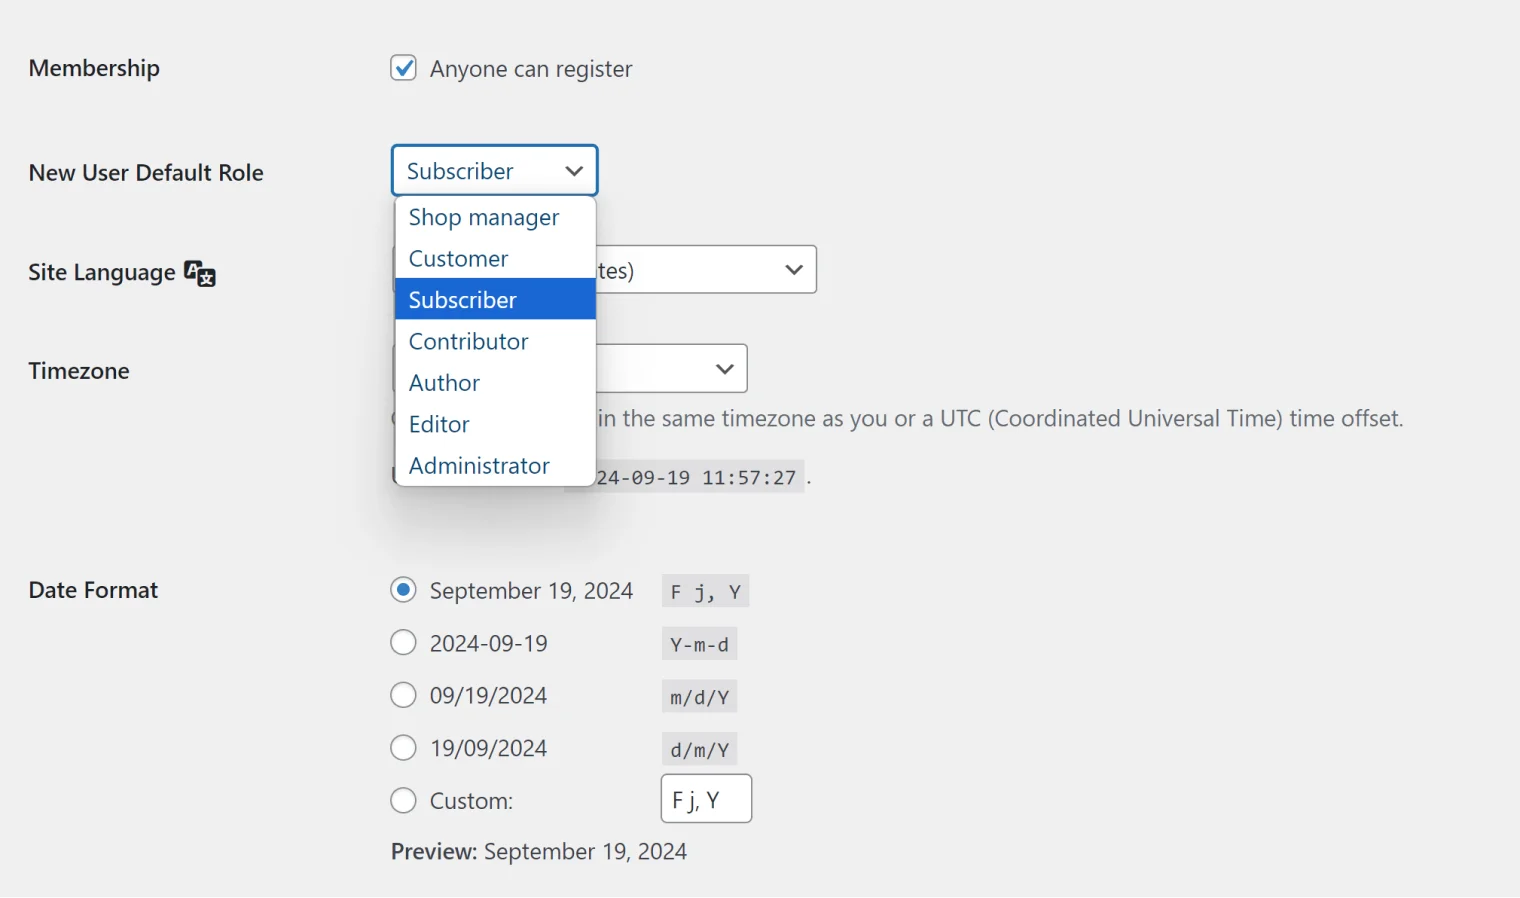
First, let’s have a look at the default registration forms and their functionality. To allow users to register, go to Settings > General and check the “Anyone can register” box. Also, you select the role for the new members. If you have custom roles added, you can select one of them as well.
Now, new users will be able to register, and the default link looks like this: https://your-site.com/wp-login.php?action=register
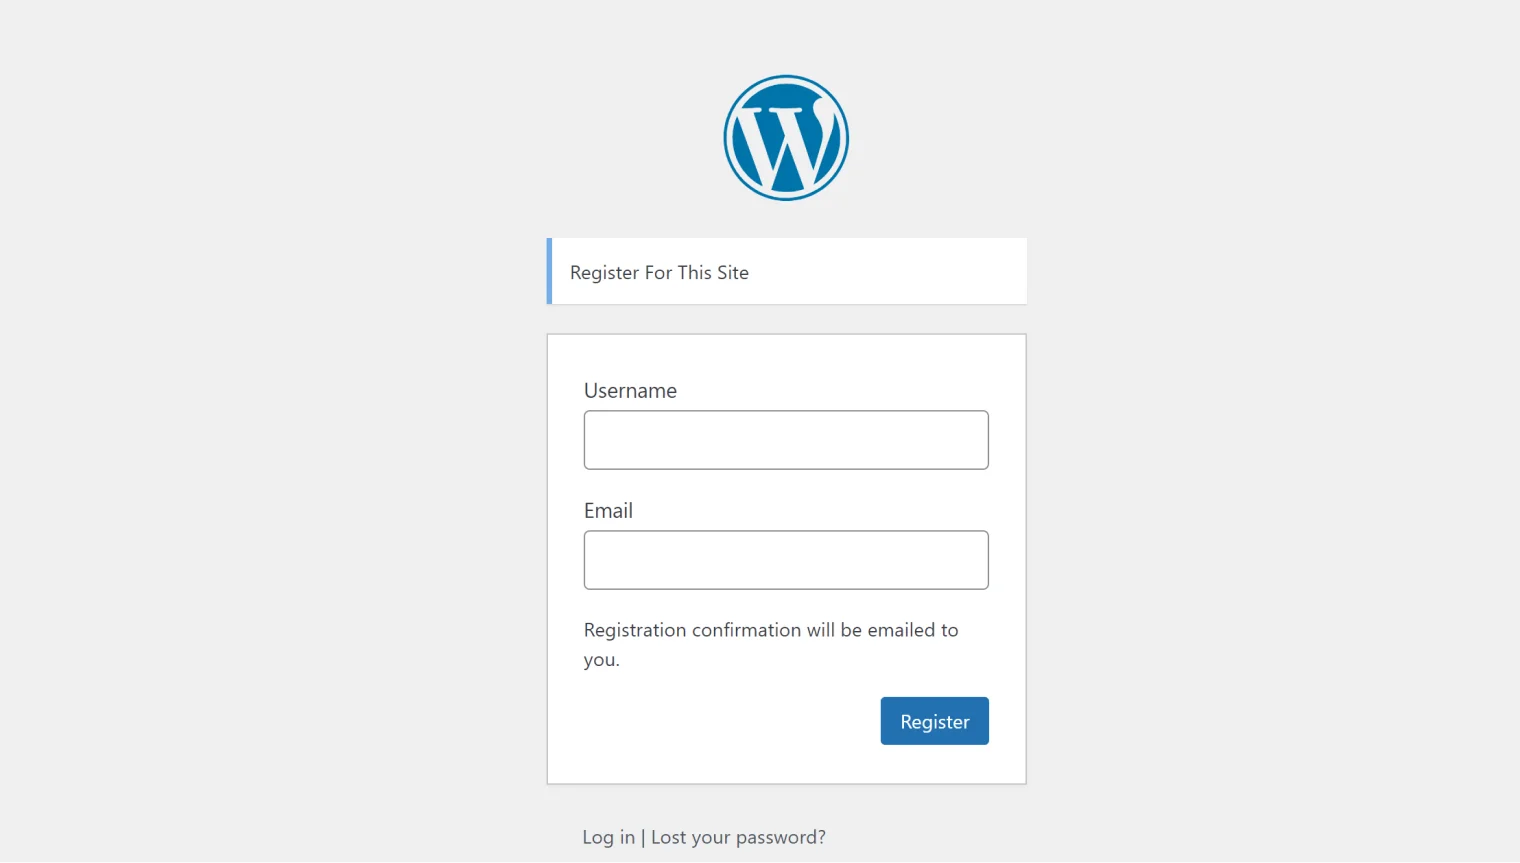
As you can see, there are only two form fields, where the user enters their username and email address, and after that, they have to check an email and follow the link given there. The link leads to a login form with the username and randomly generated password, which the user can change.
Only after that can the user log in to the website and fill in the information about them if they want because there is no way to make them do it, as the registration form requires only the username and an email address. Not to mention the fact that the default WordPress user profile page has a lot of fields that might not be required at all, while you might need other information.
As you can see, the process is not user-friendly and even not acceptable for membership websites, as customers who are not familiar with the WordPress dashboard may get confused and give up the attempts to deal with the website.
WooCommerce registration forms look a bit more user-friendly, but it’s also a good idea to customize them. However, in this article, we will discuss non-WooCommerce cases and forms.
Creating a Custom Registration Form with JetFormBuilder
JetFormBuilder offers all the tools for creating custom registration forms, where you can not only have the opportunity to register using the beautiful interface but also add CAPTCHA, validation, and marketing tools, such as MailerLite or GetResponse, Active Campaign, Zapier, and what’s very important, add payment gateways, so you can charge users for registration to monetize your membership website.
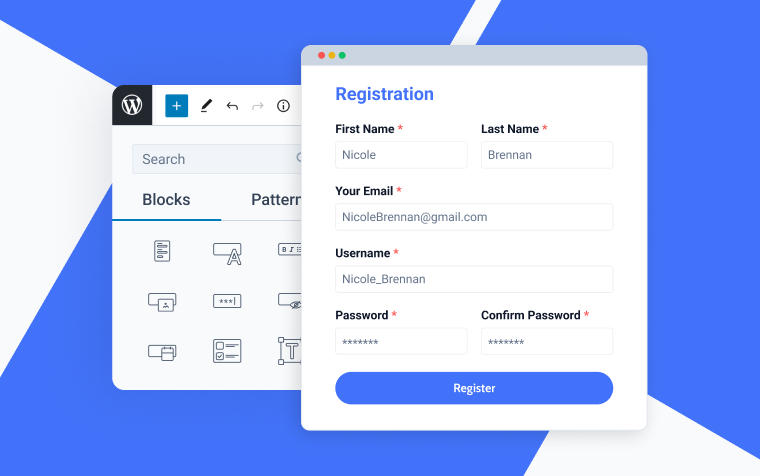
Registration form fields
First, let’s create fields. Let’s say you post CVs on your website, so you need not only the name, email address, and password but also information about the candidate as well as an attachment with their CV.
I will create ten fields for the candidate registration form (with the field type in brackets):
- First name (Text);
- Second name (Text);
- Email address (Text – email);
- Password (Text – password);
- Confirm password (Text – password);
- Preferred position (Text);
- Professional summary (WYSIWYG);
- Position category (Select generated from taxonomy terms);
- Previous work experience (Repeater);
- Skills (Select).
Creating the First name and Second name fields is pretty straightforward. However, you can sanitize such fields to avoid unacceptable characters. Read the comprehensive guide on sanitizing fields here.
Also, don’t forget to set the “Required” mark for name, email, password, and other fields of your choice. Click on the asterisk icon on the floating panel when editing the field.
For the Email field, add the Text field first, and on the right panel, in the “Field type” field, set the “email” value. You can also set up the minimum and maximum length or input mask.
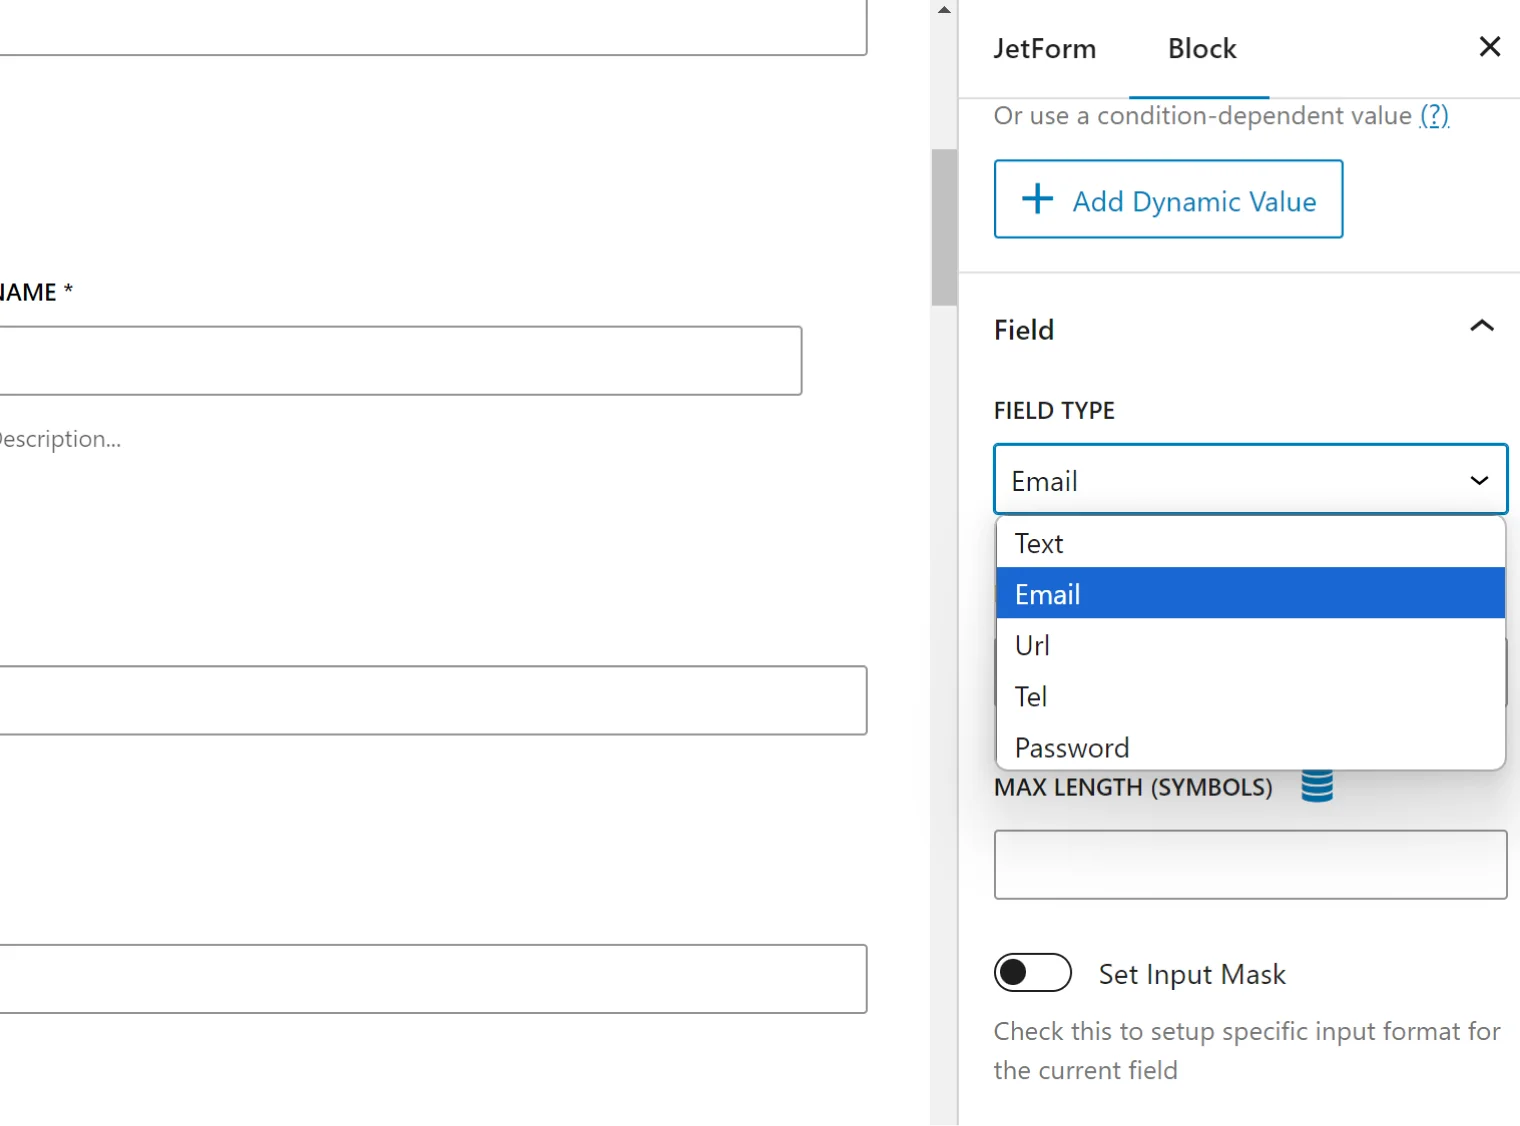
For the Password field, select the “Password” value. Thus, the password will be hidden while you are typing it.
💡 If you want to add an eye icon and make the password visible on click, check this tutorial.
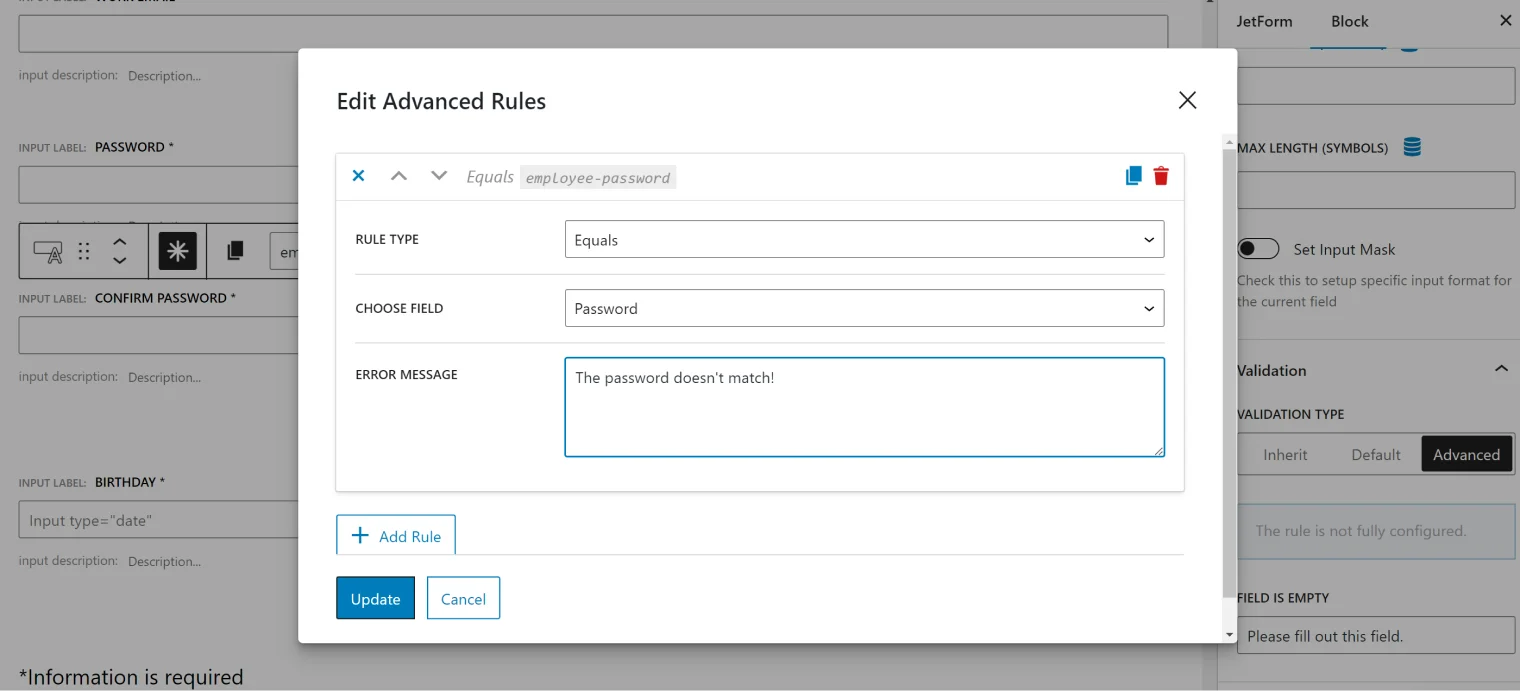
Now, let’s move on to the fun part, which is the Confirm password field. It’s also the “password” field type, but this one should match the Password field, and if it doesn’t, the error message must appear. To implement this, we need to apply an Advanced Validation rule. On the right panel, find the Advanced Validation section and click to add the rule. The rule type should be “Equals,” and it should be equal to the Password field. Write the error message right here.
The Preferred position and Professional summary fields are also very straightforward to make, no additional rules are required here.
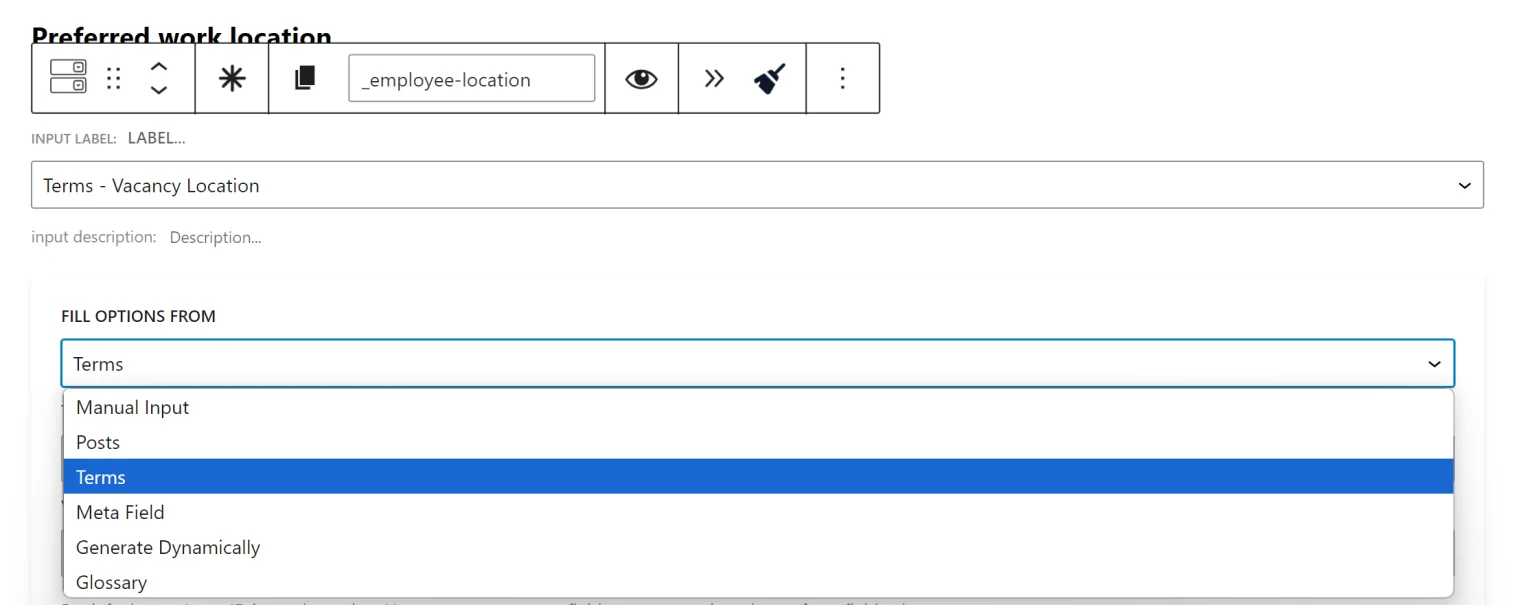
The Position category field is supposed to be formed dynamically from the terms of vacancies if you post them as well. To get these values, add the Select (or Checkbox) field, and in the “Fill options from” dialog, choose “Terms,” then select the taxonomy from which categories or tag names will be taken.
If you only post CVs and don’t have vacancies, you can enter these categories manually.
The Previous work experience field requires a Repeater field type as it should be flexible for different numbers of previous workplaces. This field type is basically a parent container where you can add all the required child fields, e.g., Position name, Company, Date, etc. You can also change the “+Add another item” button label on the right panel.
Finally, the Skills field is of a Select type. You can add the list of skills manually or if you have JetEngine on your website, you can use a very handy Glossary tool to take the list from.
Add the “Submit” button and style your form using the free JetStyleManager add-on. You can also use the JetForm widget when building a page in Elementor or Bricks.
The fields are ready, and it’s time to move on to the heart of the form functionality, which is post-submit actions to register users and perform validation or payment actions.
Post-submit actions for registration form
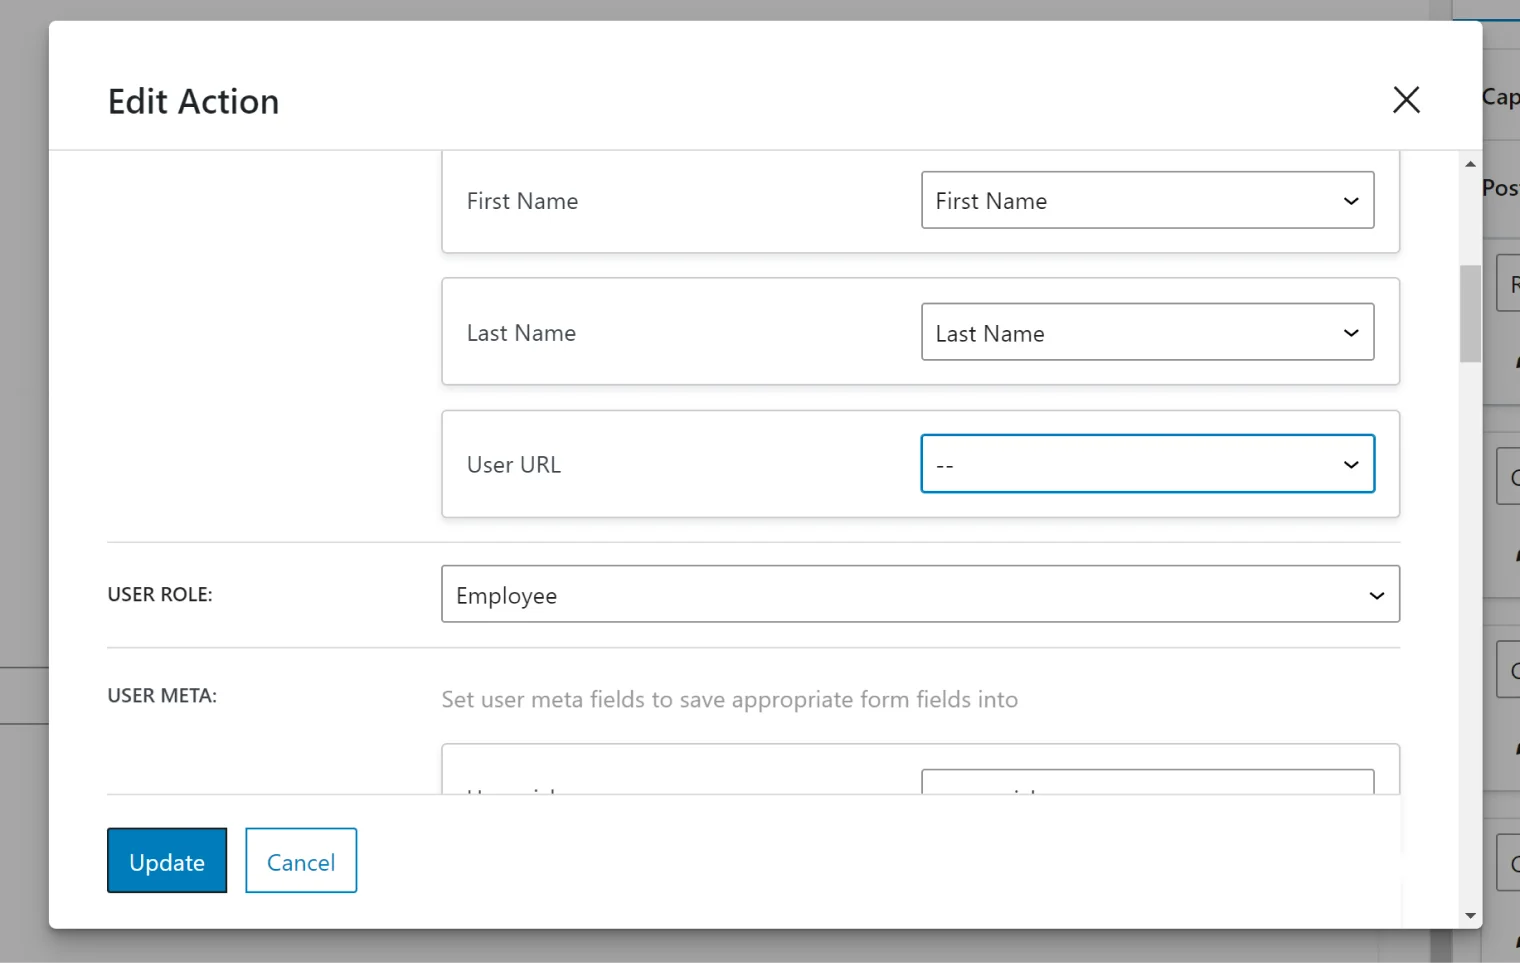
On the right panel, click on the JetForm tab; it’s responsible for all the settings for the form as a whole, not individual blocks. There, you will see the Post Submit Actions section. There, select the “Register User” action and click on it. Now, click on the pencil icon to add all the settings. Now, we need to map the form fields with the user fields that WordPress has for the Users entity.
At this point, I need to add more details about such fields. The thing is, WordPress has a very fixed set of fields for Users, and if you add custom fields like “Skills,” “Work experience,” and so on, there will be no matching fields in the default WordPress user profile. That’s why we have to create these fields first and add them to Users.
You can make it with JetEngine using its Meta Box tool. It helps to add almost any field type and any number of them to users, as well as default or custom post types. After adding all the required fields using Meta Box, go back to the form and map the fields.
💡 You can create custom fields for the fields that WordPress already has to keep them in one place for a more handy way to fetch them afterward when displaying them in the User Profile. However, WordPress requires three fields for user registration: Username, Email, and Password. You can map these fields twice (with the exception of the Password) to the WordPress default user profile fields and to the custom fields you’ve created with Meta Box. Password should be stored only in the default field for data safety, as it’s being stored in encrypted format.
In this dialog pop-up, you can also assign the user role, which will be assigned after registration. There, you will find additional settings for the most user-friendly registration, too.
Now, it’s important to send an email to the user and the administrator about the new user registration. To do this, add one more action: Send email.
That’s not all; you can also perform user email verification. It’s very important to avoid spammers’ registration if you run a free membership site. Read this guide to learn how to use it.
One more action that can be very useful for user registration forms is Connect Related Items. It will work and appear in the list of actions only if you have JetEngine installed and activated on your website. Using it, you can create new or updated relations to build a more advanced website data structure. For example, you can connect the user with the chosen vacancy category, so later on, the users and their CVs can be shown if this category is selected. Read more about using JetEngine relations here.
What else can be added to a custom user registration form? Sure, payment gateway so that users can pay for their membership. JetFormBuilder has this option as well.
Creating a custom user profile
A custom user profile is integral to a custom user registration form. Because it’s rarely enough to create a form with custom fields, the user should be able to access and edit this information. The good news is that you can build highly customized user profiles using JetFormBuilder and JetEngine with the help of its Profile Builder module.
Read this comprehensive guide on how to use it.
Wrapping Up
Custom user registration forms are essential for any membership website, as the default WordPress registration form is not user-friendly and doesn’t allow the collection of all the required information. Moreover, you can’t charge customers for the membership. That’s why using form plugins is essential here.
JetFormBuilder is a powerful plugin focused on working with dynamic data – exactly what is needed for registration forms. Using it in conjunction with JetEngine, you can not only create such forms but also build highly customized user profiles and dashboards and run beautiful membership sites.
Still have some questions?

Written bу
Related articles
Created with JetFormBuilder
Dynamic Form on WordPress Without Coding

Created with JetFormBuilder
Hierarchical Select in WordPress Forms