How to Add hCaptcha to a Form
hCaptcha is an anti-bot service that protects user privacy and rewards websites. It provides image recognition challenges to distinguish bots from humans.
To start the hCaptcha configuration, proceed to the JetFormBuilder > Settings > Captcha Settings tab and unfold the hCaptcha section.
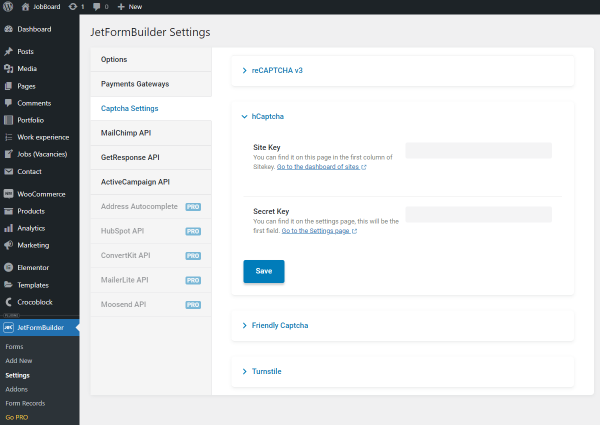
The Site Key and Secret Key can be obtained from the hCaptcha website. If you enter the keys in the corresponding fields, you will be able to apply them further to any form with one click.
Proceed to the hCaptcha website and sign in or sign up.
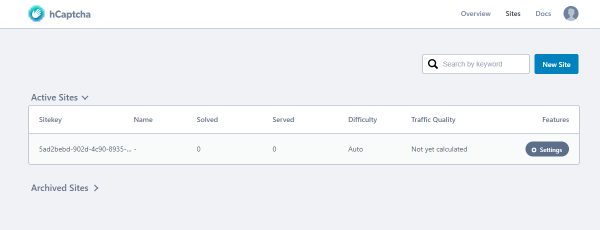
Go to the Sites tab and click on the Site Key to copy it.
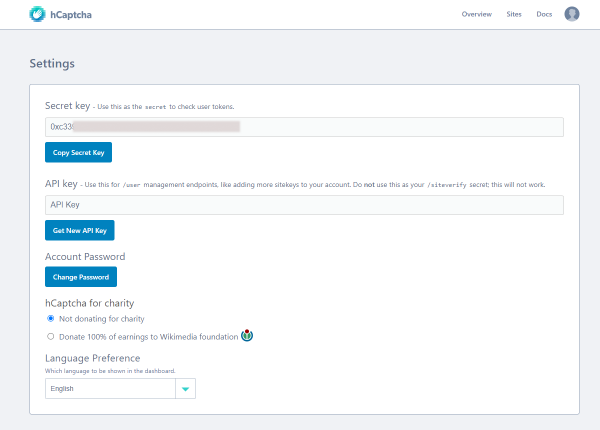
From the Settings page, you can obtain the Secret Key.
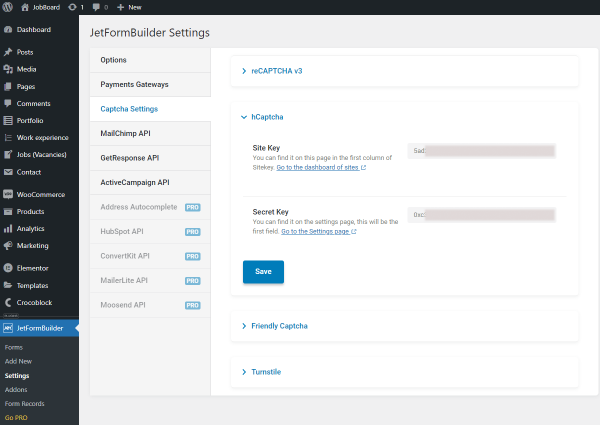
Paste keys to the corresponding fields of the hCaptcha section and push the “Save” button.
Create a new JetFormBuilder form or proceed to the created one, unfold the Captcha Settings menu section, and select the “hCaptcha” Captcha provider.

You can add the Site Key and Secret Key separately to this form or enable the Use Global Settings toggle.

By default, the captcha is added before the submit button. However, if you hit the “Add hCaptcha block” button, you’ll add the block to the form that can be moved.
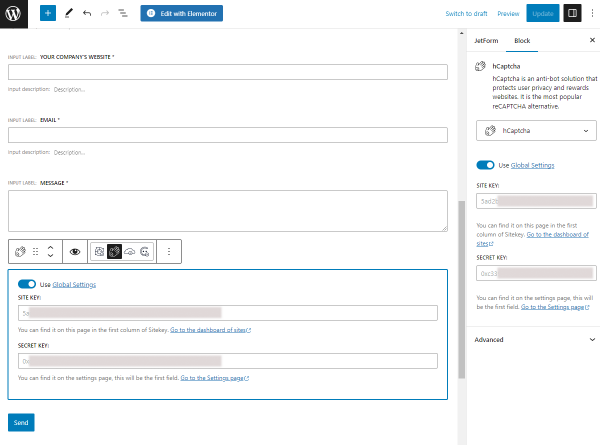
When you finish, hit the “Update” button.
Place the form on the page and open the page on the front end.
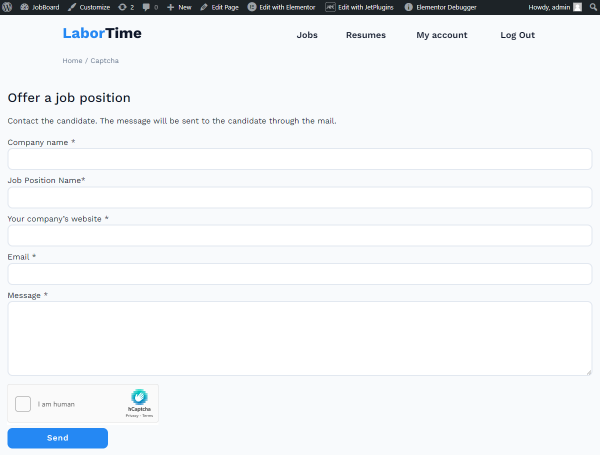
The hCaptcha verification appeared before the submit button. The verification will start when you check the I am human checkbox.
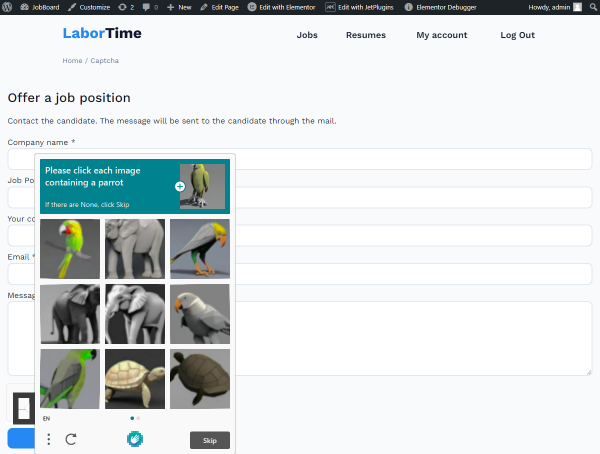
Users will have to select the appropriate pictures to prove they are not bots.
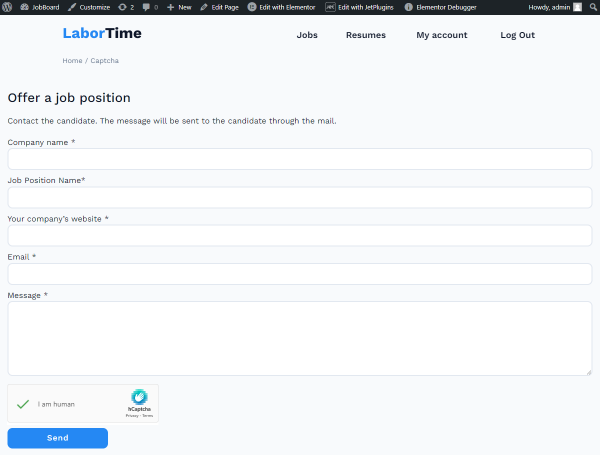
And that’s what the successful hCaptcha verification looks like.
That’s all. Now you know how to add the hCaptcha anti-bot protection to a JetFormBuilder form to protect the WordPress website from abusive activities.