Update Booking
Bookings can be updated using the JetFormBuilder form and its “Update Booking” post-submit action to change booking fields on the front end.
Preset Settings
To allow users to edit existing booking data, the form should be pre-filled with current booking values using the Preset Settings feature.
The Preset Settings tab can be found in the JetForm section of the form.
The following options should be configured:
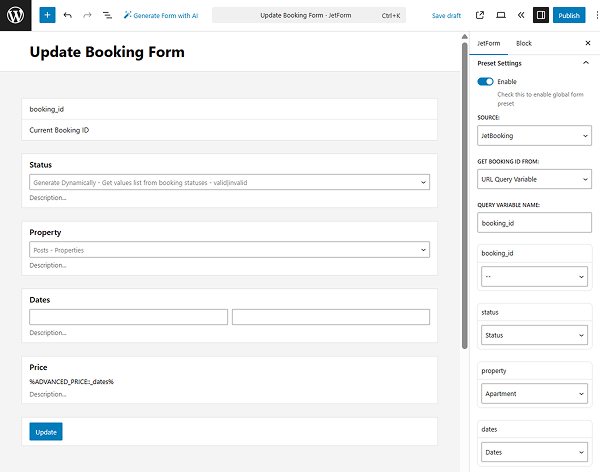
- SOURCE — set to “JetBooking”;
- GET BOOKING ID FROM — define where the booking ID should be taken from (“Current Post” or “URL Query Variable”);
- QUERY VARIABLE NAME — specify the parameter name if the booking ID is passed dynamically.
These settings define which booking record should be loaded into the form.
Additionally, each form field should be connected to the corresponding booking data using field-level preset settings.
The field used as the Booking ID in the “Update Booking” action (e.g., a Hidden Field) should also be populated via preset so that the correct booking ID is passed during form submission.
Post-Submit Action Settings
The Post Submit Actions tab can be found in the JetForm section of the form.
Once the “Update Booking” option is selected in the Post Submit Actions tab, the “pencil” button should be clicked to open the action settings.
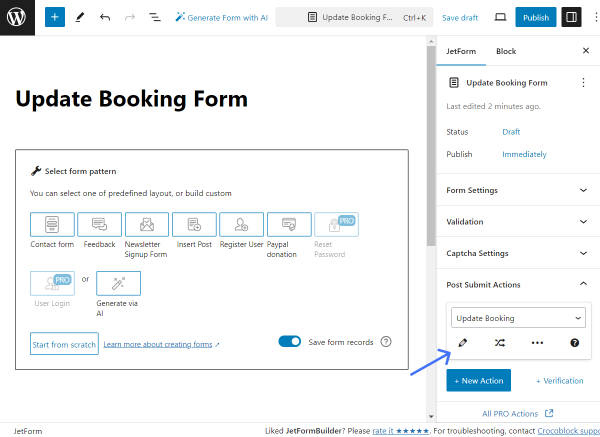
When the button is clicked, the settings pop-up is opened.
The pop-up includes the following customization fields:
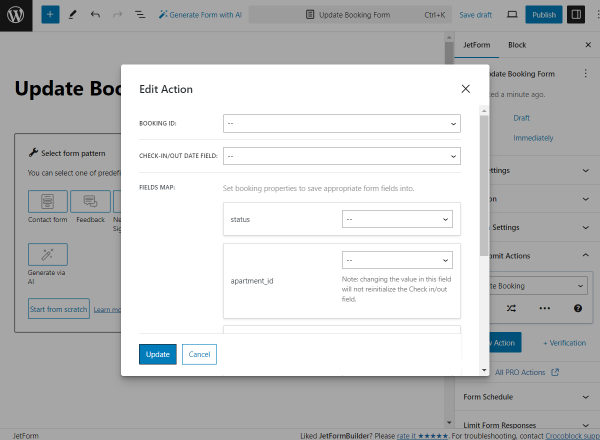
- BOOKING ID — a field obligatory for completing. It should be connected to the form field indicating the booking ID. For instance, it can be the Hidden Field with the “Current Booking ID” FIELD VALUE;
- CHECK-IN/OUT DATE FIELD — a field obligatory for completing. It should be connected to the form field indicating the check-in/check-out dates;
- FIELDS MAP — optional fields that correspond to the columns added in the JetBooking settings (Tools tab). The following fields should be assigned to the form fields added to the booking update form.
To save the action, one should click the “Update” button.
Once the form is built, the “Publish/Save” button should be pressed.
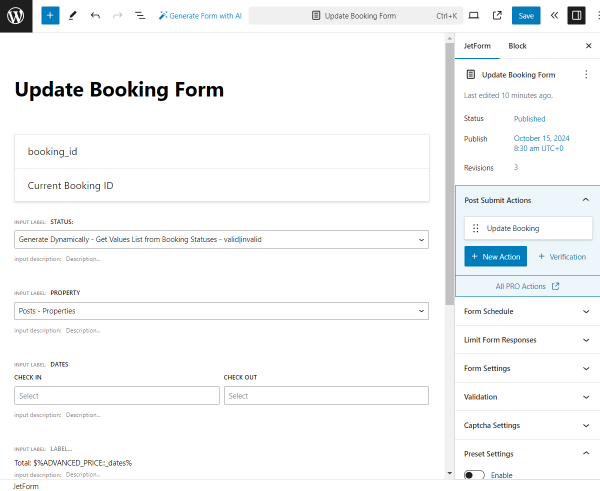
Form Submission
The form should be placed on any desired needed page/template.
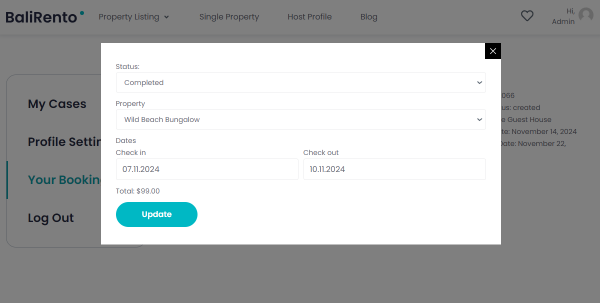
For instance, our form is placed in the pop-up (built with the JetPopUp plugin) and connected with the listing put on the account page (created with JetEngine).
In our case, the pop-up with the form can be opened by pressing the “Edit booking” button.

When the form is completed, one should submit it by pressing the corresponding button.
Booking Update Check
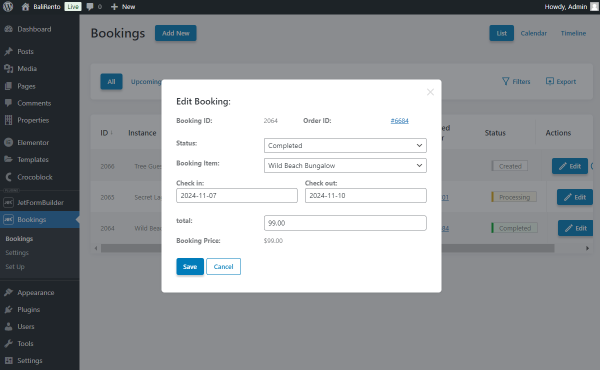
To check the update, one should open the WordPress Dashboard > Bookings directory.
Then, the booking, just edited on the front end, should be opened.
The new data should now be filled in as values in the corresponding fields.
That’s all about the “Update Booking” Post Submit Action available with the JetFormBuilder and JetBooking plugins for WordPress.