How to Use Allow Custom Feature for Checkbox and Radio Fields
Radio and Checkbox Fields are multi-optional form fields that allow users to pick one or more options. You can manually add options to these fields or use pre-made lists. Also, you can allow users to add their custom options from the front end by applying the custom feature to the needed fields of the JetFormBuilder form.
As an example, we added the Radio Field and Checkbox Field blocks with the enabled custom feature to the job application form.
Keep in mind that all the following steps are an illustration of how the feature works and you can create an entirely different form with other fields and submit actions that suit your needs.
Contents
Form Creation
Adding form fields
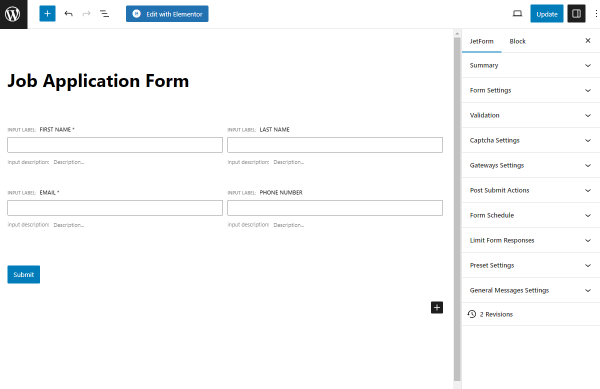
To create the form, we proceeded to the JetFormBuilder > Add New tab and got to the form editing page.
We entered the form name and added four Text Fields (for the first and last names, email, and phone number) and the Action Button as the “Submit” button.
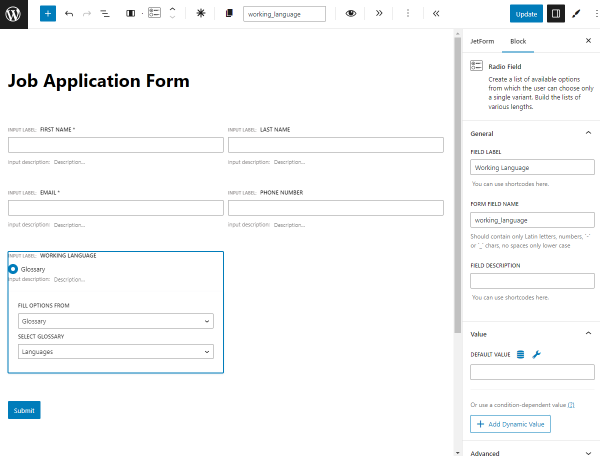
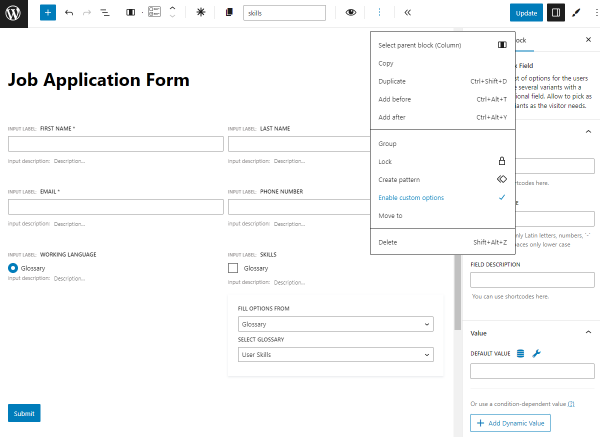
Then, we added a Radio Field, set the FIELD LABEL and FORM FIELD NAME values, selected the “Glossary” from the FILL OPTIONS FROM drop-down menu, and picked the “Language” glossary. Such settings will let users choose their working language.
Glossaries is the JetEngine feature that allows you to create a list of the options and use it for different custom meta fields and form fields. Instead of “Glossary,” you can choose the “Manual Input” option and set the desired options manually.
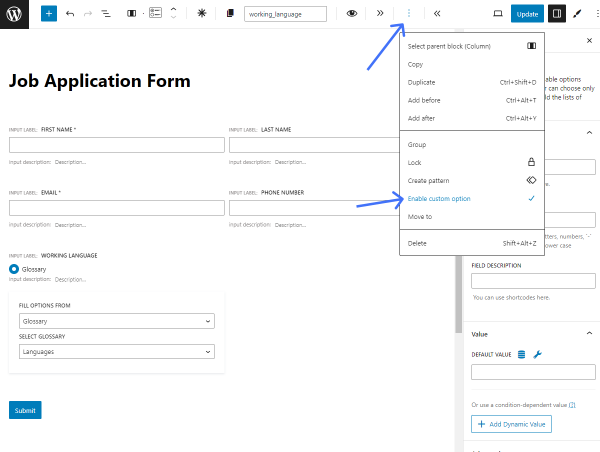
We hit the “three dots” and click the “Enable custom option.”
Next, we added the Checkbox Field, set the FIELD LABEL and FORM FIELD NAME values, selected the “Glossary” from the FILL OPTIONS FROM drop-down menu, and picked the “User Skills” glossary so that users can set their working skills. Options for this field can also be set via the “Manual Input” option.
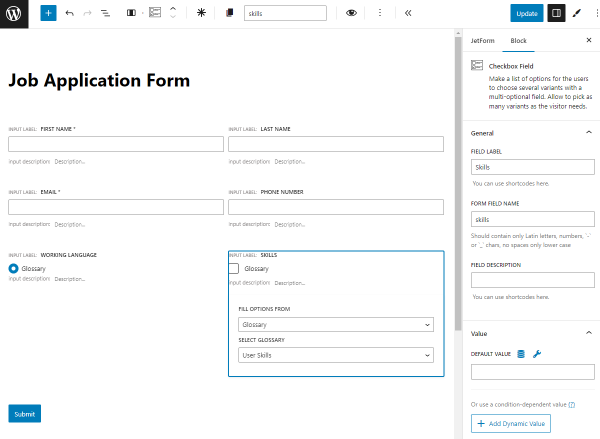
We pressed the “Enable custom option” for this field, too.
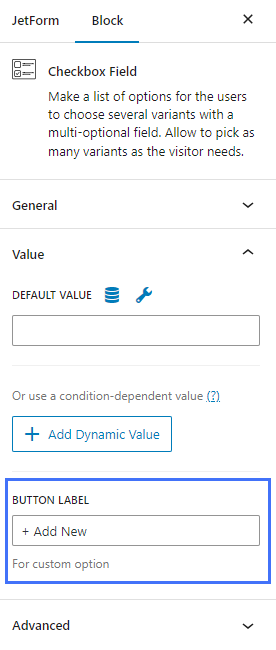
After enabling this option, the BUTTON LABEL can be set in the Value tab of the Checkbox Field.
Setting a post-submit action
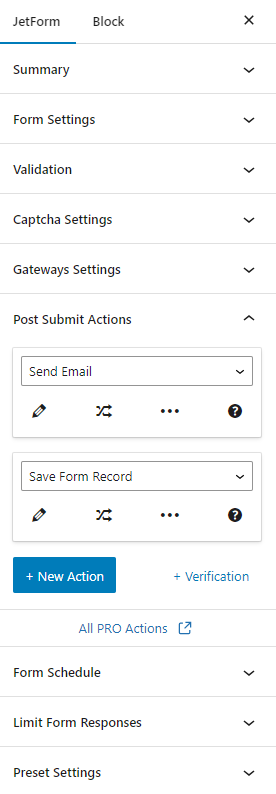
Next, we proceeded to the JetForm > Post Submit Actions tab, kept the “Send Email” action, and hit the “pencil” icon.
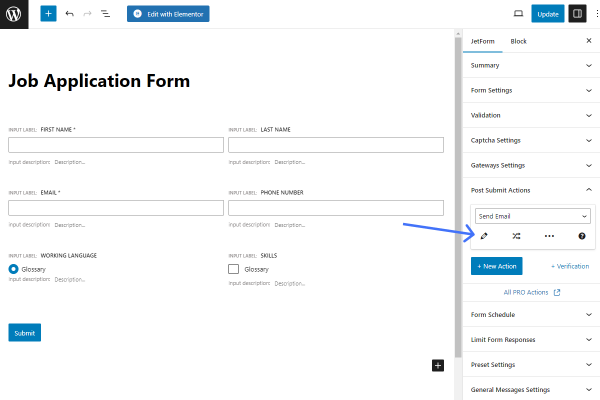
You can learn more about the “Send Email” action and its options from this tutorial.
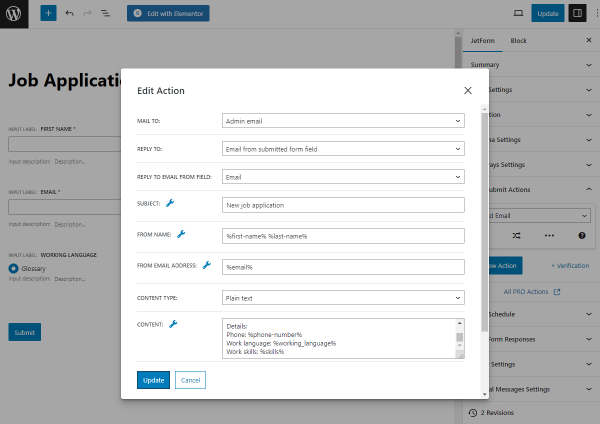
In the Edit Action pop-up, the CONTENT field specifies the body of the message that will be sent by email. Insert the text or HTML code into this text area. Also, you can put values from the fields of the submitted form by clicking the “wrench” icon and selecting macros. We set such a text with inserted macros:
Hi admin!

There is a new application from %first-name% %last-name%.

Details:
Phone: %phone-number%
Work language: %working_language%
Work skills: %skills%
We configured the needed settings and hit the “Update” button.
Also, we clicked the “+ New Action” button in the JetForm > Post Submit Actions tab and selected the “Save Form Record” option that stores the form entries in the database.
After that, we hit the “Publish/Update” button to save form settings.
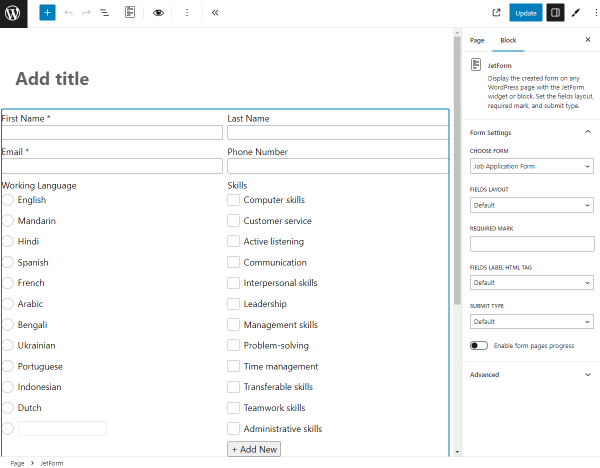
Placing the Form on the Page
Then, we navigated to the Pages > Add New Page tab, added the JetForm block to the page, selected the recently created job application form from the CHOOSE FORM drop-down menu, and pushed the “Publish” button.
Checking the Results
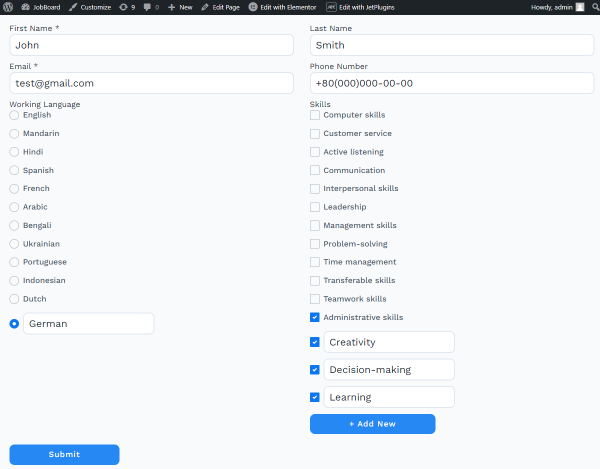
We opened the page with the form on the front end.
For the radio buttons section of the form, the input field appeared as one of the options. When we checked it, the input field was activated, and we entered the custom option (“German”).
For the checkboxes section, the “+ Add New” button appeared (the text label may be different if you changed it in the Checkbox Field settings). By clicking it, we were able to add several input fields and enter the custom options (“Creativity,” “Decision-making,” and “Learning”). If we wanted to delete the unwanted input fields, we would have unchecked their boxes.
Also, we filled in other fields to complete the form and pushed the “Submit” button.
According to the Post Submit Actions settings, we could observe the submitted form in an email and the Form Records list.
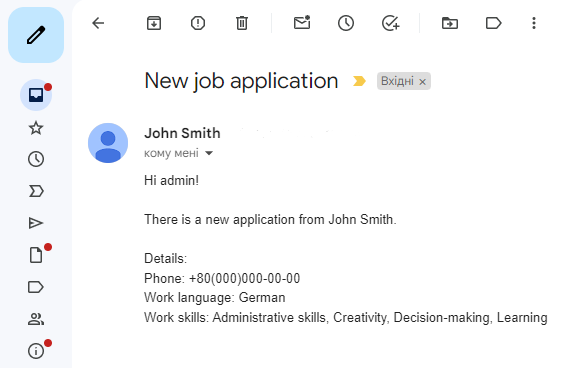
As we can see, the custom options are displayed in the email message:
Hi admin!

There is a new application from John Smith.

Details:
Phone: +80(000)000-00-00
Work language: German
Work skills: Administrative skills, Creativity, Decision-making, Learning
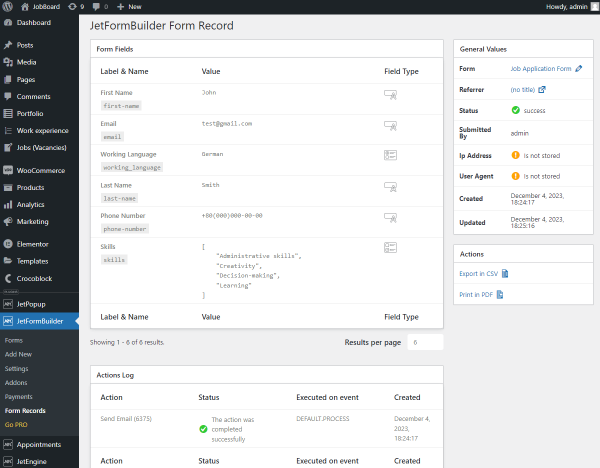
To check the form record, we went to the JetFormBuilder > Form Records tab and clicked the needed record.
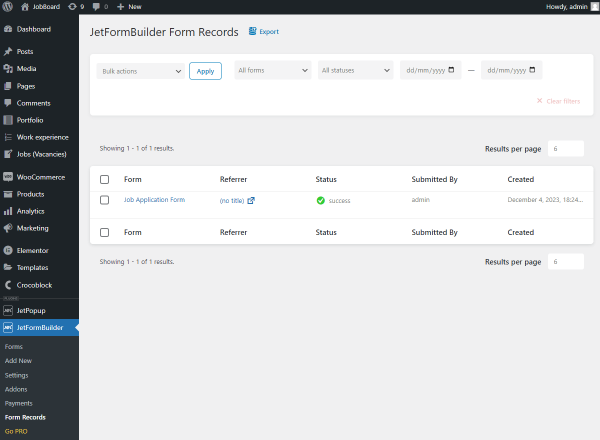
The record shows the saved values from the fields of the submitted form, including the custom options.
That’s all. Now you know how to allow users to add custom options to the Checkbox and Radio fields of the JetFormBuilder form on the front end.