How to Add the Repeater Field to the Booking Form
The Repeater Field can be an advantageous option for your form when content needs to be repeated. One can’t deny that the ability to add as many fields as you need dynamically is really handy when it comes to similar data. Let’s look at how to add new fields to book additional places on tour just with one button click.
Let’s begin by proceeding to JetFormBuilder > Add New to create a form from scratch. For example, we will build a booking form with the repeater field that lets users register as many travelers as needed.
Initially, we delete the default Hidden Field, Text Field, and Action Button to avoid getting confused.
Next, we give a title to the form and add general fields to create a canvas. Among them are Hidden, Heading, Date, Text, and Radio fields.
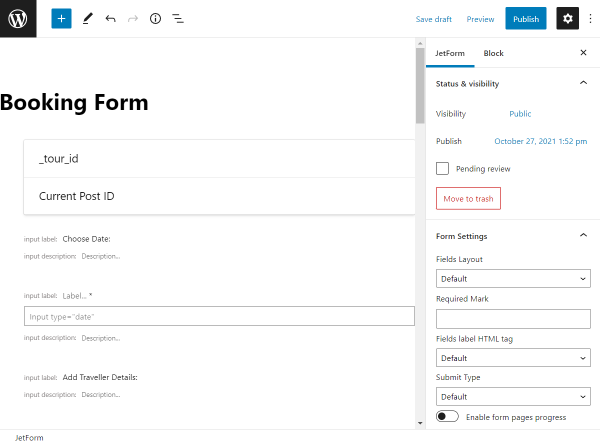
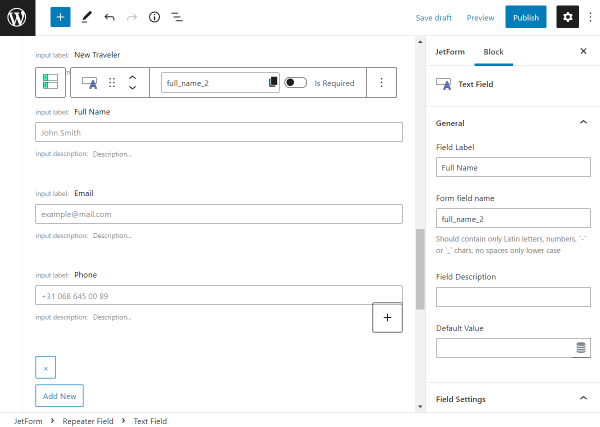
Then add the essential part of the form, the Repeater Field. Adjust the settings according to your demands.
Hit the plus-shaped button to add the first block to the Repeater.
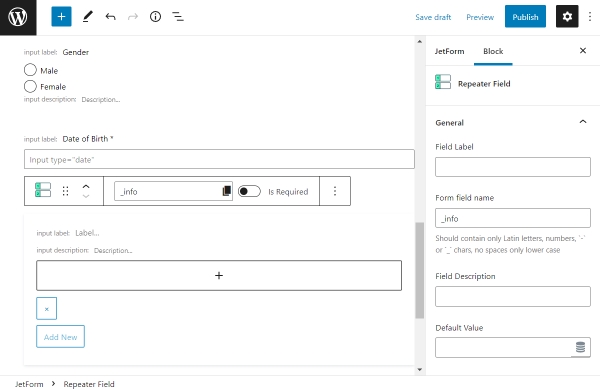
We begin with the Heading Field to name the proceeding section.
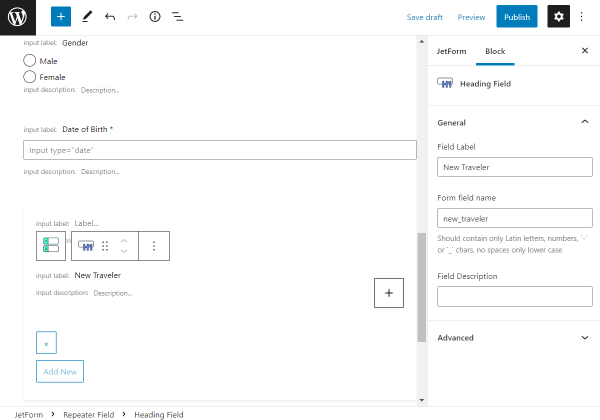
Then we add a couple of Text Fields specifying the information about the traveler.
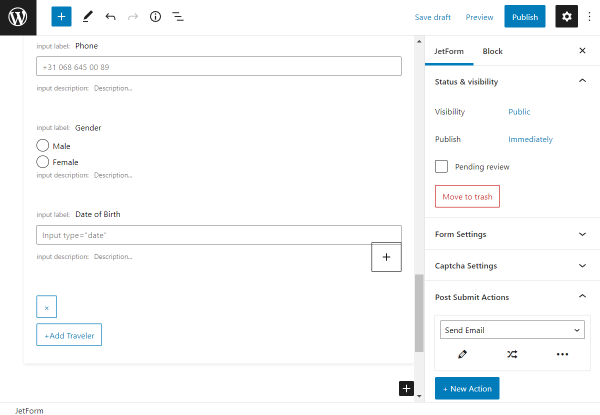
And the final fields we create in the Repeater are the Radio Field and one more Text Field.
Besides, don’t forget to change the button’s label located under the fields placed in the Repeater.
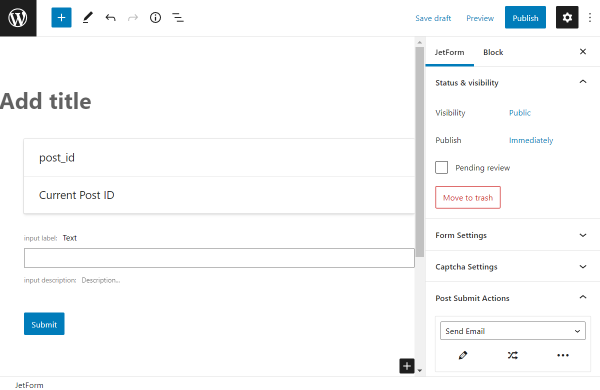
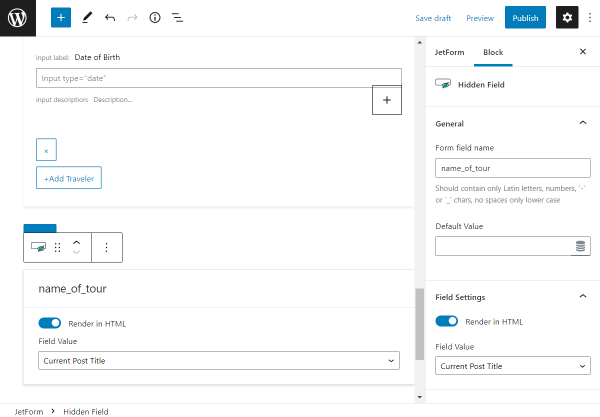
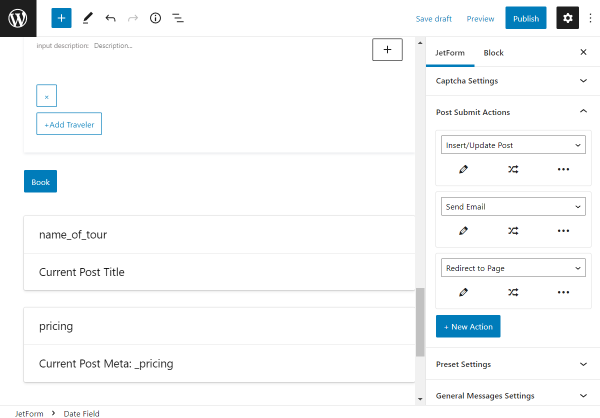
Once done, we’ll add an Action Button and two more Hidden Fields to complete the form. One represents the current post title.
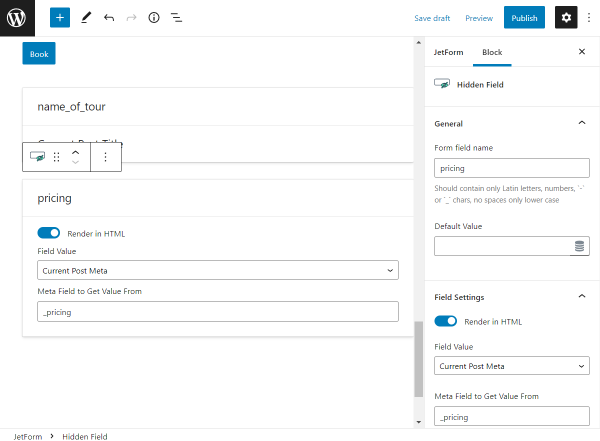
And the other one’s Field Type is selected as “Current Post Meta.” Here the Meta Field to Get Value From is also specified.
Though don’t forget to adjust the JetForm settings. Especially, pay attention to the Post Submit Actions. Set the needed amount of actions taken once the form is submitted.
For instance, we add three post-submit actions, Insert/Update Post, Send Email, and Redirect to Page.
Finishing with all the settings, mind pressing the “Publish” button to make the form live.
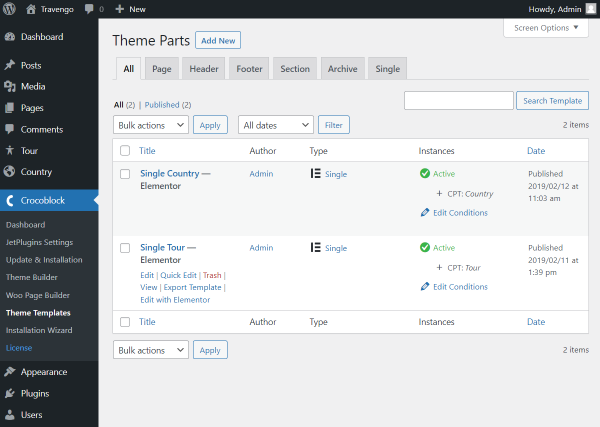
Head to the page on which you want to place the form. For instance, we will add the form to a single page. To do so, we open WordPress Dashboard > Crocoblock > Theme Templates and hit the “Edit” button that appears next to the needed template once we hover on it.
Mind that you can use both Gutenberg and Elementor for editing.
Moreover, you can add a new template by pressing the samely-named button.
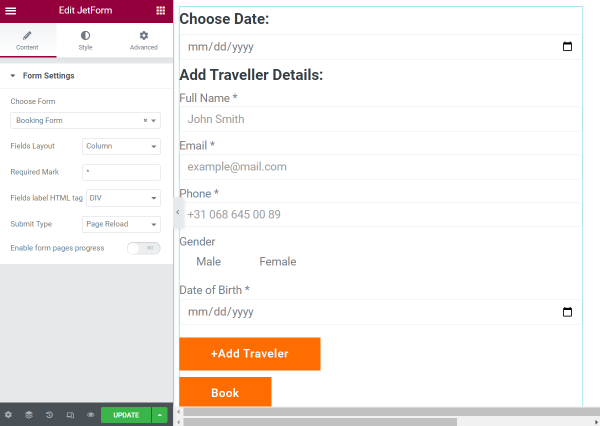
Find the JetForm block/widget, place it on the page, and work on the settings.
Press the “Update” button once the changes have been applied.
Or, look at the template made with Block Editor. The settings here are pretty much the same.

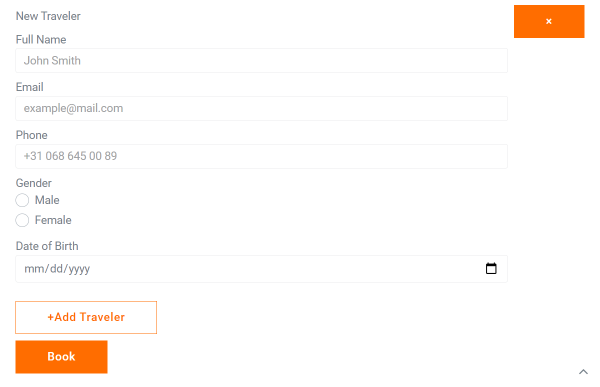
Check the form on the front end. You can also observe the fields we have added to the Repeater.
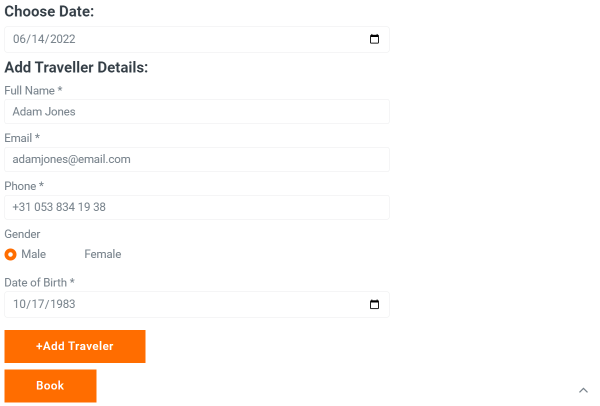
And after them, there is a button that duplicates the fields once the button has been pressed.
That’s it; the fields can be repeated as many times as needed. Now you know in which cases and, most importantly, how to add the Repeater Field to the JetFormBuilder form.