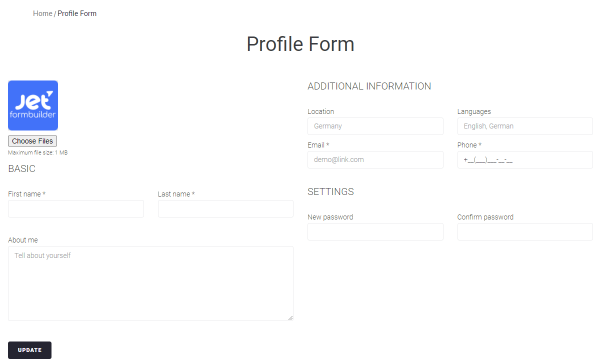
Profile Form
Create a custom WordPress profile form to grant users the ability to update their profile details.
Contents:
- Why You Need a WordPress Profile Form
- Top WordPress Profile Form Features
- WordPress Form Pattern Structure
- How to Create a Custom WordPress Profile Form
- WordPress Profile Form Pro Features
Why You Need a WordPress Profile Form
Profile forms allow users to provide their details after registration. Such forms usually ask people to share more than just first and last names; location, occupation, family status, and other questions can be there. Filled forms are a quick way to reach out to website users.
Profile Pattern is a WordPress form pattern having three different question groups: Basic, Additional, and Settings. Use it to hatch a ready-made WordPress profile form. To collect as much client info as needed, add extra field blocks to it.
Top WordPress Profile Form Features
- Let the user upload/update the profile picture;
- Set input mask to get the proper phone number format;
- Decide which fields you want to make Required;
- Add steps or group fields if the profile implies extended user details input;
- Apply custom style settings to WordPress profile form fields;
- Add a profile form to the single user page using the shortcode or widget/block;
- Inform users about successful profile updates via email and notification on the website;
- Update user profile info on the site right after the form submission.
WordPress Form Pattern Structure
Choose File button. A Media field for uploading the user profile picture.
1 – Basic
- First name. A required Text field for filling in the user’s first name;
- Last name. A required Text field for filling in the user’s last name;
- About me. A Textarea field where users can provide additional information.
2 – Additional information
- Location. A Text field for filling in the country;
- Languages. A Text field for filling in the languages the user can speak;
- Email. A required Text field for filling in the user email;
- Phone. A required Text field for filling in the phone number.
3 – Settings
- Password. A Text field for entering the password for the first time;
- Confirm Password. A Text field for entering the same password for confirmation;
- Update. A Submit field to submit a WordPress profile form.
How to Create a WordPress Profile Form
Once you build a WordPress website that allows users to register, you need to give them the possibility to enter their personal information and update it when desired. In this case, you may want to create a WordPress Profile Form. Feel free to use the Profile Form Pattern from the JetFormBuilder plugin, including all necessary fields.
Add a new form
Initially, navigate to JetFormBuilder > Add New. The first stage is to give a title to the form.
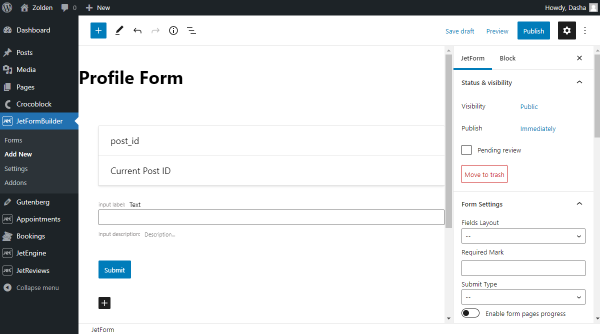
Three fields are set beforehand. These are Hidden, Text, and Submit Fields. Delete them as we will use the Pattern with all the required fields for a profile update.
Attach a Profile form pattern
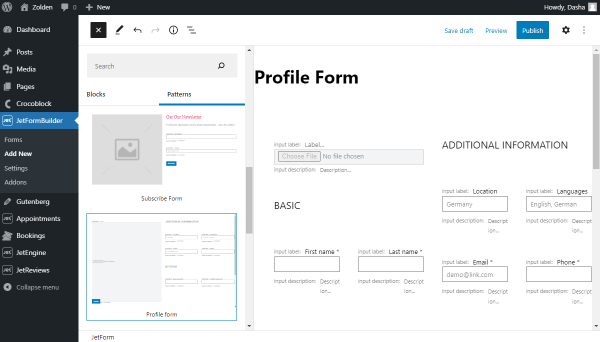
The main advantage of the Pattern is already embedded fields that will speed up the process of form creation. Now we pick a Profile Form Pattern that will serve as a layout for the form.
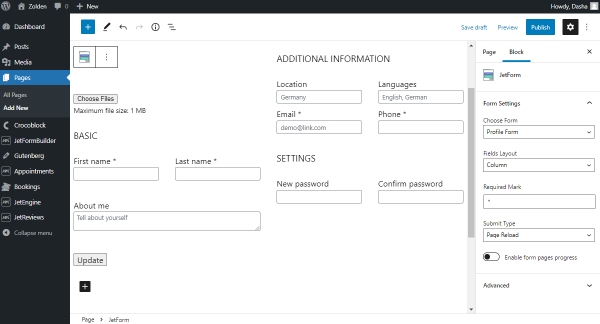
Push the “Plus” icon to add a Pattern. From the drop-down menu, pick a “JetForms” option. There you can find a Profile Form Pattern; click on it to apply it to the form.
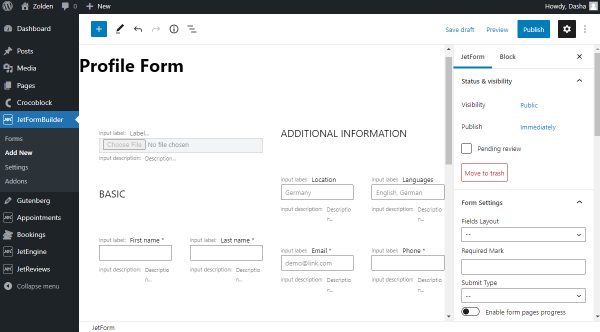
The pattern embraces the following fields:
- Paragraphs that conditionally divide the form into sections;
- Media Field lets users upload their profile photos;
- Text Fields are responsible for the input of requested information;
- Textarea Field is set for more extensive data input;
- Submit Field serves as a confirmation button for the form.
If desired, there is an opportunity to edit or delete these fields and add new blocks to the WordPress Profile Form.
Adjust JetForm settings
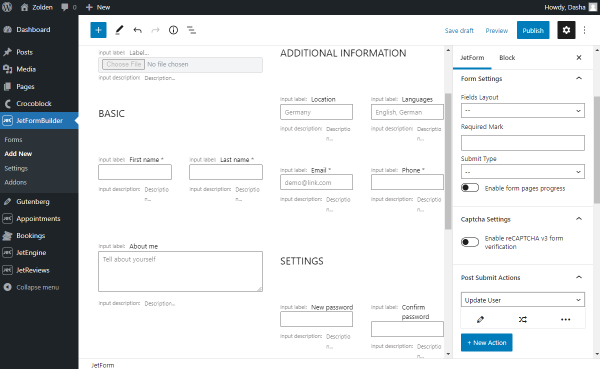
Change default settings of the form to set its suitable layout.
- Fields Layout is in charge of the interrelationships between the field label and the field bar. “Column” option places label above the bar, and “Row” displays them in one line;
- Required Mark is responsible for changing a default asterisk into another symbol;
- Submit Type affords to choose between Page Reload and AJAX that will not reload the page;
- “Enable form pages progress” toggle works for forms that are divided into parts by the Form Break Field. It appends a step indicator to the top of the form.
The next are Captcha Settings. Watch our video overview on this topic to modify them properly.
Proceeding to the Post Submit Actions, pay attention that this is a significant point if you want to get a correctly working and functional form.
Post submit action customization
You can use several Post Submit Actions for the WordPress Profile Form. Though, let’s add one, the most meaningful action that will work in this matter, Update User.
To begin with, check if you have the JetEngine plugin installed, as we will need to put meta fields while editing the action.
Go to WordPress Dashboard > JetEngine > Meta Boxes and add a new Meta Box. We need it for creating meta fields that will be input during the Update User Post Submit Action editing.
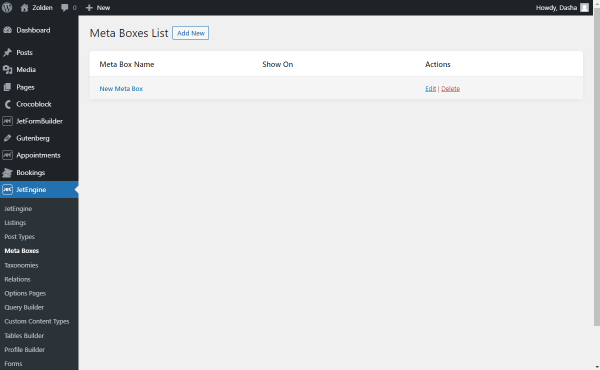
Fill out the required General Settings fields. Note that you should choose “User” as the source in the Meta Box for drop-down menu. Scroll down to the Meta Fields.
We need to create meta fields for all the bars that will include information about the user. It means a Media, Textarea, and eight Text meta fields.
Mind that if you have added some other fields, you need to apply meta fields for them as well.
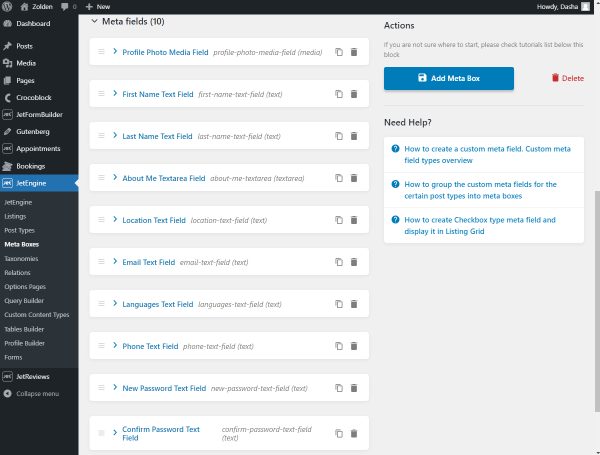
Push the “Add Meta Box” button and go back to the form editor.
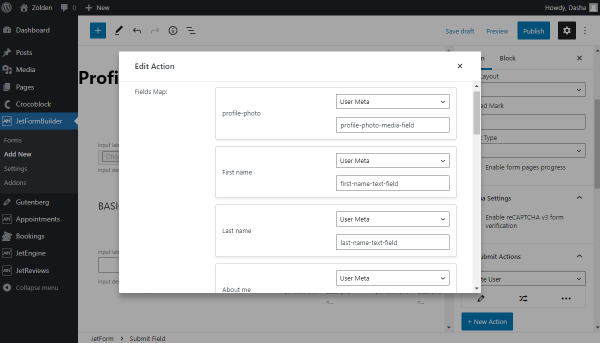
Open the Post Submit Acton Editor, fill in the Fields Map with “User Meta,” and type in meta field names that you have entered to each field while adding the meta box.
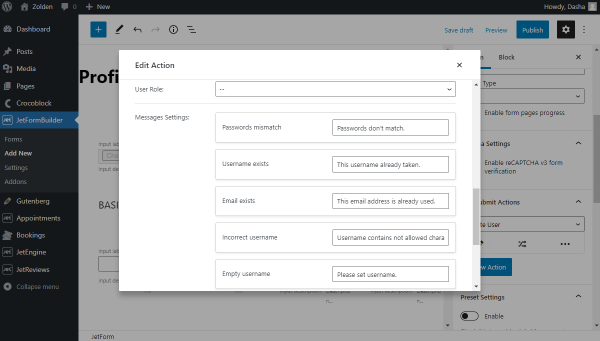
Define a User Role for the updated user and set messages displayed to the users in specific cases.
Update the action and continue customizing Preset and General Messages Settings.
Publish the form once you finish all the revisions.
Place a form on the page
Head to the page where you want to place the WordPress Profile Form. This page can be edited with both Gutenberg and Elementor.
Locate the JetForm block on the page and proceed to the settings. Choose a form that you have added from the drop-down menu.
Pick Fields Layout, Required Mark, and Submit Type if you haven’t done it yet. Turn attention to the fact that the settings you have customized earlier in the form editor are the higher-priority ones, which means they will override the JetForm block settings in the page editor.
Check Advanced settings to apply a CSS class to the form. Click on the “Publish” button to make the page functioning.
The WordPress Profile Form is ready for any user data updates.