How to Add Turnstile Captcha to Form
Turnstile Captcha lets you make user verification via WordPress form possible and, moreover, easy. In addition, the whole customization process takes minimum effort with the JetFormBuilder plugin.
Create Turnstile Keys
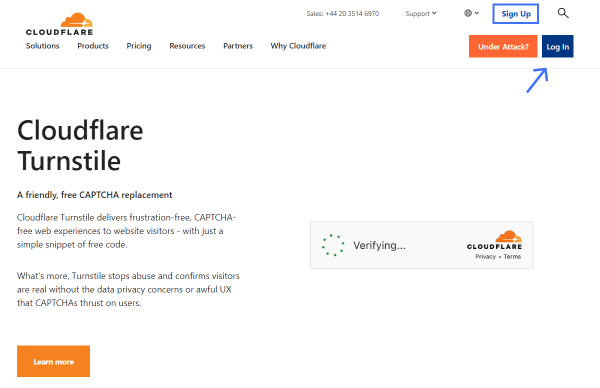
Initially, open the Cloudflare Turnstile website and press the “Sign Up/Log In” button to log into your account.
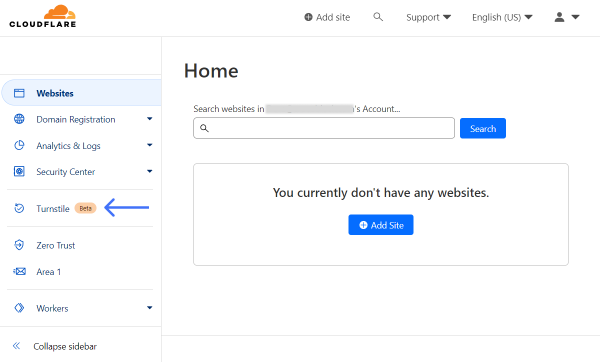
Now that the dashboard is open, find and press the Turnstile option in the sidebar.
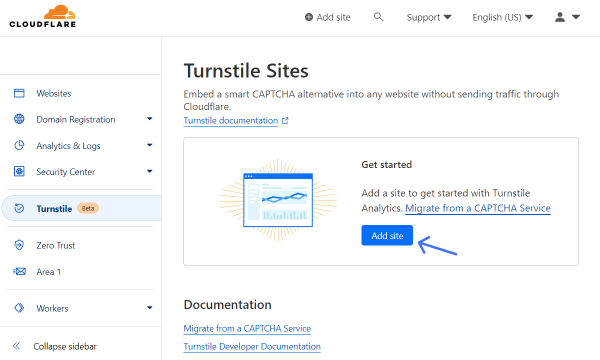
In the Get started section, click the “Add site” button to open a CAPTCHA editor.
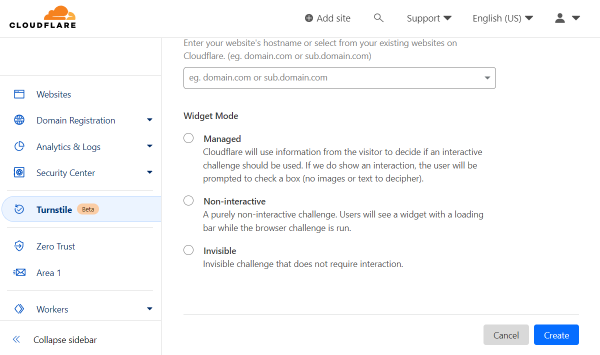
Complete the Site name field to identify the website where you will be using CAPTCHA.
Then, specify a Domain so the CAPTCHA will be connected to the particular domain. Here, you can specify several options if needed.
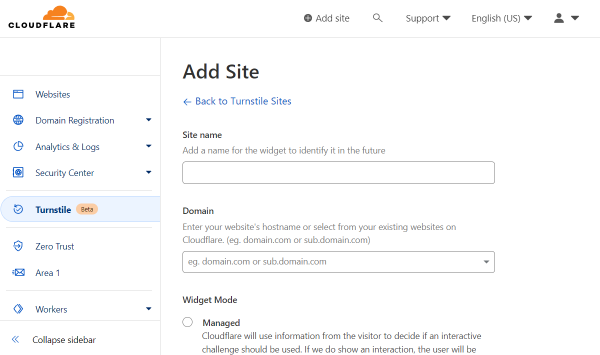
In the following Widget Mode radio field, you can pick the level of CAPTCHA interaction.
Pick “Managed” to let Cloudflare decide if an interactive challenge should be used or not in a particular case, “Non-interactive” to make the widget run itself, or “Invisible” to make verification invisible for the user.
In the described case, we pick the “Managed” option.
Push the “Create” button to finish the setup.
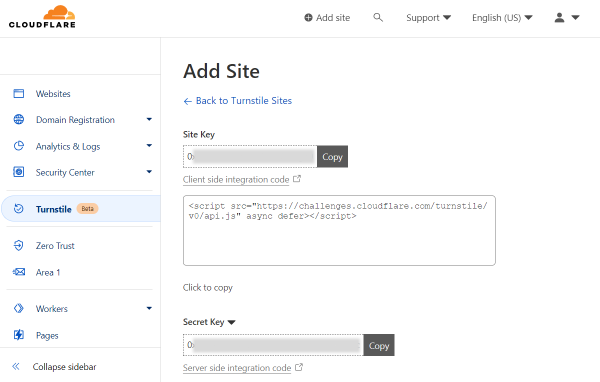
Straightaway, you will see generated Site Key and Secret Key. There are also “Copy” buttons next to these fields for user convenience.
Adjust Global Settings
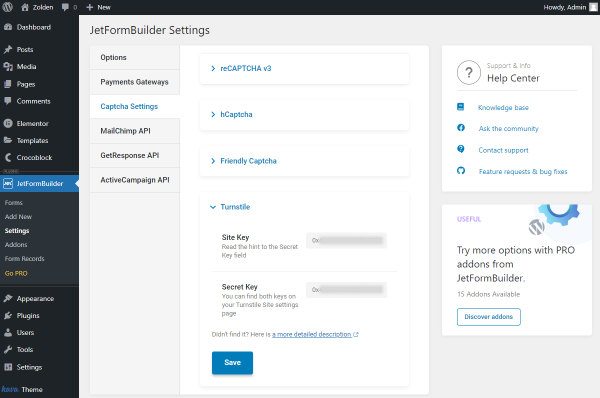
Head to WordPress Dashboard > JetFormBuilder > Settings and open the Captcha Settings tab.
Unfold the Turnstile section to access its settings. They are called global because the changes applied here can be later pulled globally for all the needed JetFormBuilder forms.
As for the fields themselves, the Site Key and Secret Key are available for completion. Here, paste the keys generated beforehand.
Once keys are pasted into the corresponding fields, make sure to press the “Save” button.
Create/Edit Form
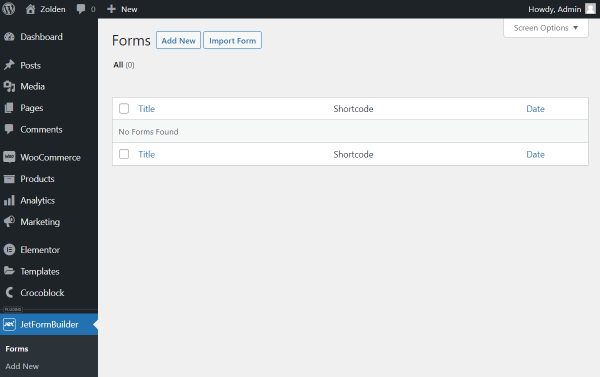
Proceed to WordPress Dashboard > JetFormBuilder > Forms. Here, you can select the already built form for editing or create a new form by pushing the “Add New” button.
You can build a form according to your needs with the various fields available with JetFormBuilder.
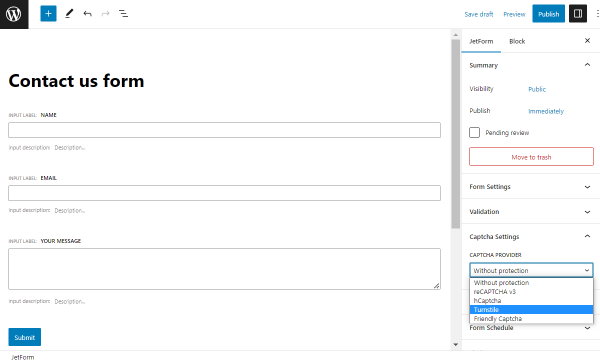
Then, open the JetForm settings tab and scroll down to Captcha Settings.
In the Captcha Provider selector, pick the “Turnstile” option to open further settings.
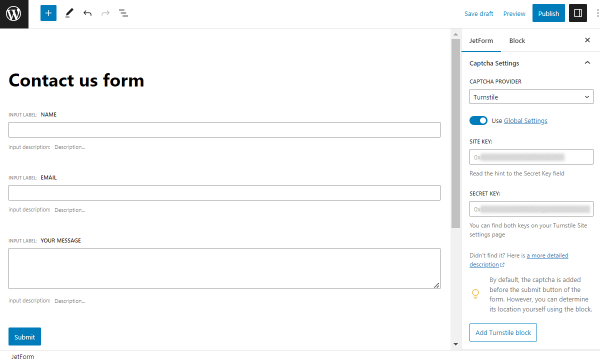
Here, you can activate the Use Global Settings toggle to use the keys we have entered before. Or, paste the Site Key and Secret Key manually right for this exact form.
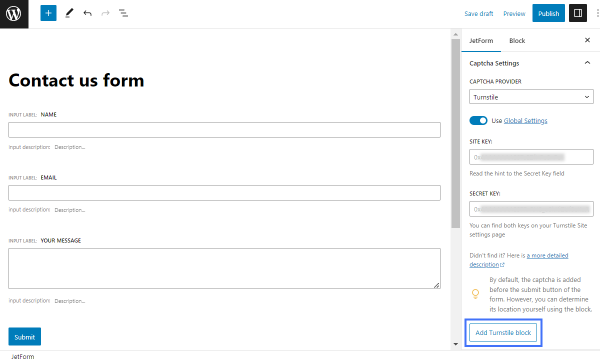
By default, the Turnstile Captcha is located before the “Submit” button of the form. However, if you want to change its position in the form, press the “Add Turnstile block” button.
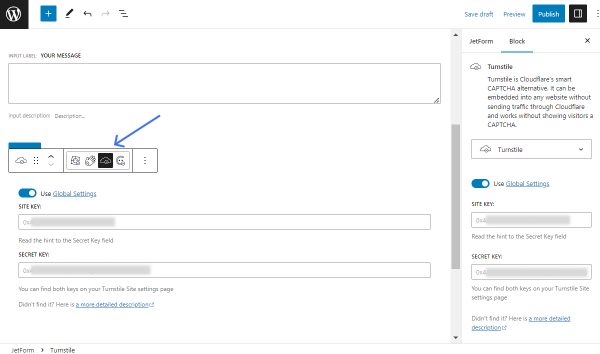
With this button, a Turnstile block is added after the “Submit” button, but you can drag it to place in any needed place of the built form.
For instance, you can put the Turnstile block next to the “Submit” button if desired.
Press the “Publish/Update” button to save the form.
Place Form on the Page
Now it’s time to decide where to place the form itself. For instance, it can be a default page built with Gutenberg or Elementor, JetPopup item, or JetThemeCore template.
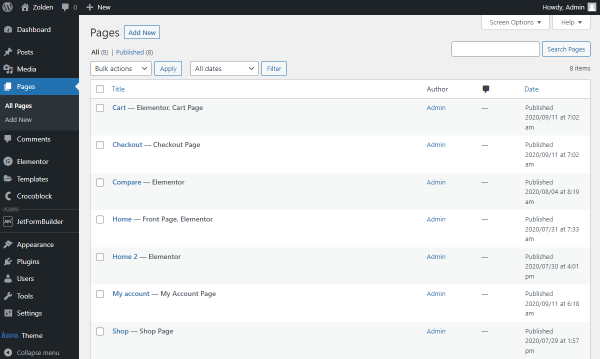
For example, we will place the form on the usual Elementor page. To do so, we navigate to WordPress Dashboard > Pages and press the “Add New” button. Here, we select Elementor as a primary editor and move on to customizing.
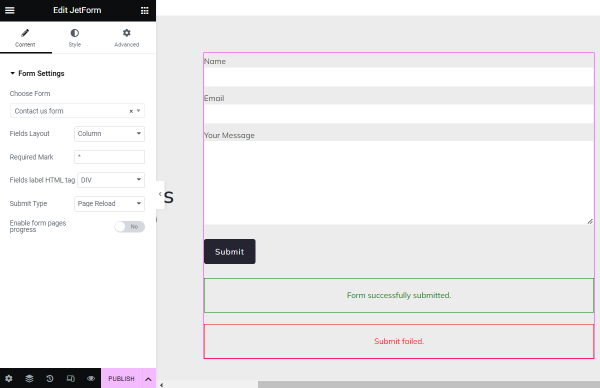
Add the JetForm widget/block onto the page. Pick the newly created item in the Choose Form field.
You can adjust further settings if needed. Press the “Publish/Update” button.
Check the Result
Open the published content on the front end to check if the form works.
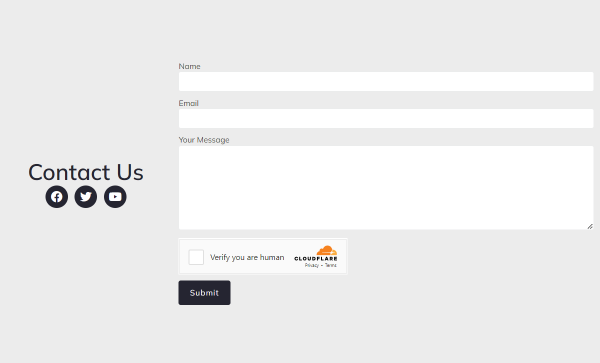
Complete the fields and a captcha. Let’s check what will happen if you fail:

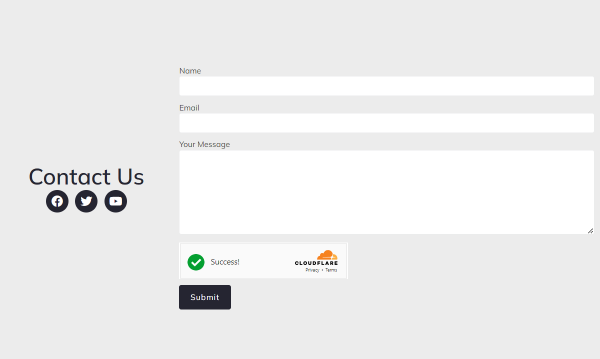
And the result for a captcha success will look like this:
Now you know how to add the Turnstile Captcha to the WordPress form built with the JetFormBuilder plugin.