
Change Render State
The Change Render State block is a form button that lets users toggle between different states of the same form. For example, the first render state can represent a form for registration, while the second render state can represent a login form. The user will be able to switch between these two states by toggling the “Change Render State” button.
Field Settings
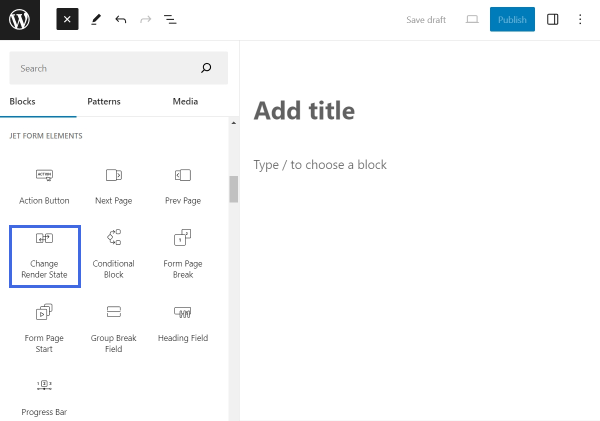
To add the Change Render State block to a JetFormBuilder form, one needs to follow the WordPress Dashboard > JetFormBuilder path and press “Edit” under one of the existing forms or create a new form by pressing the “Add New” button in the top left corner.
One should find the Change Render State block and drop it in the needed place.
The current Change Render State button can be switched to one of the following transformation options:
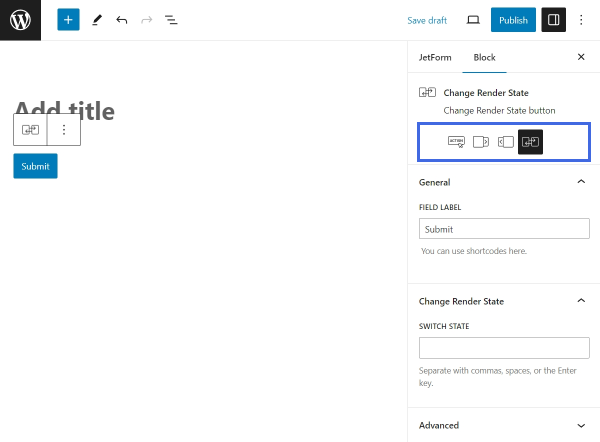
- Action Button — a button to submit the form;
- Next Page — a button that leads the user to the next page in a multi-step form;
- Prev Page — a button that leads to the previous page in a multi-step form;
- Change Render State — the current state button.
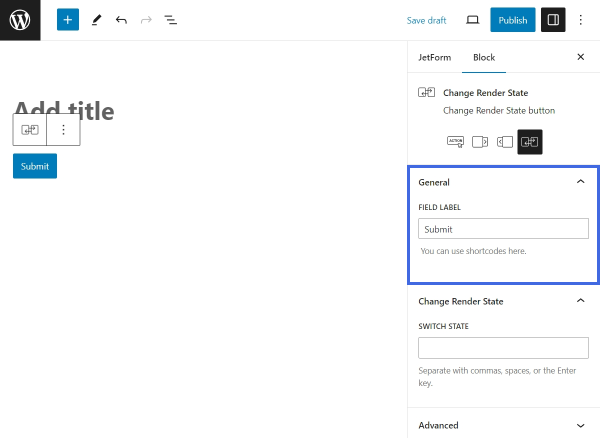
General settings
This tab contains a single field called FIELD LABEL for inserting the text to be displayed on the button.
Change Render State settings
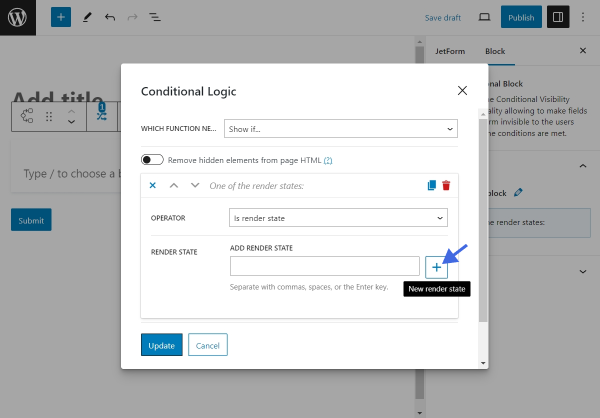
The SWITCH STATE drop-down menu in this tab provides options for changing the button’s state. The default option is “DEFAULT.STATE.”
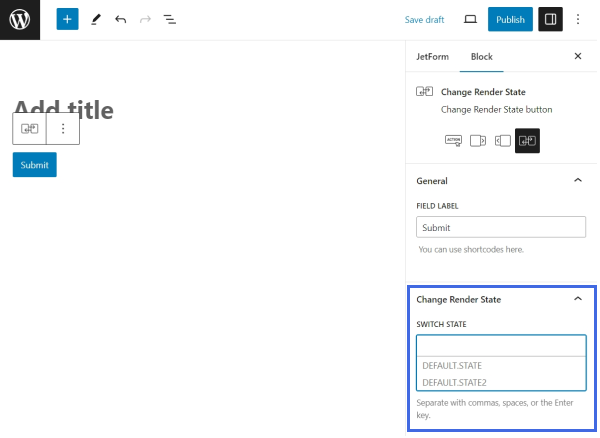
Additional states can be manually added within the settings of the Conditional Block. When choosing the “Is render state” condition in the Conditional Block field, the plus-shaped button should be pressed to add a new custom state.
Advanced settings
The Advanced tab consists of the following fields:
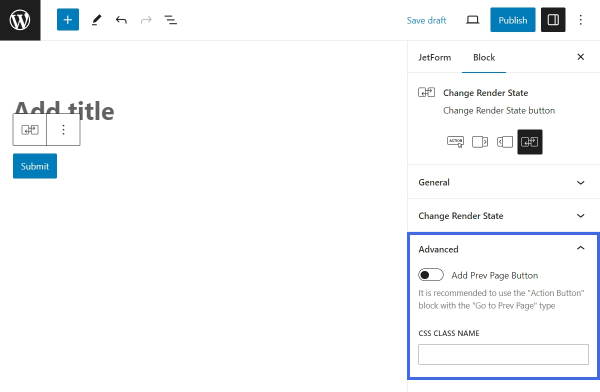
- Add Prev Page Button — adds the functionality of the Prev Page button, which leads the user to the previous step in a multi-step form;
- CSS CLASS NAME — a custom class can be inserted in this field to style the block further with additional CSS code.
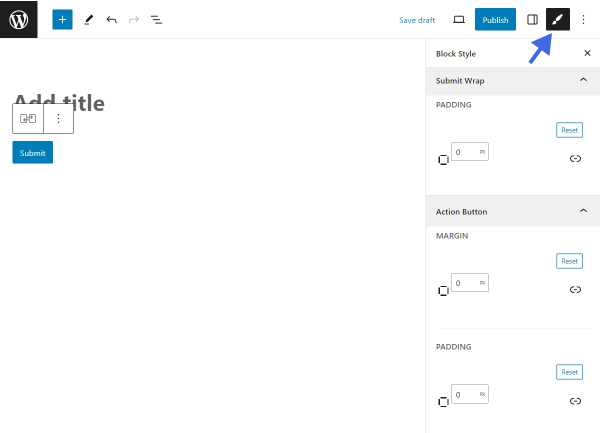
Style Settings
The Change Render State block can be styled with the help of the JetStyleManager plugin. Once the plugin is installed and activated, the brush-shaped icon appears in the top right corner. After clicking the icon, one will see a new section of style settings.
Two of the styling tabs are the Submit Wrap and Action Button. Inside these tabs, one can customize the block’s Alignment, Border, Color, Margin, Padding, Typography, and more.
That’s all about the Change Render State field available with the JetFormBuilder plugin for WordPress websites.