How to Change User Role After Successful Subscription Payment
Tutorial requirements:
- JetFormBuilder plugin at least 2.1.0 version installed and activated;
- JetFormBuilder PayPal Recurring Payments addon at least 1.1.0 version installed and activated;
- Elementor or WordPress block editor;
- Created form for the Recurring PayPal payments;
- JetEngine plugin installed and activated;
- JetPopup plugin installed and activated (optional, compatible with Elementor only).
After the successful subscription payment in PayPal with the JetFormBuilder form, a user gets the content during the paid period. However, when the subscription expires, the user still will have access to the content. The easiest way to avoid it is to apply Dynamic Visibility rules to the content according to the user role condition and fine-tune the logic with the action events.
Step 1. Set the form
Proceed to the JetFormBuilder > Forms tab on the WordPress Dashboard and click to edit the form that you have customized for the recurring PayPal payments.
Add the Hidden Field to the form and select the “Current User ID” option as the Field Value.

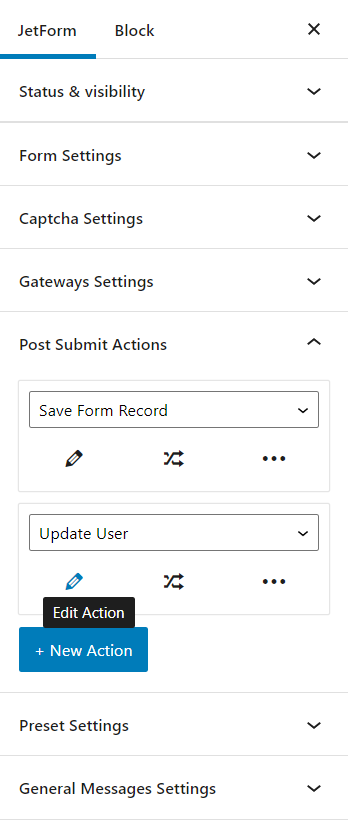
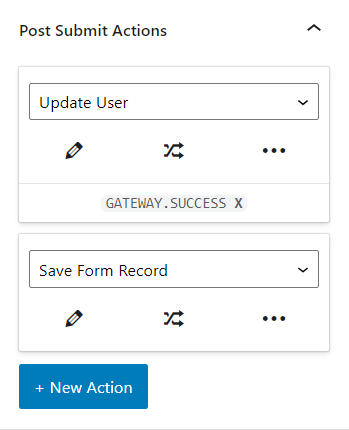
Head to the Post Submit Actions tab in the JetForm section and push the “+ New Action” button. Select the “Update User” option in the drop-down menu, and hit the pencil-shaped button.
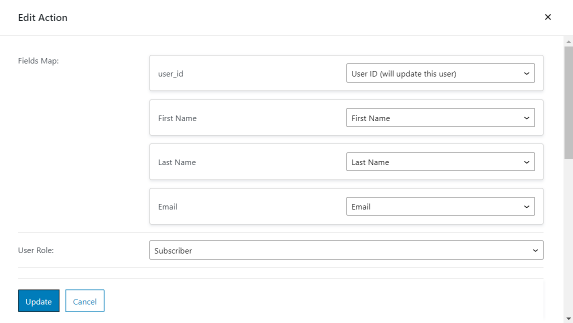
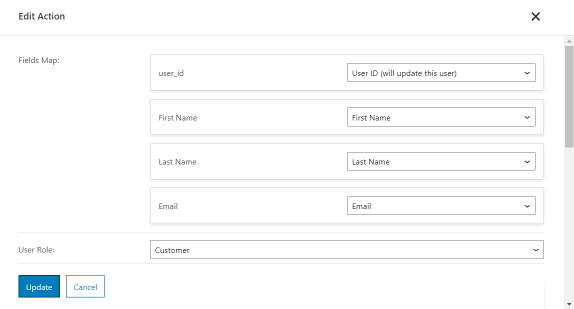
For the Hidden Field with the “Current User ID” value (named as the user_id in our case), select the “User ID (will update this user)” option in the Fields Map. Set other fields so that they’re assigned to the appropriate user fields.
In the User Role, we select the “Subscriber” option so that all users with the Customer role who submit the form and buy the subscription also upgrade their role to Subscriber.
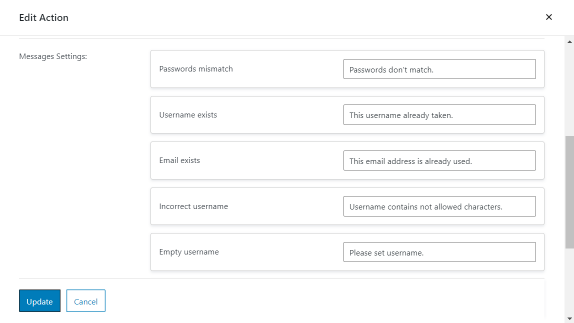
You can also pay attention to the Messages Settings and change the text that appears when users submit the form.
After you finish customizing the action, don’t forget to press the “Update” button.
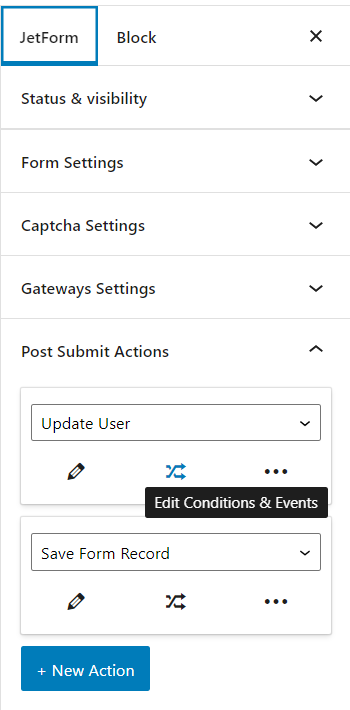
Push the “Edit Conditions & Events” button under the “Update User” action.
Move to the Events match tab and select the GATEWAY.SUCCESS event. With this event, the action will be executed only after a user passes the checkout page on the side of the payment system. So the user will change the status to the subscriber after the successful payment.
More about other events, you can learn in the Action Event Settings.
Press the “Update” button. The event in the submit action will look like that:
To change the user role back to customer when the subscription expired, add another the “Update User” action. The Field Map settings are the same as in the previous action, but set the “Customer” User Role and hit the “Update” button.
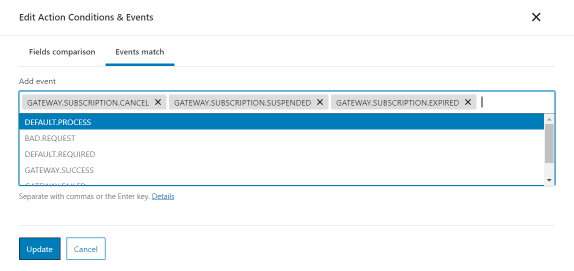
Push the “Edit Conditions & Events” button under the newly created “Update User” action, move to the Events match tab and select the GATEWAY.SUBSCRIPTION.CANCEL, GATEWAY.SUBSCRIPTION.EXPIRED, and GATEWAY.SUBSCRIPTION.SUSPENDED events. Press the “Update” button.
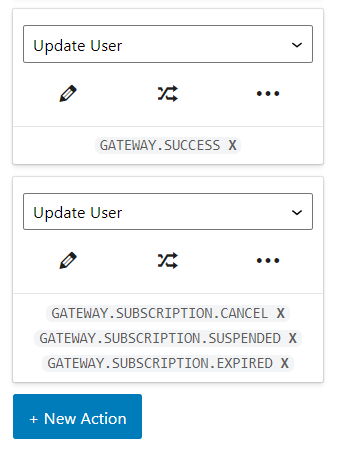
At the end, two “Update User” submit actions will look like that:
Finally, click the “Update” button to update the form settings.
Step 2. Set the page with content
How to set the page with the Elementor editor
Set a pop-up (optional)
You can place the form right on the page or can set a pop-up with it. If you have the JetPopup plugin installed and activated, proceed to the JetPopup > Create New Popup tab, enter the title, and hit the “Publish,” and then “Edit with Elementor” buttons.
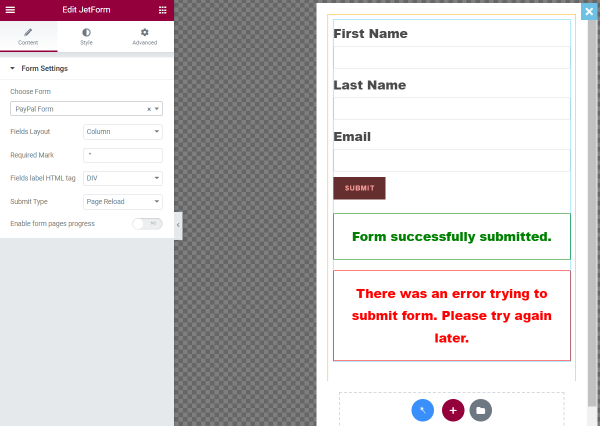
Drag-n-drop the JetForm widget to the pop-up and select the recently updated form. When you finish, press the “Update” button.
Set Dynamic Visibility
Proceed to the page with the content that you want to show only to subscribers.
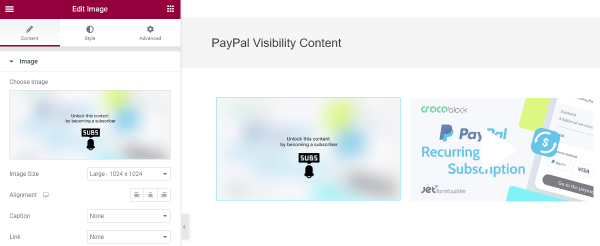
Place a new section with two columns in the editor. In the first column, add some Image or Button widget that will show the message that the content is locked and users have to subscribe to see it. In the second column, place the content (e.g., video, image) that will be shown to subscribers.
You can also place widgets above each other and align them in the center.
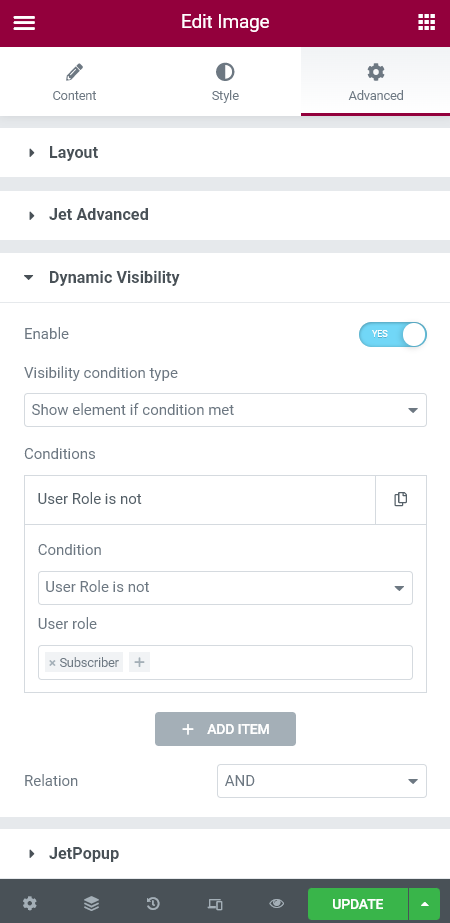
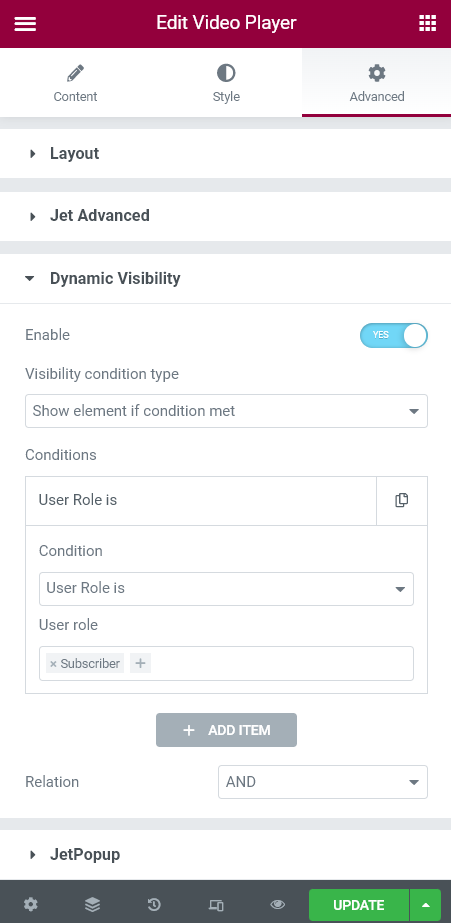
Click on the first column and navigate to the Advanced section. Go to the Dynamic Visibility tab, open it and enable the toggle.
Select the “Show element if condition met” Visibility condition type, “User Role is not” Condition and “Subscriber” User role.
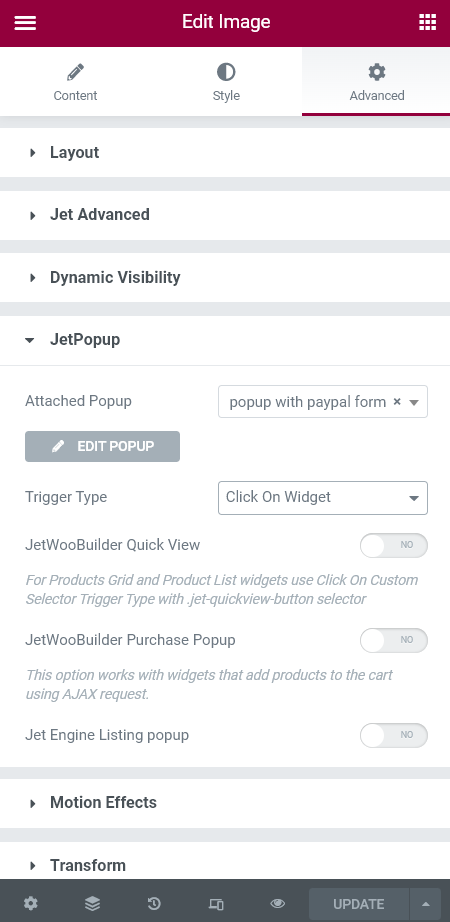
Move to the JetPopup tab on the same widget and attach the recently created pop-up. Select the Trigger Type you need. For example, if you want to attach the pop-up to the Button widget, select the “Click on Button” option. We’re good with the “Click on Widget” type.
If you haven’t created a pop-up, you can place the JetForm widget in the column and apply the Dynamic Visibility condition to it.
Click on the second column and proceed to the Advanced section. Go to the Dynamic Visibility tab, open it and enable the toggle for the second time.
Select the “Show element if condition met” Visibility condition type, “User Role is” Condition and “Subscriber” User role. It may seem that the conditions for the two columns are the same, but be attentive.
At the end of customizing, hit the “Publish/Update” button.
How to set the page content with Dynamic Visibility in the WordPress block editor
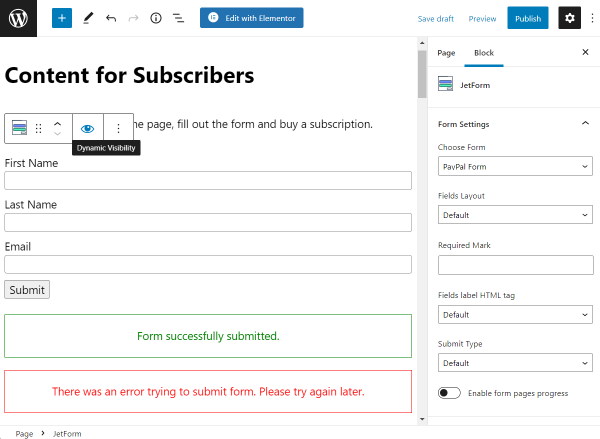
Create a new page or click to edit the existed one. We place the JetForm block on the page and select the form for the PayPal payments. If we click on the form, we will see the Dynamic Visibility icon.
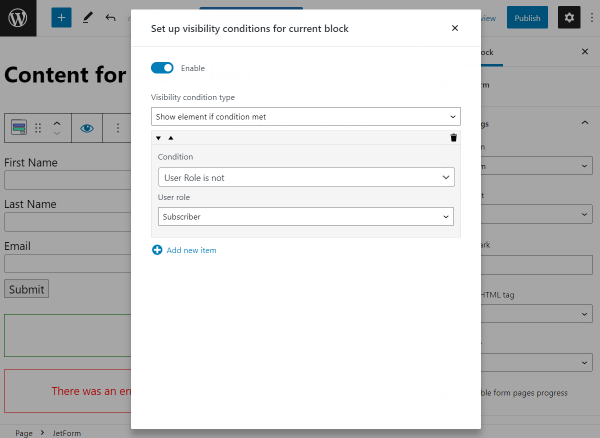
Click on the icon and enable the toggle. Leave the “Show element if condition met” Visibility condition type, hit the “Add new item” button, and select the “User Role is not” Condition and “Subscriber” User role.
Close the pop-up and proceed to the content for subscribers (to the Video or Image block, for example).
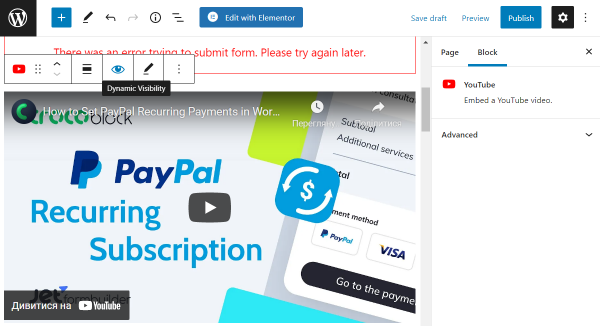
Press on the “Dynamic Visibility” icon and enable the toggle. Leave the “Show element if condition met” Visibility condition type, hit the “Add new item” button, and select the “User Role is” Condition and “Subscriber” User role. It may seem that the conditions for the form and content are the same, but be attentive.
When you finish customizing the page, push the “Publish/Update” button.
Condition is set so a user can see form or content on the page, according to the user role.
Step 3. Check the Results
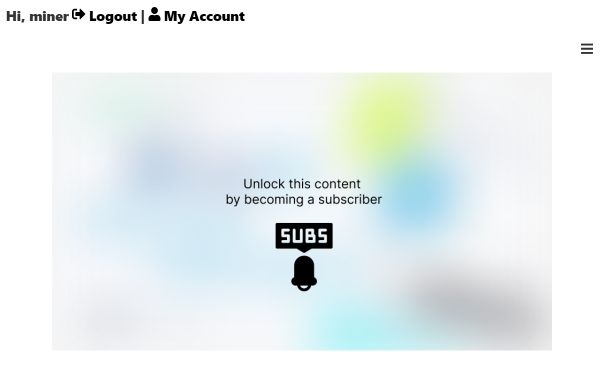
Open the page with the form and content on the front end. Since the user role on our current account is the customer, we can see only the image with the pop-up yet.
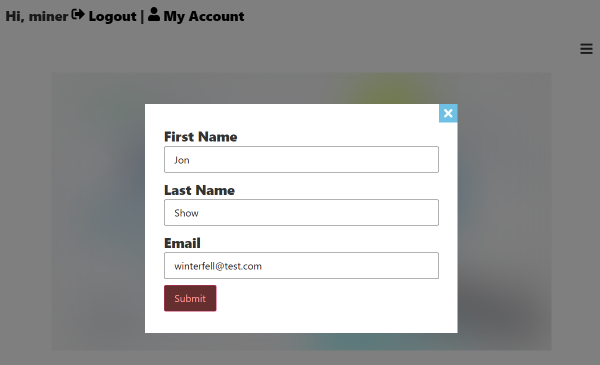
We click on the image, fill out the form in the pop-up, and hit the “Submit” button.
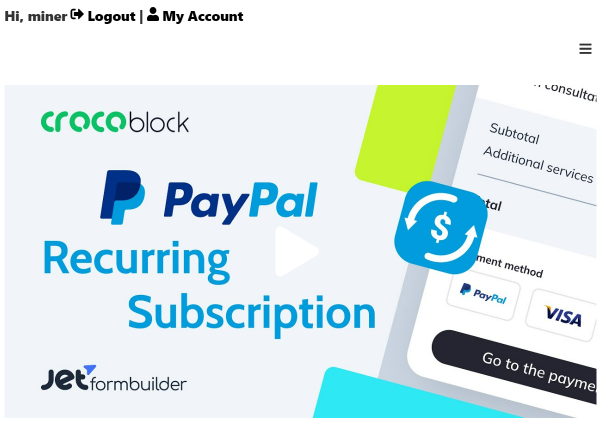
Log in to the PayPal account and buy a subscription. After that, you will return to the page where the Dynamic Visibility will show the paid content. That means that the user role was successfully changed.
To ensure that the role was changed, we log into the administrator account and move to the Users tab on the WordPress Dashboard.
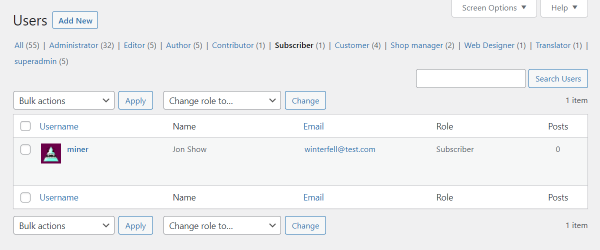
As we can see, the user truly gets the subscriber role after the PayPal payment.
That’s all. Now you know how to set the logic so that the user role changes after a successful subscription payment in PayPal with the JetFormBuilder plugin and the JetEngine Dynamic Visibility to show content only to subscribers.