How to Generate Forms with Open AI
With the Open AI integration, you can generate complex forms with various field types with a few clicks instead of adding every field manually. After that, you just need to tweak the field settings and configure other form options, such as post-submit actions, style settings, etc.
Contents:
- General Settings
- Registration Form Generated with AI
- Opt-in Form Generated with AI
- Quiz Form Generated with AI
- Job Application Form Generated with AI
General Settings
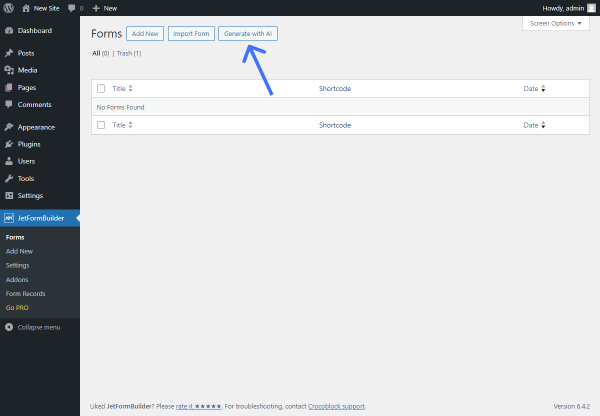
To generate a new form with AI, proceed to the WordPress Dashboard > JetFormBuilder > Forms tab and hit the “Generate with AI” button.
Or you can proceed to the WordPress Dashboard > JetFormBuilder > Add New tab. Here, you can push “Generate Form with AI” from the header toolbar or the “Generate via AI” button from the Welcome block.
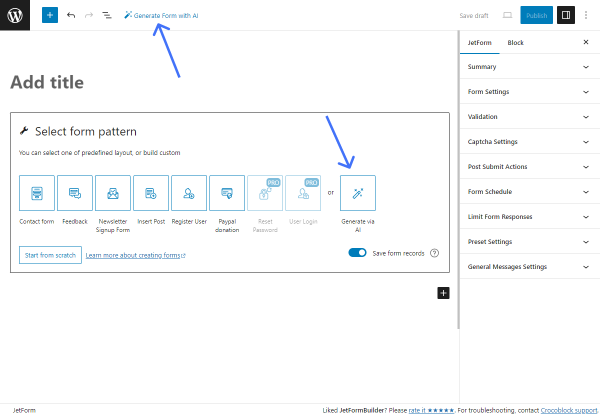
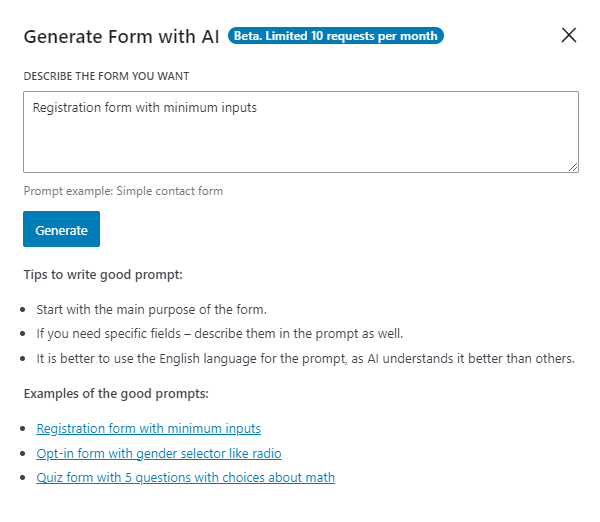
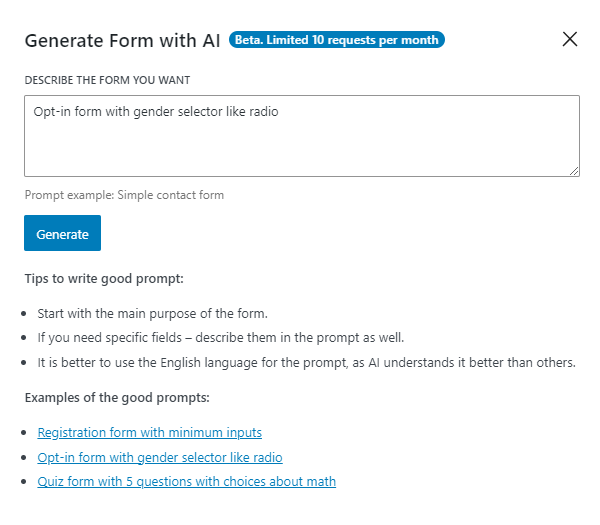
These buttons trigger a pop-up with the AI generator:
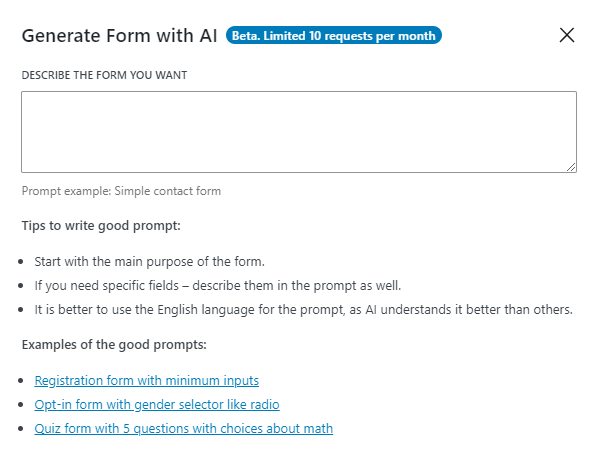
Currently, you can make 10 (ten) requests per month.
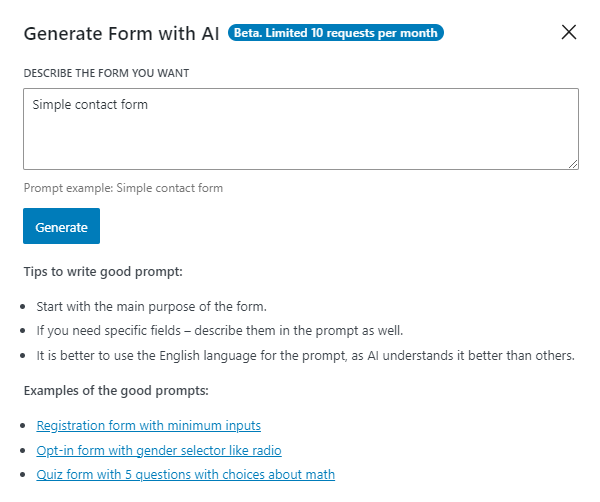
In the text area, you can describe what form you want to create (e.g., “Simple contact form”).
Also, you can find tips for successful prompt writing (start with the main purpose, describe the specific fields, and use the English language for prompts) and prompt examples.
After you enter a prompt into the text area, the “Generate” button will appear.
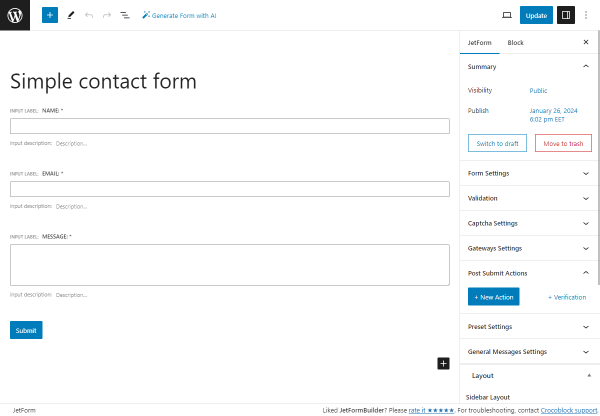
After clicking the “Generate” button, the pop-up will show the form fields preview.
For the “Simple contact form” request, Open AI generated three simple fields for the name, email, and message, and the “Submit” button.
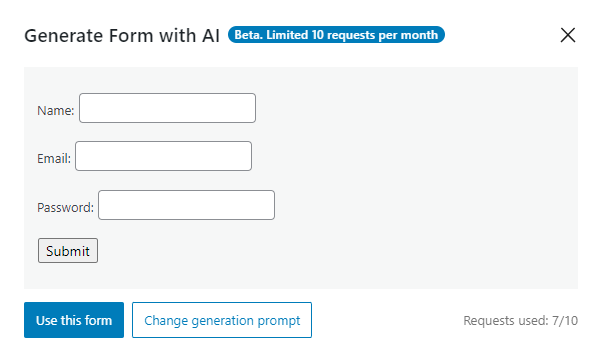
If you are satisfied with the result, you can press the “Use this form/Create form with this template” button. If you are not, you can tap the “Change generation prompt” button and rewrite the request.

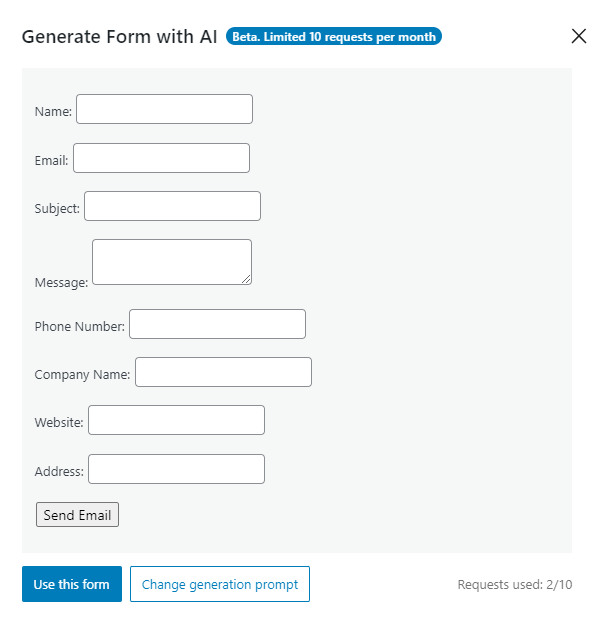
We hit the “Change generation prompt” button and expanded the prompt. In the request, the form fields and the Action Button can be described, so we typed this prompt: “Contact form with name, email, subject, message, phone number, company name, website, and address fields with the “Send Email” action button.”

In the new preview, Open AI generated all the mentioned fields and the Action Button with the “Send Email” label.
After hitting the “Use this form” button, you’ll obtain two options: “replace” or “append” form settings and blocks. Pick the preferable one.
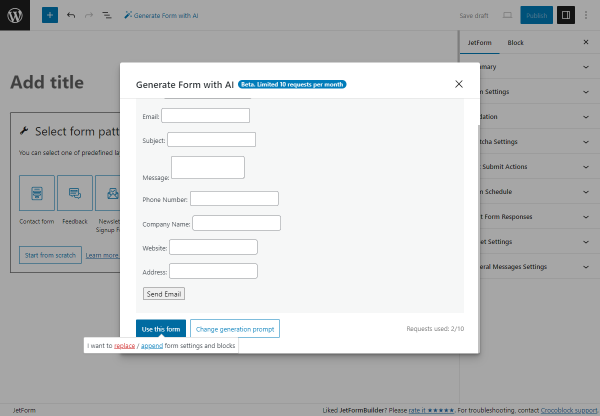
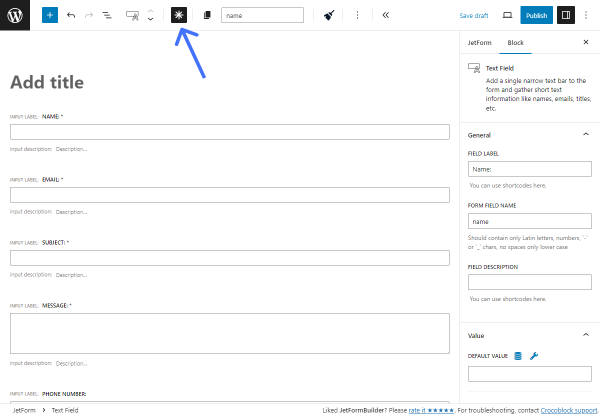
We chose the “replace” option, so the form fields and the Action Button replaced the Welcome block.
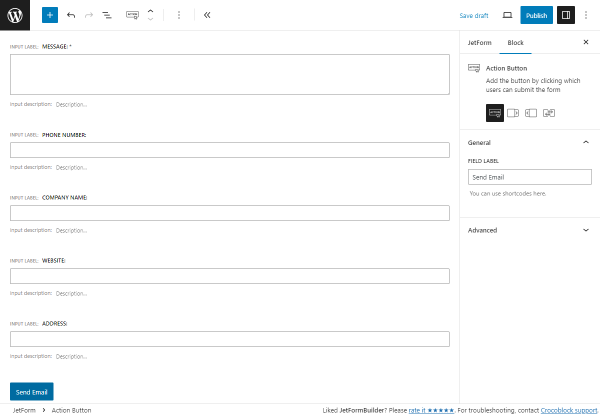
Be aware that certain fields have the “Required” option activated. You can modify this and other settings individually for each form field block.
If you generate a form from the JetFormBuilder > Forms tab, the written prompt will be inserted into the form title.
Registration Form Generated with AI
To generate a simple “Registration” form, we opened the Generate Form with AI pop-up, clicked the “Registration form with minimum inputs” prompt example, and hit the “Generate” button.
The Open AI generated three basic fields for the name, email, and password, and the “Submit” button.
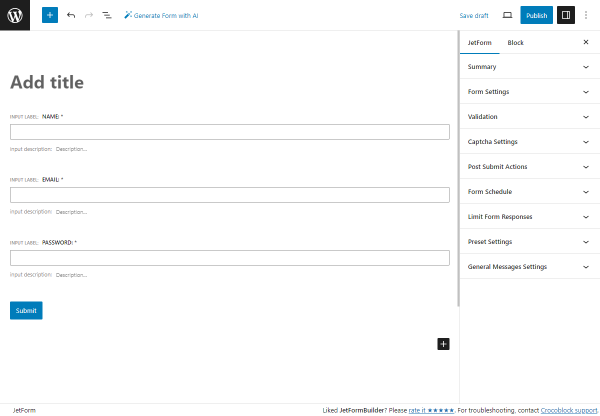
After clicking the “Use this form” button, the fields and the action button were inserted into the form editing page.
Opt-in Form Generated with AI
To generate an “Opt-in” form with the specific Radio Field, we opened the Generate Form with AI pop-up, clicked the “Opt-in form with gender selector like radio” prompt example, and hit the “Generate” button.
The Open AI generated the “Name” and “Email” Text Fields, the “Gender” Radio Field with the “Male,” “Female,” and “Other” options, and the “Submit” button.
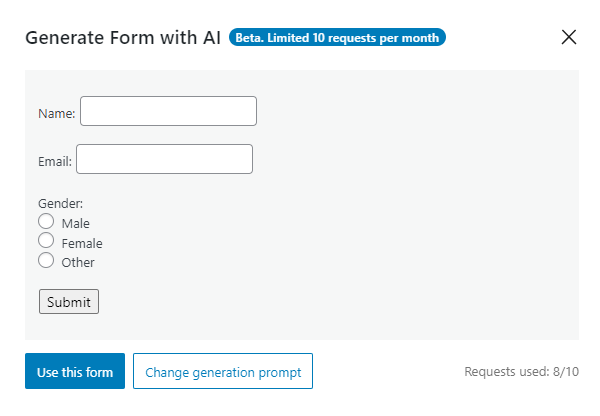
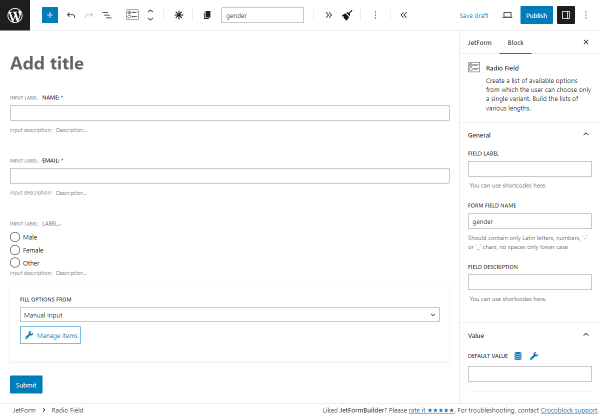
After clicking the “Use this form” button, the fields and the action button were inserted into the form editing page.
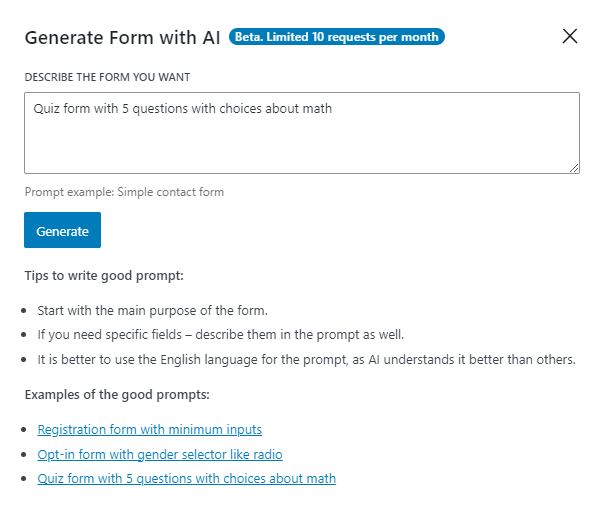
Quiz Form Generated with AI
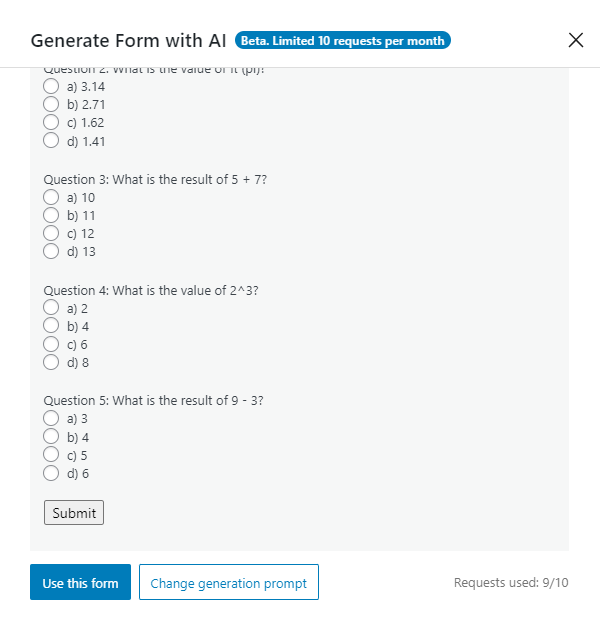
To generate a Quiz form, we opened the Generate Form with AI pop-up, clicked the “Quiz form with 5 questions with choices about math” prompt example, and hit the “Generate” button.
The Open AI generated five Radio Fields with math questions, four options for each of them, and the “Submit” button.
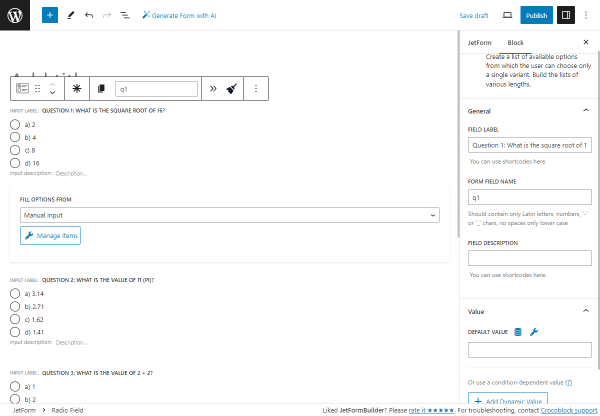
After clicking the “Use this form” button, the fields and the action button were inserted into the form editing page.
Job Application Form Generated with AI
We proceeded to the WordPress Dashboard > JetFormBuilder > Forms tab, hit the “Generate with AI” button, and opened the Generate Form with AI pop-up.
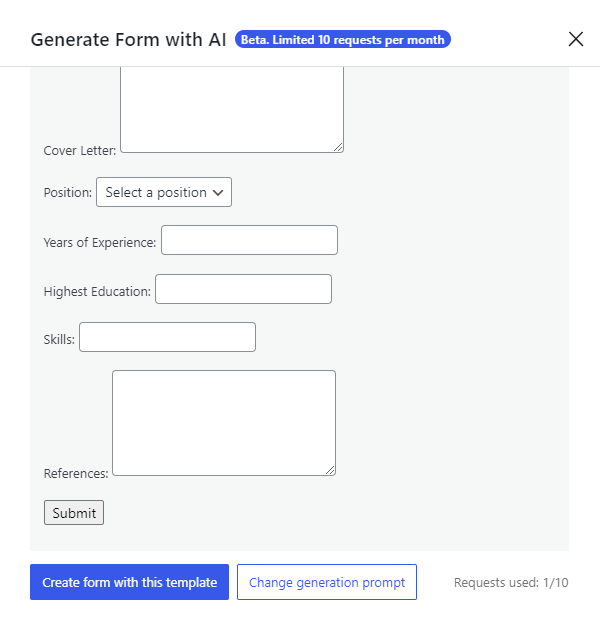
We typed the “complex form for a job application” prompt into the text area and hit the “Generate” button.

We got the name, email, phone number, resume, cover letter, position, years of experience, highest education, and references fields generated.
We hit the “Create form with this template/Use this form” button and inserted the fields into the form editing page.
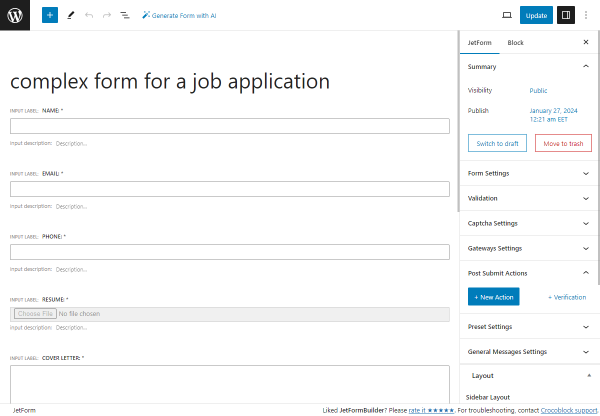
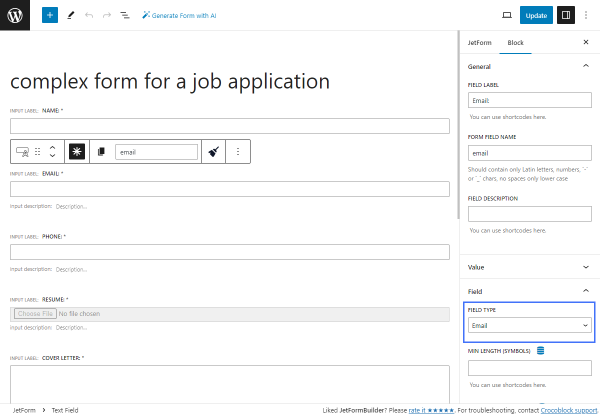
Let’s check the form field settings.
The “Name,” “Email,” and “Phone” Text Field blocks have different FIELD TYPES: “Text,” “Email,” and “Tel,” accordingly.
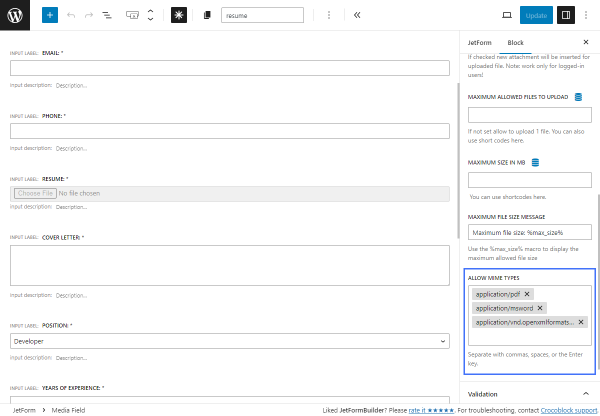
The “Resume” is the Media Field block. In the ALLOW MIME TYPES field, the AI generator pulled the “application/pdf,” “application/msword,” and “application/vnd.openxmlformats-officedocument.wordprocessingml.document” options that are MIME types for the PDF, DOC, and DOCX formats, which are usually used for resumes. The MIME types can be modified according to the preferences.
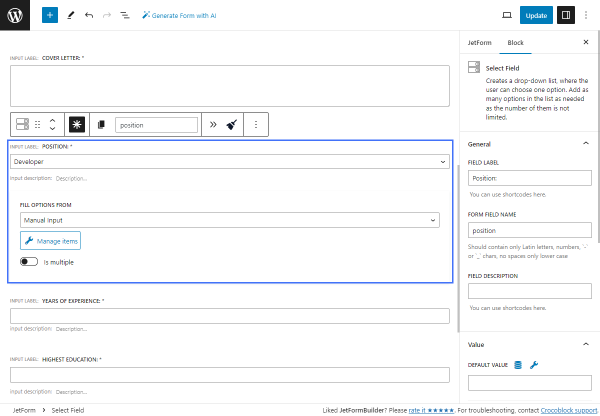
The “Position” is the Select Field with the “Manual Input” option set in the FILL OPTIONS FROM drop-down menu.
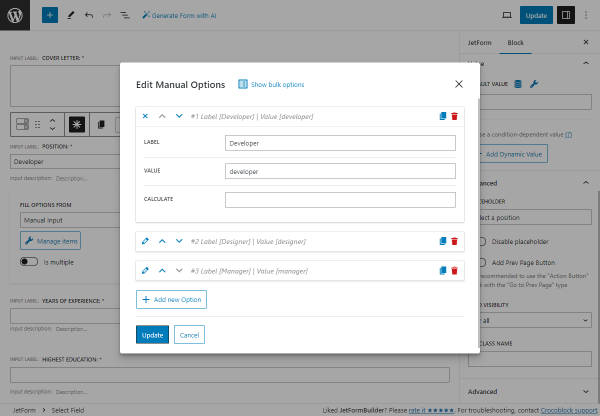
If we hit the “Manage Items” button, we will see three options: “Developer,” “Designer,” and “Manager.” Learn how to add new options from different sources from the Multi-Optional Field Source Settings tutorial or write a more precise prompt with specified options or purpose for such a field.
The “Cover Letter” and “References” are the Textarea Fields, and the “Years of Experience” is the Number Field, and they don’t have any specific settings.
Any blocks can be added and modified according to the form’s purposes.
To complete the form, other settings should be set, like the post-submit actions, and the form can be published and placed on the page.
That’s all. Now you know how to generate forms with Open AI and the JetFormBuilder WordPress plugin.