
How to Link WordPress Form with Zapier
Managing the form results can be a challenging task. Though if you work with Zapier and JetFormBuilder, it should be much easier. Let’s find out how to connect WordPress form to Zapier.
Create a Zap
Sign up for a Zapier account or open the one that already exists. Click on the “Make a Zap” button to start working on the connections.
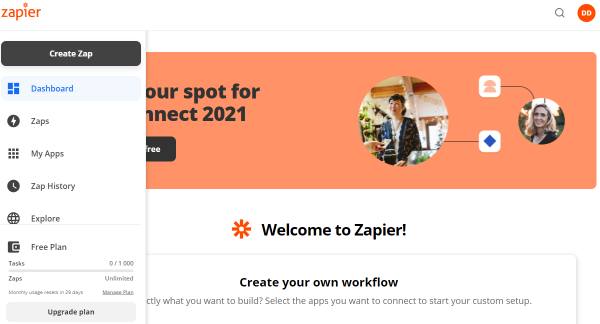
Name a Zap, and let’s begin. There are two main steps that define a Zap. Firstly, you need to pick a Trigger Event and then an Action that will be performed.
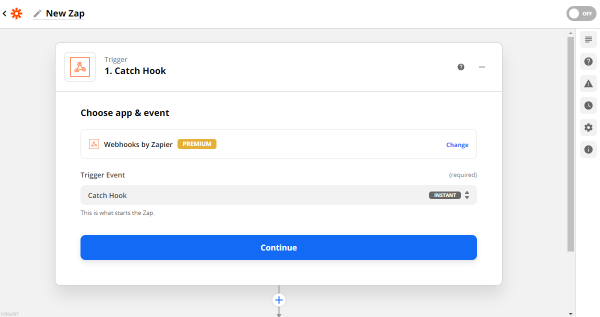
Choose the first trigger. You can do it by typing its name in the search bar. Add Webhooks by Zapier and choose “Catch Hook” as a Trigger Event. It is essential if you want to connect your form to the Zapier. Click on “Continue.”
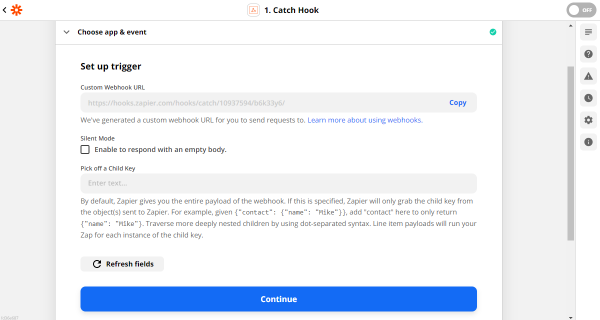
Copy a Custom Webhook URL to conjoin it to the form.
Connect a Zap to the Form
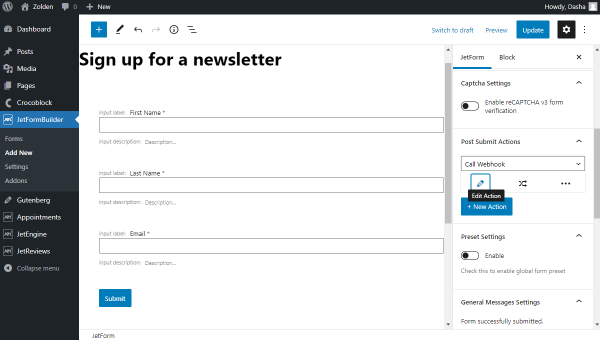
Navigate to the WP Dashboard > JetFormBuilder > Forms, find the form you want to connect with Zapier, and change a default “Send Email” Post Type Action to “Call a Webhook.” Click on the “Edit” button and paste the URL to the field. Update the Post Submit Actions and WordPress form by clicking on the similarly named buttons.
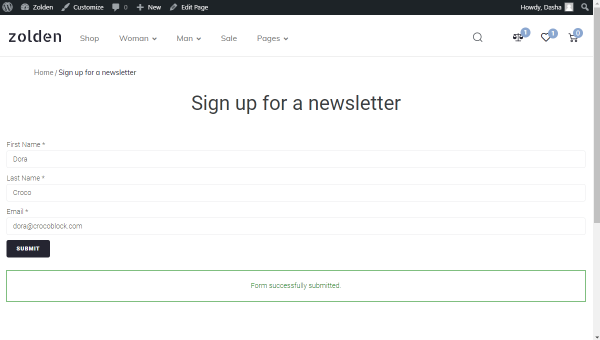
Add this form to the page if you haven’t done it yet and go to the front-end. Fill in the fields and submit the form. Note that you do this for Zapier integration testing, so type in a valid email to which you have access.
Go back to the Zap editing. The next step is the Test trigger. That is why we needed to fill in the form.
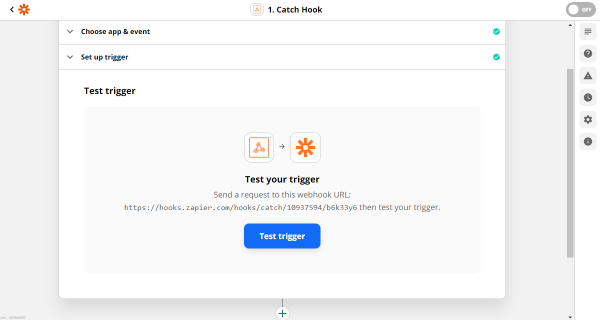
When the connection is established, click on the “Continue” button. Now we have learned how to connect WordPress form to Zapier.
Set an Action
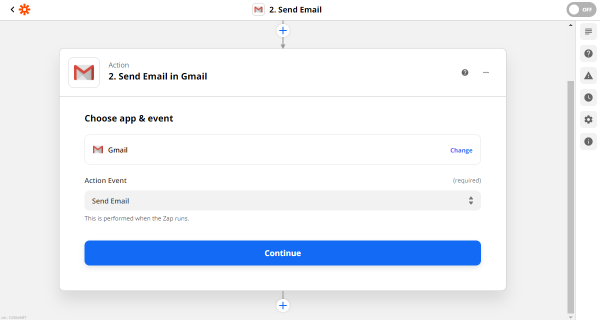
Select the app that will perform an Action. For instance, we will choose Gmail and arrange “Send Email” as an Action Event.
Choose a Gmail account. To link a new Gmail, click on “Connect a new account” and type in all the required credentials.
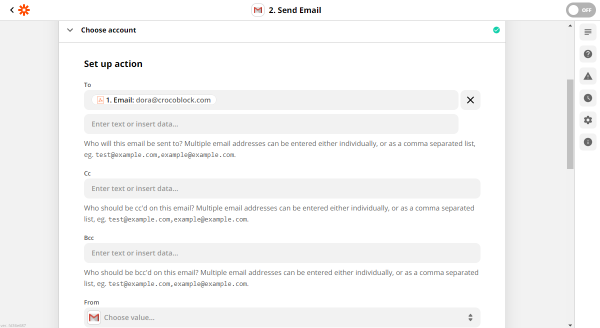
Then you can set up action by putting all the data about where to send an email, the email address that will send this letter, and other fields like From Name, Reply To, Subject, Body, and so on.
When the desired fields are input, you can send a test email to check WordPress integration with Zapier in action. You can check this letter on the email you have put in the To field.
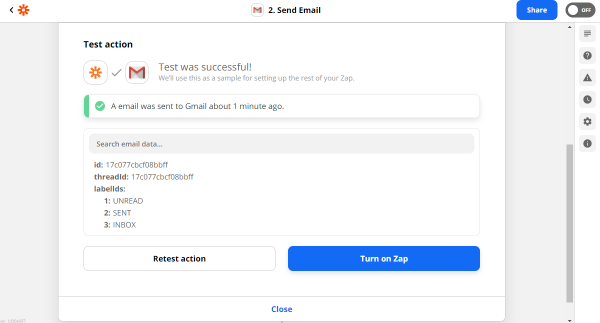
Now just hit “Turn on Zap,” and it is ready. The WordPress integration with Zapier completely works.
However, note that you can add more than one action. So if you want to set some other events, just go back to the Zap editing and choose one more app.
That is why Zapier integration makes form management simple. For example, you can connect a MailChimp account, work with Google Calendar, or use Google Sheets for better productivity at the same time.
Furthermore, watch our video and learn how to integrate Zapier with the JetEngine forms to create similar form integrations.