Skip to content
Plugin Installation
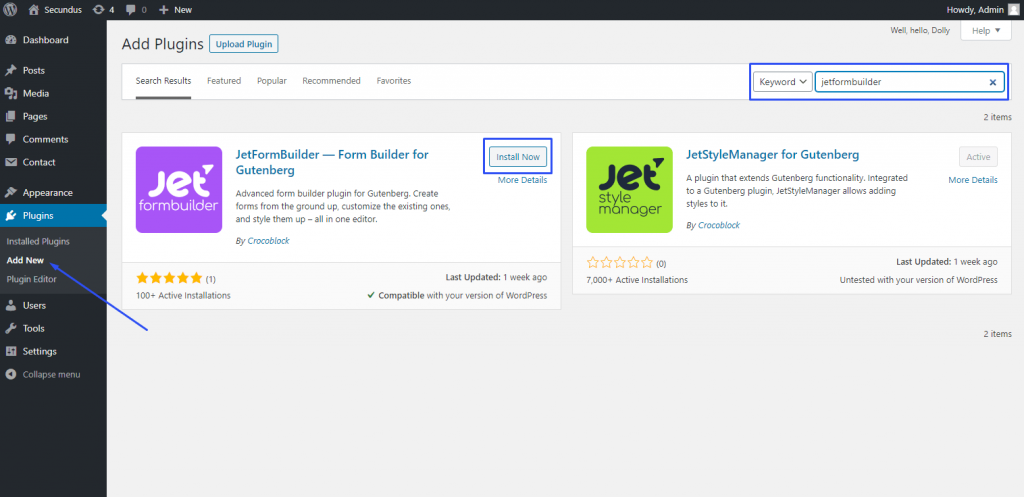
Method 1. From the Plugins dashboard tab
- Open your WordPress dashboard and go to Plugins > Add New;
- In the search bar in the right upper corner of the page, type in “JetFormBuilder”;
- Click the “Install Now” button on the plugin’s tile;
- When the installation is over, press the “Activate” button.
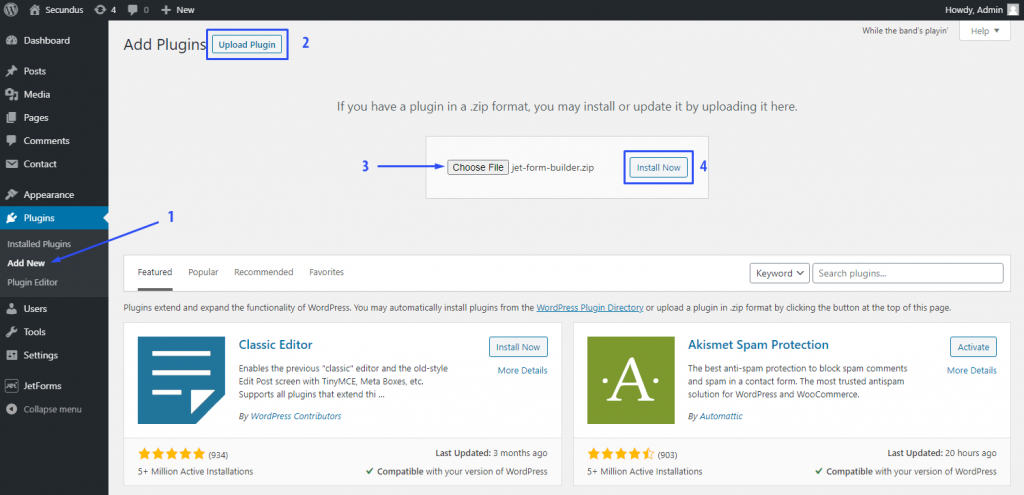
Method 2. Download to PC and Upload to the website
- Download the plugin to your PC;
- Login to your website’s dashboard and go to Plugins > Add New;
- Click the “Upload Plugin” button in the left upper corner of the window;
- Choose the plugin’s file from the PC. Be aware that it has to be in .zip format;
- Hit the “Install Now” button;
- When the installation is over, press the “Activate Plugin” button.
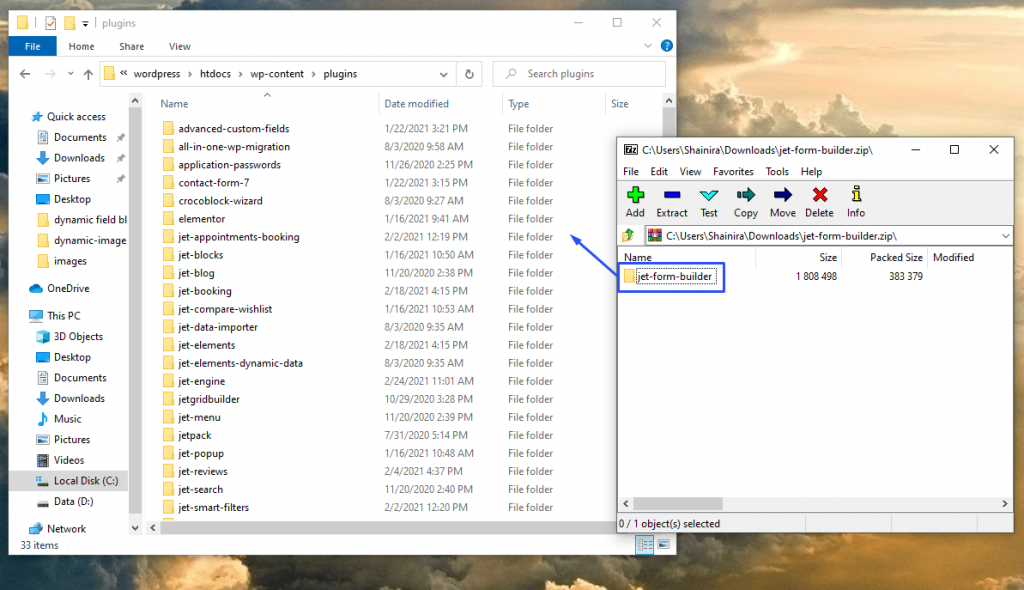
Method 3. Manually on your PC
- Download the plugin to your PC;
- Open the folder where you store the WordPress files and go to wordpress > htdocs > wp-content > plugins;
- Open the downloaded plugin’s .zip archive;
- Drag and drop the jet-form-builder file from the archive to the “plugins” folder;
- Login to your website’s dashboard and go to the Plugins menu tab;
- Find the JetFormBuilder in the list and click the “Activate” button.