Creating Custom Template for Checkbox and Radio Form Fields
Custom templates are a feature to customize forms view. Use JetEngine to build a custom item template and set it for any Form you fancy. In this way, make the Radio and Checkbox fields more appealing on the front end.
Creating a Custom Item Template in Elementor
Radio and Checkbox form fields provide a possibility to apply a template to their options. If the source of the field is “Posts” or “Terms”, you can create a Listing Template in JetEngine with the same source and make the Radio or Checkbox field inherit the layout from the template.
Also, it is possible to use a template if the source of the field is a JetEngine custom query.
In our case, we will customize a Checkbox field that lists posts from a custom post type named “Services”.
Since the custom item templates are not pre-made, you’ll have to build them manually.
Create a new listing
Go to WordPress Dashboard > JetEngine > Listings.
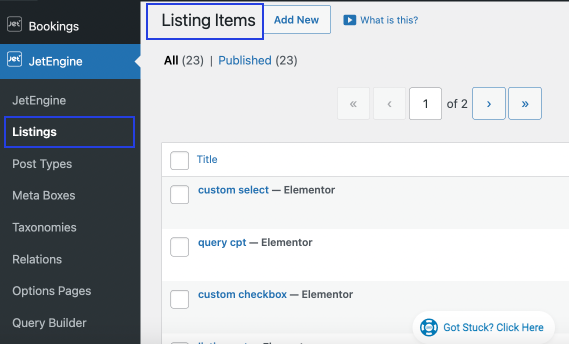
Click the “Add New” button to open a Setup Listing Item window.
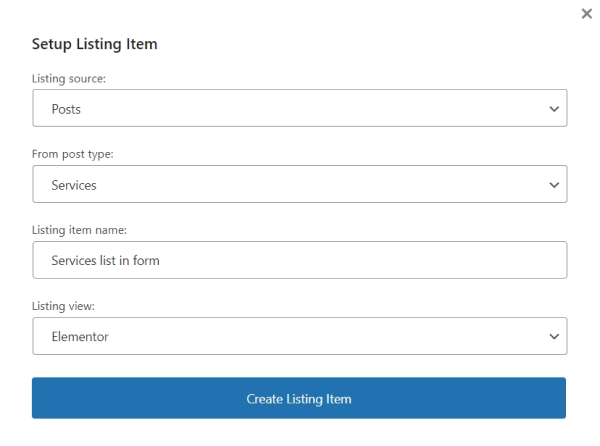
Make sure to pick the “Posts” as a Listing source, then select the post type to pull the options from; in our case, it’s the CPT named “Services”, and our future Checkbox field in the form will list SPA services as options.
After that, enter the Listing item name and choose the Listing view. You can work either in Elementor or Gutenberg. Lastly, click the “Create Listing Item” button.
Right afterward, you’ll be redirected to the chosen webpage builder.
Build the listing in Elementor
First of all, select the desired layout for your new section. To do so, press the cross icon, then pick the desired structure:

Now, search for the Check Mark or Check mark widget. Drag and drop it to the first column of the newly-created structure and choose the icon from the library or upload an SVG file.
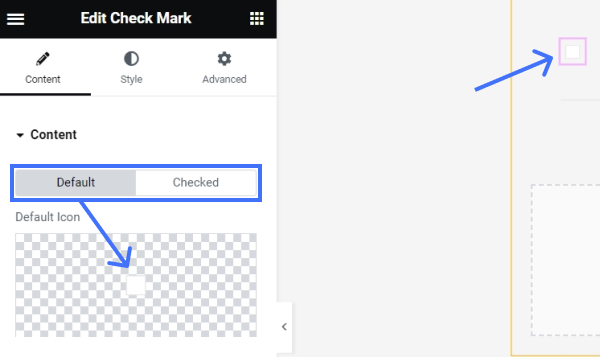

Then proceed to the left-side toolbar, press Style, and customize the icons’ appearance if needed.
You can adjust the Box Size, Icon Size, and Border Radius, set Background Color for the Default icon, and play around with the Border Type, Width, Color, and Box Shadow of the Checked icon.
Configure the dynamic fields
Let’s configure the second column. We’ll use the Dynamic Field widgets to pull meta data from posts and build the listing layout.
Search for the Dynamic Field widget and drag and drop it to the second column.
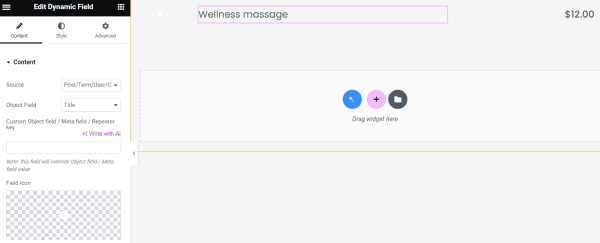
We will display the post title and some meta field values with the help of this widget.
Once you are satisfied with your custom item template, click “Publish.”
Add Template to the Form
Now, it’s time to set the template you’ve created for the form.
Choose and edit the form
Go to WordPress Dashboard > JetFormBuilder > Forms.
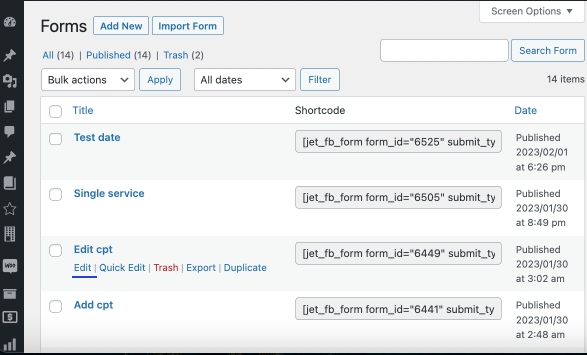
Find the form you would like to customize and click the “Edit” button.
Configure the field settings
In the newly-opened window, there will be form fields settings. Click on the Checkbox field to edit it.
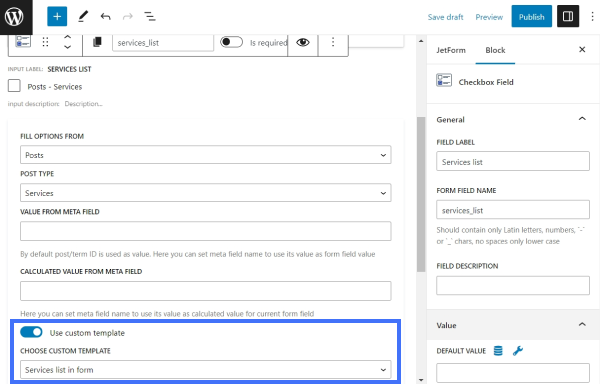
Scroll down the settings until you see a Use custom template switcher. Tick it, and the new drop-down field will appear. Make sure to pick here the template you’ve created beforehand.
Press the “Apply changes” button and then “Update” the form.
Add form to the front end
After configuring fields settings and updating the form, check out how it looks on the front end.
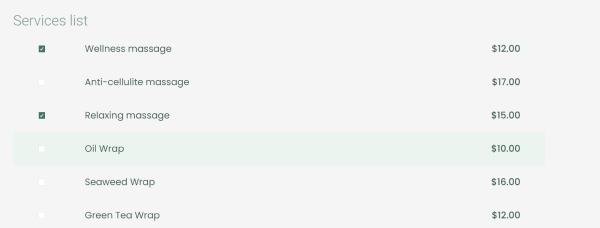
That’s all; now you know how to build a WordPress custom template for Radio and Checkbox form fields options.