How to Allow or Disallow Comments from Front-end Forms
This tutorial explains how to enable/disable adding comments to front-end forms using the JetFormBuilder plugin and change the comment status.
WordPress allows adding comments to posts/pages by default. But sometimes, there is a need to allow or disallow comments on some posts/pages from the front end. This tutorial details how to enable/disable adding comments to front-end forms using the JetFormBuilder plugin and change the comment status.
Creating a Form
Building the form
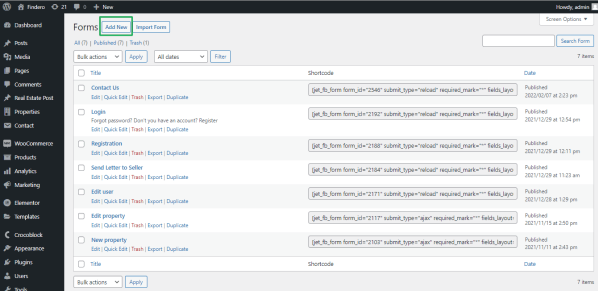
Navigate to the JetFormBuilder plugin tab of the WordPress dashboard. Press the “Add New” button to create the form.
Read How to Create a Form from this tutorial.
Adding fields
Add the name to the form (here, Comments.)
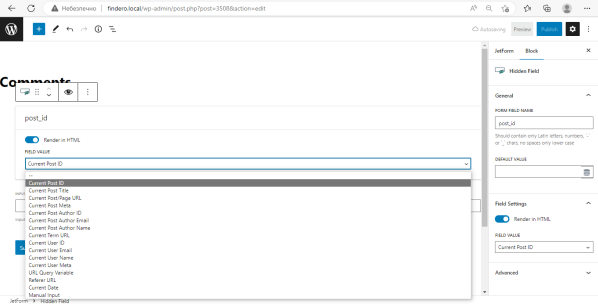
The Hidden Field block is added by default. Unroll the Field Value drop-down menu and select the Current Post ID option.
Find the Radio Field block and drop it down to the form.
Press the “Manage Items” button of the Radio Field block to create the radio field with two manual options: allow and do not allow comments. Add the following labels and values of these options, respectively:
- for the allowing option: type Do Not Allow Comments in the Label field and closed in the Value field;
- for the disallowing option: type Allow Comments in the Label field and open in the Value field.
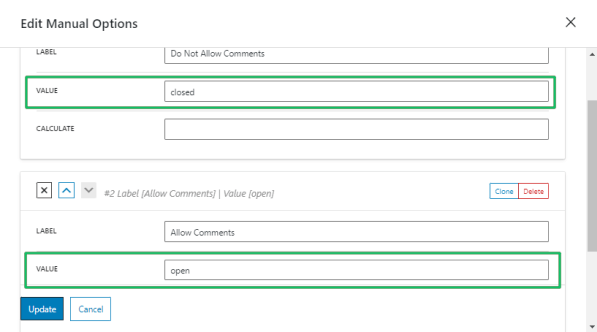
Press the”Update” button to save changes.
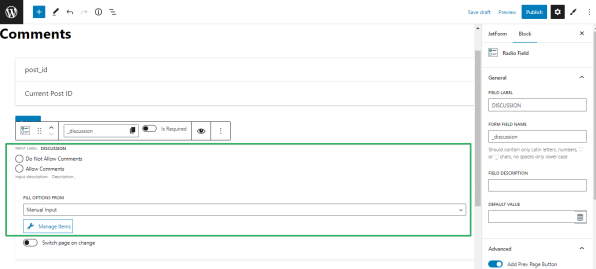
Navigate to the Settings tab of the Radio Field block and fill in the Field Name field (here, Discussion) and the Form Field Name field (here, _discussion).
The Radio Field block looks as follows:
Settings of the form
Navigate to the Post Submit Actions of the JetForm settings. Press the “Edit Action” button (the pencil icon). Apply the following settings:
- select the Posts option from the Post Type drop-down menu;
- select the Post ID (will update the post) option from the post_id subfield of the Field Map field;
- select the Post Comments Allowed option from the Discussion subfield of the Field Map field.
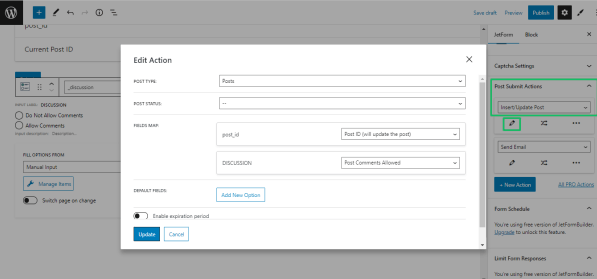
Press the “Update” button to Save changes.
The Adding the Form Block in Gutenberg tutorial explains adding the different fields to forms.
Adding the Form to a Page/Post
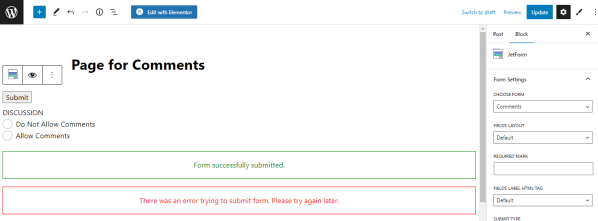
Open the page or post to add the form (here, Page for Comments). Find the JetForm block to add the form to the page. Drag and drop the block to the page.
Navigate to the Settings tab of the JetForm block and select the name of the previously built form (here, Comments) from the Choose Form drop-down menu.
Allowing or Disallowing Comments for Posts/Pages
Settings to allow comments
Navigate to the Discussion tab of the JetForm block’s settings. The name of this tab corresponds to the text filled in the Field Name field (here, Discussion) while building the form (here, Comments).
Tick the Allow comment and Allow pingbacks & trackbacks options.
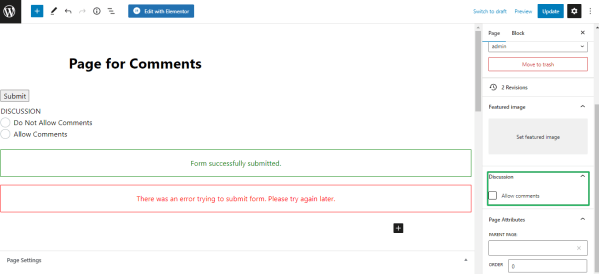
Save changes. Publish the page.
Allowing/disallowing comments
The front-end view of the page looks as follows:
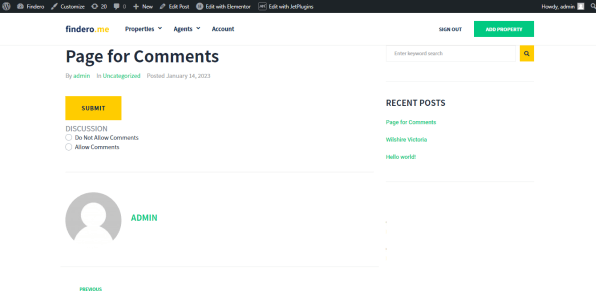
Choose the Allow Comments option of the Radio Field block. Press the “Submit” button. It allows adding comments and activates the text field for comments.
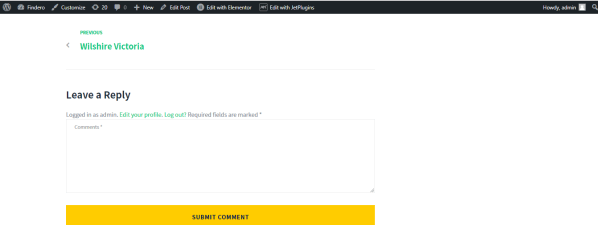
Press the “Submit Comment” button to save the comment.
Choose the Do Not Allow Comment option on the front end of the Radio Field block to disable adding.
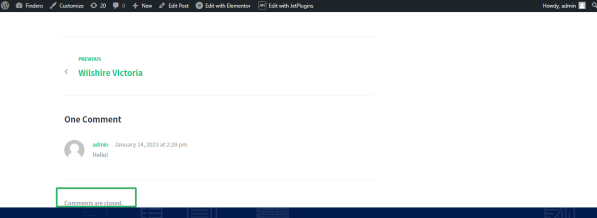
That’s all about how to allow or disallow comments for posts or pages from the front-end forms.