
How to Add Glossary to Form Fields
With the help of the Glossary functionality, available with the JetEngine plugin, you can create forms without completing all the field values manually several times.
Let’s find out how to use Glossary as the data source for your JetFormBuilder form.
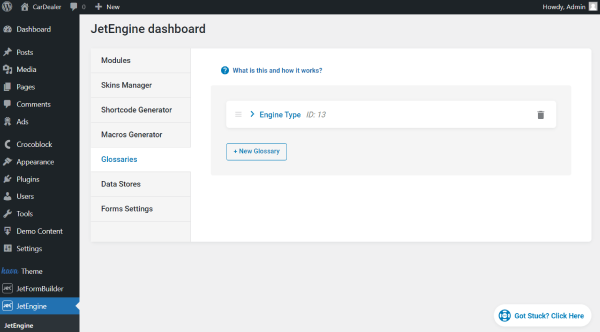
Initially, create a glossary in the WordPress Dashboard > JetEngine directory.
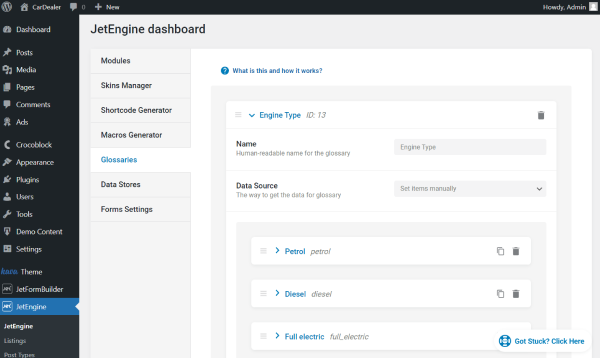
In the Glossary tab, ensure you have completed all the needed fields, and don’t forget to save the changes by pressing the corresponding button below your glossary.
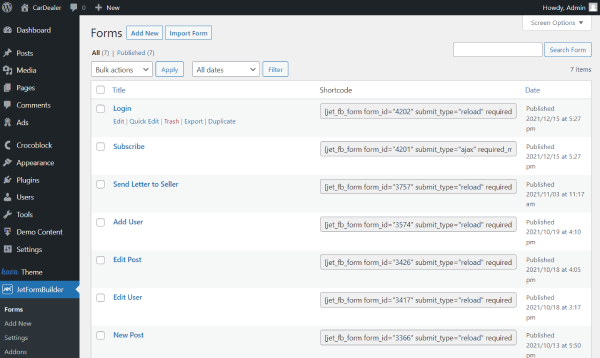
Then, head to the WordPress Dashboard > JetFormBuilder > Forms page. Build a new form by hitting the “Add New” button, or hover over the desired item to see the “Edit” button and click it to proceed to the form editor.
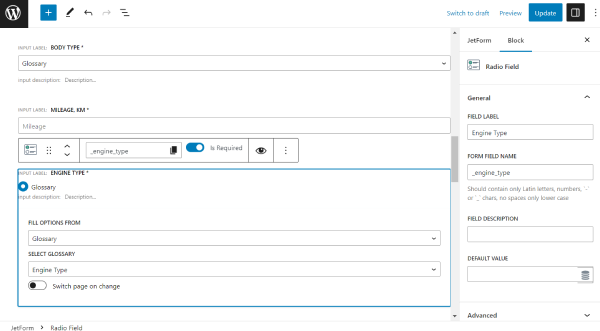
As for now, we will edit the existing form. Here, we add a Radio Field, which will display our glossary options for selection.
Complete the block settings and mind filling in the Fill Options From field with the “Glossary” option. After that, select the built glossary in the corresponding field.
Adjust the rest of the form if needed, and press the “Publish/Update” button to save the form.
Go to the page where the form is located or place it wherever you need to use it.
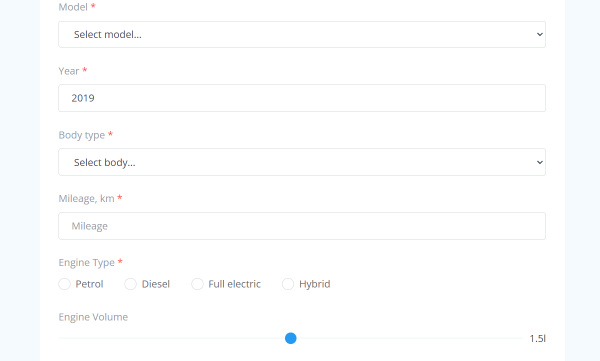
As you can see on the page, the Radio field is now available in the newly built form.
That’s it; the form is ready, and now you know how to build a JetFormBuilder form by using JetEngine Glossary as the data source for the form fields on your WordPress website.