
How to Use Hidden and Calculated Field Types
This tutorial describes an application of the Hidden and Calculated field types in JetFormBuilder Forms to calculate values using formulas.
Hidden and Calculated Field Types
Let’s clear up what the Hidden Field means. In fact, the name speaks for itself. This field can contain the value that will not be visible on the front but can be used for calculations.
Calculated Field helps you make any calculations using math formulas based on macros and display the result on the front end. You can take the values for the formulas either from meta fields created previously for your custom post or from the fields filled on the front end by users.
Let’s consider an example of using these fields. We’ll create a short form for a product purchase.
Build a Form
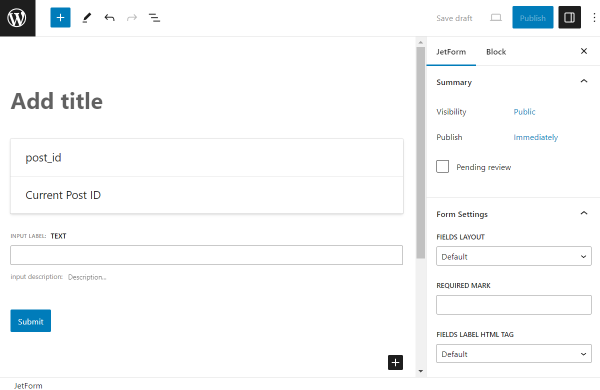
Initially, go to WordPress Dashboard > JetFormBuilder > Add New to build a form.
We delete all the default fields to build a form from scratch.
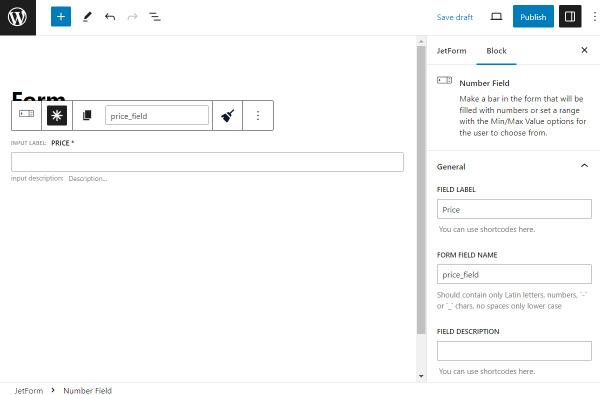
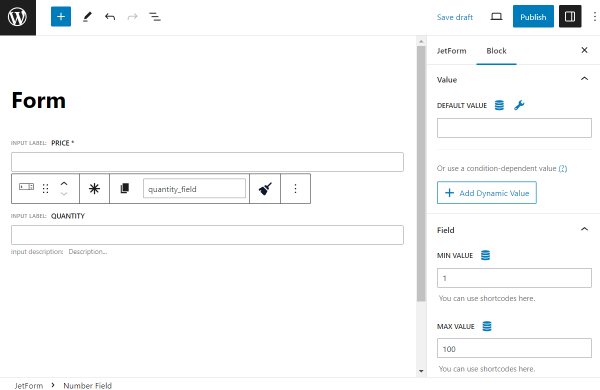
Primarily, we add a Number Field to display the product’s price. Complete its FIELD LABEL and FORM FIELD NAME fields.
We also set this field as required by pushing the asterisk-shaped button above the field.
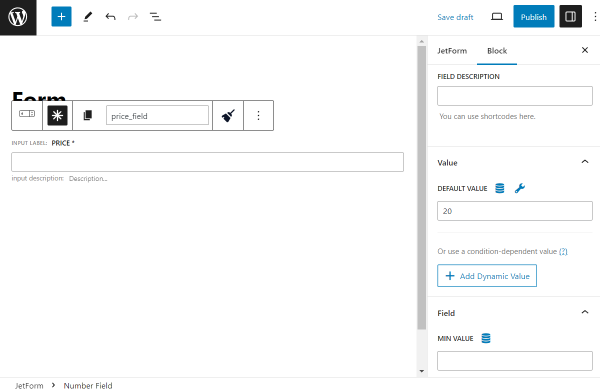
Then, we scroll down to the Value tab and set the DEFAULT VALUE to “20,” the value that will be set as default in this Number Field when opening the form.
Feel free to manually set any needed value here or push the “Dynamic Content Tag” button to see the available options for dynamic data pulling.
Then, we place one more Number Field in the editor. This time, it will be called “Quantity” and will let users pick the number of the needed items.
Here, we complete the FIELD LABEL and FORM FIELD NAME fields as well.
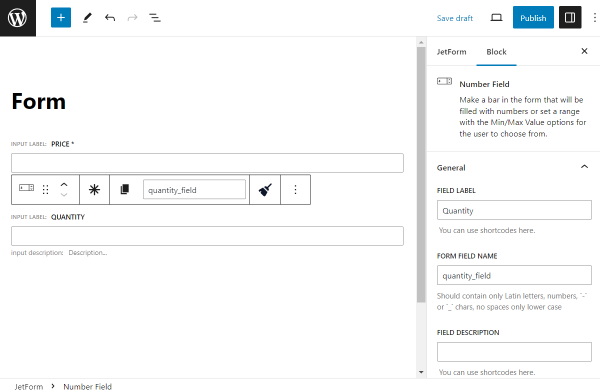
Also, we complete the MIN VALUE and MAX VALUE fields in the Field tab with the numbers that will limit the entered quantity.
Now, we add the Hidden Field. In this tutorial, we’ll create a field for tax, which will be further added to the final price so that visitors won’t see the “Tax” field separately on the front end, but its value will be used in the formula calculating the “Total Price.”
Initially, we complete the FIELD LABEL and FORM FIELD NAME fields.
Next, we select the “Current Post Meta” as the FIELD VALUE option and input the meta field name ID into META FIELD TO GET VALUE FROM.
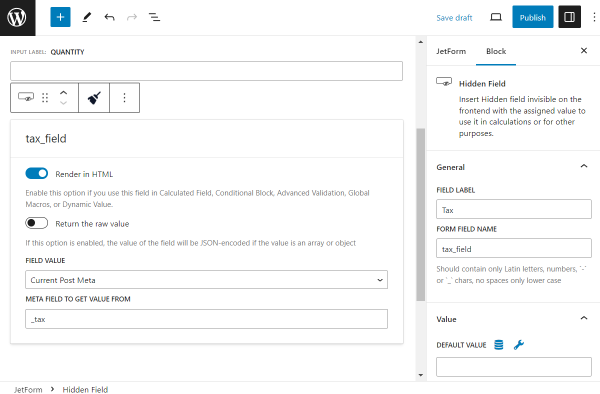
This value stands for pulling data from the meta field.
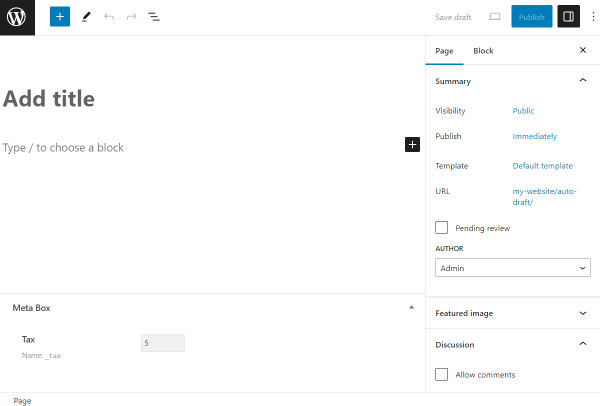
It can be filled in by opening the post editor of the post type to which the meta field is attached. In the given case, we use JetEngine’s meta box attached to the default WordPress “Pages.”
Now, back in the form, we add a Calculated Field to see how the Hidden Field can be used with it.
This field’s purpose is to calculate the total price of the product, including tax.
So, complete the FIELD LABEL and FORM FIELD NAME fields of this Calculated Field.
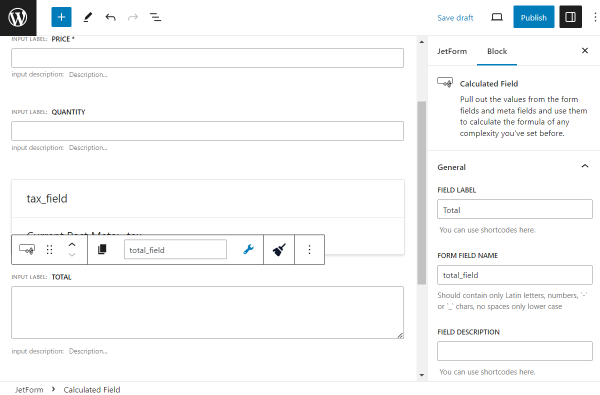
Right in the Calculated Field, we should input a math formula, which will further calculate the product’s total price depending on the quantity a visitor selects and the tax.
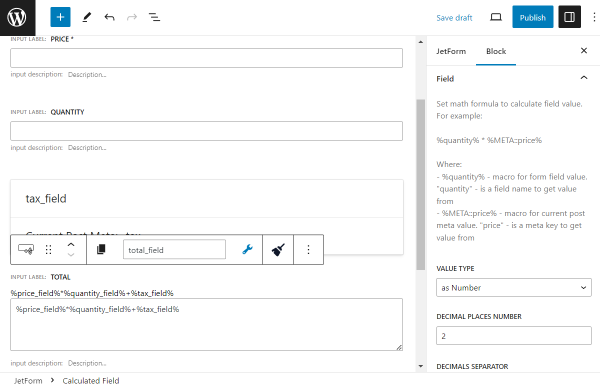
In this particular case for our tutorial, the calculation formula consists of product quantity multiplied by the product price plus tax:
%price_field%*%quantity_field%+%tax_field%
where %tax_field% is a Hidden Field.
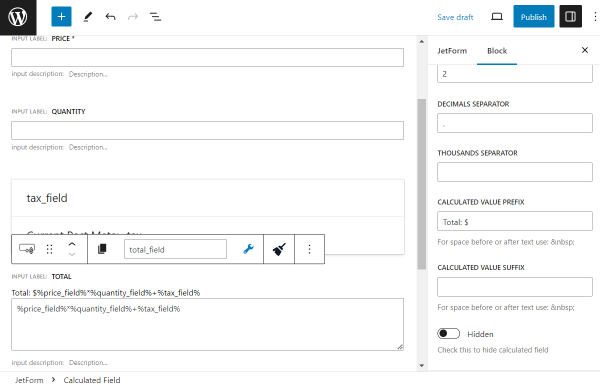
Also, we set the CALCULATED VALUE PREFIX in the Field tab. It will be displayed on the front end later.
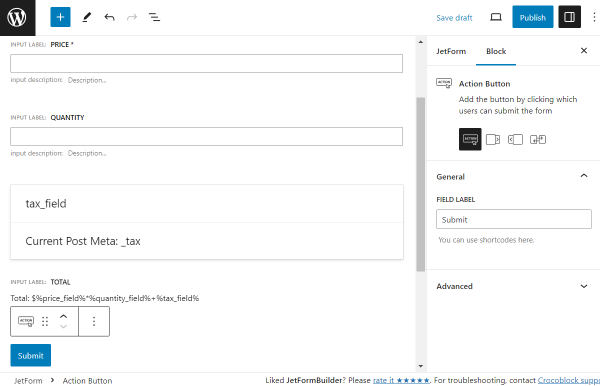
The last field we added is called Action Button, and it will serve as the submit button for the form.
When your form is ready, click the “Publish” button.
Add a Form to the Page
Go to the page editor where you want to place the form. It can be either Gutenberg, Elementor, or Bricks page builders.
Find the JetForm block/widget/element and place it on the page.
Once the page is customized, press the “Publish/Update” button to save the result.
Check the Form on the Front End
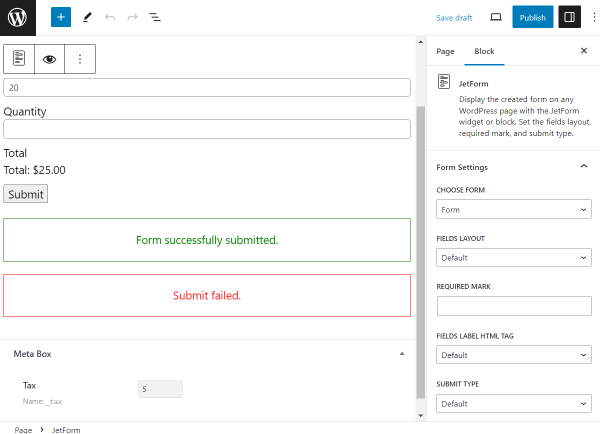
Open the page on the front end to see the form in work.
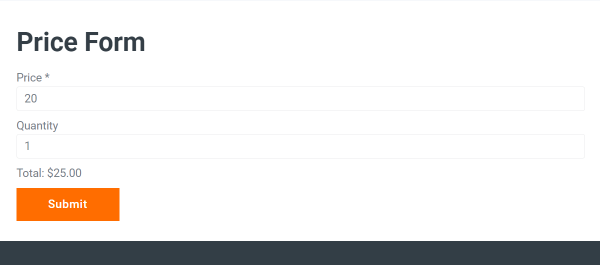
In our case, the “Price” and “Quantity” fields are visible, and the “Tax” field is not; however, in the total calculation formula, its value is considered.
We can describe it as a math formula:
20 (“Price”) * 1 (“Quantity”) + 5 (“Tax” (Hidden Field)) = 25
If a visitor changes “Quantity,” the formula still calculates the total price considering the “Tax” value.

That’s all. Now you know how to use Hidden and Calculated Field types to create formulas based on the values from the JetFormBuilder form fields on your WordPress website.