How to Create an Event Registration Form
From this guide, you will find out how to create an event registration form with JetFormBuilder for WordPress.
Let’s take a look at the example use case form built step by step.
Table of Contents:
Create a Form
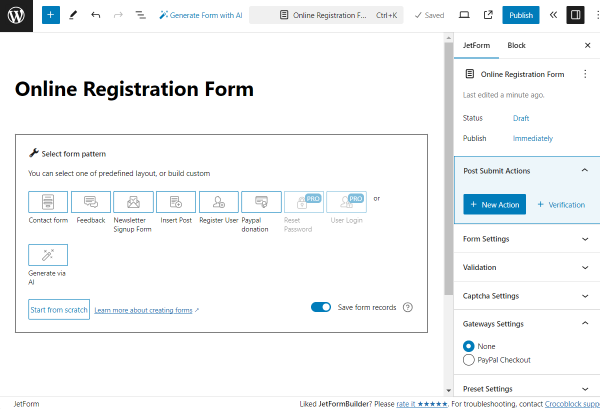
Go to WordPress Dashboard > JetFormBuilder > Add New to create a new form.
Give it a name; in our case, it’s “Online Registration Form.”
Initially, the Welcome block will be added to the page. With the help of this block, you can select the ready-form patterns.
As we want to build a new form from scratch, we just delete the Welcome block.
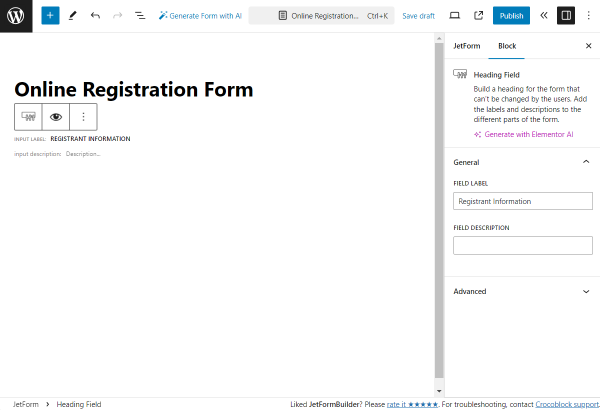
We want to begin our form with the heading so we add a Heading Field to the page and complete its FIELD LABEL; in our case, “Registrant Information.”
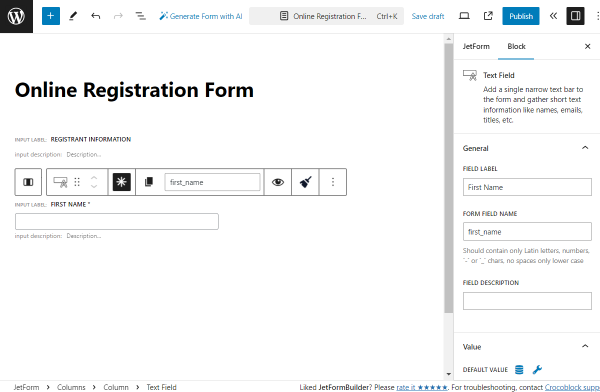
Then, we add a Columns block to create a two-column layout.
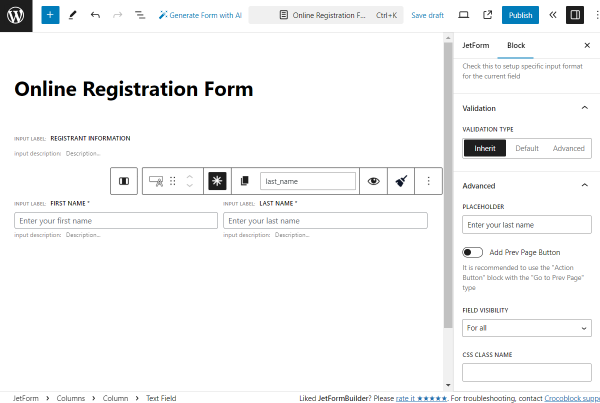
In the first column, we put a Text Field named “First Name” (FIELD LABEL). The FORM FIELD NAME is generated automatically based on the completed FIELD LABEL.
We also make this field required for completion by pressing the “asterisk” button above the field.
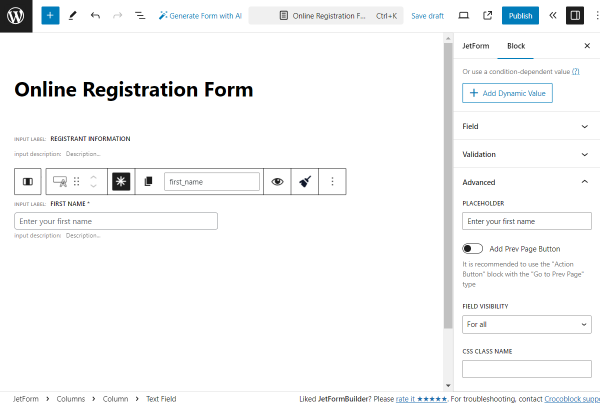
Then, we proceed to the Advanced tab of this field and complete the PLACEHOLDER field with the “Enter your first name” value.
This way, this placeholder text will be displayed in the field when it has not been completed yet.
In the second column, we add a Text Field, “Last Name” this time. It is also required for completing (“asterisk” button above the field) and has the “Enter your last name” PLACEHOLDER set in the Advanced tab.
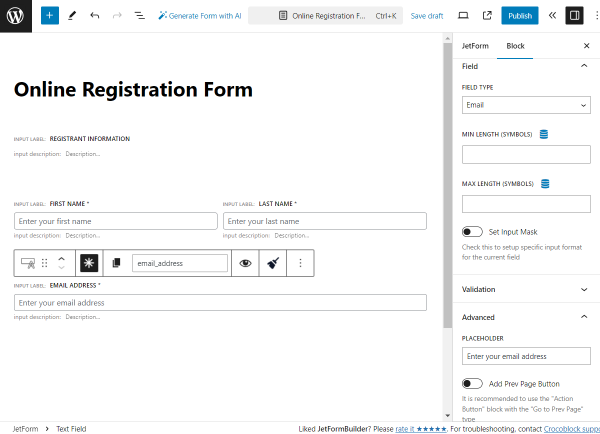
Once again, we add one more Text Field, this time called “Email Address” and make it required.
Besides the default FIELD LABEL and FORM FIELD NAME fields, we should change the FIELD TYPE value in the Field tab now — from the default “Text” to the “Email” option.
Then, we set the PLACEHOLDER to the “Enter your email address” value.
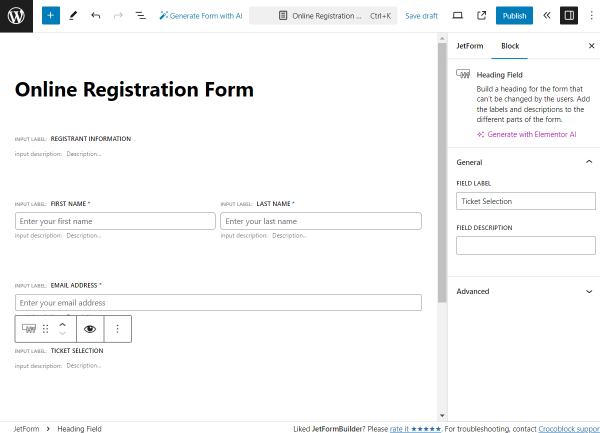
Next, we want to add another section of fields, so we separate it with the “Ticket Selection” Heading Field.
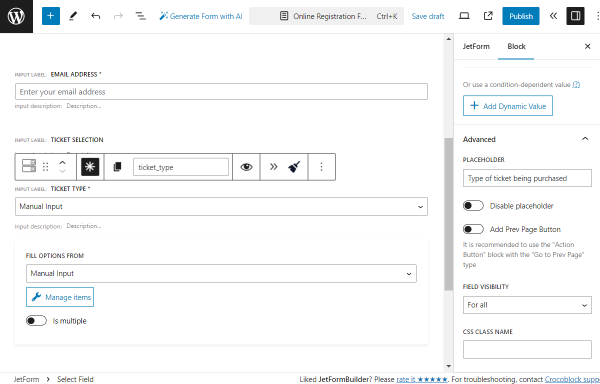
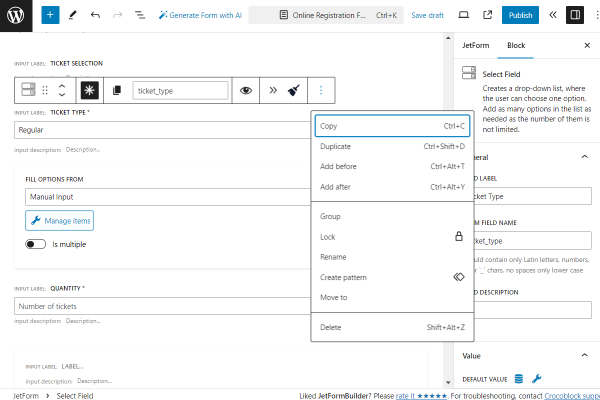
The following block we add is a required Select Field named “Ticket Type.”
We set its PLACEHOLDER to “Type of ticket being purchased.”
Then, we press the “Manage items” button to add some options to this Select Field.
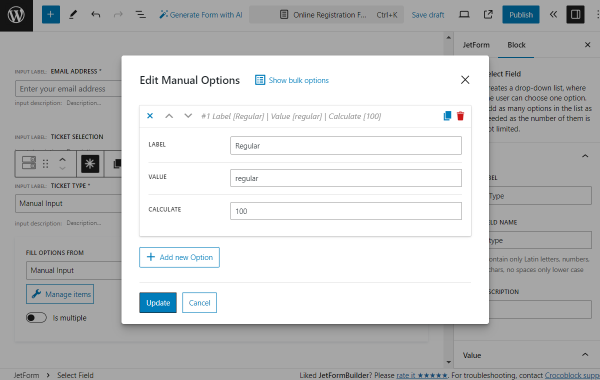
Press the “Add new Option” button to add an option to the Select Field.
Complete the LABEL, VALUE, and CALCULATE fields with the needed values.
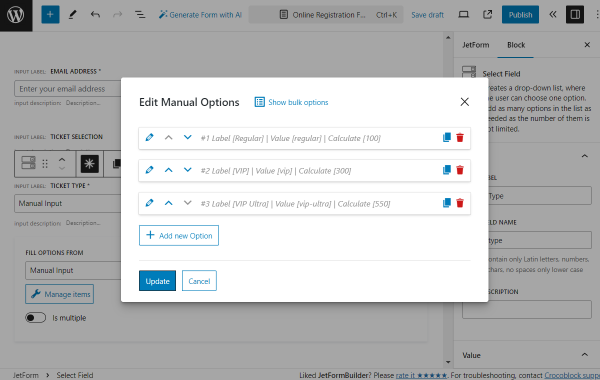
For instance, we complete the LABEL with “Regular,” VALUE with “regular,” and CALCULATE with “100” to use this value for calculations.
Add as many options as needed by repeating the steps described earlier.
Once done, press the “Update” button.
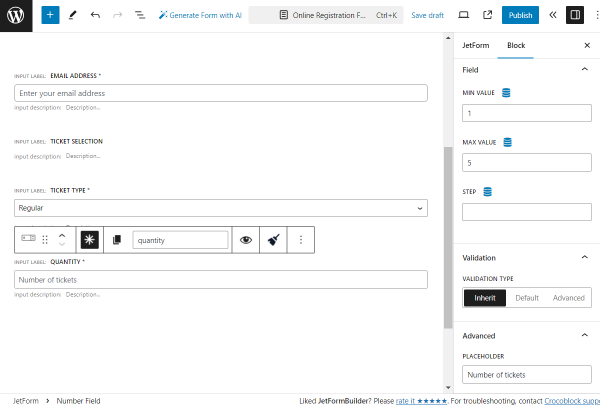
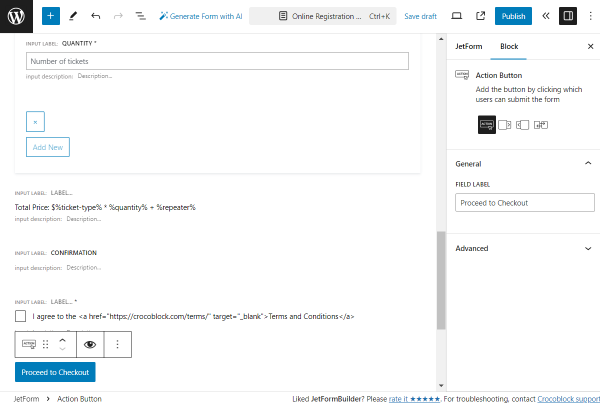
The following field we add to the form is the “Quantity” Number Field.
In the Field tab, we set its MIN VALUE to “1” and MAX VALUE to “5” to limit the number of tickets that can be purchased in one form completion.
Here, we also set the PLACEHOLDER in the Advanced tab to “Number of tickets.”
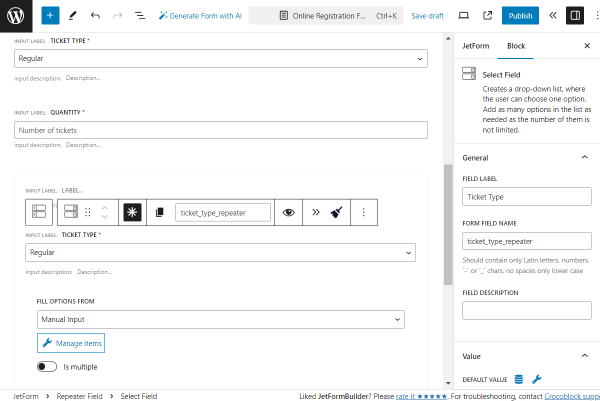
Next, we add a Repeater Field and set its FORM FIELD NAME to “tickets_repeater.”
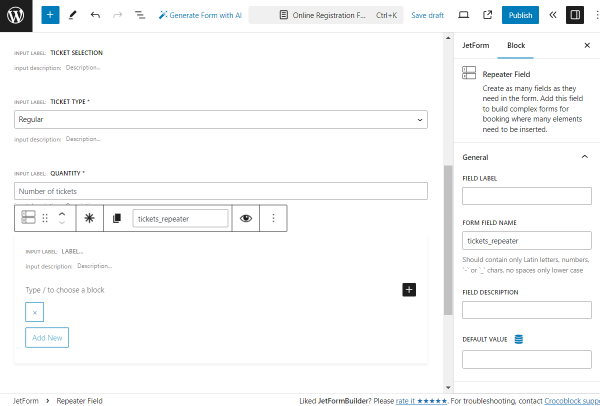
As we want to complete the Repeater Field with the already built Ticket Selection and Ticket Type fields, we return to them and press the “three dots” and “Copy” buttons.
Then, return to the Repeater Field, click the right button, and paste the copied field.
To make the fields unique, we change their FORM FIELD NAME so they will look like “ticket_selection_repeater” and “ticket_type_repeater”.
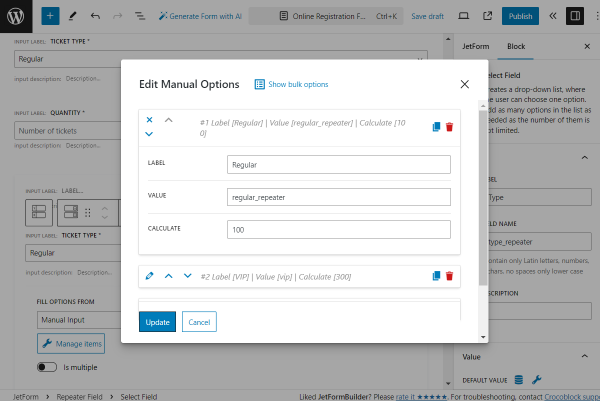
We also need to make the VALUES of the Select Field options unique. To do so, press the “Manage items” button.
In the pop-up, we change the VALUE of each option by adding “_repeater” to the already completed value.
To save the options, click the “Update” button.
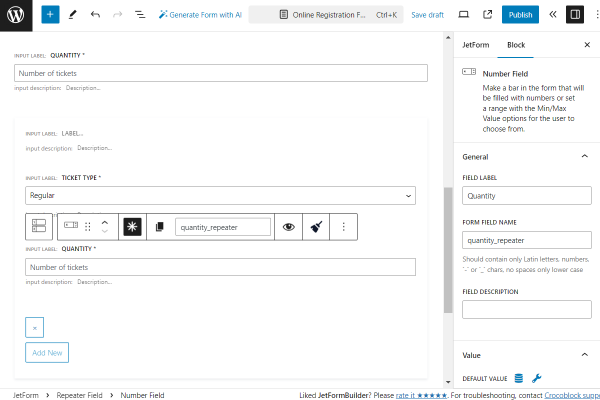
For the “Quantity” Number Field, we change the FORM FIELD NAME by adding the “_repeater” part to it as well.
After that, we return to the Repeater Field settings itself and move to the Field tab.
Here, we pick the “Custom (calculate custom value for each row)” option in the CALCULATE REPEATER ROW VALUE field.
In the CALCULATED FORMULA FOR REPEATER field that appeared in the repeater field, we paste the following formula that will be later used for calculations:
%ticket_type_repeater% * %quantity_repeater%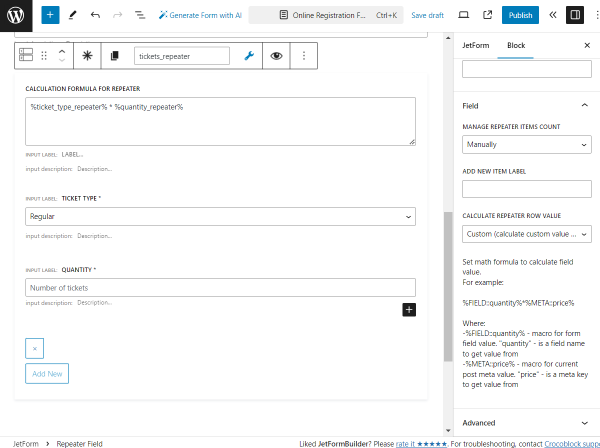
The following field we add to the form is the Calculated Field. As for the settings, we set the CALCULATED VALUE PREFIX to “Total Price: $”.
Inside the field, we put the following formula:
%ticket-type% * %quantity% + %repeater%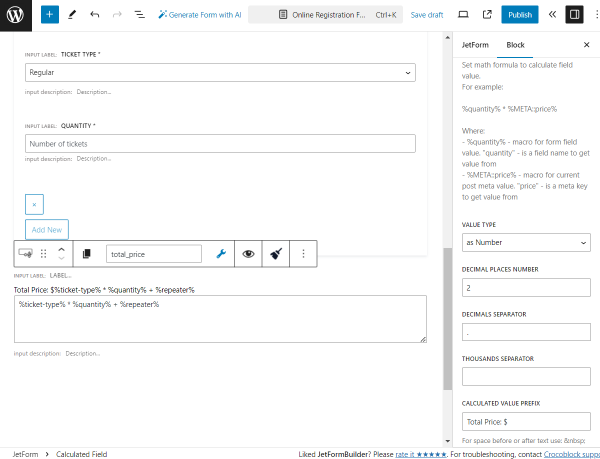
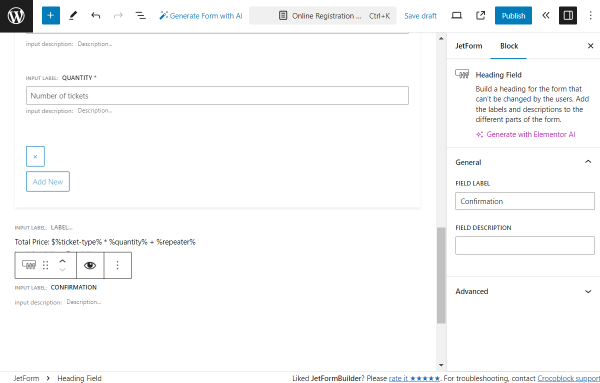
The last section of the form will be called “Confirmation,” so we add a Heading Field with such a FIELD LABEL.
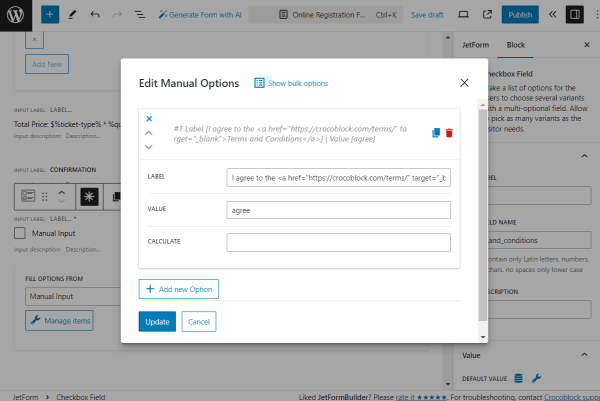
We add a Checkbox Field with no FIELD LABEL but with the “terms_and_conditions” FORM FIELD NAME.
Leaving the default “Manual Input” option in the FILL OPTIONS FROM selector, we press the “Manage items” button to add an option.
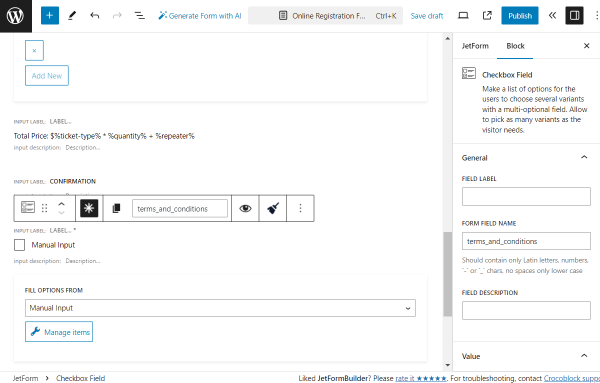
We put the “I agree to the <a href=”https://crocoblock.com/terms/” target=”_blank”>Terms and Conditions</a>” text as the LABEL and “agree” as the VALUE. Then, press the “Update” button.
The last field put in the form is the Action Button.
In the General tab of the settings, we change the FIELD LABEL to “Proceed to Checkout.”
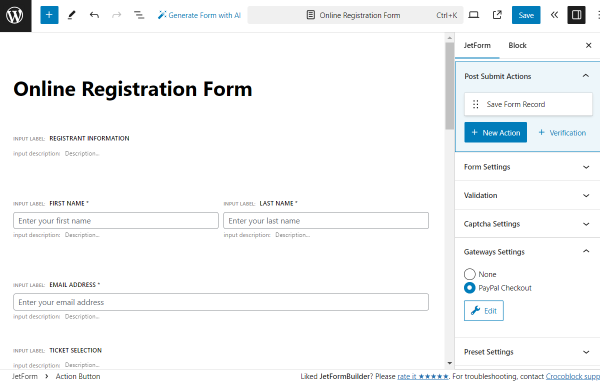
Then, open the JetForm tab of the form settings.
Here, we add the “Save Form Record” action in the Post Submit Actions tab.
Next, we move to the Gateways Settings tab and select the “PayPal Checkout” option.
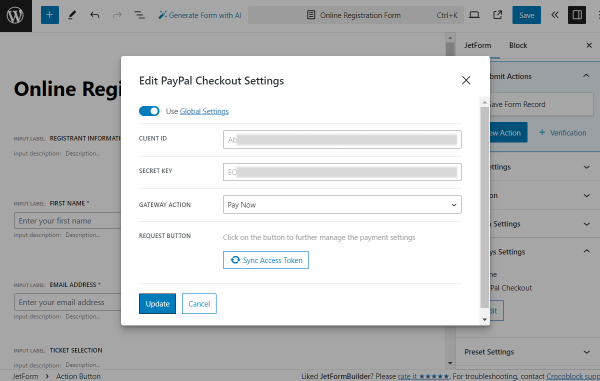
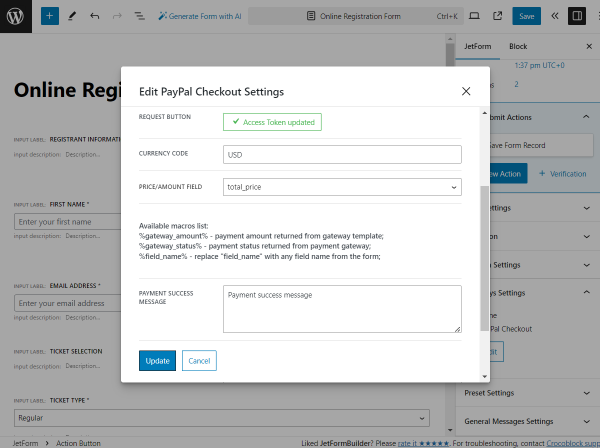
Press the “Edit” button to open the settings pop-up.
We activate the Use Global Settings toggle to pull out the needed credentials from the global settings.
Then, we leave the default “Pay Now” GATEWAY ACTION and press the “Sync Access Token” button.
Once the token is activated successfully, the corresponding message will appear, and the following settings will be made available.
We complete the CURRENCY CODE field with the “USD” value to make transactions in American dollars and pick the “total_price” field as the PRICE/AMOUNT FIELD.
When the settings are adjusted, press the “Update” button.
Save the form by pressing the corresponding button.
Add a Form to a Page
Head to the page/template where you want to place the form. For instance, we go to the static page in the WordPress Dashboard > Pages > Add New directory.
We edit the page with Elementor Page Builder. However, you are free to work with the Block Editor (Gutenberg) or Bricks.
So, add a JetForm widget/block/element to the page and select the just-built form in the corresponding field.
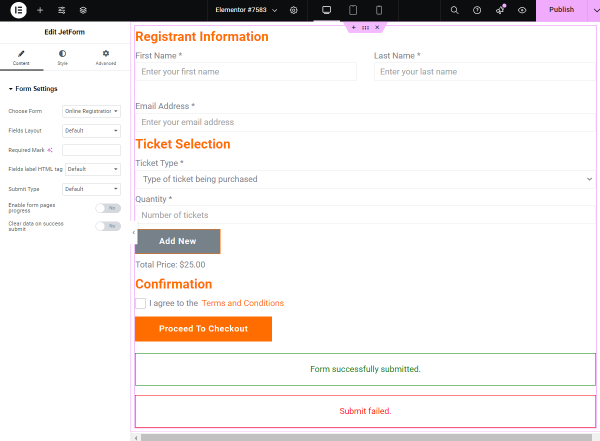
Customize the settings of the form and its appearance. Once the page is ready, hit the “Publish” button.
Check the Results
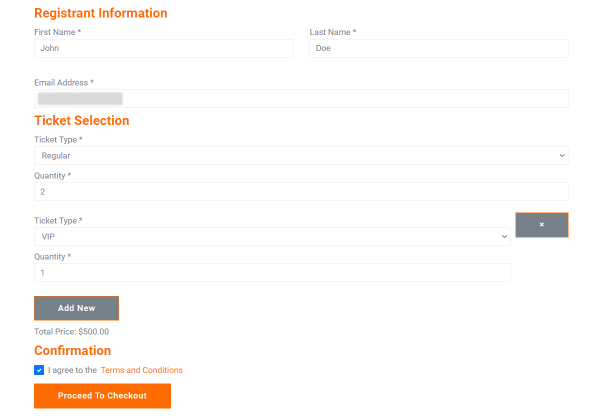
Go to the front end of the just edited page and complete the form.
Submit it to be redirected to the payment page.
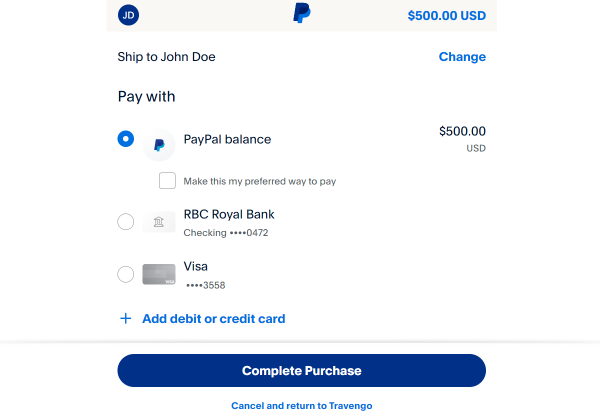
In our case, we are redirected to the PayPal payment page.
Complete the information asked to make a transaction.
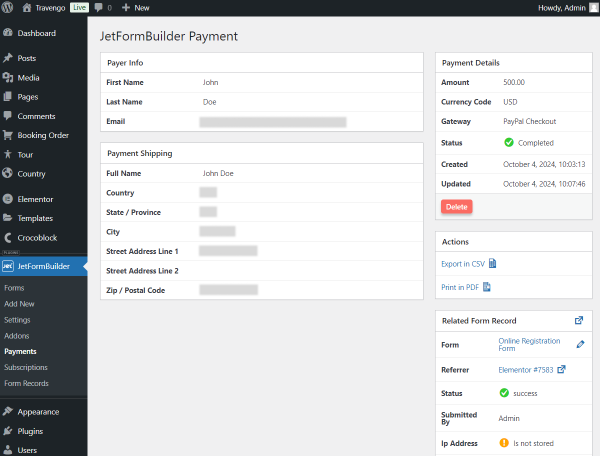
Let’s check if the payment was successful. Go to WordPress Dashboard > JetFormBuilder > Payments.
Find the needed payment, hover over it, and click the “View” button.

The payment is now open. Here, all the information on the payment is displayed.
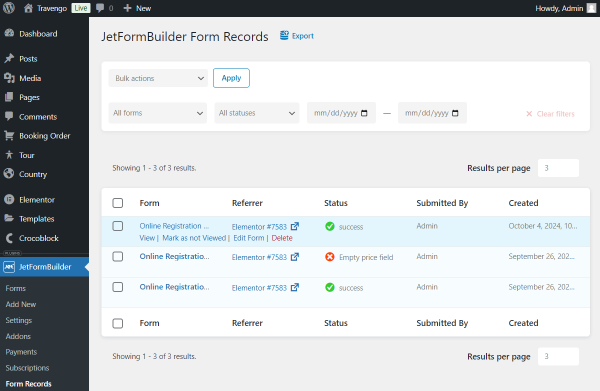
As we also had a “Save Form Record” post submit action activated for the form, we now head to WordPress Dashboard > JetFormBuilder > Form Records to check if the data on form submission was saved.
Find the needed record, hover over it, and click the “View” button.
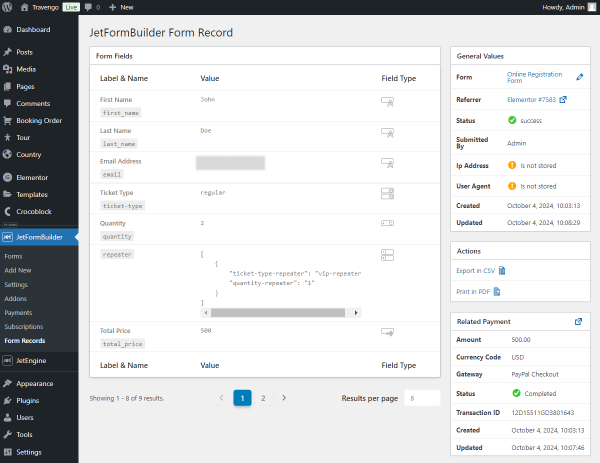
Once done, the form record is opened. All the information on the submitted form is displayed here.
That’s all; now, you know how to build an event registration form with the JetFormBuilder plugin for WordPress.