Heading Field
The Heading Field block has functionality similar to the standard WordPress Heading block – it adds a heading block. However, in contrast to the WordPress Heading block, the JetFormBuilder’s Heading Field block allows one to set the visibility rules and specify users who can see this field.
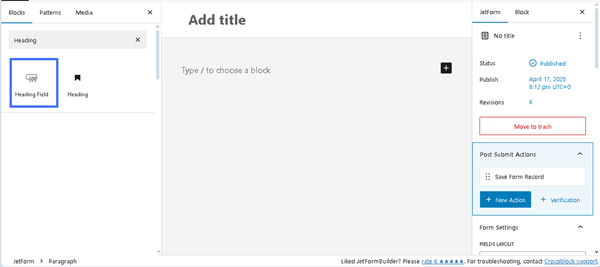
Adding the Heading Field
The Heading Field block can be inserted into a form, just like any other WordPress block. It can be found in the search bar of the block inserter (the “plus” icon) and then placed where needed.
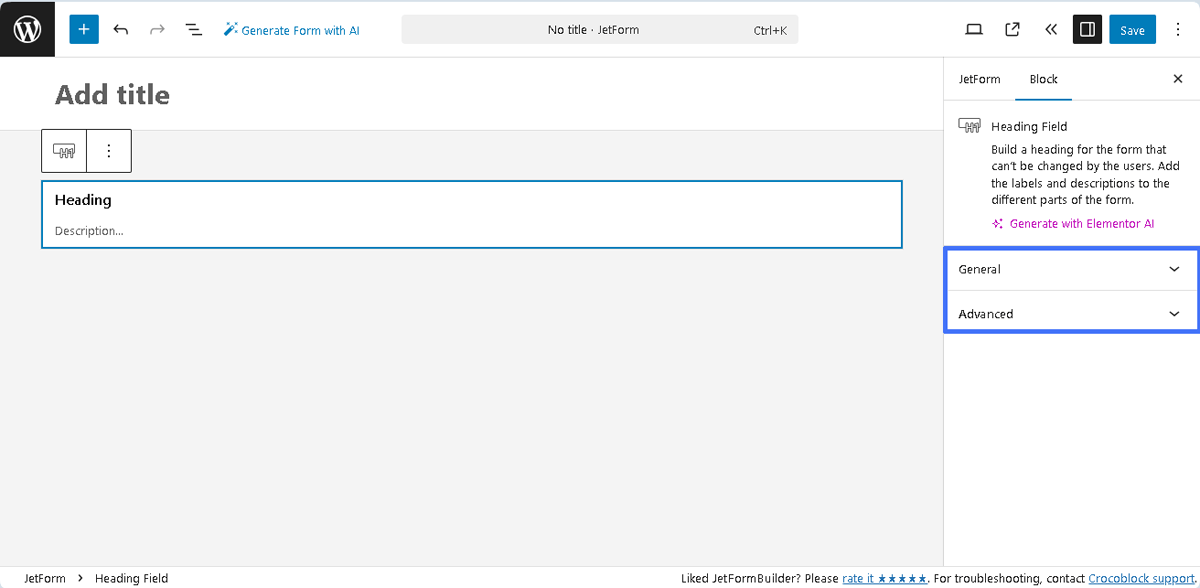
Settings of the Heading Field
The Heading Field has only two settings tabs: General and Advanced settings.
General
The General tab contains the following two settings:
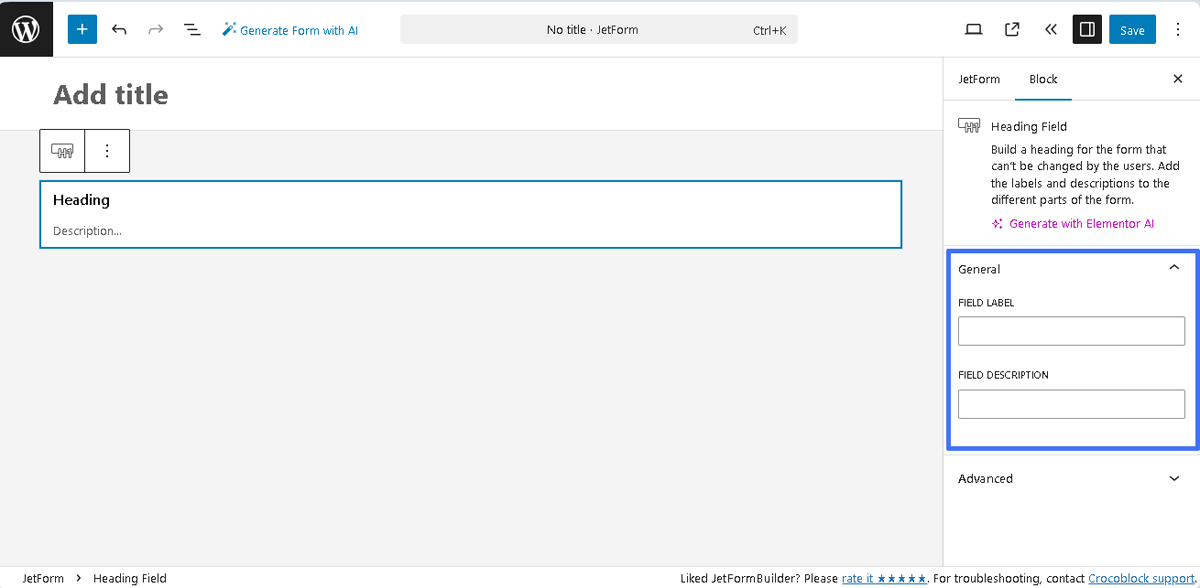
- FIELD LABEL ㅡ a field for inserting the field’s label;
- FORM FIELD NAME ㅡ a field for the field’s name. This field will be filled out automatically after the text is added to the FIELD LABEL field.
Advanced
The Advanced section includes the following fields:
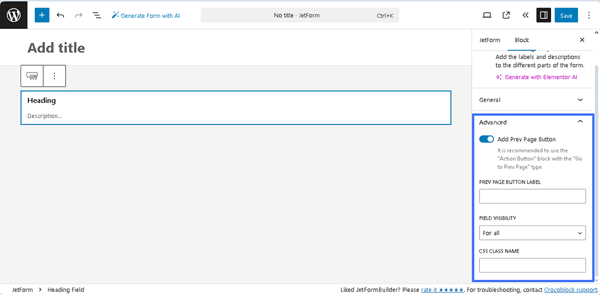
- Add Prev Page Button ㅡ a toggle that enables the PREV PAGE BUTTON LABEL, a field for inserting text that will be displayed on the corresponding button (if added);
- FIELD VISIBILITY 一a drop-down list that allows selecting who can observe the block. It includes the following options: “For all,” “Only for logged in users,” or “Only for NOT-logged in users”;
- CSS CLASS NAME 一 a text field that allows inserting an additional CSS class to design the block field.
The JetFormBuilder Plugin: Looking Through Advanced Settings tutorial explains how to configure the Advanced settings.
Styling the Block
After installation and activation of the free JetStyleManager plugin, the “Block Style” button will appear in the top right corner. This plugin configures the Alignment, Border, Color, Margin, Padding, and Typography settings of the Heading Field.
That’s it. Now you know how to add the Heading Field block from the JetFormBuilder plugin to a WordPress site to write a form title that allows one to set the visibility rules and specify users who can see this field.