How to Add a Multi-Step Order Form with Checkout to WooCommerce Sites
In this tutorial, we will create a multi-step order form for setting orders, using the WooCommerce Cart & Checkout Action for the JetFormBuilder plugin, the JetWooBuilder plugin to create a checkout page, and the WooCommerce plugin (with products created).
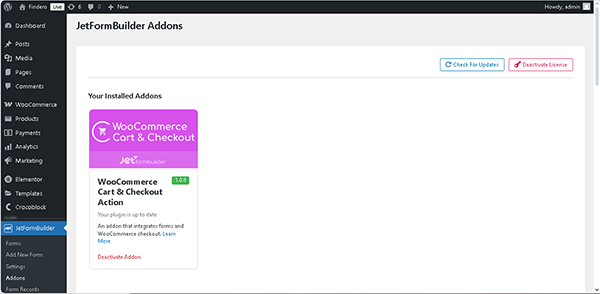
Therefore, before you start, all these plugins and the add-on should be installed and activated. Read a detailed tutorial to go through the installation process.
Here, we develop a form that contains the contact data in the first step and billing data in the second step. If needed, you can insert a login form on the first page using the User Login Action add-on for the JetFormBuilder plugin to build a WordPress login form.
Next, we plan to integrate the form into a product’s single-page view, allowing for further redirection to a checkout page. If you want to develop a form for adding to a shop page with the Product List or Product Grid widget, look through the Redirect Form to Woocommerce Thank You Page tutorial.
Create a Form
To create a new form, move to WordPress Dashboard > JetFormBuilder > Add New Form. The new form contains the Welcome block. Since we don’t need it, we press the “Start from scratch” button in the Welcome block to develop a new one. Then, press the “replace” link.
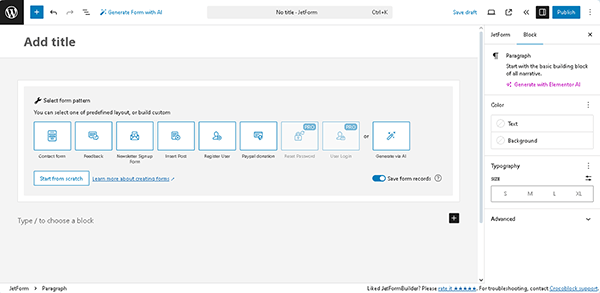
A Hidden Field, Text Field, and the Action Button will be added by default.
Type the form’s name (“Order form” in this case) instead of the “Add title” placeholder.
Next, navigate to the JetForm tab on the right sidebar, scroll down to the Form Settings section, and enable the Enable form pages progress switcher. With the help of this switcher, a progress bar will be displayed on top of each step in the form.
More information on configuring this setting is presented in the How to Enable Saving Progress for Multi-Step Forms tutorial.
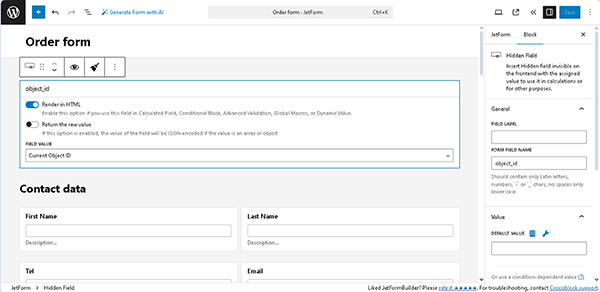
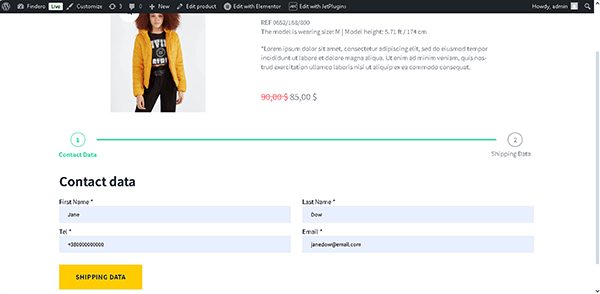
Here, in the first page of the form, we insert a Heading Field block, Columns block, Text Fields (for entering the contact data as “First Name,” “Last Name,” “Tel,” and “Email” FIELD LABELS), and a Page Break Field for dividing the form into steps. Press the “asterisk” icon to make the field required.
Also, we set the “Current Object ID” Hidden Fields and add the “object_id” as the FORM FIELD NAME, since we intend to add the form to a product Single page to allow redirection from the product page to the card.
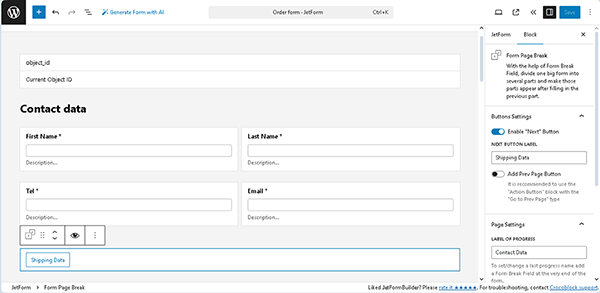
Next, we move to the Form Page Break block settings and activate the Enable “Next” Button toggle. After that, we insert the “Order Data” NEXT BUTTON LABEL to change the default name of the “Next” button and type the “Billing Details” LABEL OF PROGRESS.
Read a detailed tutorial on WordPress Multi-Step Form with Step Indicator and Conditional Blocks, to learn how to configure the needed fields and settings of the multi-stepped form.
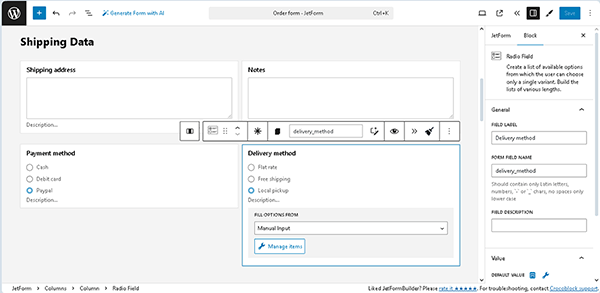
In the next step, we add another Heading Field (and name it “Shipping Data”), divide the layout into two columns, add “Shipping address” and “Notes” Textarea Fields, and “Payment method” and “Delivery method” Radio Fields.
Finally, configure the Action Button and publish the form.
Configure the Post Submit Settings
To configure the Post Submit Settings, move to the JetForm settings.
Here, the “Save Form Record“ Post Submit Action can be added by default. This Post Submit Action saves the entered data, but you can create a specific Custom Post Type (CPT) for each order using the “Insert/Update Post Post Submit Action.
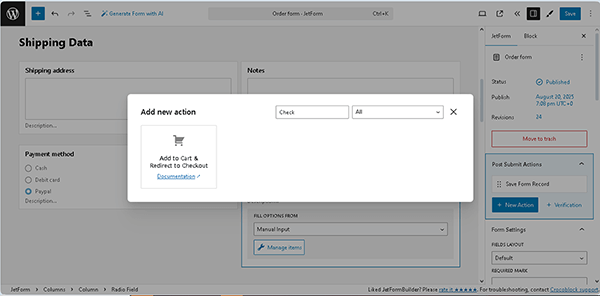
Next, press the “+ Add New” button in the Post Submit Actions section and select the “Add to Cart & Redirect to Checkout” option in the newly appeared Add new action pop-up.
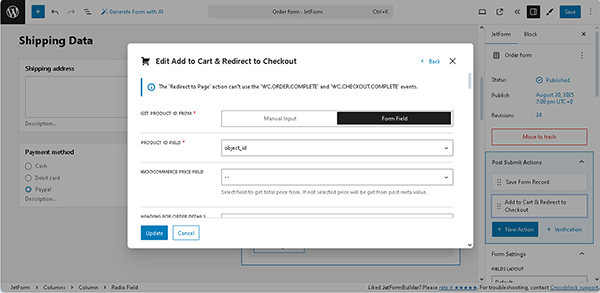
Once chosen, the Edit Add to Cart & Redirect to Checkout pop-up is opened.
Here, configure the following settings. First, select the “Form Field” option in the GET PRODUCT ID FROM and select the name of the form’s Hidden Field in the PRODUCT ID FIELD drop-down list (here, the “object_id” option).
After that, scroll the pop-up down to the WOOCOMMERCE ORDER DETAILS field and click the “Set up” button.
Then, the Set up WooCommerce order details pop-up is opened. Here, press the “+ Add New Item” button.
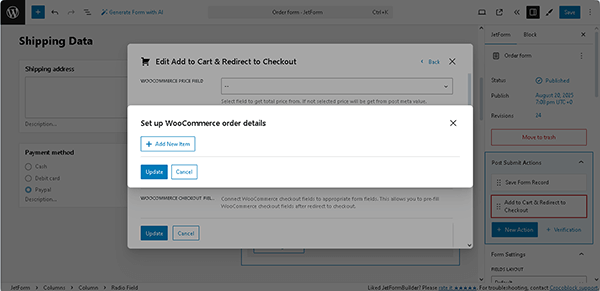
Next, specify the data to be shown in the order card. Once specified, press the “Update” button.

In the next step, after returning to the Edit Add to Cart & Redirect to Checkout pop-up, navigate to the WOOCOMMERCE CHECKOUT FIELD section and assign the form’s fields that will be displayed on the checkout page to the corresponding drop-down options.
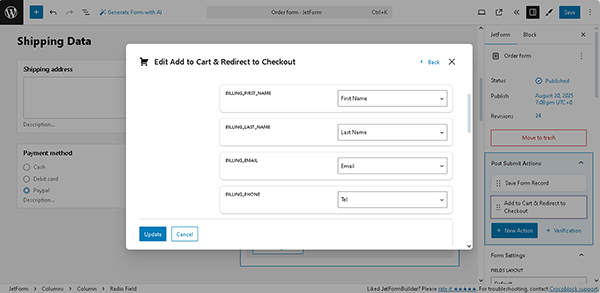
Finally, once completed, press the “Update” button, close the pop-up, and publish the form.
Add the Form to a Single Template
We plan to add the created form to a page built with the JetWooBuilder plugin; alternatively, you can add it to a default WooCommerce checkout page.
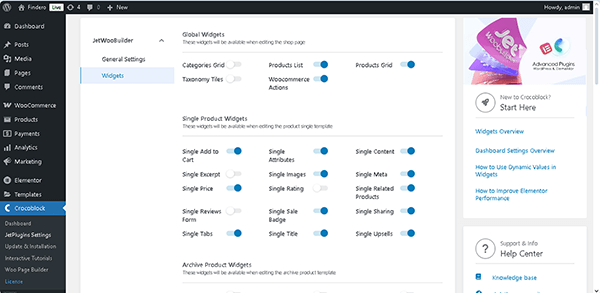
Enable the JetWooBuilder’s Widgets
Navigate to the WordPress Dashboard > Crocoblock > JetWooBuilder > Widgets tab, and enable the necessary widgets by toggling the corresponding options. More details can be found in the JetWooBuilder Dashboard Overview.
Create a product single template
Proceed to the WordPress Dashboard > Crocoblock > Woo Page Builder tab and click the “Create New Template” button. Then, in the newly appeared pop-up, select the “Single” option in the This Template For field and insert a Template Name (the “Temp Prod”, in this case). Then, press the “Create Template” button to proceed to the Elementor editor.
Design the single page as you need.
Then, find the JetForm widget and drag-n-drop it to the page. Then, select the needed form in the Choose Form drop-down list.
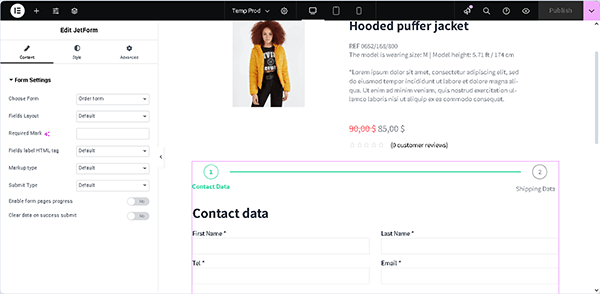
Read the How to Display a Form on the Front End tutorial for more details.
Once completed, publish the template.
Configure the WooCommerce Settings
Proceed to the WordPress Dashboard > WooCommerce > Settings >JetWooBuilder tab. Here, move to the Single Product section, tick the Custom Single Product checkbox, and set the needed single page in the Single Product Template drop-down list.
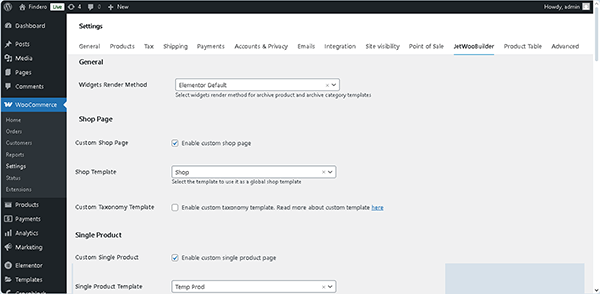
Changes will be saved automatically.
Test the Flow
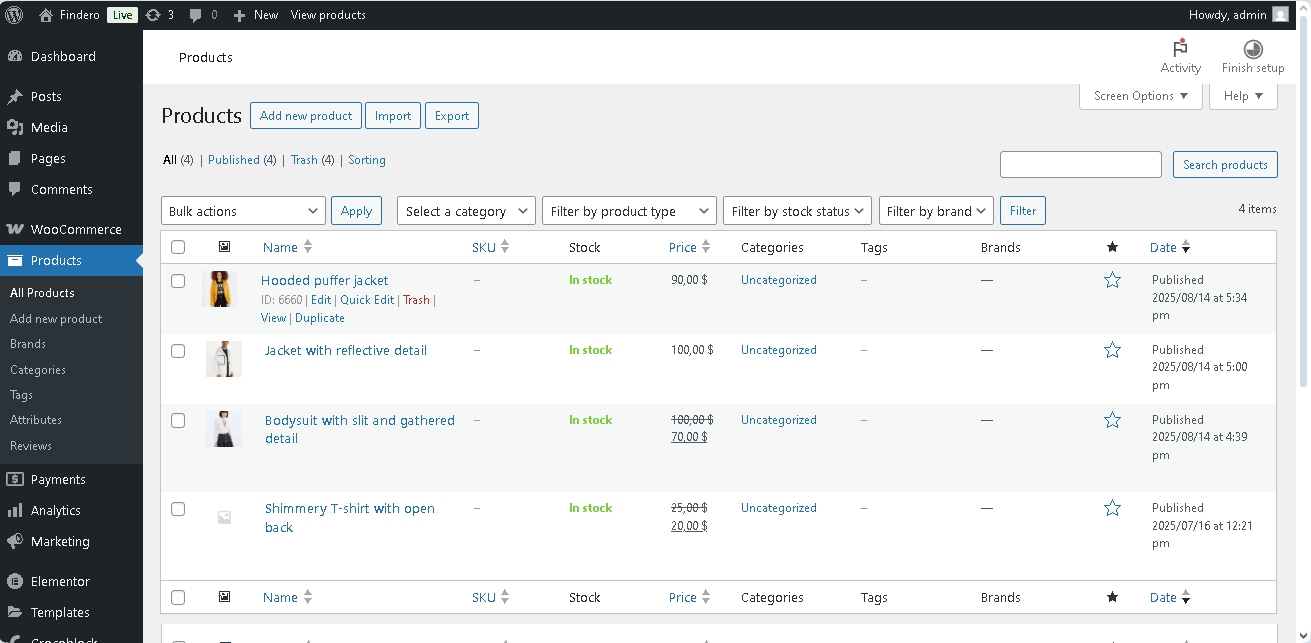
Move to the WordPress Dashboard > Products > All Products and hover over the product you need. Then, press the “View” link.
After that, fill out the form’s field and proceed to the form’s next step.
Next, you will be redirected to the second form’s page.
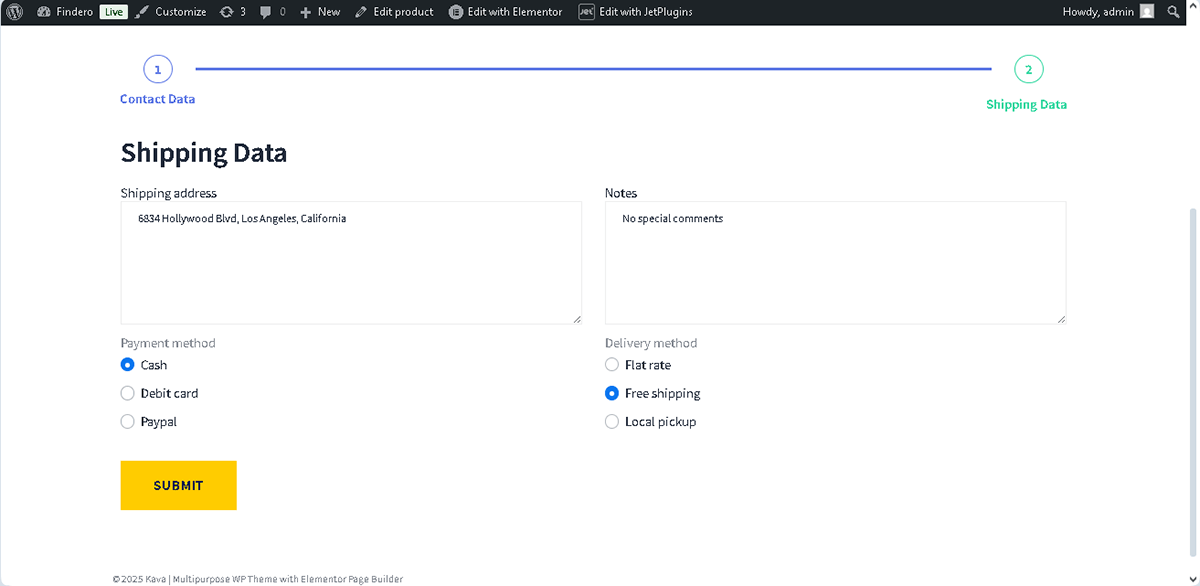
After pressing the “SUBMIT” button, you will be redirected to the checkout page.
That’s it. Now you know how to configure the JetFormBuilder’s “Add to Cart & Redirect to Checkout” Post Submit Action using the WooCommerce Cart & Checkout Addon for WordPress to add a multi-step order form with checkout to the WooCommerce site.