How to Clear Data Store With Form Action
Tutorial requirements:
- Elementor (Free version) or WordPress Block editor (Gutenberg);
- JetFormBuilder plugin installed and activated;
- JetEngine plugin installed and activated.
The JetEngine Data Store module allows users to save featured items. The Data Store Actions add-on adds a Post Submit Action to the JetFormBuilder forms to remove saved items with one click.
Install and Activate the Data Store Actions Add-on
The first step is the installation and activation of the add-on.
For this, navigate to the Crocoblock Free DevTools Kit page, find the Data Store Actions add-on, and click the “Download” button.
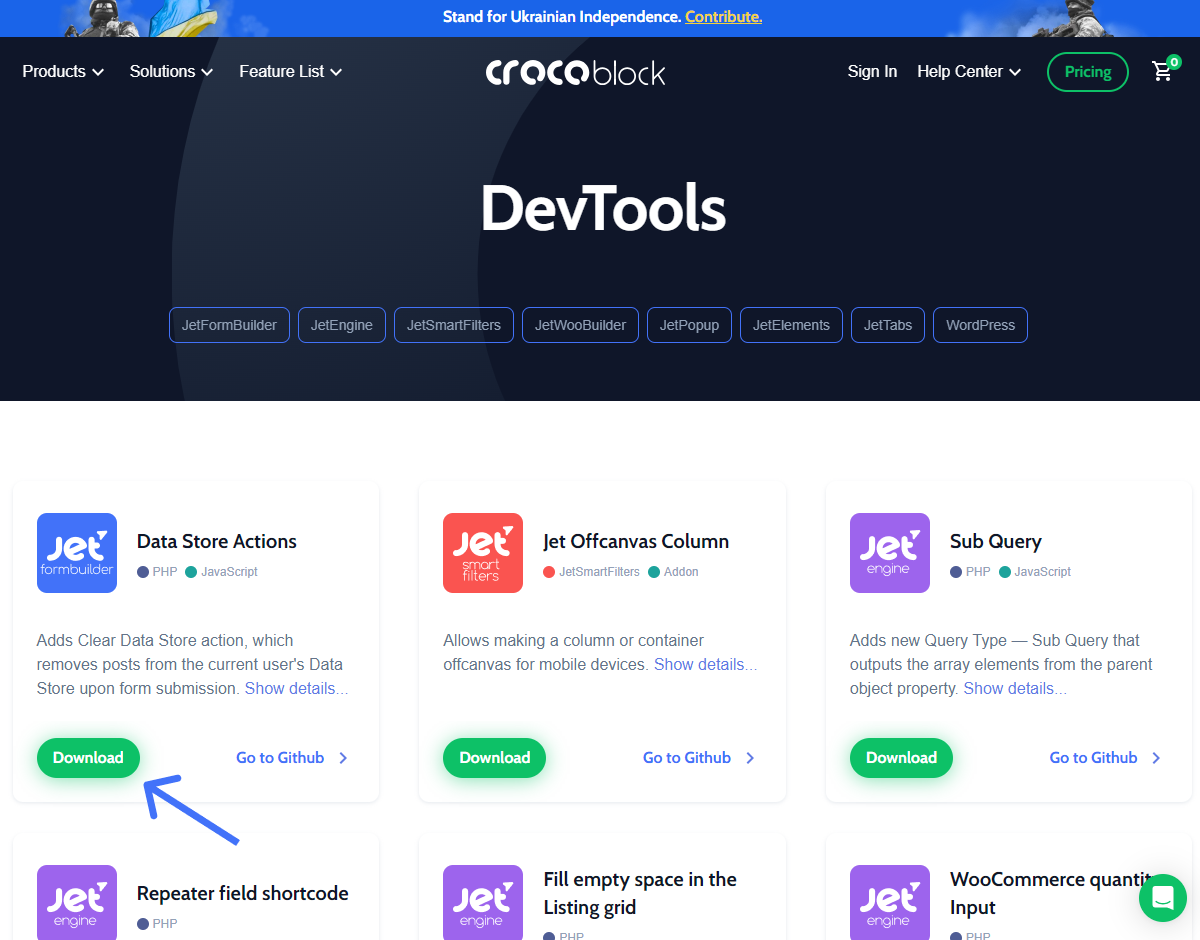
Move to the WordPress Dashboard > Plugins > Add New tab, install and activate the add-on.

Create a Data Store
Create a full-set data store on the website.
For example, I created a data store for the favorite jobs in the JetEngine > JetEngine > Data Stores tab with the help of the Data Stores Overview and How to Create Favorites Page Using Data Stores Module.
Besides that, you can learn How to Create “Recently Viewed” Section Using Data Stores Module, and How to Add Terms to Data Store.
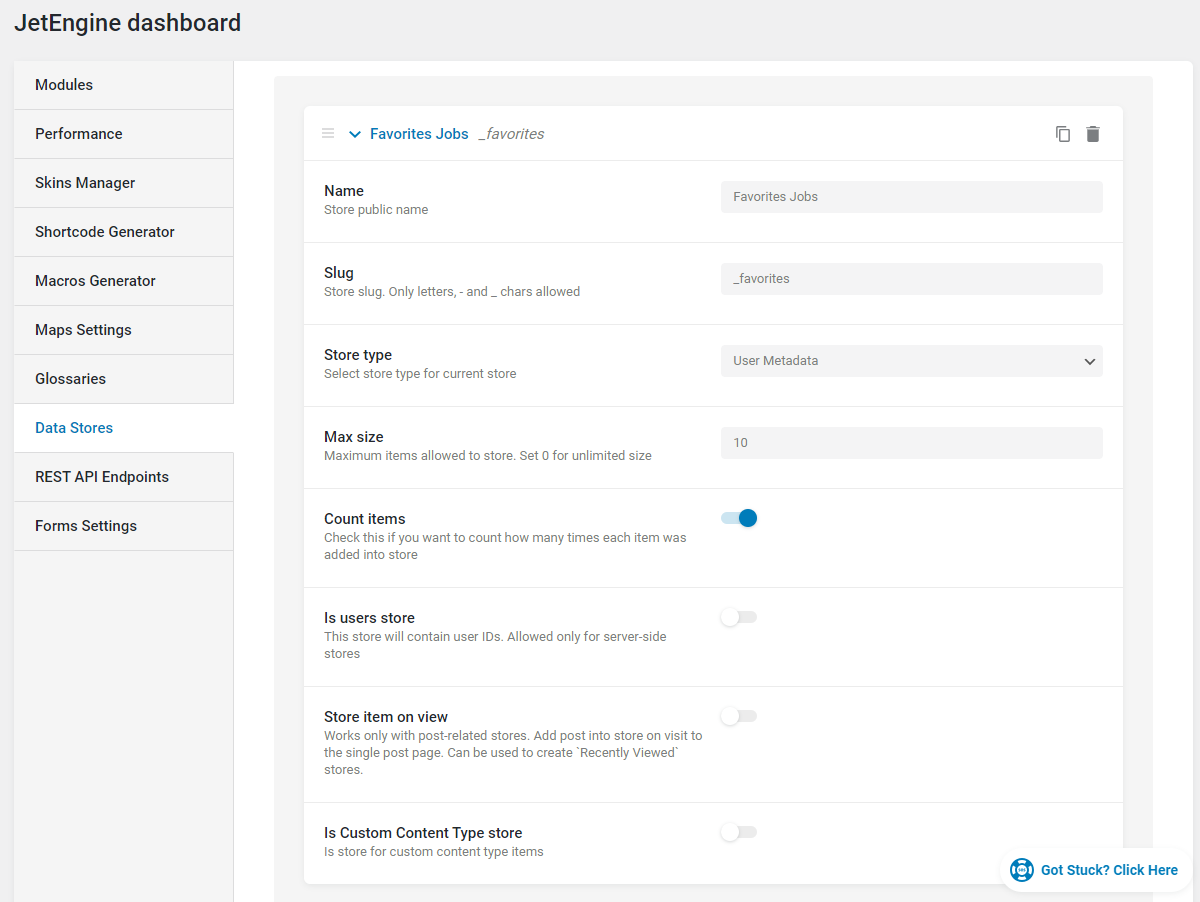
I proceeded to the page with the Listing Grid with jobs and saved several job positions.

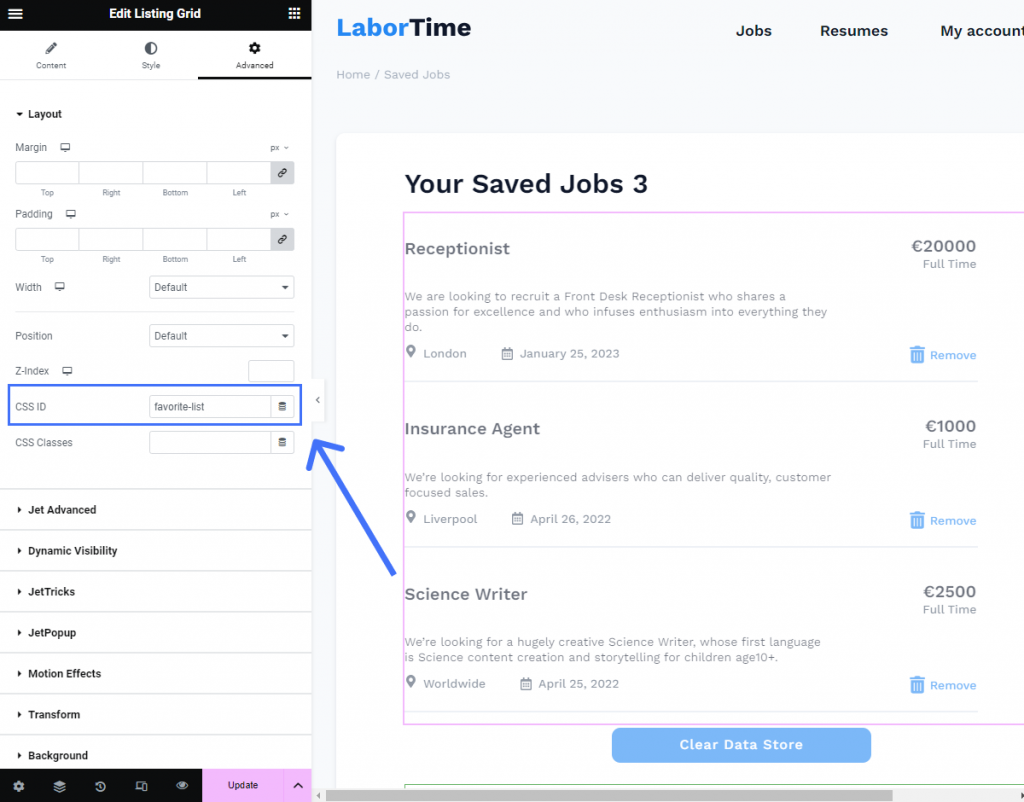
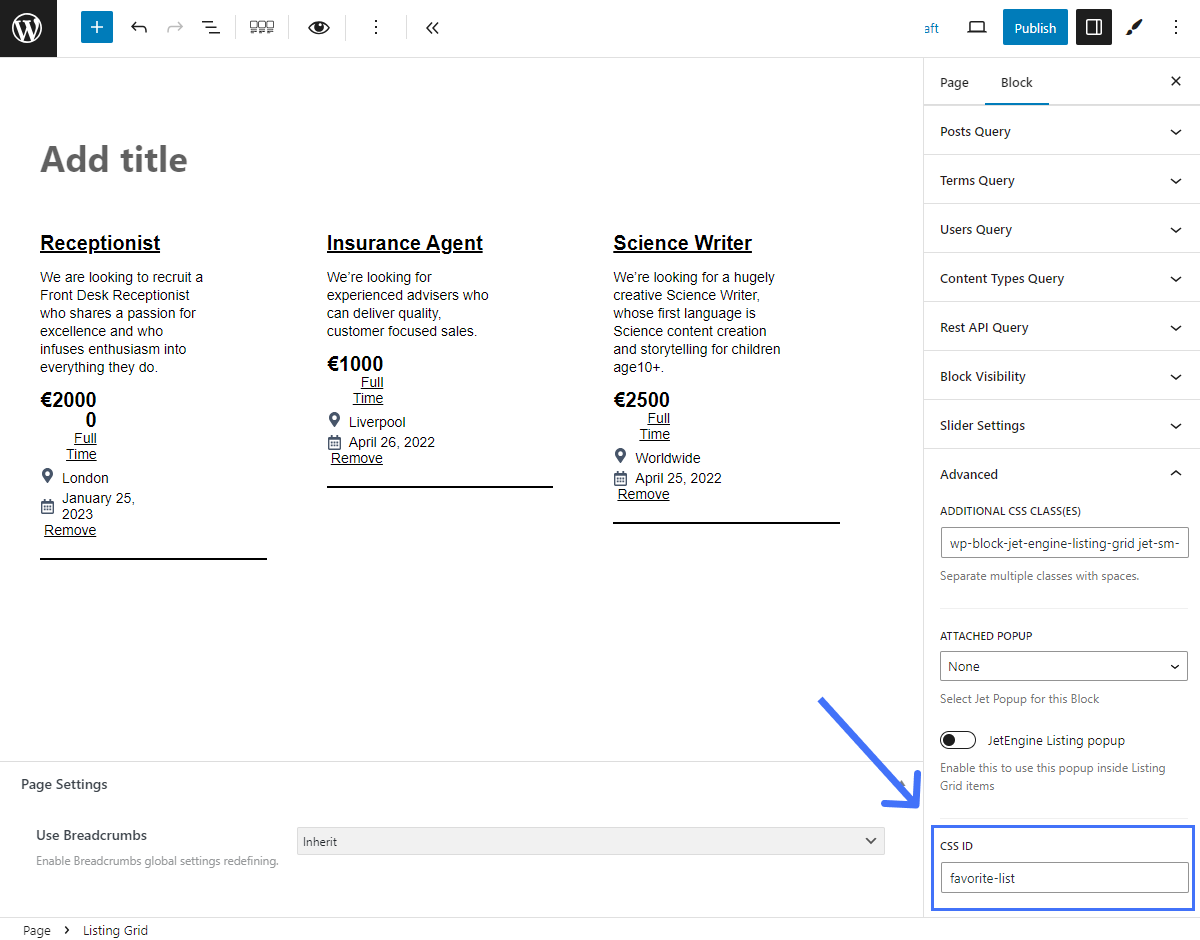
Also, I went to the page with the Listing Grid with the query that shows items added to the data store. Open the page in the Elementor or WordPress (Block) editors, and click to edit the Listing Grid widget or block.
Open the Advanced settings tab and enter the CSS ID. Later, you can enter the Listing Grid CSS ID into the form to clear the data store if the “AJAX” Submit Type for the form is set.
The Elementor view:
The Gutenberg view:
Create a Form
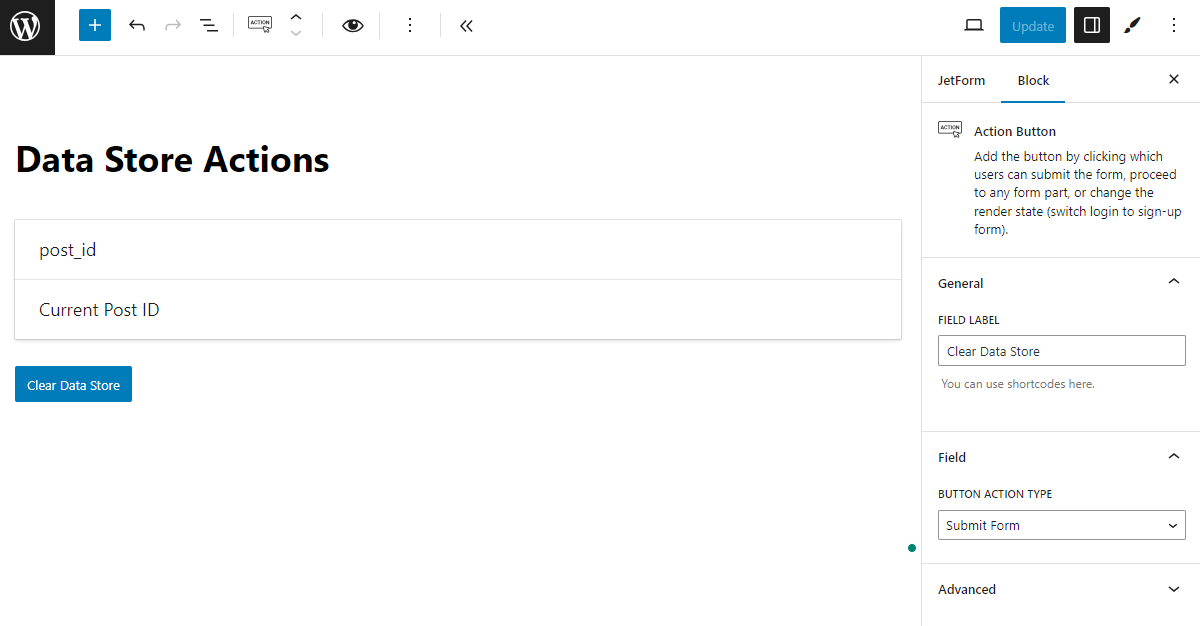
Go to the JetFormBuilder > Add New tab. Enter a title, delete the Text Field, and change the Action Button label according to your needs.
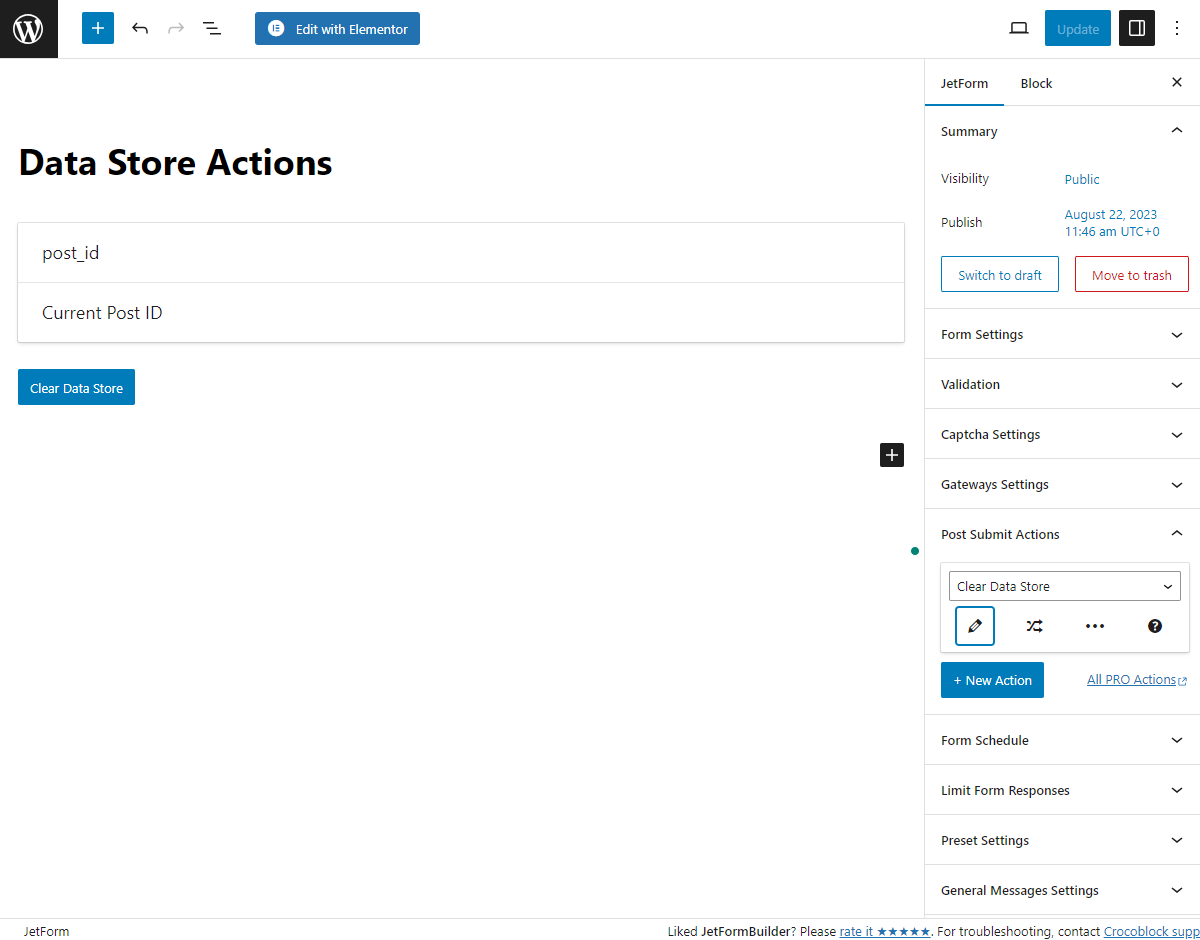
Navigate to the JetForm tab and unfold the Post Submit Actions tab. Pick the “Clear Data Store” option and hit the pencil icon.
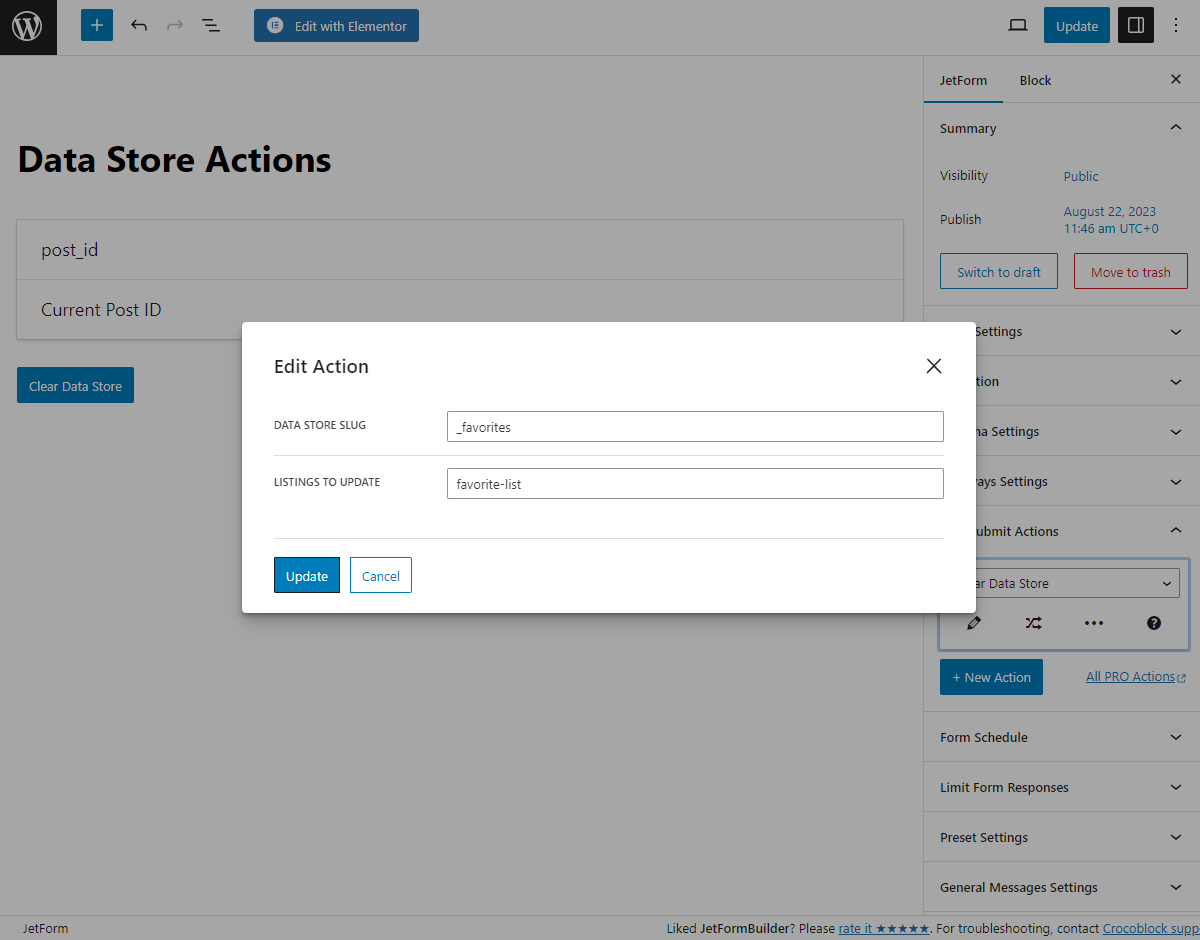
In the Edit Action pop-up, enter the Data store slug (you can find it in the JetEngine > JetEngine > Data Stores tab) and the Listing Grid CSS ID into the Listing to update field. If you want to clear data stores of several Listing Grids, separate the CSS IDs with commas. The Listing to update option helps to update Listing Grids if you select the “AJAX” form Submit Type when you set the form placed on the page.
Then, push the “Update” button.
Press the “Publish/Update” button to save the form.
Place the Form
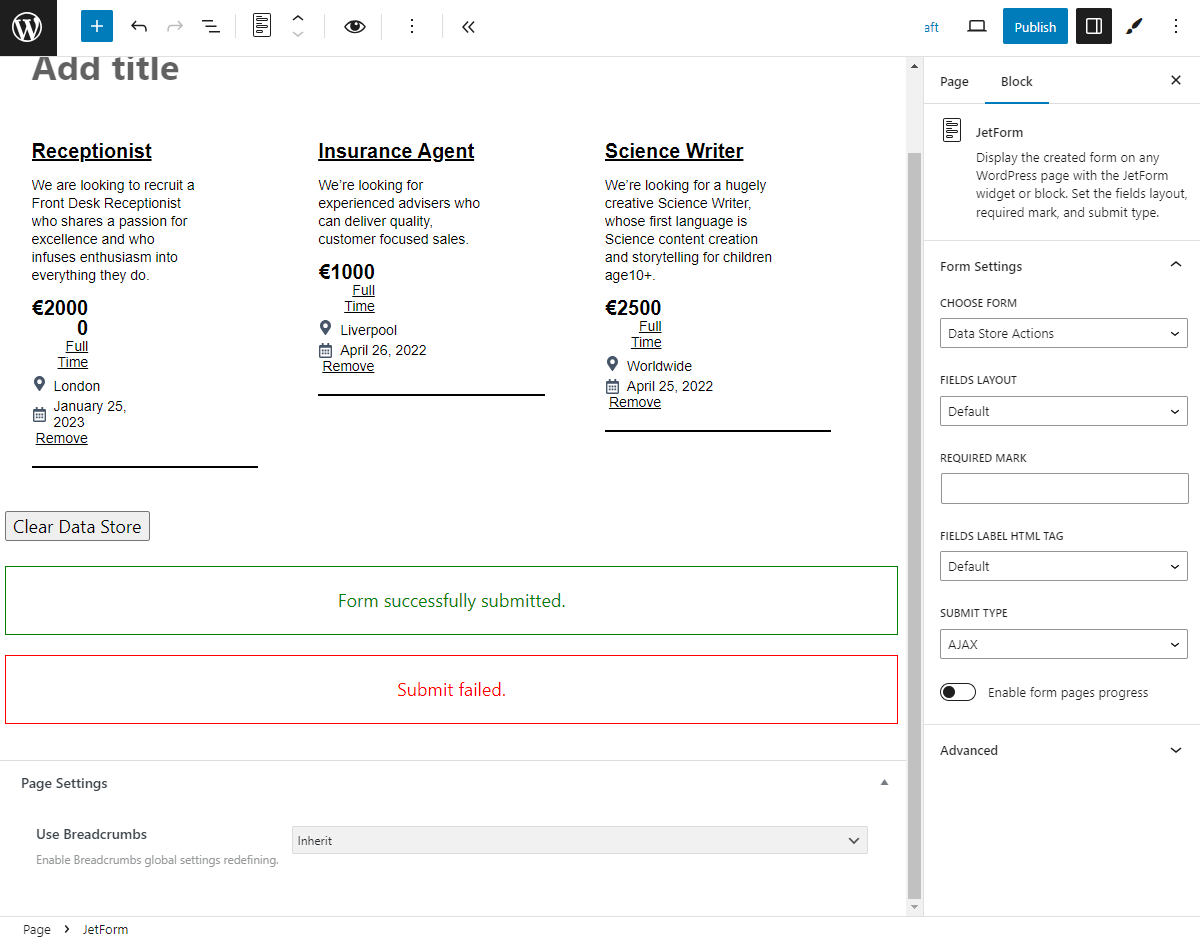
Open the page where the data store items are in Elementor or Gutenberg editor and place the JetForm widget or Form block.
Choose Form from the drop-down menu and set other settings. You can learn more from the Adding the Form Block tutorial.
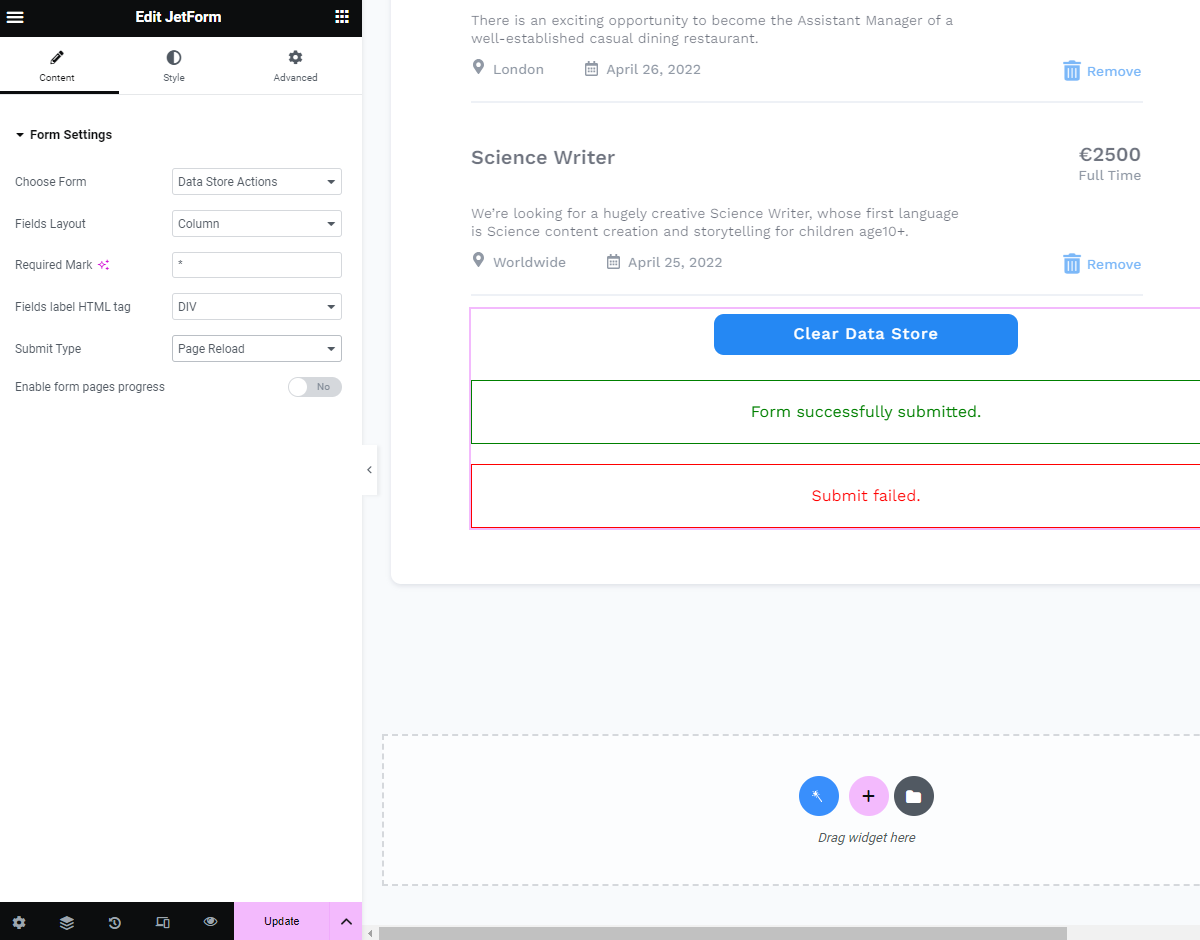
Settings in the WordPress editor are the same:
Also, you can hide the form after removing the data store items using the JetEngine Dynamic Visibility Feature.
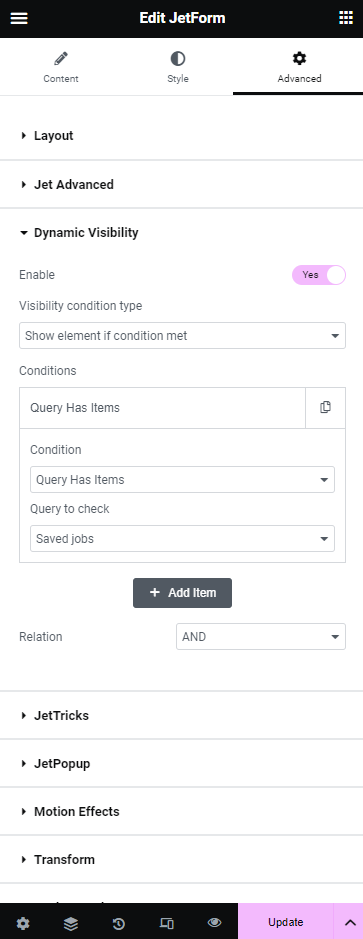
In the Elementor editor, go to the Advanced settings tab and open the Dynamic Visibility tab. Enable the toggle, pick the “Show element if condition met” Visibility condition type, and “Query Has Items” Condition. From the Query to check drop-down, select the needed custom query that shows data store items in the Listing Grid on the page.
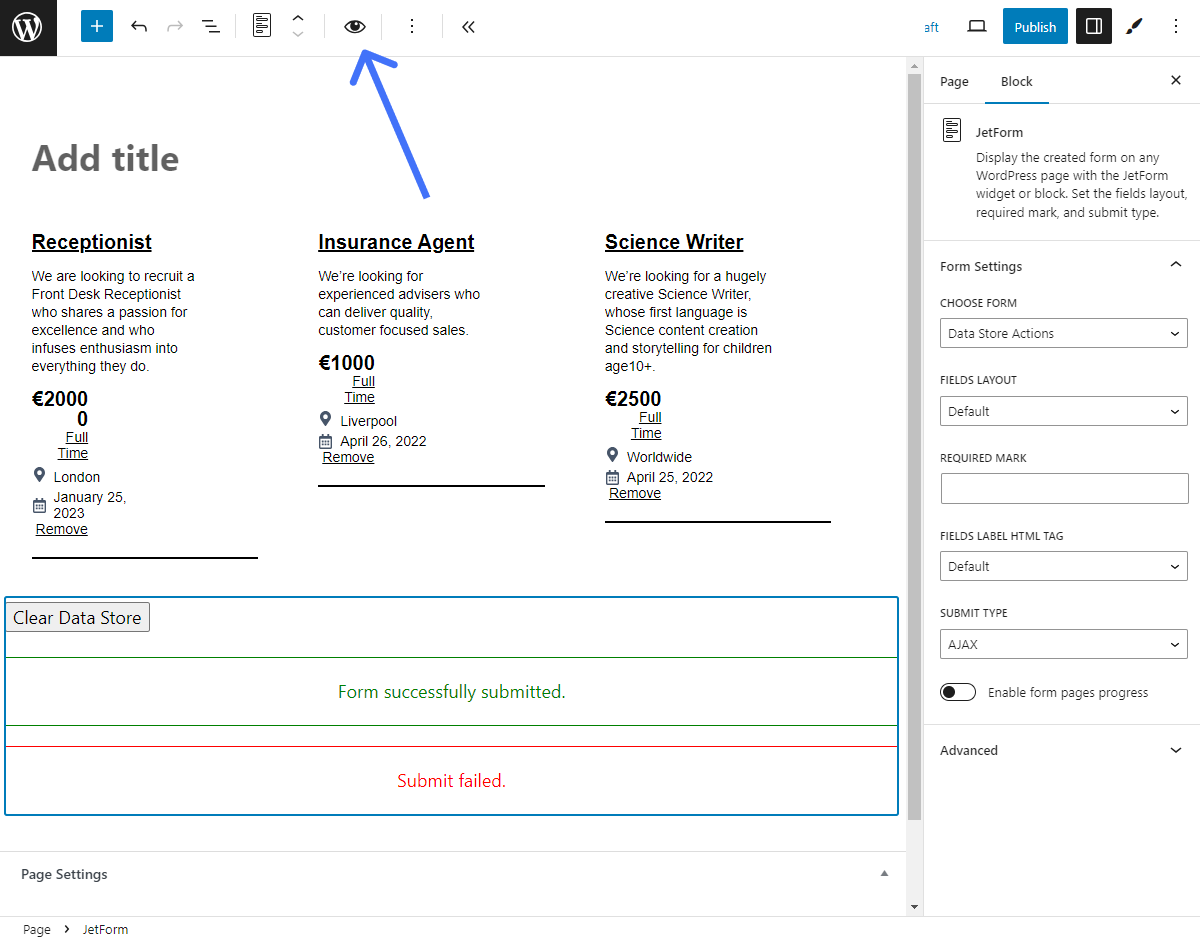
In the WordPress (block) editor, click the eye icon.
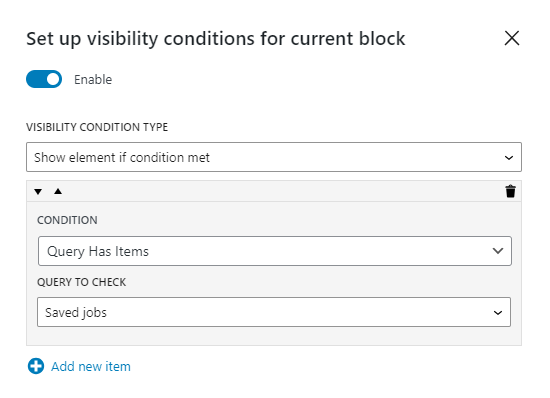
Enable the toggle, pick the “Show element if condition met” Visibility condition type, click the “Add new item” link, and select the “Query Has Items” Condition. From the Query to check drop-down, select the needed custom query.
Finally, click the “Update” button to save the form.
Check the Results
Open the page on the front end.

Hit the “Submit” button to check how the action works.
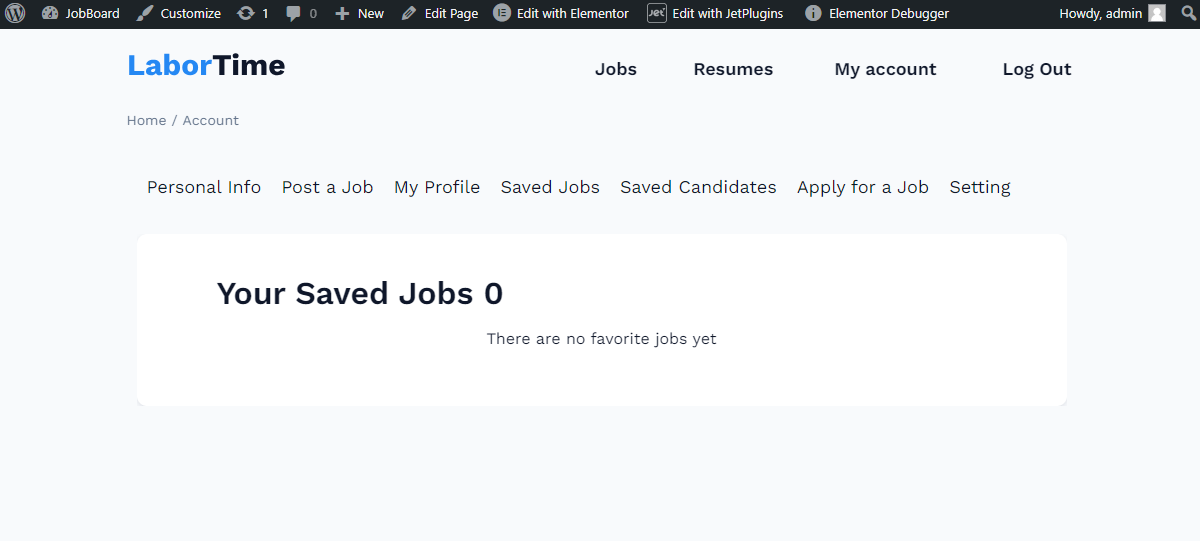
After that, all data store items are successfully removed from the page, and the form is hidden according to the visibility condition.
That’s all. Now you know how to clear the data store with the JetFormBuilder plugin.