How to Configure a Custom Recurring Subscription Form
In this tutorial, we focus on configuring a custom recurring subscription plan in the PayPal “Sandbox” mode and choosing it via the Select (Checkbox or Radio) Fields of the previously created form.
It allows the price range to depend on the number of ordered items (so-called tiered pricing); therefore, the chosen data will be transferred to the PayPal checkout page, and PayPal will provide tier-based payment.
Here, we assume that the PayPal Recurring Payments add-on for JetFormBuilder is installed and activated, and that the subscription plan and the form have been created. In addition, we primarily focus on configuring specific fields and settings. More details on configuring the required subscription plans, adjusting the Post Submit Actions, and managing the subscriptions via PayPal and JetFormBuilder Dashboard can be found in the How to Configure Payment Gateways and How to Set Recurring PayPal Payments in WordPress Form tutorials.
Table of Contents:
Create a Tier-Based Subscription Plan
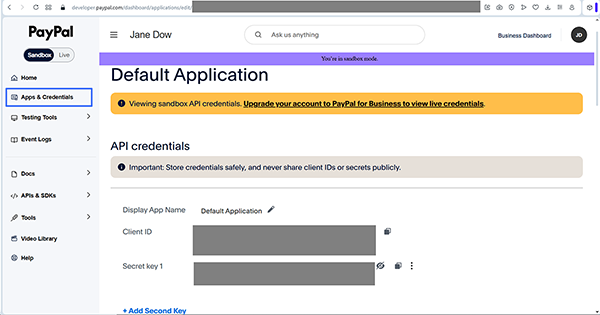
Initially, log in to your PayPal Developer account. By default, you will be redirected to the Sandbox test accounts page of your main PayPal account. Here, go to the Apps & Credentials tab and select the required credential from the unlisted options.
Then scroll down this page to view the Sandbox account info section to the Email and Password data.
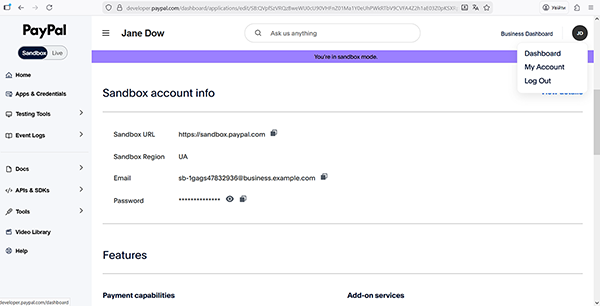
Then, enter the Sandbox PayPal account using the provided Email and Password. Here, the “John Doe” username is set by default; you can enter your desired one.
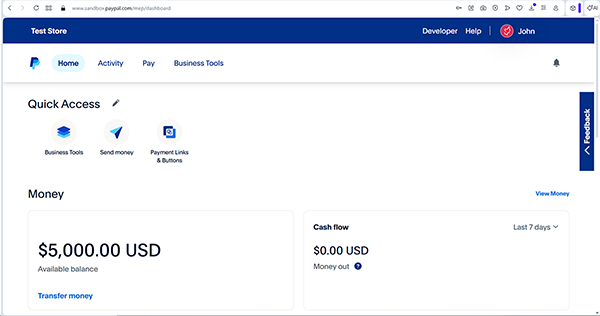
Here, unfold the Business Tools tab and press the “Recurring payments dashboard” link.
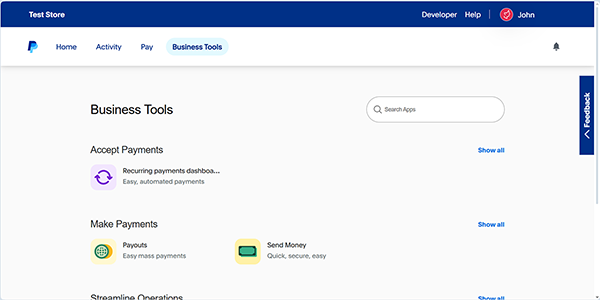
After that, you will be redirected to the Manage subscriptions page.
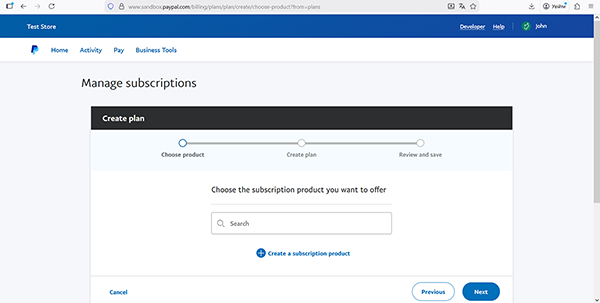
Here, click the “Create subscription product” link, fill in the required fields, and proceed to the next page.
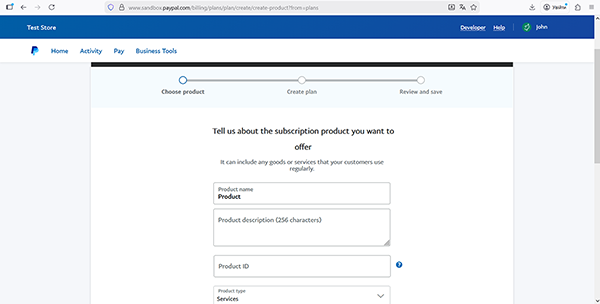
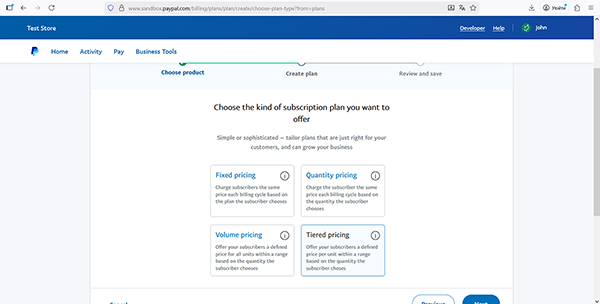
Once the product’s general data is complete, you will be redirected to the Create plan page to configure the subscription. On this page, select the “Tiered pricing” option and move to the next page.
Then, adjust the pricing on the Define pricing for this subscription plan page by filling out the Currency, Pricing, and other fields.
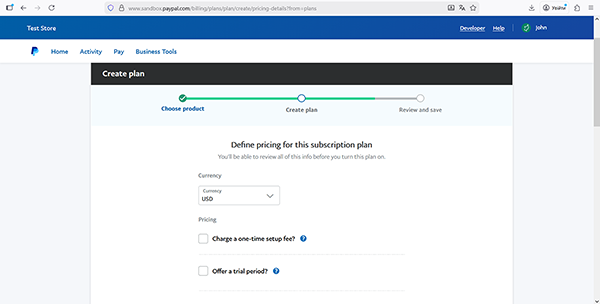
Also, scroll the page down and configure the Tier based planning section that is intended to specify the pricing range.
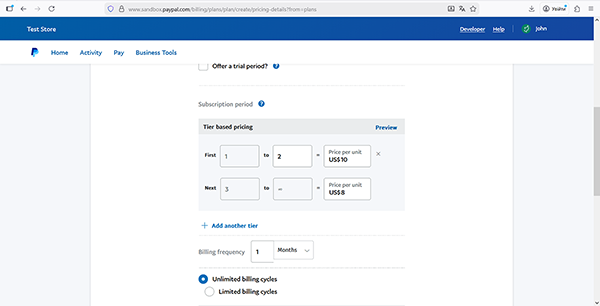
Once configured, press the “Next” button in the bottom-right corner of the page.
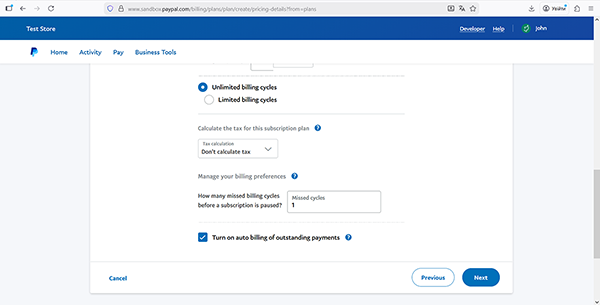
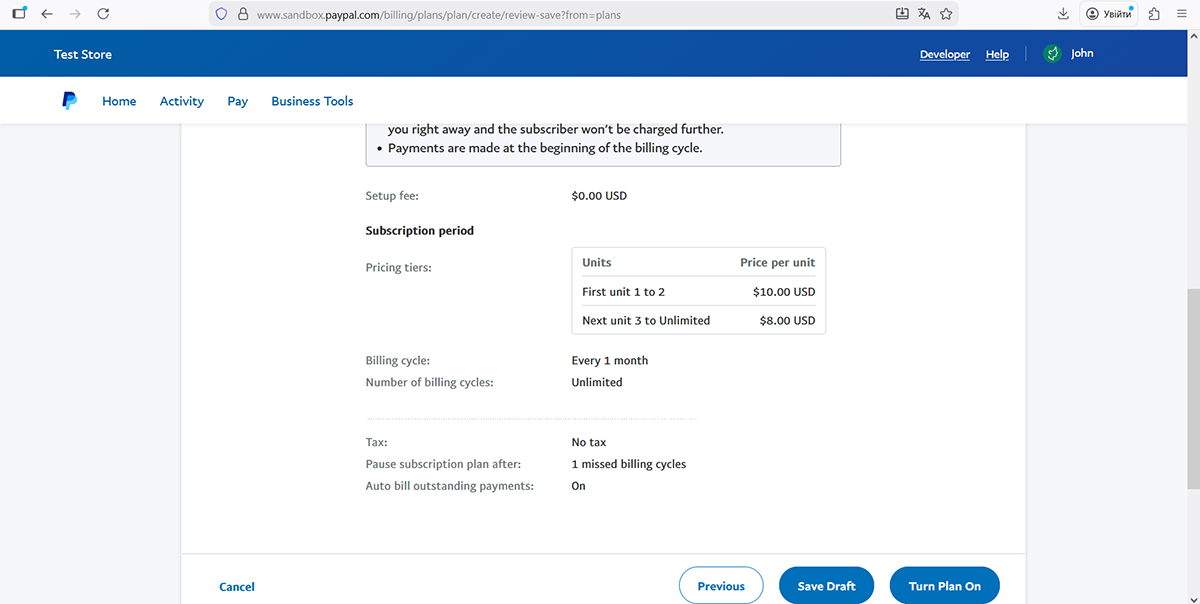
In the last step, after being redirected to the Review and save your new plan page, browse the options set, update them (if needed), scroll down the page, and press the “Turn Plan On” button in the bottom-right corner to make the plan live.
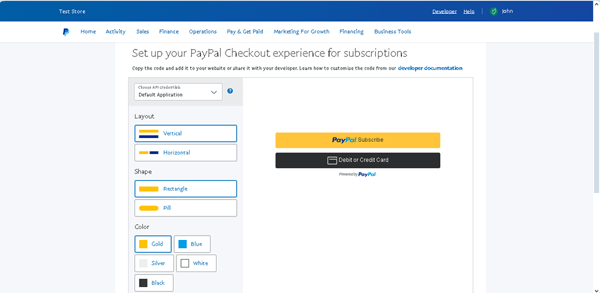
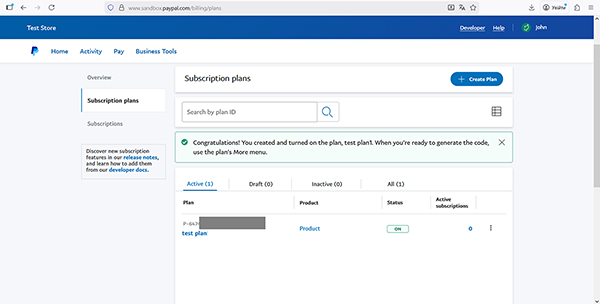
Finally, on the Set up your PayPal checkout experience for subscriptions page (if needed), set the layout options, scroll down the page, click the “Copy Code” button, then click the “Go to plans” link to be redirected to the Subscription plans page. Otherwise, press the “Do this later” link to be redirected to the Subscription plans page.
Your subscription plan is now displayed on the Sandbox PayPal Dashboard > Sales > Subscriptions > Subscription plans page. Further, the Plan ID (here, “P-647****”) will be entered into the form’s Radio Field.
Configure the JetForm Settings
Then, return to your PayPal Developer account.
Here, go to the Apps & Credentials tab and select the required credential from the listed options. After that, copy the Client ID and Secret key 1 data.
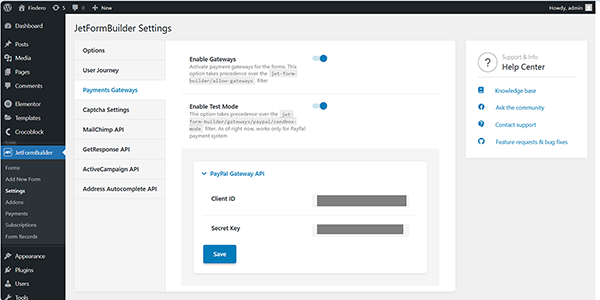
Then, return to your site. Before building the form, ensure that the PayPal gateways are activated for your website. Open the WordPress Dashboard > JetFormBuilder > Settings page and check the Payments Gateways settings.
Toggle the Enable Gateways switcher. Optionally, activate the Enable Test Mode switcher if you test work with your PayPal account in the “Sandbox” mode and disable it if you work in the Live PayPal mode.
Then, in the WordPress Dashboard > JetFormBuilder > Settings > Payments Gateways subtab, complete the Client ID and Secret Key fields and the corresponding data, and hit the “Save” button.
Build the Form
Go to WordPress Dashboard > JetFormBuilder > Add New to create a new form. Use an embedded pattern or build it from scratch. Here, we create a custom “Subscription Form” with the Text Fields, Image Field, Radio Field, and Action Button. Also, the Select or Checkbox Fields can be used instead of the Radio Field.
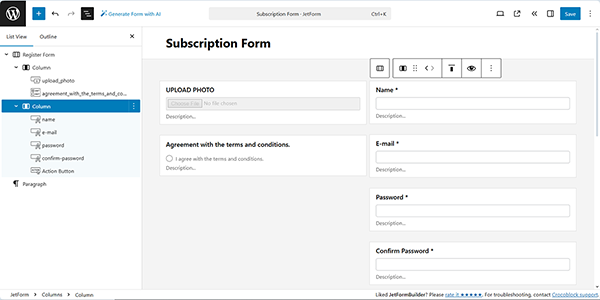
This form creation tutorial explains how to build forms from scratch.
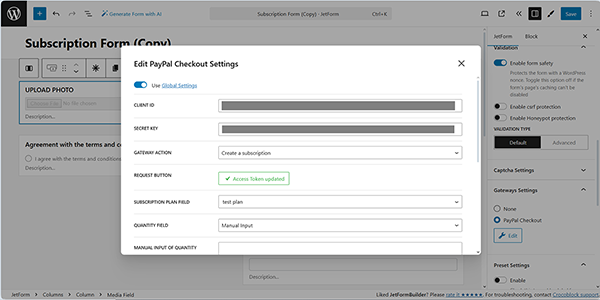
Next, move to the Gateways Settings section. Enable the PayPal Checkout option, then press the “Edit” button below to access the settings.
Here, in the newly opened Edit PayPal Checkout Settings window, enable the Use Global Settings toggle to inherit the Client ID and Secret Key you entered earlier in the JetFormBuilder settings.
Choose the “Create a subscription” GATEWAY ACTION from the drop-down menu.
Push the “Sync Access Token” button to synchronize the data, and after successful synchronization, select the needed plan in the SUBSCRIPTION PLAN FIELD (here, we set the “test plan” subscription plan we built earlier). As for the QUANTITY FIELD, we leave it with the default “Manual Input” value.
As for the other fields, read the How to Build WordPress Registration Form With Payment tutorial to learn how to manage macros in settings that can be applied here.
Click on the “Update” button to save the adjusted settings.
In the next step, return to the form builder and insert the multiple-choice field. For instance, we added the Radio Field with the “Manual Input” option. Press the “Manage Items” button, then enter the required price range in the LABEL fields. Then, move to the “Sandbox” PayPal account: Sandbox PayPal Dashboard > Sales > Subscriptions > Subscription plans page, copy the required Plan ID (here, “P-647****”) and enter it into the VALUE fields.
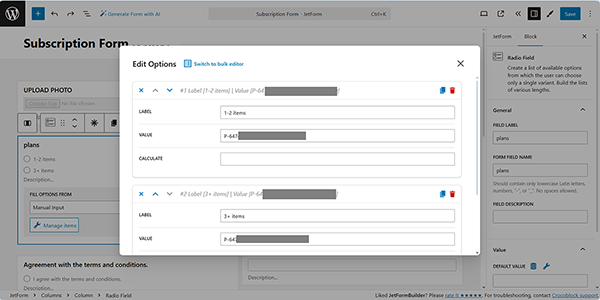
Scroll the pop-up down and save the settings.
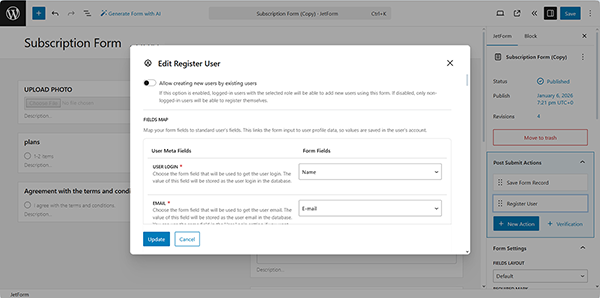
In the last step, insert the required Post Submit Actions: we keep the “Save Form Record” Post Submit Action and add the “Register User” Post Submit Action since the form is intended to manage subscribers. Once completed, press the “Update” button.
Read the Register Form tutorial to learn how to build register forms and manage their settings.
In the final stage, press the “Condition” button to open the Edit Action Conditions & Events pop-up window. Here, select the Events Match tab and choose the needed subscription event(s) from the Add Event drop-down menu: DEFAULT.PROCESS ー the event that is performed simultaneously with the specified action. This event runs before the redirect to check whether PayPal functionality is enabled.
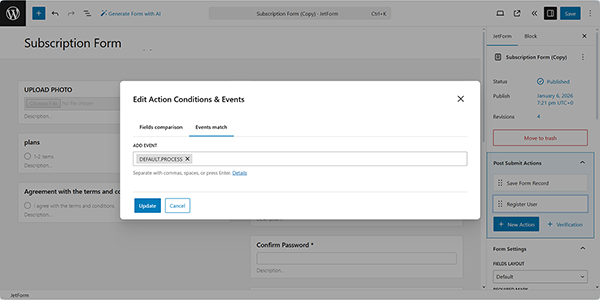
That’s it for the form; now, you can hit the “Publish” button.
Test the Flow
Open an editor you prefer and find the JetForm widget/block/element. In this tutorial, we use Elementor. Read the Displaying a JetFormBuilder Form in Any Page Builder tutorial to learn how to add the JetForm widget/block/element in Elementor, Block Editor, and the Bricks theme.
Move to the front end, complete the form with the required information, and submit it by pressing the “SIGN UP” button.
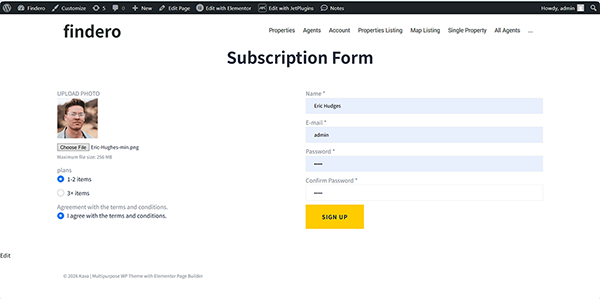
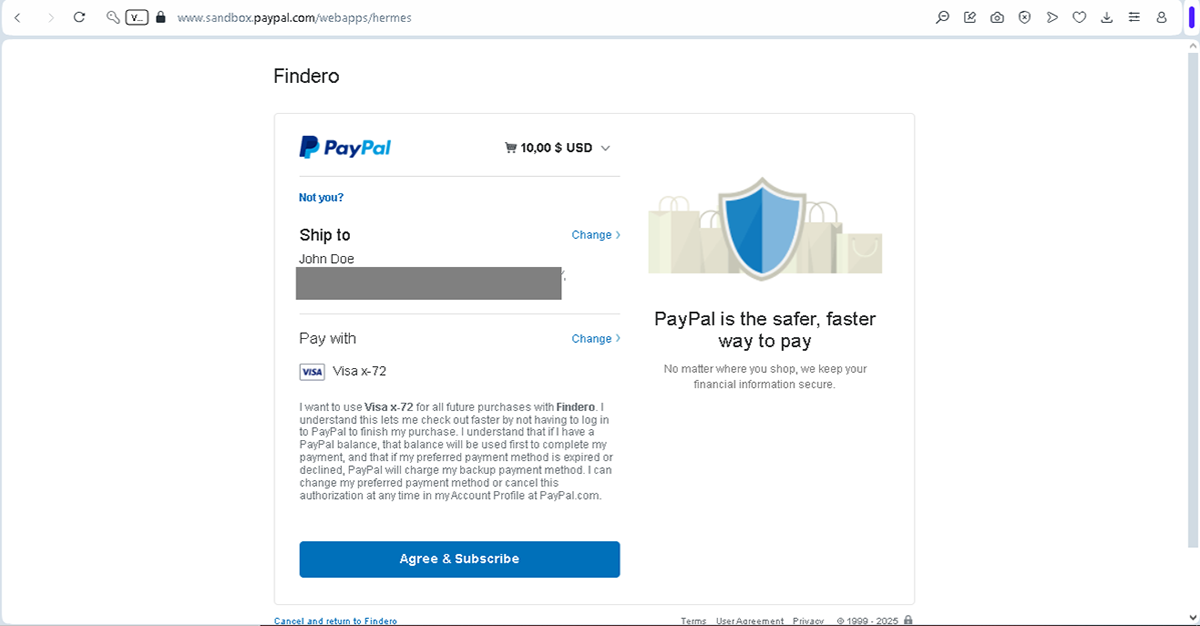
After submission of the form, you will be redirected to the PayPal payment page. After logging in, if needed, select the appropriate options and press the “Continue” button. Finally, review the provided information and click the “Agree & Subscribe” button.
After payment, you will be redirected back to the form.
Finally, the submission will be displayed in the PayPal and JetFormBuilder Dashboard. That’s all about configuring the tiered pricing PayPal subscription plan and building the JetForm form to set a price range based on the items ordered using the PayPal Recurring Payment add-on for WordPress websites.