How to Create a Newsletter Signup Form
In this tutorial, we exemplify two cases of combining the Mailchimp email marketing service with forms. In particular, we are considering configuring the “Mailchimp” Post Submit Action to email users to confirm the subscription.
We also describe the countercase: we created an email campaign using the email marketing service and added a link to a newsletter signup form on a needed site. After clicking the link in the email, users are redirected to the newsletter signup form, where they can finally confirm the subscription.
- Create a Form
- Send Emails to Users to Confirm the Subscription via Email
- Create an Email Campaign for Subscription Confirmation via Forms
Create a Form
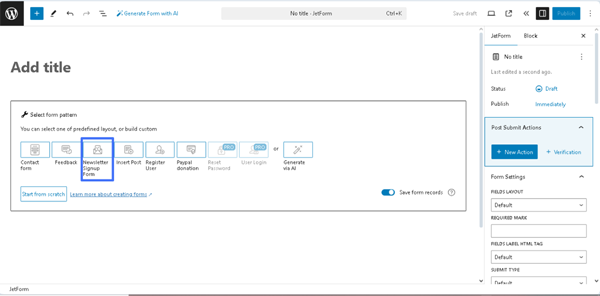
Navigate to the WordPress Dashboard > JetFormBuilder > Add New tab to create a new form. The form will be opened in the Gutenberg editor, and the Welcome block, which allows the application of pre-created or AI-generated forms, will be displayed.
In this case, we pressed the “Newsletter Signup Form” button on the Welcome block.
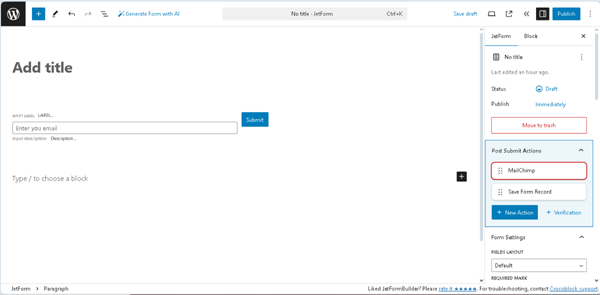
After that, the default newsletter signup form pattern will include the “Email” Text Field and Action Button, as well as the “MailChimp” and “Save Form Record” Post Submit Actions.
In this case, we typed the form’s title (the “Newsletter sign up form” text), then added another Text Field for the user’s name and the Select Field for ticking that the user agrees with the terms and conditions. In the last step, we made the Select Field necessary and arranged the fields.
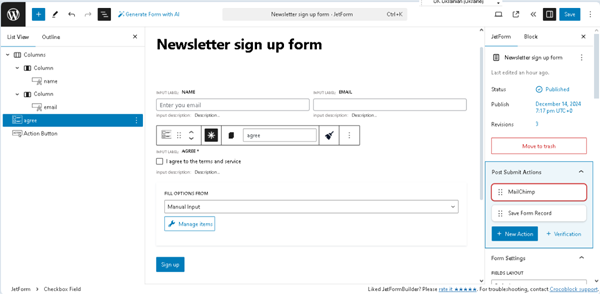
Save the form by pressing the “Publish/Save” button.
Read the Form Creation tutorial for more details on the main fields and settings of the form-building process.
Send Emails to Users to Confirm the Subscription via Email
Insert the MailChimp API Key
Navigate to the WordPress Dashboard > JetFormBuilder > Settings page and unroll the MailChimp API tab. Here, insert the MailChimp API key into the API Key field.
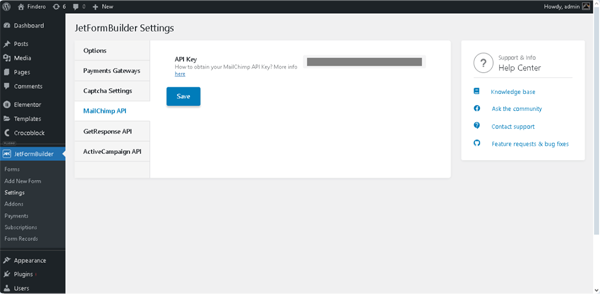
Read how to get the Mailchimp API Key and manage the Mailchimp campaigns in the How to Create the Mailchimp Subscription tutorial.
After that, press the “Save” button.
Configure the “MailChimp” Post Submit Action settings
Return to the form.
The “MailChimp” Post Submit Action is set by default for the “Newsletter Signup Form” pattern. Move to the JetForm Settings, hover over the “MailChimp” Post Submit Action, and press the “pencil” icon. Then, the Edit MailChimp pop-up will appear. In this pop-up, first, enable the Use Global Settings toggle; after that, the Mailchimp API Key will be displayed in the API KEY pop-up field.
Next, select the needed MailChimp campaign in the CAMPAIGN pop-up’s drop-down list.
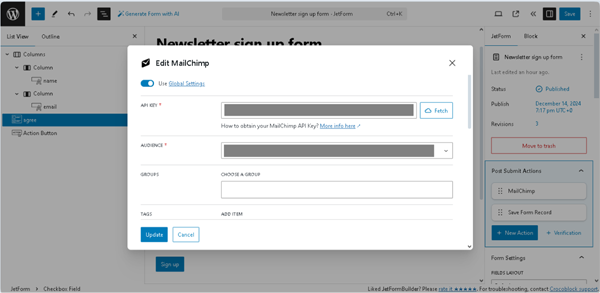
For more details about managing the “MailChimp” Post Submit Action settings, read the How to Create a MailChimp Subscribe Form tutorial.
In this case, we scrolled the Edit MailChimp pop-up to the FIELDS MAP block. Here, we selected the “Email” Text Field in the EMAIL field and the “Name” Text Field in the FIRST NAME field. Then, press the “Update” button.
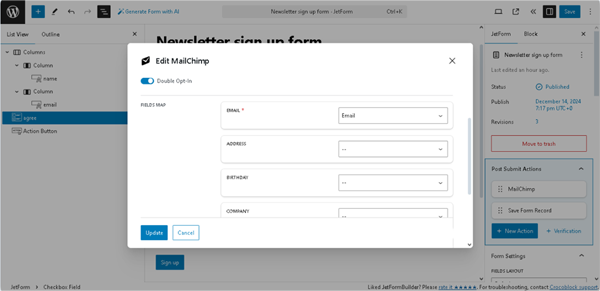
Finally, if needed, add another Post Submit Action or delete the default “Save Form Record.” Here, we kept this action.
Watch the Post Submit Actions Overview to know how to add and manage Post Submit Actions. For instance, you can set the Email Verification.
Test the flow
First, place the form on a page: open an editor you prefer and find the JetForm widget/block/element. In this tutorial, we used Elementor.
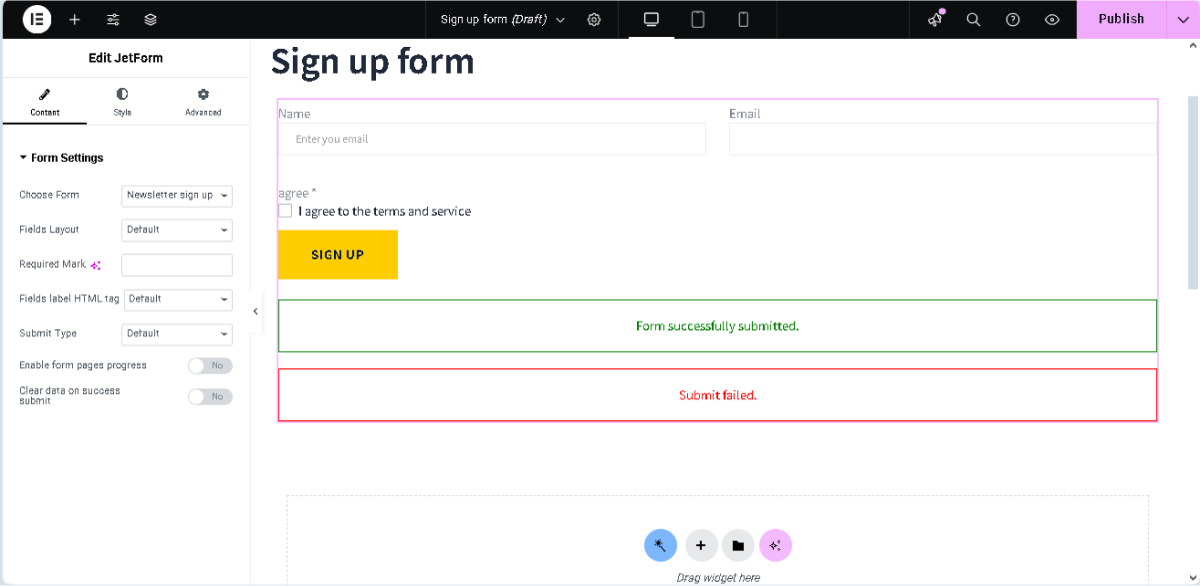
Next, press the “Publish” button and navigate to the front end to check if the form works correctly.
Fill out the form and press the “SIGN UP” button.
Read the Displaying a JetFormBuilder Form in Any Page Builder tutorial to know how to add the JetForm widget/block/element in Elementor, Block Editor, and the Bricks theme.
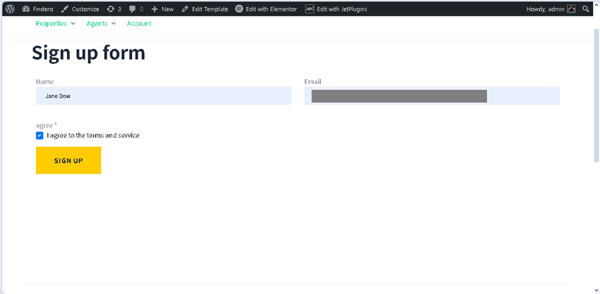
Then, if the form was submitted successfully, the following text “Form successfully submitted.” will be shown.
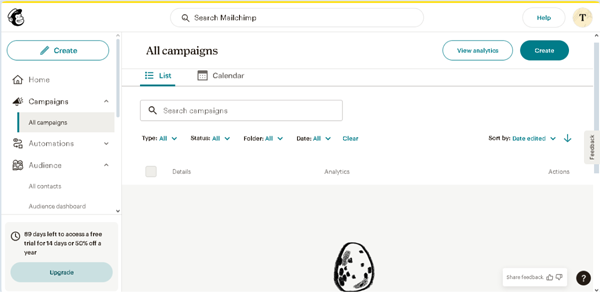
In the next step, move to your Mailchimp Dashboard > Audience > All contacts page to observe the list of your subscribers. If you need to add a subscriber, press the “Add contacts” button.
Create an Email Campaign for Subscription Confirmation via Forms
Modify the form
Open the previously created “Newsletter Signup Form” form or a duplicated one. In this case, we used a copy of the form.
Then, delete the “MailChimp” Post Submit Action and add the needed ones. For instance, you can send an email if the subscription is successfully paid. Read how to manage payments (e.g., configure gateway settings, set conditions and events, use macros for payment success or failed messages, etc.) in the How to Build WordPress Registration Form With Payment tutorial.
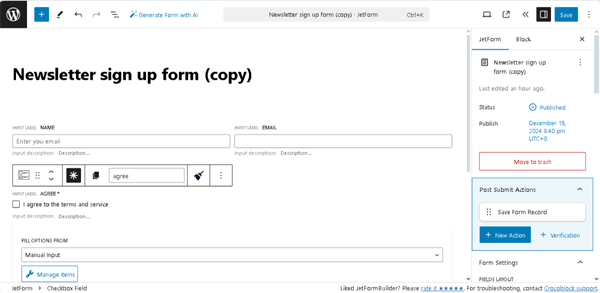
In this case, we kept the “Save Form Record” Post Submit Action only.
Add the form to a page
As it was for the previously created form, open an editor you prefer and insert the form on the page via the JetForm widget/block/element. In this tutorial, we used Elementor.
You can also insert the form into a button for better usability. The Popup Form in WordPress: Quick Set Up tutorial explains how to do this.
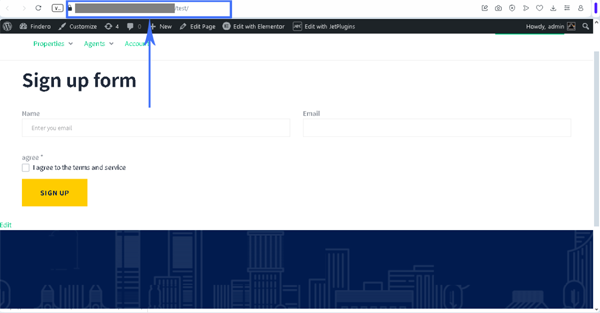
Finally, publish the page and copy the link to the page from the front end.
Configure the Mailchimp settings
Navigate to the Mailchimp Dashboard > Campaigns > All campaigns page. Here, press the “Create” button.

Next, select the “Regular email” type of the campaign on the newly-opened page.
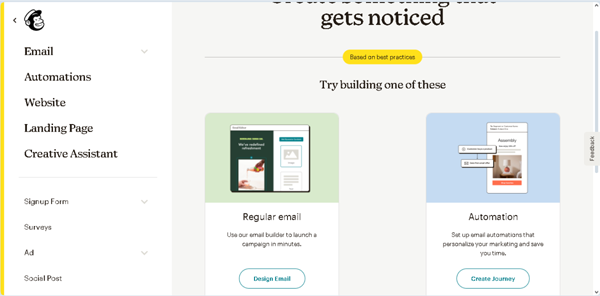
Then, select and design the needed e-mail pattern.
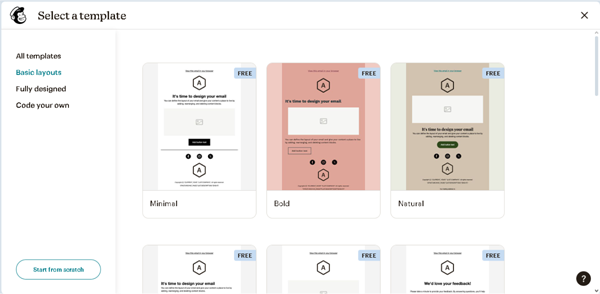
In this case, we selected a free “Bold” layout and added the copied link to the page with the form to the button with the “SIGN UP” text.
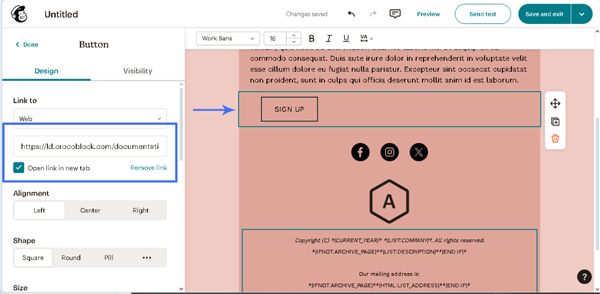
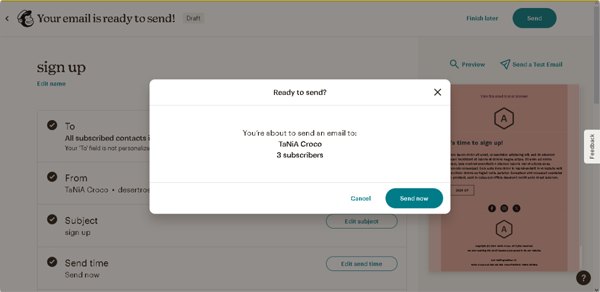
Then, press the “Save and exit” button at the top right corner of the page to be redirected to the “Edit campaign” page, where you should fill out the campaign’s name, e-mail subject, select the subscribers, etc. In this case, we will mail to all subscribers set on the Mailchimp Dashboard > Audience > All contacts page, but you can add/remove subscribers as you need. Finally, once completed, press the “Send” button at the top of the page and confirm it in the “Ready to send?” pop-up.
Test the flow
The recipients will receive the e-mails.
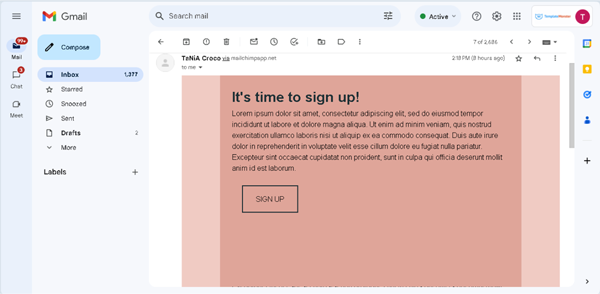
After pressing the “SIGN UP” button in the e-mail, they will be redirected to the page with the form.
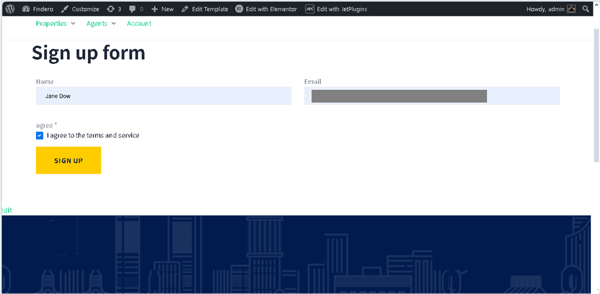
Then, if the form was submitted successfully, the following text “Form successfully submitted.” will be shown.
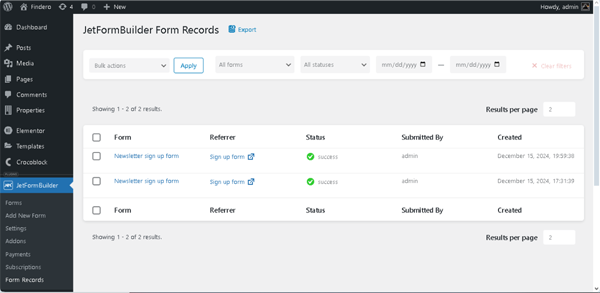
Move to the WordPress Dashboard > JetFormBuilder > Form Record page to observe the list of completed forms.
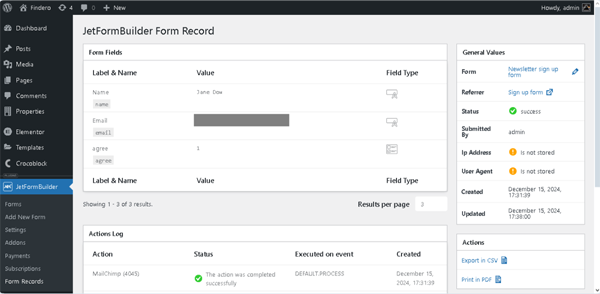
Unroll the needed record to scrutinize the user data.
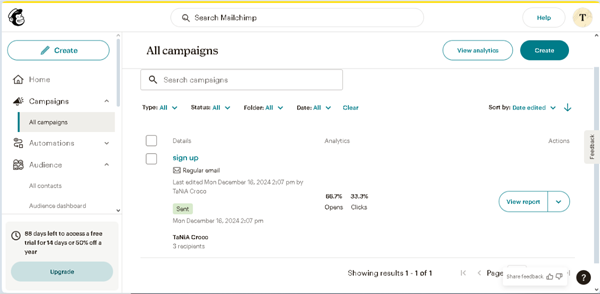
Finally, return to the Mailchimp Dashboard > Campaigns > All campaigns page to check the campaign’s statistics.
That’s it. Now you know how to use the Mailchimp email marketing service with the JetFormBuilder plugin for WordPress to create a newsletter signup form.