How to Create a Password Change Form for a User Account
If your site allows users to create accounts, you may need to allow them to update their passwords. Such a setup may be required for the sites where users add a significant amount of personal information to protect their safety, or in cases when you send a test login password, so users can change it to the desired one, or in any case, when you need to give users a bit more control over their privacy settings.
In this tutorial, you will learn how to configure the JetFormBuilder form to update the user’s password on the WordPress site, ensuring that the new password differs from the old one.
Table of Contents:
Adjust the Form
First, we navigate to WordPress Dashboard > JetFormBuilder > Add New Form.
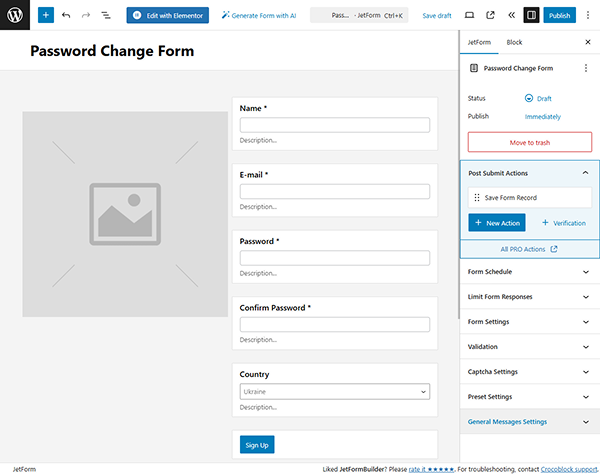
Enter the form’s title — in this case, it is “Password Change Form”.
The Welcome block appears by default. From here, you can select a form pattern or generate a form with OpenAI. Otherwise, you can hit the “Start from scratch” button and use the three fields added by default; otherwise, you can delete them to begin anew.
In this case, we select the “Register Form” pattern as an orientation. You can use a simpler or more complicated form instead. In this case, we consider the most straightforward approach.
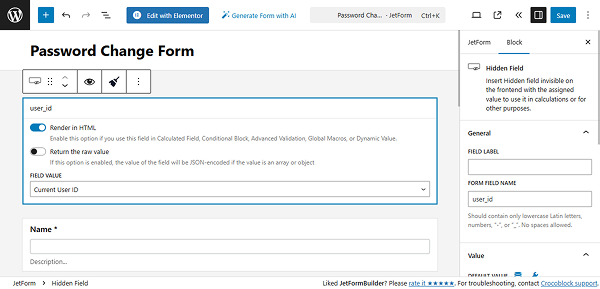
In this tutorial, we remove the Column with the Image and add a Hidden Field. We select the “Current User ID” option in the FIELD VALUE input.
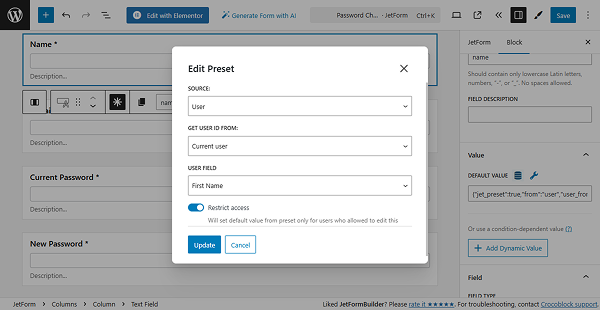
For the “Name” and “Email” Text Fields, we set the DEFAULT VALUES to retrieve the current user’s info.
For that, select “User” as a SOURCE. For GET USER ID FROM, choose the “Current user” option and select the required USER FIELD (“First Name” and “E-mail” in this case). These settings are optional.
Additionally, we add another Text Field for the current password.
Now, proceed to the “New Password” field and open the Validation tab. Select the Advanced section and click the “Add new” button.
Select the “Server-Side callback” for the RULE TYPE, and in the CHOOSE CALLBACK dropdown select the “Compare with Current User Password”. Enter the desired ERROR MESSAGE.
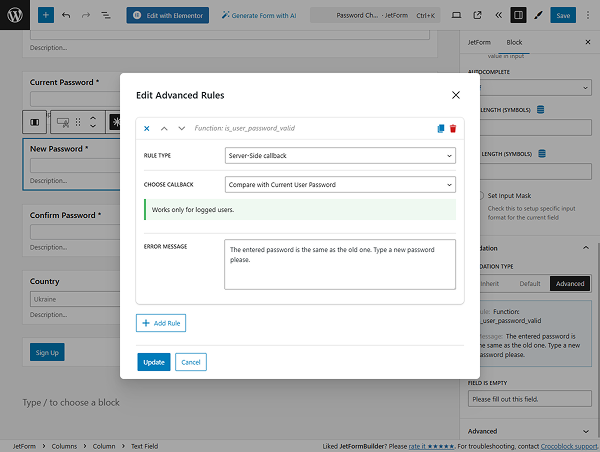
Click the “Update” button once you are ready. Add the same advanced validation rule to the “Confirm Password” field if you use it.
Once you are ready with the form fields’ settings, proceed to the Preset setup. For that, open the JetForm tab and scroll down to the Preset Settings section. Select the “User” option for the SOURCE. For GET USER ID FROM, choose the “Current user” option. Then, connect the form fields to the corresponding user’s fields.

Move to the Post Submit Actions tab and add the “Update User” action.
Set up the FIELDS MAP. For the “New Password” field, select the “Compare with Current Password”.
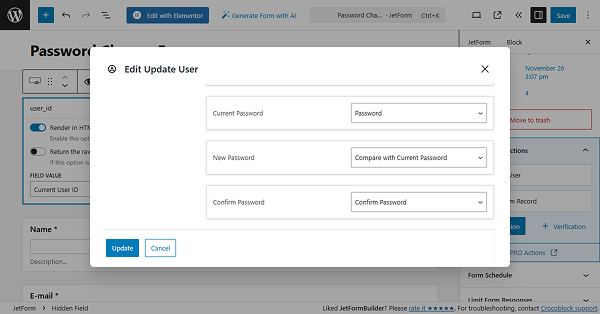
When all the fields are connected, click the “Update” button.
Once you are ready, save the form.
Add the Form to the Page
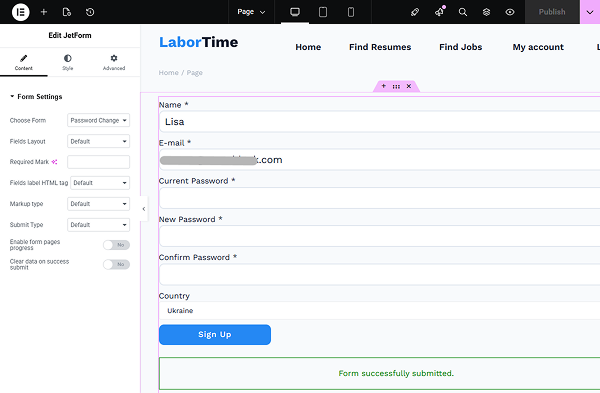
Proceed to the page where you need to add the form and insert it, following the How to Display a Form on the Front End guide.
Click the “Publish” button once you are ready.
Check the Result
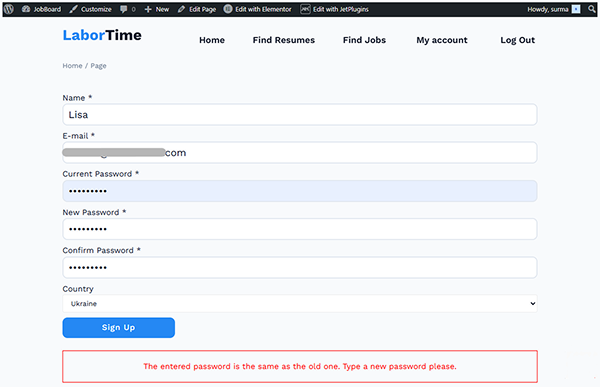
Open the front-end page and try to enter the same password — then we get the error message.
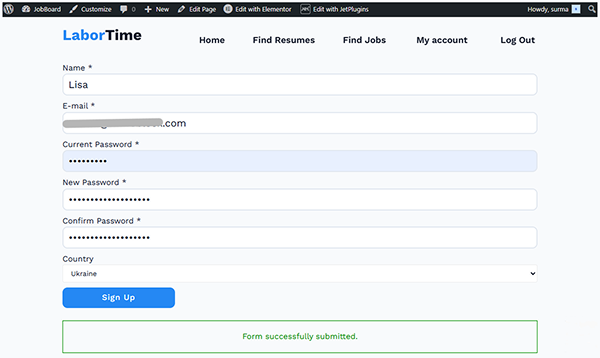
However, when we enter a new password, the form is submitted correctly, and the password is changed.
That’s it. Now, you know how to create a form for changing the password for the User Account with the WordPress JetFormBuilder plugin.