How to Create Variable Products Via WordPress Form
This tutorial focuses on setting up a form for creating variable WooCommerce products using JetEngine and JetFormBuilder WordPress plugins.
Table of Contents:
Create a Form
Proceed to WordPress Dashboard > JetFormBuilder > Add New Form. Enter the form’s title – in this case, it is “Form with Select Field”.
The Welcome block appears by default. From here, you can select a form pattern or generate a form with OpenAI. Otherwise, you can hit the “Start from scratch” button and use the three fields added by default; otherwise, you can delete them to begin anew.
In this case, we build our form from scratch, retaining the default fields.
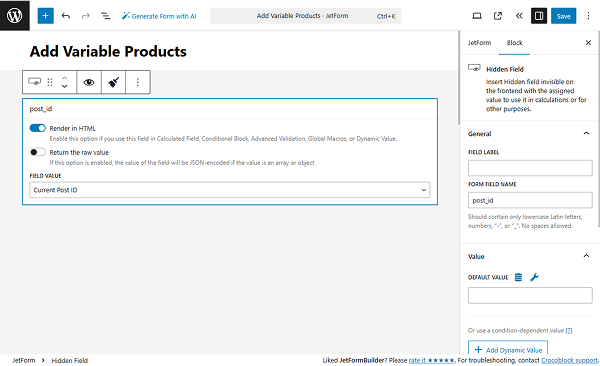
If we plan to add the form to the product’s single page, we must retain the Hidden Field with the “Current Post ID” FIELD VALUE.
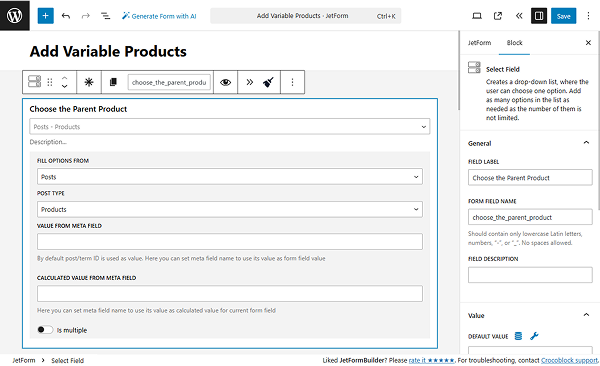
If we need to add the form to the static page, we should include the multiple-choice field with the products – for example, a Select Field with the “Products” source.
In this tutorial, we add the form to the Single Product Page, keeping only the Hidden Field.
Then, we add all the necessary fields to create a product. In this example, we add a Text Field for the product title, a Media Field for the thumbnail image, a Number Field for the price, and three Select Fields for the attributes.
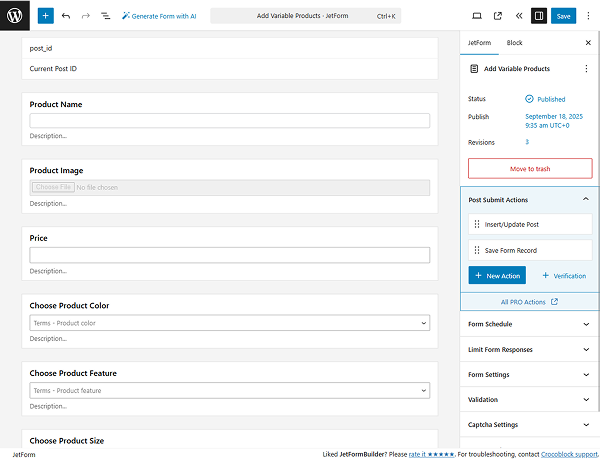
Then, proceed to the JetForm tab and to the Post Submit Actions section. Here, press the “+ New Action” button. In the opened pop-up, find and click the “Insert/Update Post” action to add it.
Now, you should see a pop-up that provides the settings for this action.
In the POST TYPE input, select the “Variations”. Choose the desired POST STATUS; we use the “Draft”.Then, set up the FIELDS MAP. For the Hidden Field (or Select Field with the “Products” source), select the “Post Parent” option. Connect the other fields accordingly.
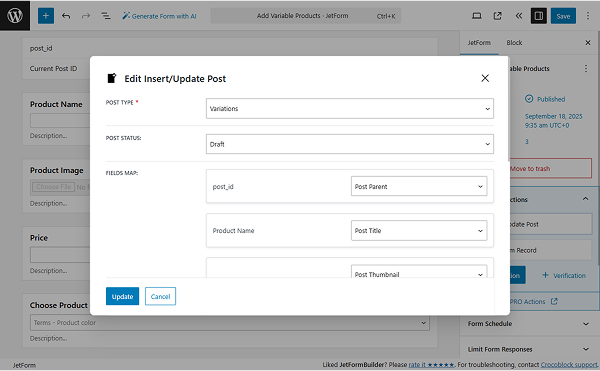
Click the “Update” button.
Once you are ready with the settings, click the “Publish” button.
Add the Form to a Page
Proceed to the page where you need to display the form. Following the How to Display a Form on the Front End guide, we add it to the single product page.
Add the JetForm widget and select the form you created in the Choose Form input.
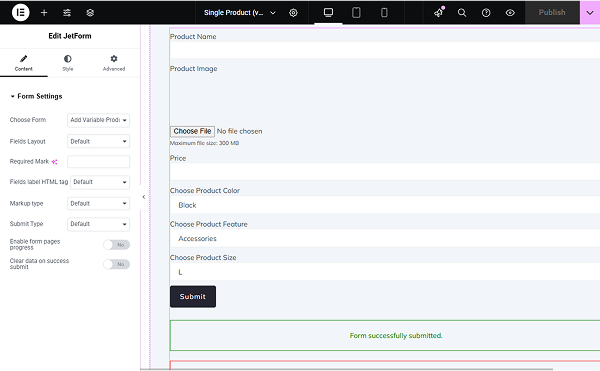
Click the “Publish” button.
Check the Result
Proceed to any product page and fill in the fields. Submit the form.
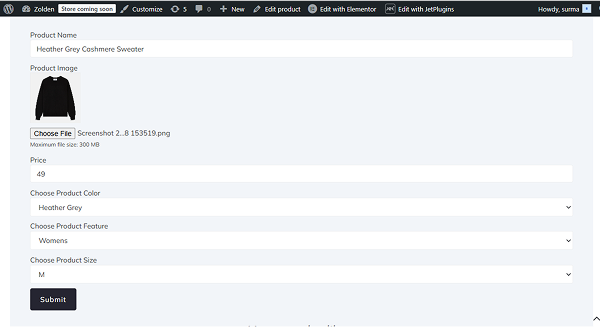
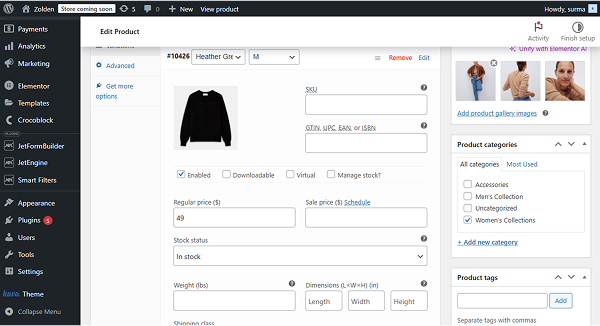
As far as we can see, the form was submitted successfully, and the variable product was added.
That’s it. Now you know how to set up a form for creating variable WooCommerce products using JetEngine and JetFormBuilder WordPress plugins.