How to Customize the Output Repeater in the Send Email Action
This article focuses on customizing the Repeater Field’s look in the email sent by the WordPress JetFormBuilder plugin. We will describe two cases of adjusting the Repeater Field’s output in emails: with the Text Field and Select Field inside the Repeater Field.
Table of Contents:
- Display Repeater Field Items with Custom Output Format
- Display Post Titles from a Select Field Inside a Repeater in the “Send Email” Action
Display Repeater Field Items with Custom Output Format
You can customize how Repeater Field items are displayed in the “Send Email” action by applying a custom output format. This approach enables looping through repeater items and incorporating specific subfield values into the email content.
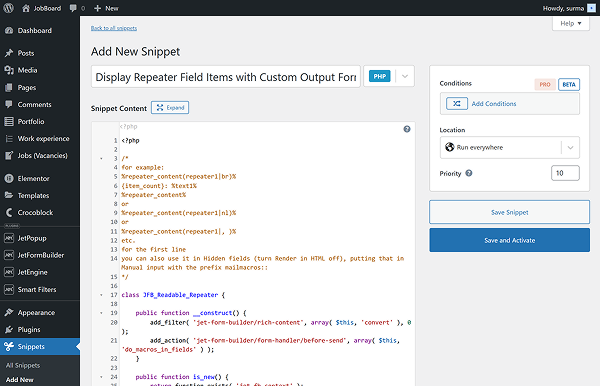
Add the code
First of all, proceed to the functions.php of your active child theme or Code Snippets (or similar plugin) and add the code from the following link: https://gist.github.com/Crocoblock/e79e8e13ce52aa0191839b9318a0a6e2

After adding the code, click the “Save and Activate” button.
Set up the form
Let’s proceed to creating a form. To build a WordPress form, we navigate to WordPress Dashboard > JetFormBuilder > Add New Form.
Enter the form’s title – in this case, it is “Get Repeater in Email”.
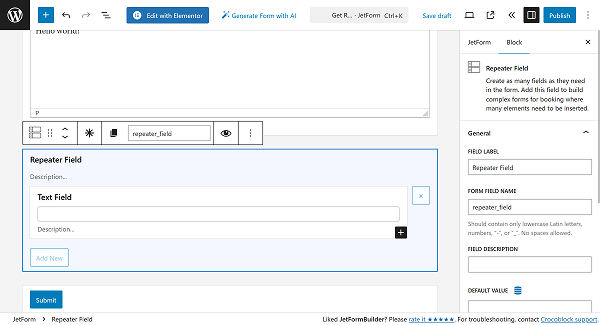
The Welcome block appears by default. From here, you can select a form pattern or generate a form with OpenAI. Otherwise, you can hit the “Start from scratch” button and use the three fields added by default, or you can delete them to begin anew.
In this case, we used the “Contact” pattern and added a Repeater Field with a Text Field inside.
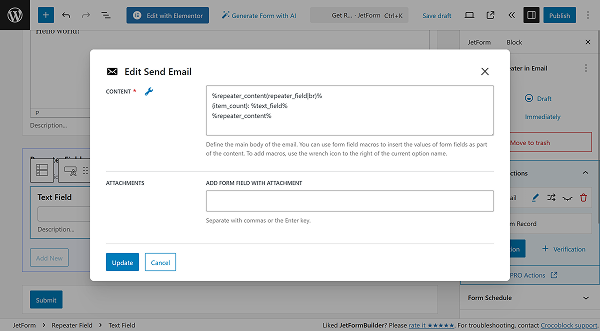
Proceed to the “Send Email” Post Submit Action and click the pencil-shaped edit button. In the CONTENT field, enter the following input:
%repeater_content(repeater_field|br)%
{item_count}: %text_field%
%repeater_content%
Here, the “repeater_field” is the name of the main Repeater Field, and the “text_field” is the name of the inner Repeater’s fields.
Click the “Update” button when ready, then publish the form.
Check the result
Following the How to Display a Form on the Front End guide, we add the created form to the necessary page. Then, proceed to the front-end page and submit the form.
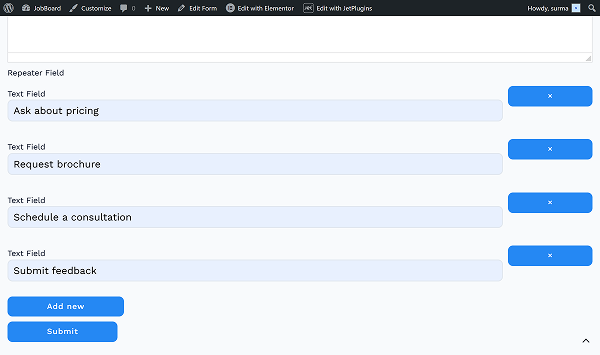
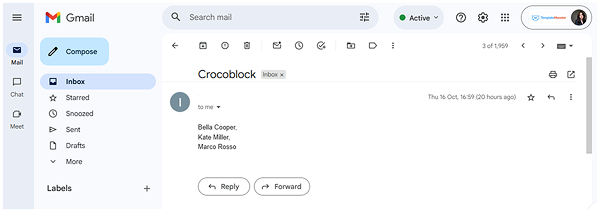
As soon as the form is submitted, we receive an email containing the text entered in the Repeater Field.
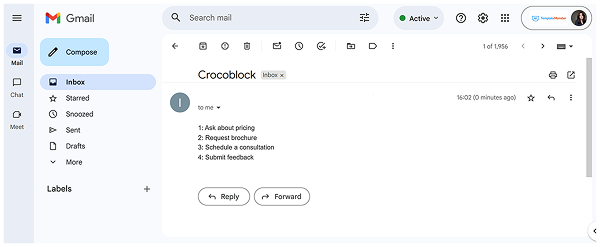
The list of inputs from the Repeater Field is presented in the received email.
Display Post Titles from a Select Field Inside a Repeater in the “Send Email” Action
Here, we will focus on a bit different case: instead of the Text Field, the Select Field will be used in the Repeater Field. The aim is to display the selected options from the Select Field in the email sent by the form.
Set the code
Proceed to the functions.php of your site theme or Code Snippets (or similar plugin) and add the code from the following link: https://gist.github.com/Crocoblock/e79e8e13ce52aa0191839b9318a0a6e2
Click the “Save and Activate” button once you are ready.
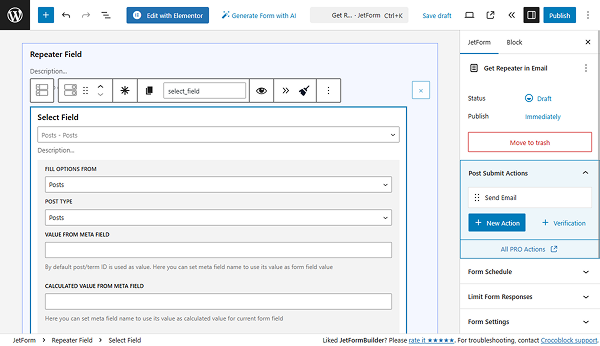
Adjust the form
Proceed to the needed form and add the Select Field inside the Repeater Field. In this case, we selected the “Posts” source for the Select Field.
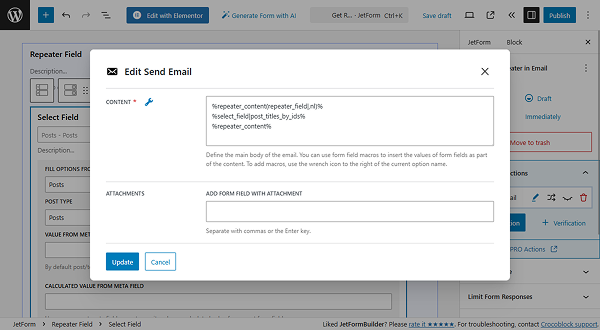
Proceed to the “Send Email” Post Submit Action and scroll down to the CONTENT field. Add the following input:
%repeater_content(repeater_field|,nl)%
%select_field|post_titles_by_ids%
%repeater_content%
Here, the “repeater_field” is the name of the Repeater Field, and the “select_field” is the name of the Select Field. Ensure that you are using the names of your fields.
Click the “Update” button and publish the form.
Result
Submit the form on the front-end page.
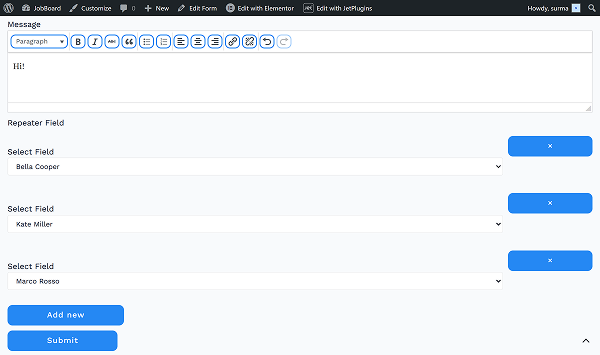
The result is that the email will contain the post titles you selected in the form.
That’s it. Now you know how to customize the Repeater Field’s output in email using the WordPress JetFormBuilder plugin.