How to Link WordPress Form with Make
Make is a free platform that allows you to connect apps and services (e.g., Gmail) and automate workflows using a no-code visual builder. Let’s find out how to connect a WordPress form to Make with the JetFormBuilder plugin.
As an example, we will create a Contact Form and connect it to the Gmail service via the Make platform.
Set Up Make and Add a Webhook
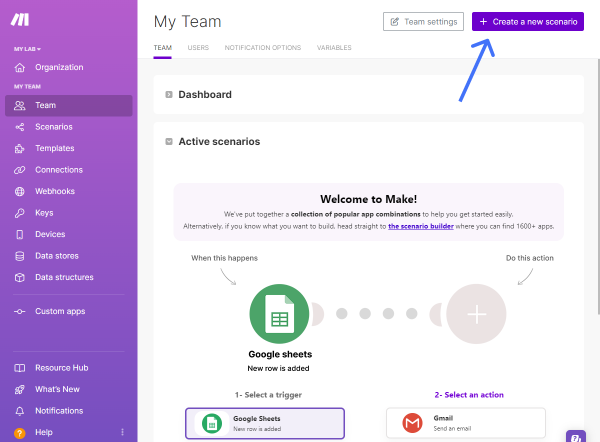
Sign in or sign up for the Make platform. Once you’ve reached the dashboard, hit the “+ Create a new scenario” button in the upper right corner.
Proceed to this tutorial to learn more about the Make scenario creation process.
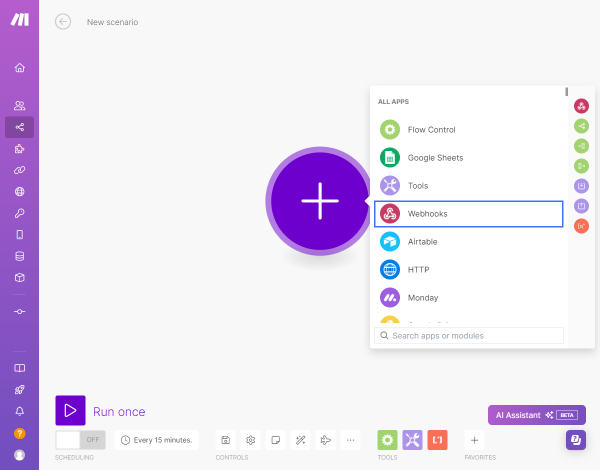
Choose the “Webhooks” module from the list of ALL APPS near the big “plus” button. In web development, a webhook is a method of augmenting or altering the behavior of a web page or web application with custom callbacks.
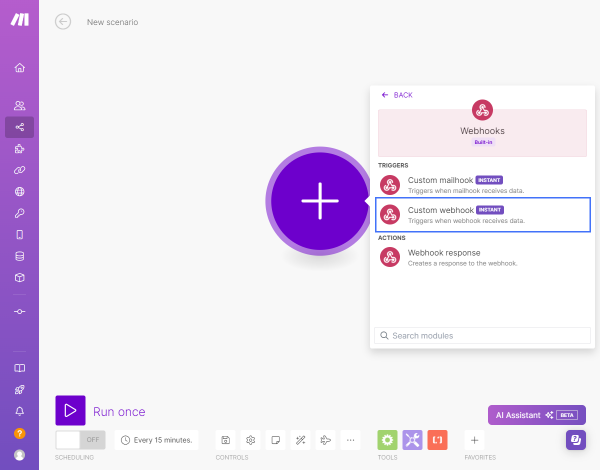
Then, you should choose the “Custom webhook” option from the TRIGGERS list.
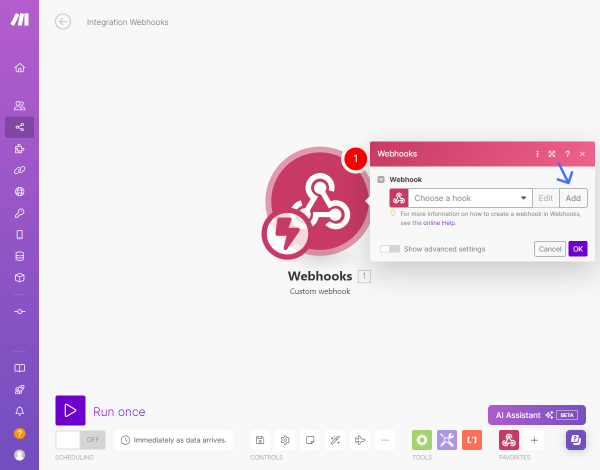
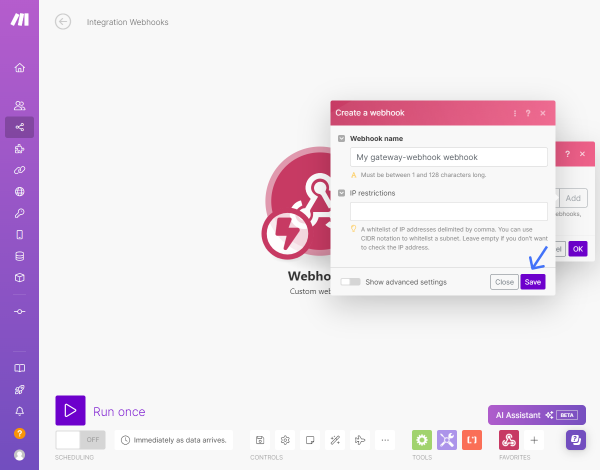
In a new pop-up for the Custom Webhook module, hit the “Add” button near the drop-down menu.
Change the Weebhook name if required and push the “Save” button.
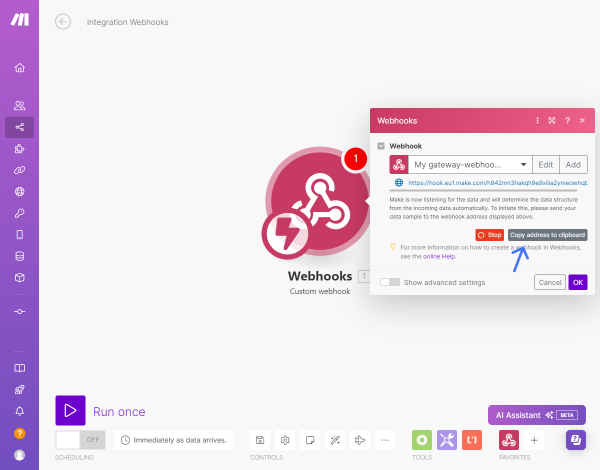
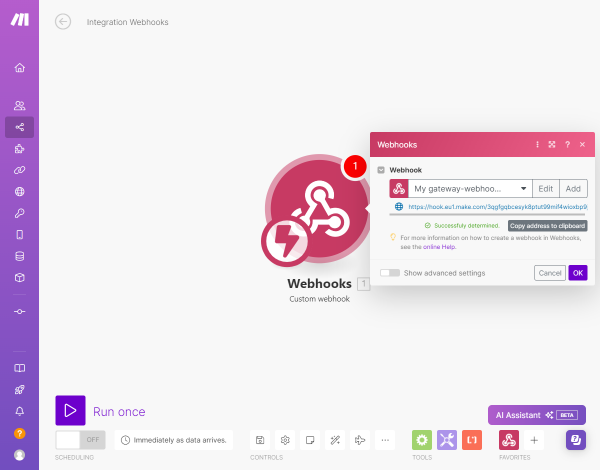
After that, you will see the generated link, which you should copy to the clipboard by clicking the corresponding button. Then, proceed to your WordPress website without closing the Make window.
Set Up the JetFormBuilder Form
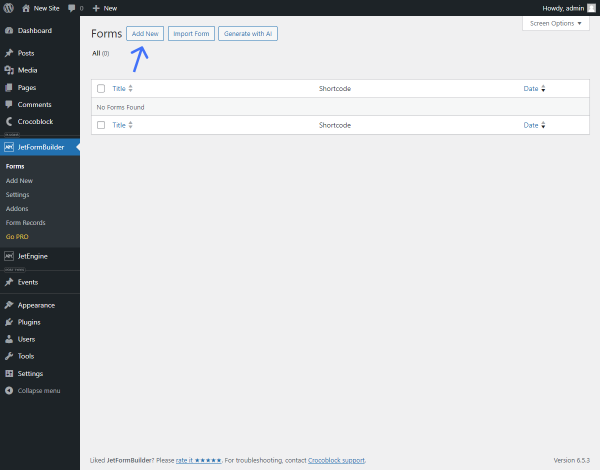
Navigate to WordPress Dashboard > JetFormBuilder > Forms, find the form you want to connect with Make and click to edit it.
Alternatively, you can create a new form by clicking the “Add New” button.
If you created a brand new form, give it a title.
Select a pattern from the Welcome block (e.g., “Contact form” option) or hit the “Start from scratch” button.
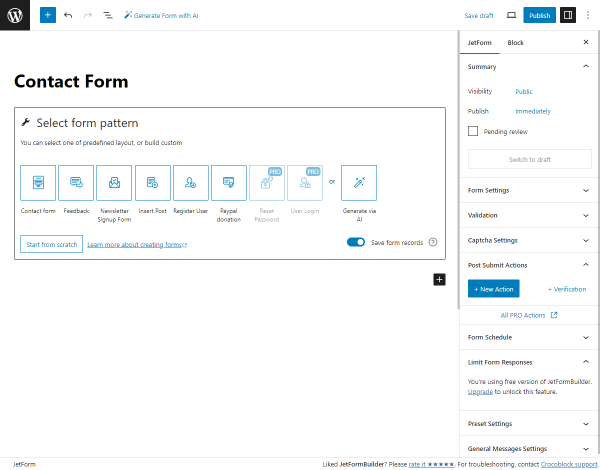
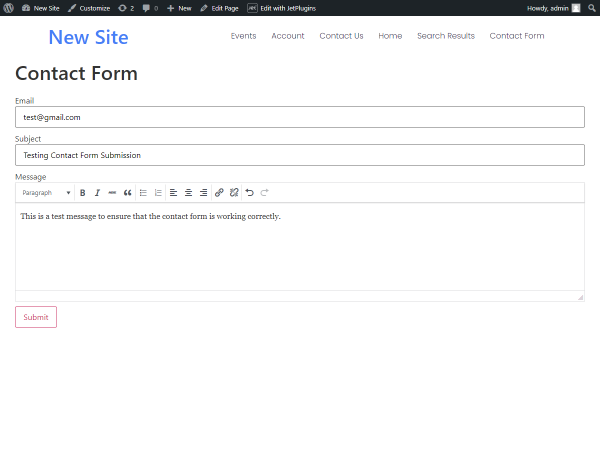
The “Contact form” option adds the following fields to the form: two Text Fields (“Email” and “Subject”), one Wysiwyg Field (“Message”), and an Action Button.
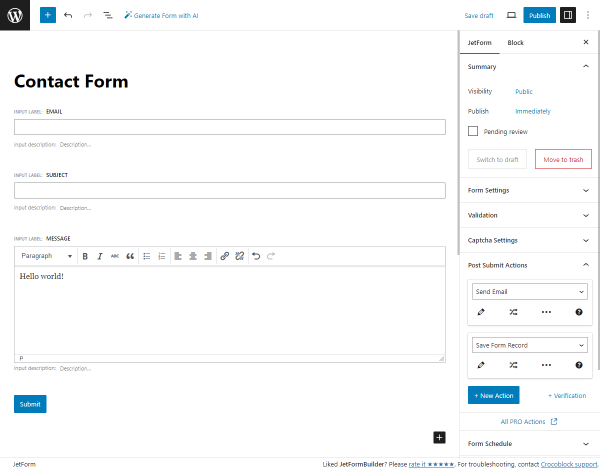
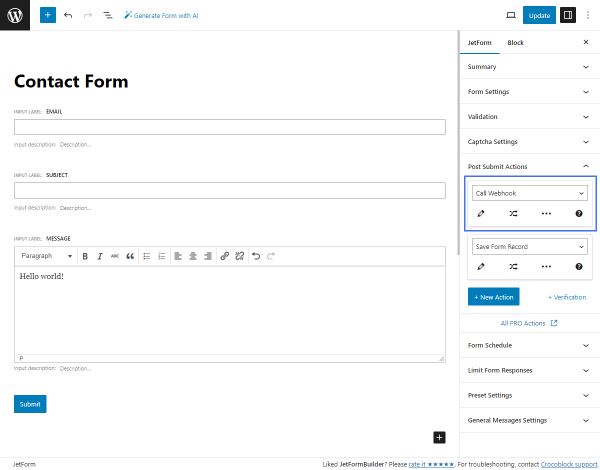
Adjust the form fields if needed and proceed to the Post Submit Actionstab of the JetForm section. Reselect the “Send Email” option to the “Call Webhook” and click the “pencil” icon.
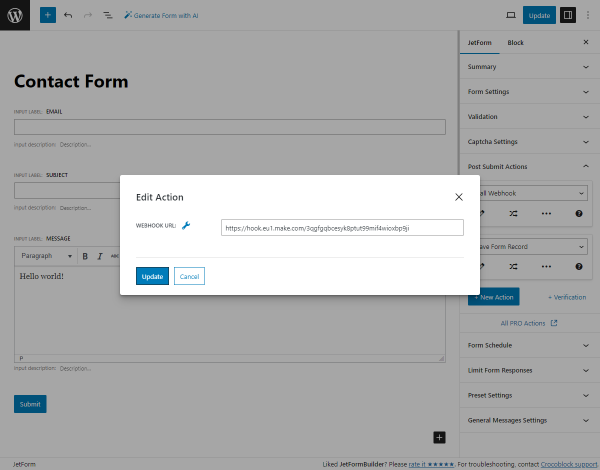
In the Edit Action pop-up, enter the previously copied WEBHOOK URL in the appropriate field. Then, hit the “Update” button.
The “Save Form Record” action stores the form entries in the database, which can be accessed from the Form Records Page. You can keep this action if needed.
After customizing the form, press the “Publish/Update” button to save the changes.
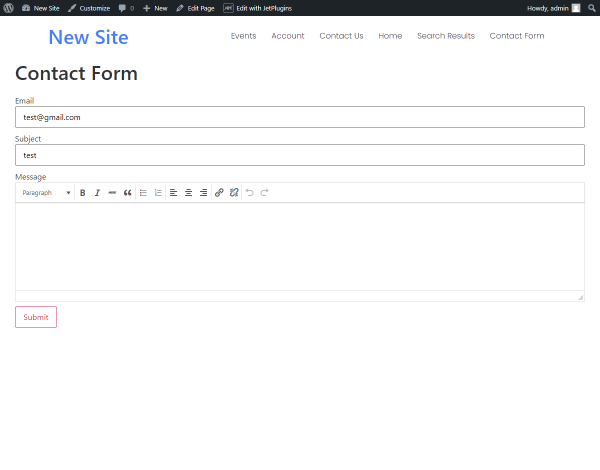
Place the form on the page with the JetForm block/widget/element and push the “Submit” button.
Return to the Make page after getting the “Form successfully submitted.” green note.
In the Webhooks pop-up, you should see another green note – “Successfully determinated.” – on the left from the “Copy address to clipboard” button. Hit the “OK” button.
Adding Another Module
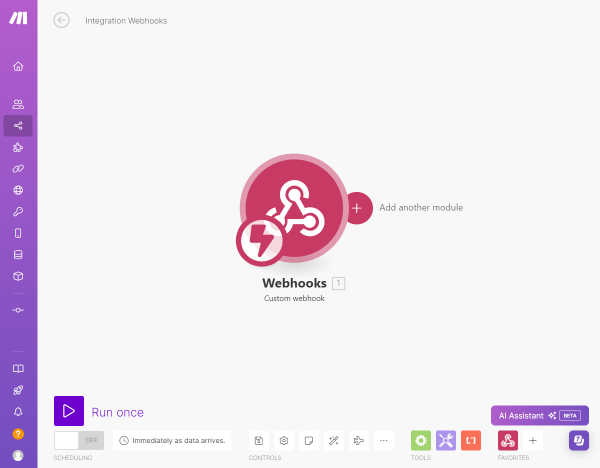
With the Webhook module in the Make platform, you can connect any app to the WordPress form. For example, let’s attach the Gmail app. To do so, hit the “Add another module” button first.
To observe the app settings, move to the Gmail module tutorial.
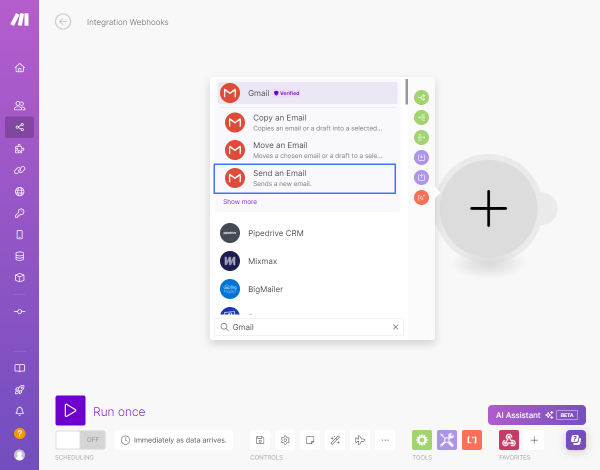
Enter “Gmail” into the search bar and pick the “Send an Email” action.
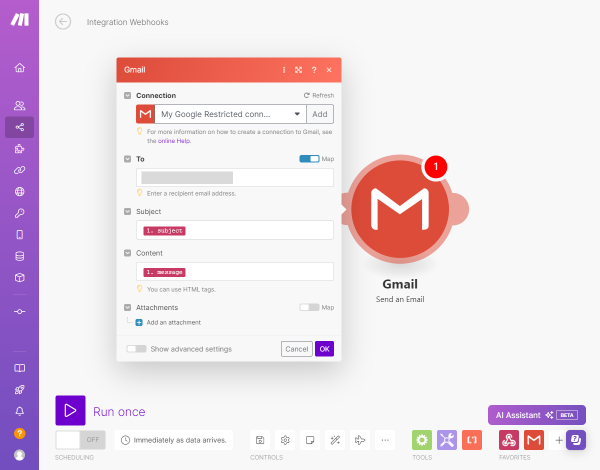
Click the “Create a Connection” button and connect Make to your Gmail account.
Then, you can adjust the Gmail module fields.
Enter a recipient’s email address into the To field (for example, a website administrator’s email). For convenience, you can enable the Map toggle.
In the Subject and Content fields, you can enter the form field names to add the submitted form data to the email subject and content fields. Click on the field and select the needed field from the list.
Set other fields if needed and push the “OK” button.
If you need to connect two or more modules to the Webhook, click the “wrench” icon between the Webhook and Gmail modules and hit the “+ Add a router” option.
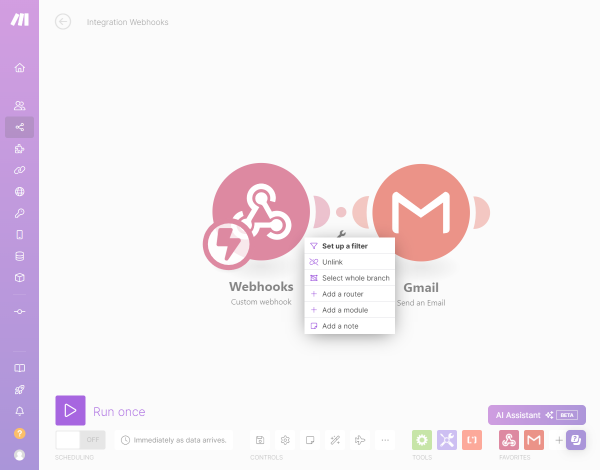
Now, you can click on the Router to add more modules to the scenario.
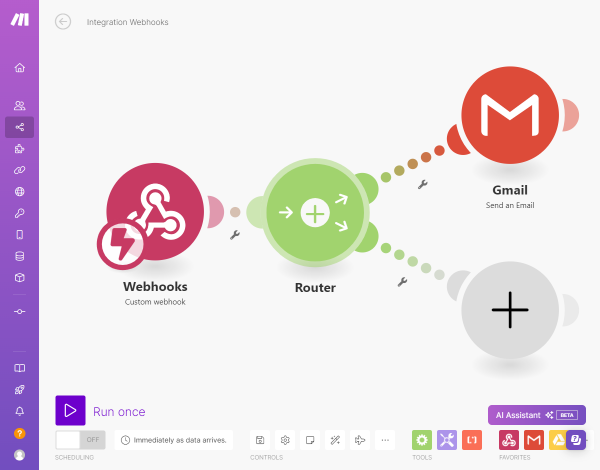
For our case, we used only the Webhooks and Gmail modules.
Test the Flow
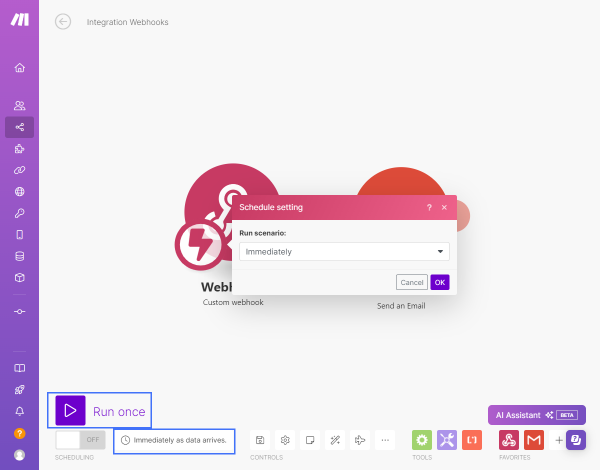
After adjusting all modules, you can hit the “clock” icon to open the Schedule setting pop-up and alter the scenario scheduling. After that, push the “Run once” button to test the scenario.
Proceed to the front end page of your WordPress website, where the form is placed, fill in the fields, and press the “Submit” button.
Return to the Make platform. If the scenario was completed successfully, all modules will be highlighted in green.
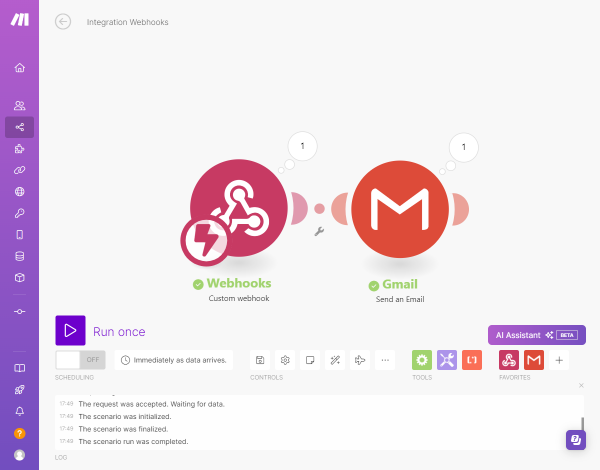
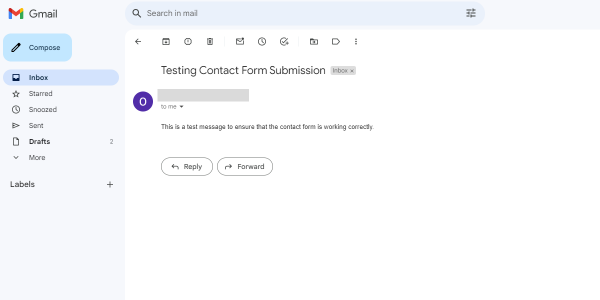
Also, the email was sent smoothly.
That’s all. Now you know how to link a WordPress form with the Make platform and connect it with different apps using the JetFormBuilder plugin.