How to Send Data from One Form to Another
In this tutorial, we exemplify a case of creating two forms for registration, focusing on passing data from one form to another with the help of the JetFormBuilder plugin.
Contents:
Setting Up the First Form
Navigate to the WordPress Dashboard > JetFormBuilder > Add New tab to create a new form. The form will open in the Gutenberg editor. Initially, the form includes the Welcome block, which allows the application of pre-created or AI-generated forms.
In this case, we type the form’s name (the “Add Name Form” text) and press the “Start from scratch” button to create a fully custom form. Thus, we get the Hidden Field, Text Field, and Action Button.
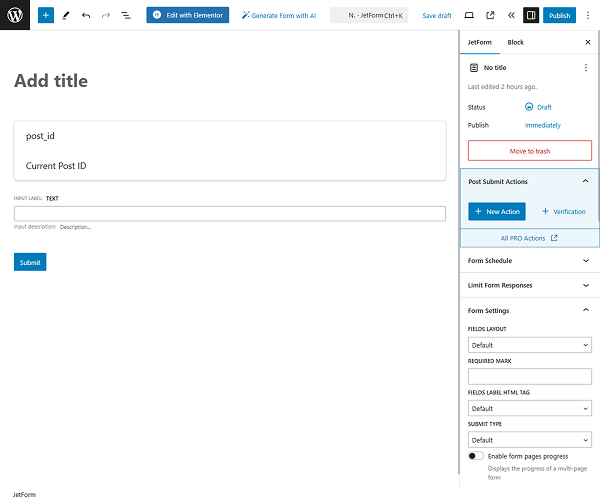
Here, we delete the Hidden Field as it is not necessary in this case.
Then, we add the Heading Field to add the “Please, put your name here:” text. Proceeding to the Text Field, we set its name in the FORM FIELD NAME.
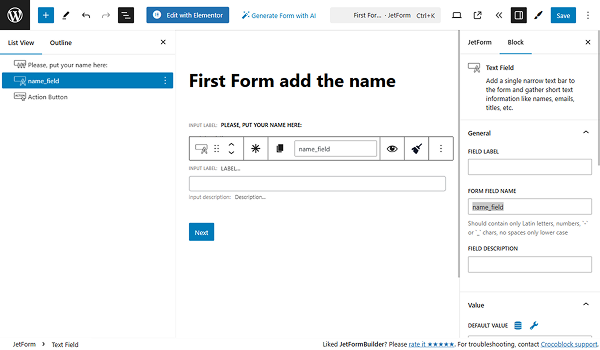
We also change the Action Button’s label to “Next”.
Afterward, we proceed to the Post-Submit Actions settings in the JetForm tab, press the “+ New Action” button, and select the “Redirect to Page” action from the pop-up.
In the editing window, we put the “Static Page” option from the REDIRECT TO dropdown. In the newly appeared SELECT PAGE field, we choose the needed “Register Here” page.
Then, we proceed to the URL QUERY ARGUMENTS — in this select field, we choose the “name_field” out of the fields added previously to the form. When selecting the field(s), their values are used as query arguments and added to the URL.
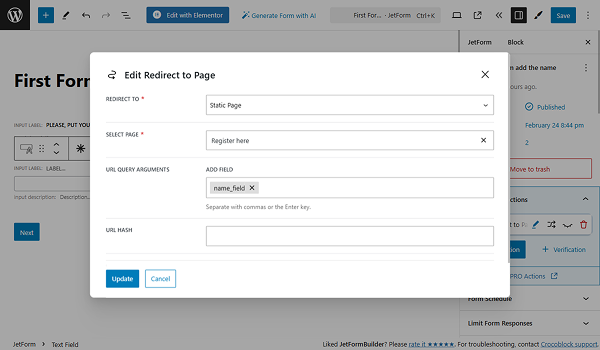
Click the “Update” button. Now, we are done with the first form, so press the “Save” button in the top right corner.
Setting Up the Second Form
Proceed to the WordPress Dashboard > JetFormBuilder > Add New tab to create another form. After deleting the Welcome block, we insert the premade “Register Form” pattern.
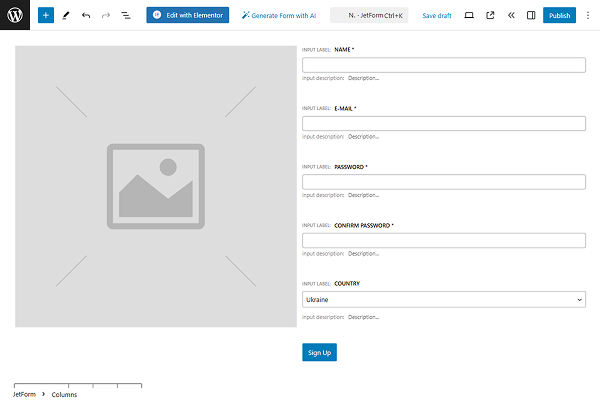
In the next step, we delete the added Image Field and change it to the Media Field. Check the Register Form tutorial to learn how to manage the Register Form pattern’s settings. Also, the Form Creation tutorial details the main fields and settings of the form-building process.
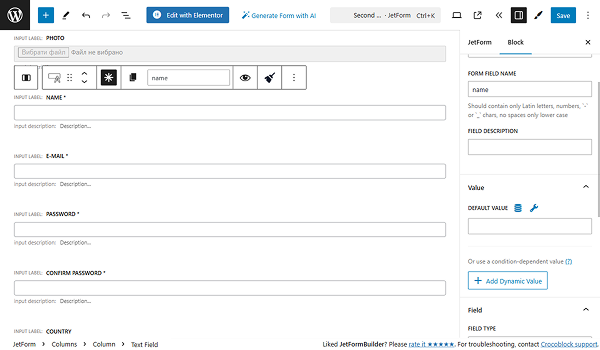
To get the data from the Text Field from our first previously set form, we need to proceed to the settings of the “Name” Text Field in our current form.
We are focusing on the DEFAULT VALUE field — data put here will be automatically shown in the field. Also, it can be changed by the user who completes the form. Click the “Dynamic Tag” icon to open the settings pop-up.
Select the “URL Query Variable” option from the SOURCE dropdown. To the QUERY VARIABLE NAME field, we put the name of the Text Field from the first form — “name_field” in our case.
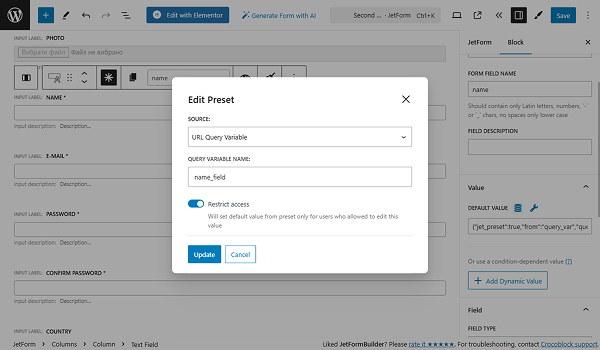
Hit the “Update” button to save the settings for the Default Value.
When moving on to Post Submit Actions, press the “+ New Action” button, and select the “Register User” action from the pop-up to create the Register Form. You can add more actions if needed. Press the “Save” button when you are ready with the settings.
Adding Forms to Pages
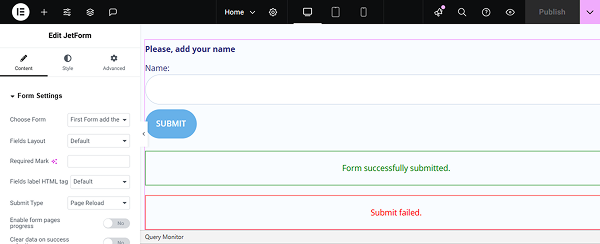
Create a page to which you want to add this form or open a previously built page in the Elementor or Gutenberg editors or the Bricks theme. In this case, we opened the Home page in the Elementor editor.
Find the JetForm widget/block/element in the search bar and drag and drop it to the page.
Select the created form in the Choose Form drop-down list and set the “Page Reload” option in the Submit Type drop-down list.
For an in-depth understanding of the JetForm widget settings, read the Displaying a JetFormBuilder Form in Any Page Builder tutorial.
Once we complete it, we click the “Publish/Update” button.
In the same way, we add the second form to the “Register Here” page.
Check the Results
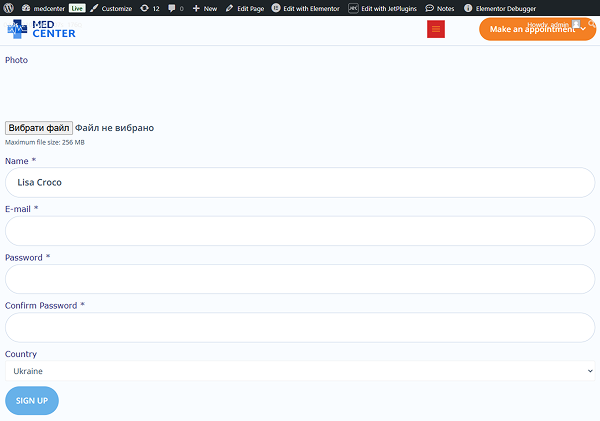
Move to the front end of the Home Page and fill in the “Name” form field.
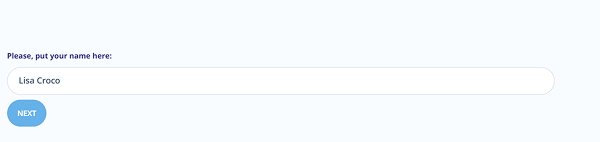
Press the form’s Action Button (the button with the “NEXT” text in our case). After the correct form submission, we are redirected to the Register Here page, where we see that the “Name” field has the value we set in the first form.
Now, you can fill the other fields and submit the form.
That’s it. Now you know how to pass the data from one form to another, as shown in the example of the registration form for WordPress using the JetFormBuilder plugin.