How to Save Form Records to Google Sheets
This guide is focused on automatically storing form submissions from the JetFormBuilder WordPress plugin in Google Sheets. By using webhooks and Integromat (now Make), you can send user data directly to a spreadsheet for easy record-keeping, reporting, or further processing. Whether you are collecting contact details, front-end posts, or custom data from your website forms, this integration ensures that all submissions are captured reliably and efficiently.
Table of Contents:
- Adjust the Webhook
- Create a Form
- Add the Form to the Page
- Connect the Form to the Google Sheet
- Check the Result
Adjust the Webhook
First, we need to create a webhook to retrieve the data from the form. In this guide, we will use the Integromat (Make) tool.
Register or log in to the Integromat (Make). Proceed to the Scenarios tab and click the “+ Create scenario” button.
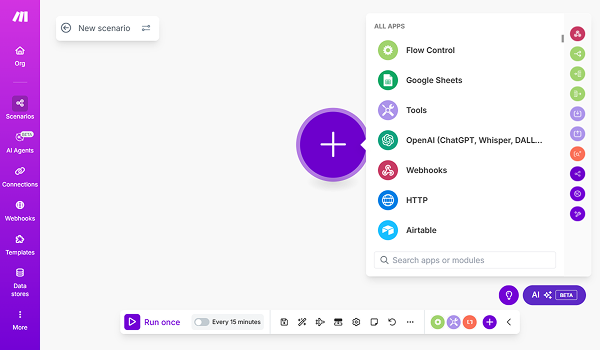
On the new page, click the big “+” button in the center of the page and select the “Webhooks” option from the newly appeared pop-up.
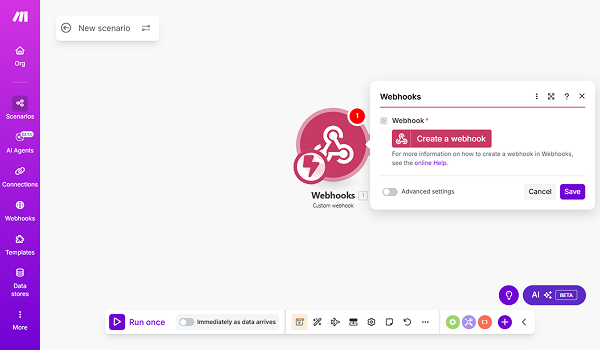
In the new pop-up, choose the “Custom webhook” option.

Click the “Create a webhook” button.
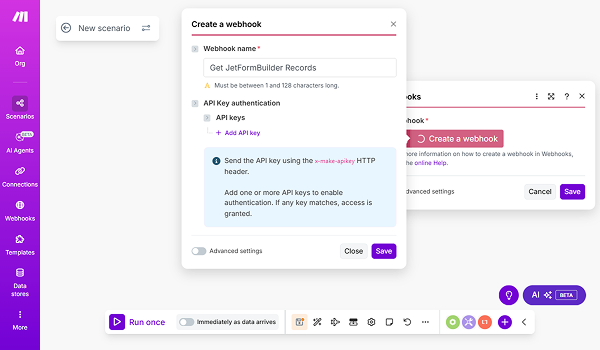
We get one more pop-up. In the Webhook name field, enter the required name (here, we use “Get JetFormBuilder Records”). Click the “Save” button.
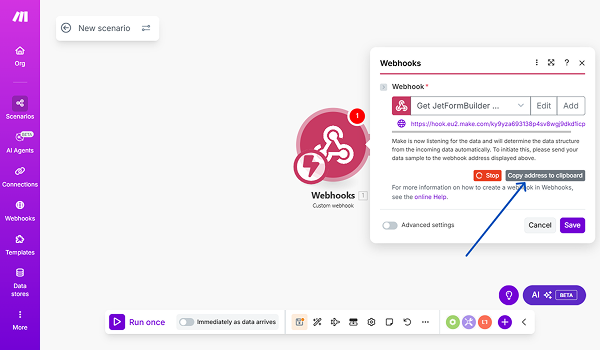
Click the “Save address to clipboard” button and the “Save” button after that.
Create a Form
Let’s proceed to creating a form. To build a WordPress form, we navigate to WordPress Dashboard > JetFormBuilder > Add New Form.
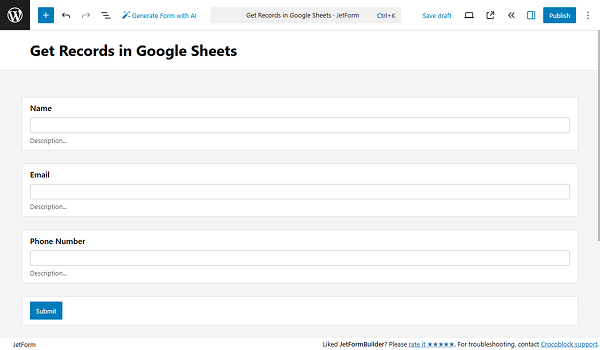
Enter the form’s title – in this case, it is “Get Records in Google Sheets”.
The Welcome block appears by default. From here, you can select a form pattern or generate a form with OpenAI. Otherwise, you can hit the “Start from scratch” button and use the three fields added by default, or you can delete them to begin anew.
In this case, we build our form from scratch. We also delete the default fields and add several Text Fields for the name, email, and phone number, as well as the Action Button Field.
Proceed to the JetForm settings section and open the Post Submit Actions tab. Here, press the “+ New Action” button. In the opened pop-up, find and click the “Call Webhook” action to add it.
You will see a pop-up that provides the settings for this action.
In the WEBHOOK URL input, paste the URL you copied earlier.
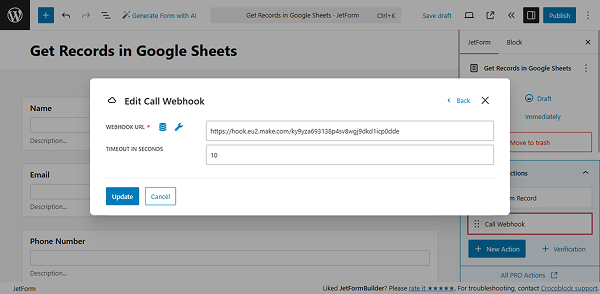
Click the “Update” button.
We also keep the Save Form Record action.
Once you are ready with the form settings, click the “Publish” button.
Add the Form to the Page
Following the How to Display a Form on the Front End guide, we add the created form to the necessary page.
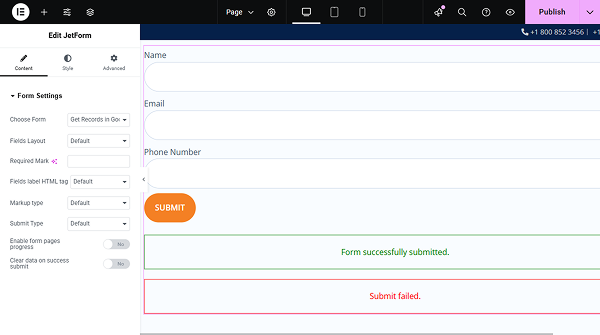
Click the “Publish” button once you are ready with the settings.
Connect the Form to the Google Sheet
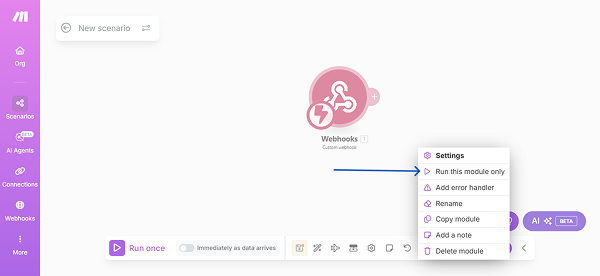
Now, let’s return to the Integromat (Make) scenario settings. Right-click the “+” button and select the “Run this module only” option.
After that, open the front-end page where you added the form and submit it.

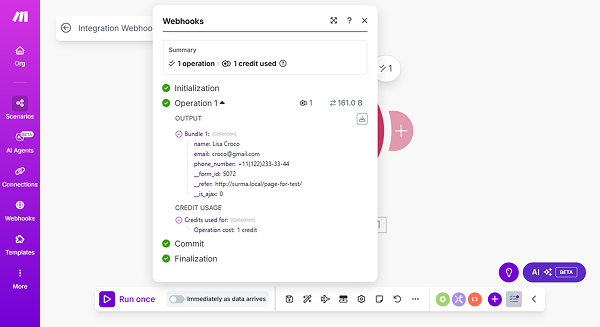
In Integromat, click the newly appeared icon on the right side of the main one. In the pop-up that opens, the data from the submitted form will appear.
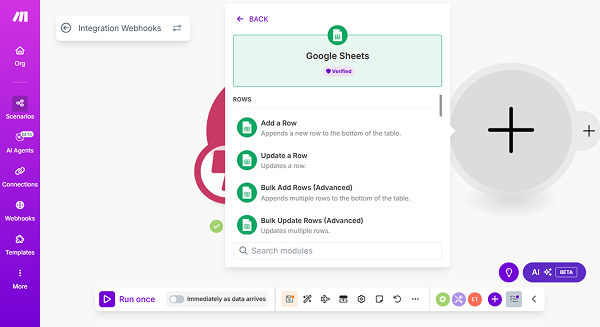
On the right side of our main icon, you will find another ”+” icon; click it. In the newly opened pop-up, choose the “Google Sheets” option. In the next window, select “Add a Row”.
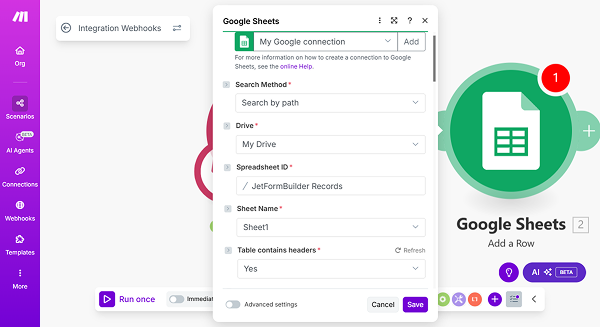
Click the “Create a Connection” button. In this case, we click “Sign in with Google” and follow Google’s instructions.
For the Search Method and Drive, we keep the default selections. For the Spreadsheet ID, we select the sheet we prepared beforehand. We also keep the “Sheet1” for the Sheet Name and “Yes” for the Table contains headers.
Then, scroll down a bit and for each Value field, select the dedicated form fields from the pop-up that opens when you click the field.
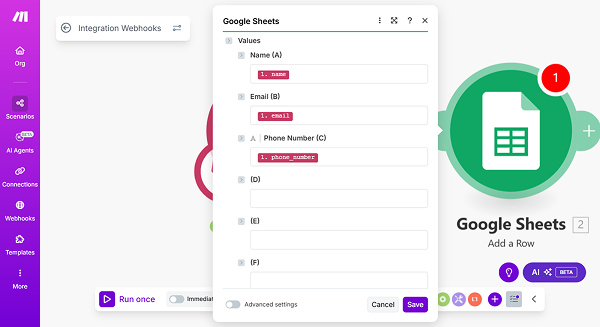
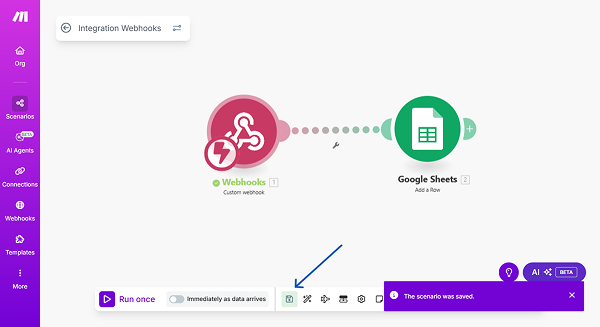
Click the “Save” button.
Now, the integration is set. Click the “Save” button.
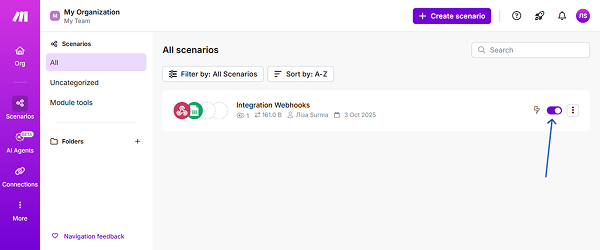
Proceed to the Scenarios tab, and enable the toggle next to the scenario we created.
Check the Result
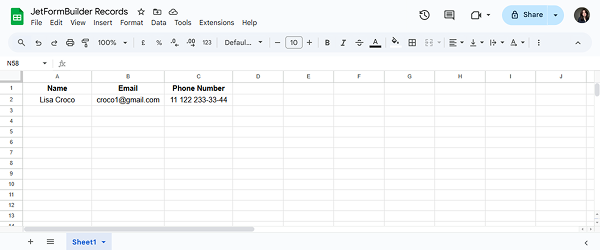
Let’s submit the form on the front end once again.

When we access the connected Google Sheet, we see that the data entered in the form is now displayed here.
That’s it. Now, you know how to automatically save form submissions from the JetFormBuilder WordPress plugin in Google Sheets.