How to Send Email After Order Completion in WooCommerce
Clear communication after a purchase fosters trust and enhances the customer experience. With the JetFormBuilder plugin, you can set up custom messages that are triggered when an order is marked as completed. These emails can include thank-you notes, product instructions, or special offers for returning customers.
In this tutorial, you will learn how to configure JetFormBuilder to send automated emails after order completion in WooCommerce, ensuring that every customer receives the right message at the right time.
Table of Contents:
Create a Form
Proceed to setting up a form. For that, we navigate to WordPress Dashboard > JetFormBuilder > Add New Form.
Enter the form’s title — in this case, it is “Buy a Product Form”.
The Welcome block appears by default. From here, you can select a form pattern or generate a form with OpenAI. Otherwise, you can hit the “Start from scratch” button and use the three fields added by default; otherwise, you can delete them to begin anew.
In this case, we build our form from scratch. We keep the Hidden Field for the current post ID. We add three Text Fields for the user’s names and email.

Set Up Post Submit Actions
Proceed to the JetForm > Post Submit Actions tab and press the “+ New Action” button. In the opened pop-up, find and click the “Add to Cart & Redirect to Checkout” action to add it.
Now, you should see a pop-up that provides the settings for this action. Refer to our WooCommerce Cart & Checkout Action guide to know how to set up the action.
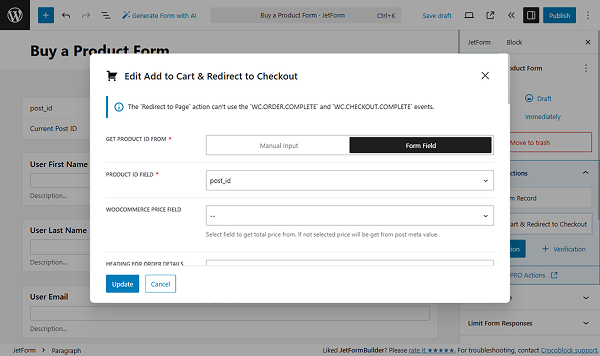
Click the “Update” button.
Then, add the “Send Email” action. We select the “Email from submitted from field” option in the MAIL TO field and the needed field for the FROM FIELD. Enter the CONTENT.
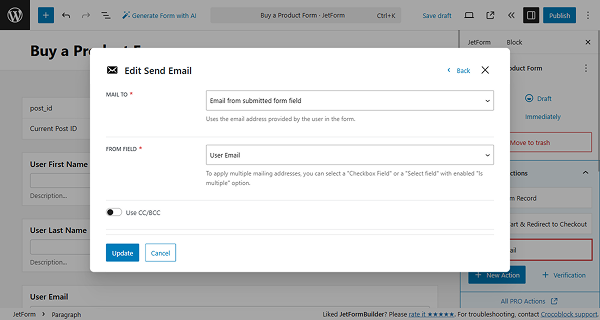
Click the “Update” button.
Then click the “Edit Conditions & Events” button next to the “Send Email” action. Proceed to the Events match tab and search for the “WC.CHECKOUT.COMPLETE” event in the ADD EVENT field.
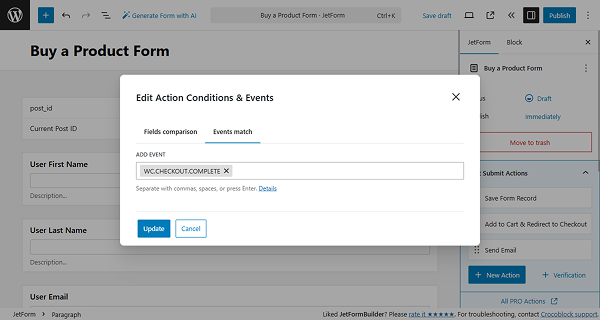
Click the “Update“ button.
Once you are ready with the form settings, click the “Publish” button.
Check the Result
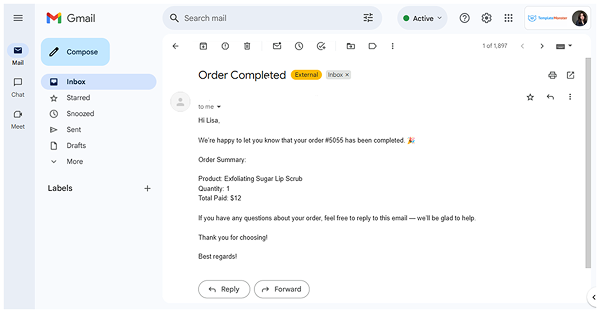
Proceed to the front-end page and submit the form — a WooCommerce order will be created. We manually changed the status to “Completed”.
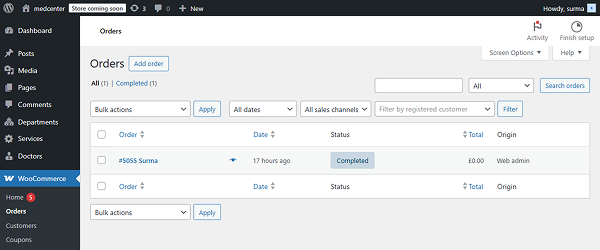
As soon as the status was changed to “Completed”, we got an email.
That’s it. Now you know how to send custom messages that are triggered when an order is marked as completed using the WordPress JetFormBuilder plugin.