How to Set Map Zoom by Specific Area
To display Google Maps, Leaflet Maps, or Mapbox via the Map block field of the JetFormBuilder plugin, install and activate the JetEngine plugin (at least 3.0.3 or higher versions) and enable its Map Listing Module.This tutorial explains how to display Google Maps.
For additional information, read the following tutorial: Using Different Maps and Geocoding Providers for Map Listings.
Getting an API Key
Getting an API Key is necessary for all map providers.
Navigate to the Google Cloud Platform Console. Register or log in to your account.
Fill in the appropriate fields of the Account Information and Payment Information Verification windows.
Navigate to the APIs & Services tab of Google Cloud Platform Console and press the “Create Project” button. Scroll down, select the Maps Javascript API (and other necessary services), and press the “Enable” button.
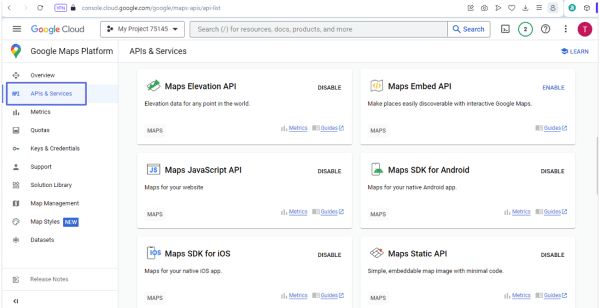
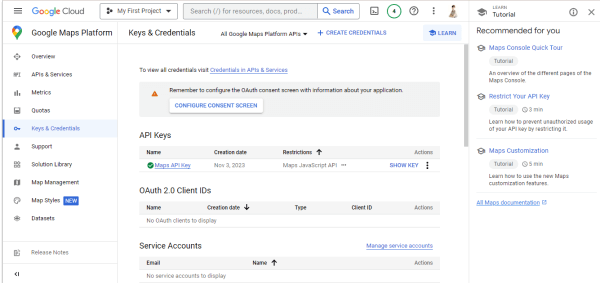
Navigate to the Keys & Credentials tab and press the “SHOW KEY” button to get the API key.
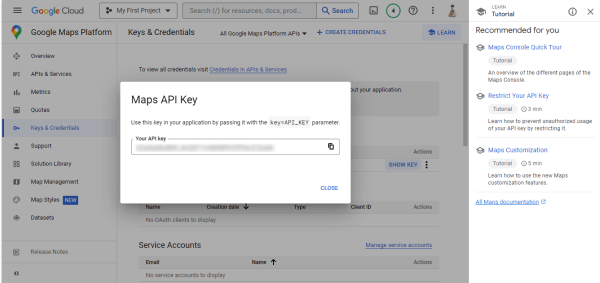
Copy the data from the Your API Key field.
JetEngine Settings
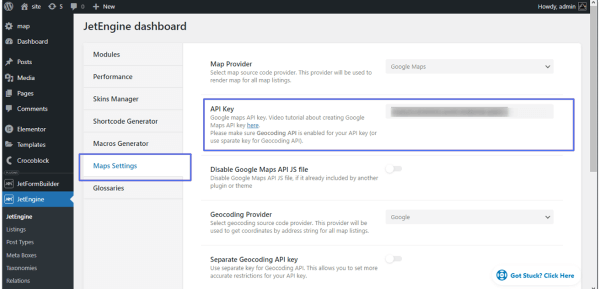
Navigate to the WordPress Dashboard. Open the JetEngine > JetEngine > Maps Settings tab. Paste the copied API Key into the API Key field.
Map Field Usage
Navigate to the JetFormBuilder tab and create a form.
Open the form and add the necessary fields.
Find the Map Field block and drag-n-drop it onto the form. Unroll the VALUE FORMAT settings and type/paste the coordinates that define the center of the map.
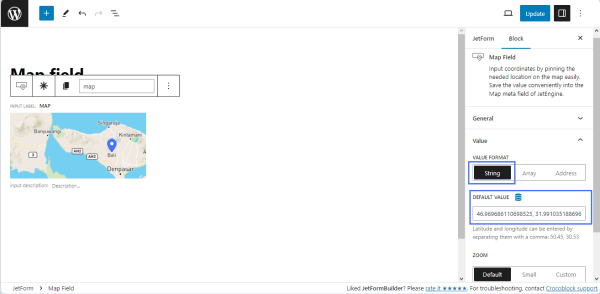
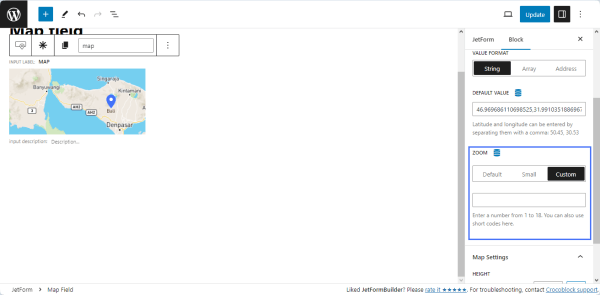
Unroll the ZOOM settings and select the necessary zoom option.
Zoom settings determine how much the map will zoom in after the user specifies a location (via coordinates, address, or point on the map), which is then used as the center of the map. The zoom settings range from “1” to “18,” with a value of “1” providing the least amount of zoom and “18” showing the most area in the map field.
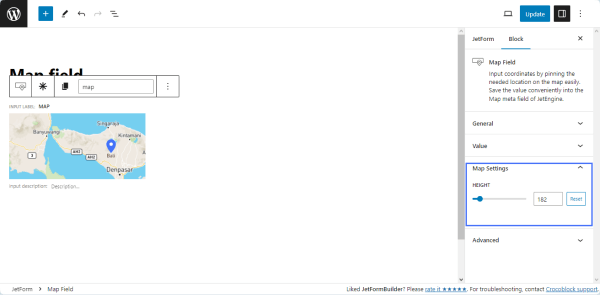
Unroll the Map Settings and toggle the necessary map size.
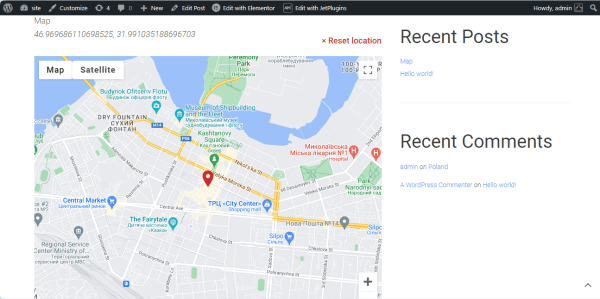
Add the form to a post or a page to see how the map looks on the front end.
That’s all about setting map zoom by a specific area.