How to Update Related Items’ Meta
You might know how to connect relations or update them through the form. In this guide, we will focus on updating the meta fields of related items.
Table of Contents:
Create a Relation
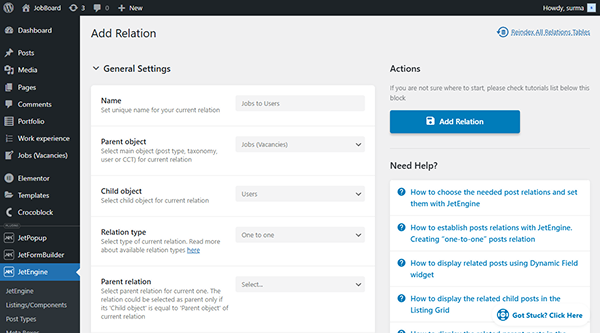
Proceed to WordPress Dashboard > JetEngine > Relations and either click the “Add New” button or edit the existing relation. In this case, we use the relation between the Custom Post Type and users.
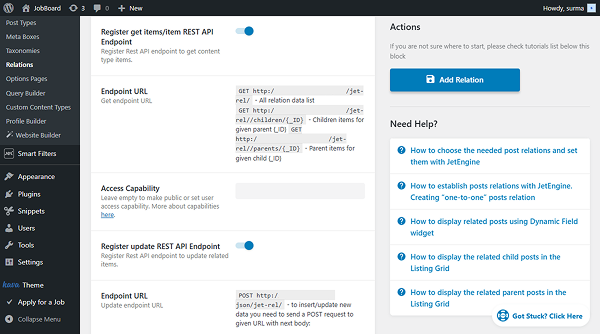
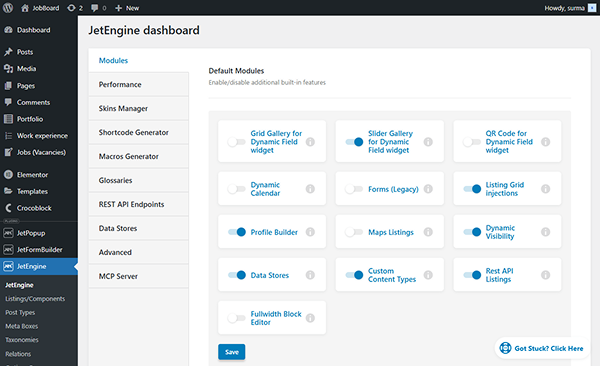
Scroll down and enable the Register get items/item REST API Endpoint and Register update REST API Endpoint toggles.
Additionally, in the Meta Fields tab, click the “New Field” button and add the needed fields. In this case, we add the “Text” Field type.

Click the “Add Relation” button once you are ready with the settings.
Get a Shortcode
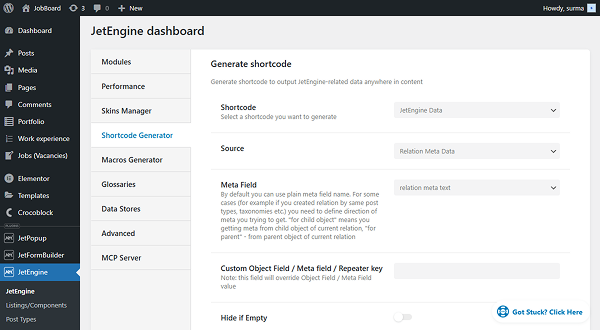
Follow to WordPress Dashboard > JetEngine > JetEngine > Shortcode Generator. Keep the “JetEngine Data” option for the Shortcode field. Select the “Relation Meta Data” Source and select the Meta Field you created for your relation.
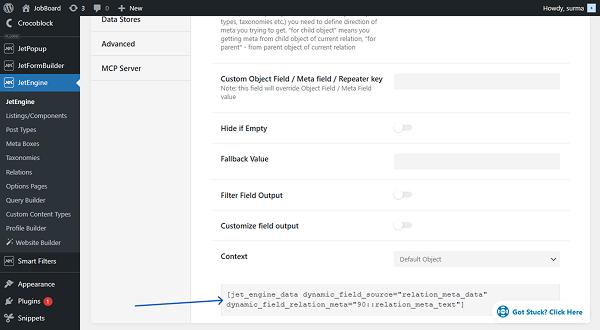
Scroll down and copy the shortcode you get. It will be needed later during the form building.
Build the Form
Now, let’s proceed to creating a form. To build a WordPress form, we navigate to WordPress Dashboard > JetFormBuilder > Add New Form.
Enter the form’s title – in this case, it is “Update Related Item Meta”.
Form fields settings
The Welcome block appears by default. From here, you can select a form pattern or generate a form with OpenAI. Also, you can hit the “Start from scratch” button and use the three fields added by default; otherwise, you can delete them to begin anew.
In this case, we keep only the Hidden Field with the “Current Post ID” option selected in the FIELD VALUE input.
We add one more Hidden Field, but with the “Current User ID” option.

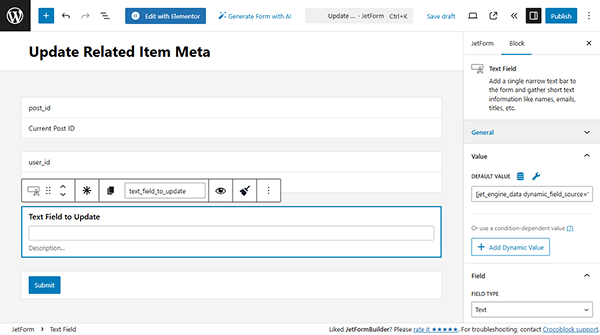
Now, add the Text Field, which will update the text field from the relation (if you have a different field type in the relation, use the same field type in the form).
In the right-side tab, insert the shortcode you created earlier into the DEFAULT VALUE field.
Add as many fields as you need to update the meta for the related item.
Set up the form Actions
Now, proceed to the JetForm settings section and open the Post Submit Actions tab. Here, press the “+ New Action” button. In the opened pop-up, find and click the “REST API Request” action to add it.
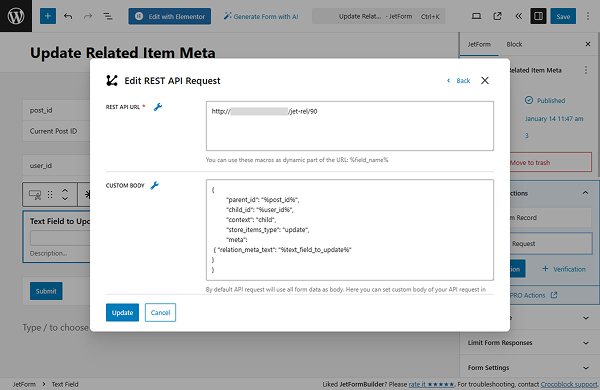
In the newly opened pop-up, you need to fill in two fields: REST API URL and CUSTOM BODY. You can get both of them from the Relation settings page.
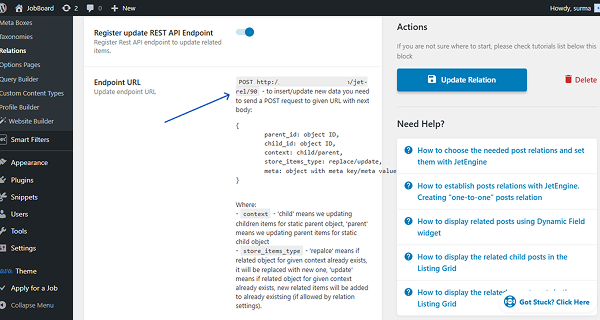
Copy the Endpoint URL and paste it into the REST API URL field. For the CUSTOM BODY field, use the following code as a reference:
{
	"parent_id": "%post_id%",
	"child_id": "%user_id%",
	"context": "child",
	"store_items_type": "update",
	"meta":
 { "relation_meta_text": "%text_field_to_update%"
}
}
Note that instead of the “post_id”, you add the name of the form’s field attached to the parent relation item (in this case, CPT is the parent item, so we are getting the current post ID). Instead of “user_id”, use the form field name attached to the child relation item (the current user ID, in this case). Instead of the “relation_meta_text”, use the name of the relation field. Instead of the “text_field_to_update”, type the form field name that is associated with the relation meta field.
Then, enable the Authorization toggle and select the “Application Password” option for the AUTHORIZATION TYPE.
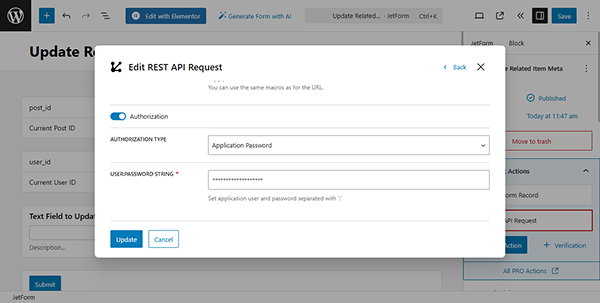
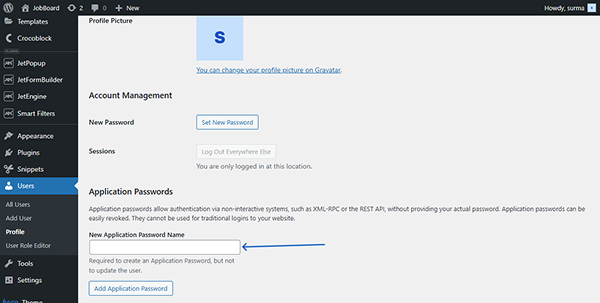
It should be concatenated from your admin username and your Application Password, which can be set in WordPress Dashboard > Users > Profile > Application Passwords.
Click the “Update” button in the action settings.
Once you are ready, click the “Publish” button.
Add the Form to the Page
Following the How to Display a Form on the Front End guide, we add the newly created form to the parent template page.
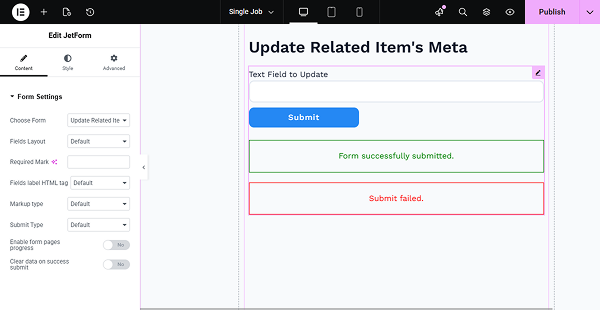
Click the “Publish” button once you are ready with the settings.
Check the Result
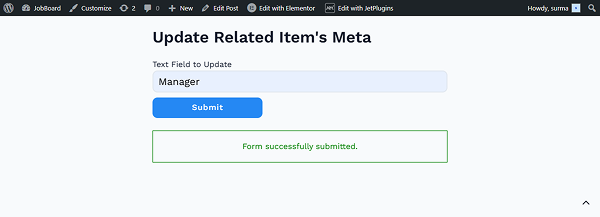
Now, let’s proceed to the front parent post page. Here, we have the “Employer” value in the Text Field.
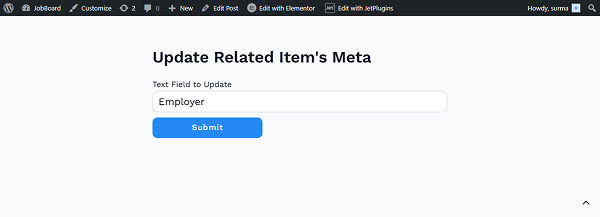
We change it to the “Manager” and click the “Submit” button.
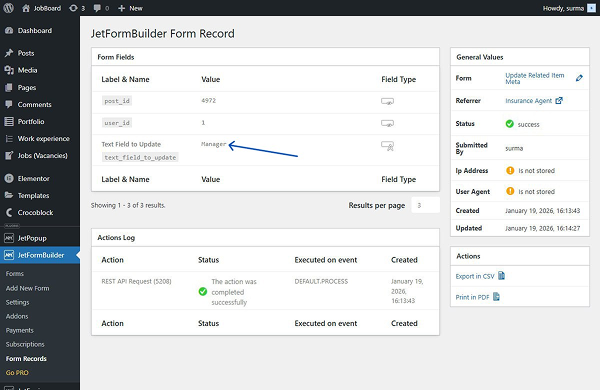
Additionally, we can check the form record to see that the relation item’s meta field was successfully updated.
That’s it. Now you know how to build a form to edit and update related items’ meta fields using the JetFormBuilder WordPress plugin.