How to Update Repeater Form Field
This tutorial will provide all information about settings in the JetFormBuilder’s form to update the Repeater field type.
- Check the Repeater Meta Field
- Add the Repeater Field in the Form
- Set Up a Preset in the Form
- Configure the Post Submit Action
- Check Results on the Front End
Check the Repeater Meta Field
Initially, check whether there is a filled-in “Repeater” meta field for some object which can be updated using the front-end form.
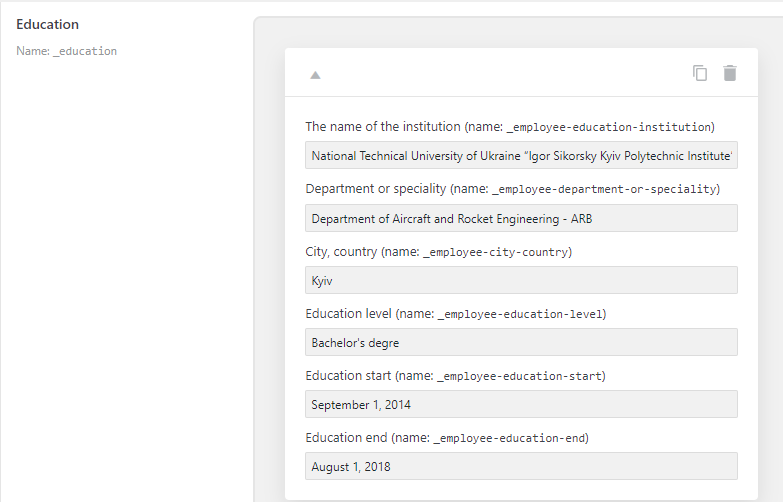
For example, we previously created a Meta Box for users, where a user can fill in information about education. Check how to apply Meta Box to users.
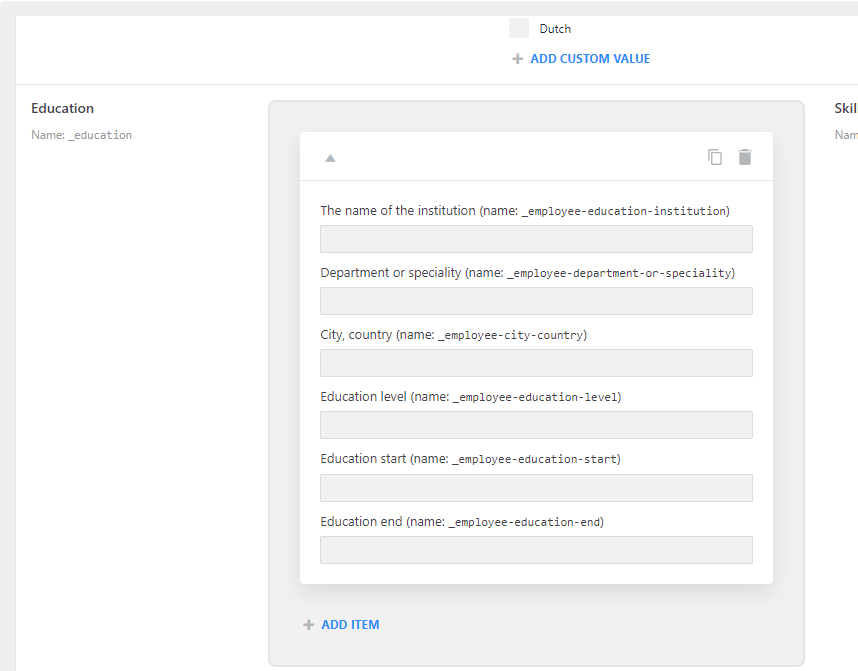
Then complete these fields, so the values can be updated later.
Add the Repeater Field in the Form
Now we can work on the form created using the JetFormBuilder plugin to update the user repeater field.
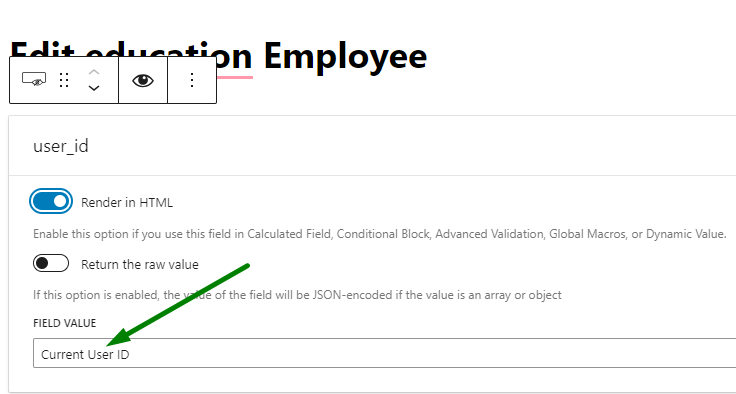
In the form, we added a Hidden Field with the “Current User ID” as a Field Value since the form will update the repeater field values of the current user.
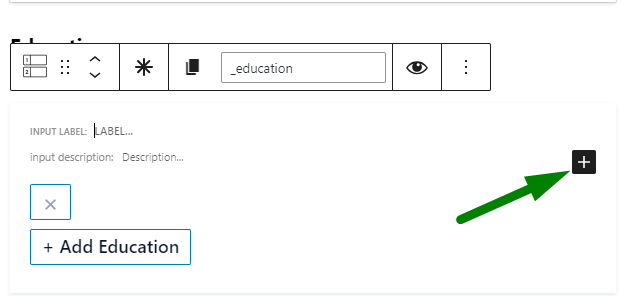
Then add the Repeater Field itself.
By clicking on the plus icon inside of the Repeater Field, the fields can be inserted.
In the user’s “Repeater” meta field, the “Text” and “Date” fields are used. Therefore, we add the fields of these types to the form accordingly. These fields must also have the field names as written in the meta box.
For example, this “Text” field has the “_employee-education-institution” name in the Meta Box.
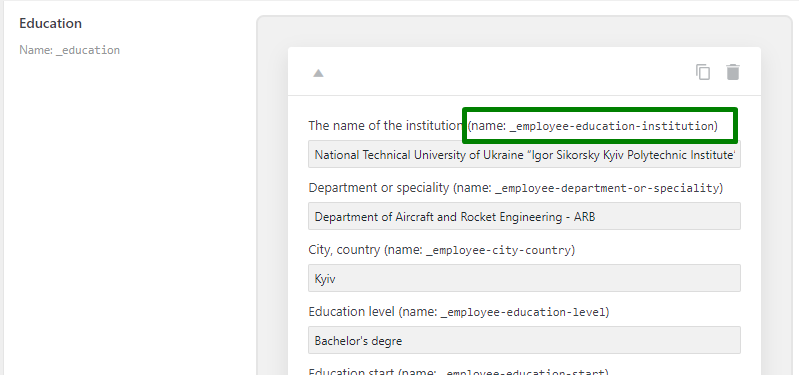
This is why we copied the meta field name and inserted it into the form field name of the “Text” field in the Repeater in the form. The same was done for other fields in the form.
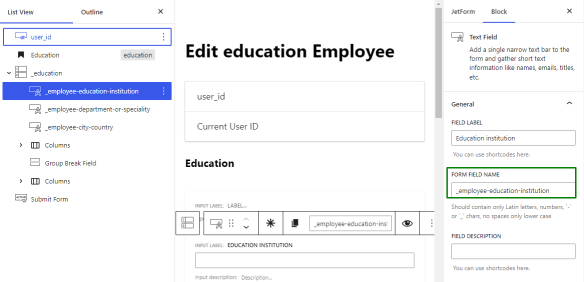
All the fields are added with the field names as in the user Meta Box, and we can proceed with other settings.
Set Up a Preset in the Form
Now, we should Enable the preset in the Preset Settings of the form. The Preset allows loading of the existing values in the user Meta Box into the fields of the form, so a user can see which values are updated in the fields.
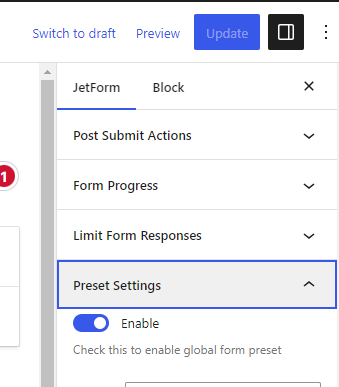
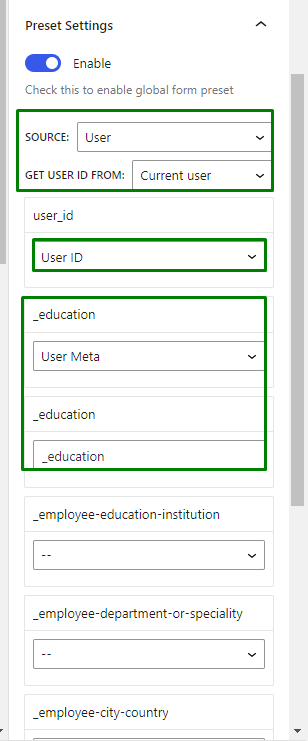
In the Preset Settings, a source should be selected as “User” because we update a user’s data.
The Get User ID From needs to be set to “Current user” so the form pulls the data of a currently logged-in user.
The user_id field is mapped to the “User ID” property.
As for the _education repeater form field, it is mapped to the “User Meta” and “_education” repeater meta field, so the meta data is pulled from there. The inner repeater meta fields do not need fields selected in the preset. Just presetting the repeater field is enough.
Configure the Post Submit Action
Lastly, we should configure the “Update User” post submit action.
To do so, go to the Post Submit Actions tab. Add an “Update User” action, and click the pencil icon to edit its settings.
In the user_id field, select the “User ID (will update this user)” option.
And map the _education field to the User Meta – “_education”.
This way, the values from the form fields will be added to the user meta fields.
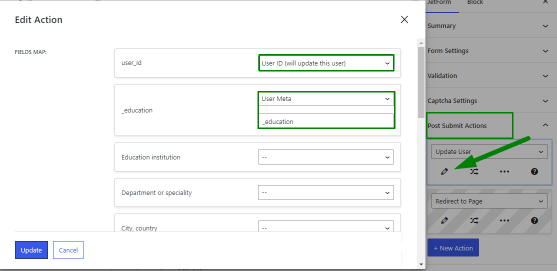
Hit the “Update” button to save the action settings and update the form.
Check Results on the Front End
Check the result on the front end. We can see the form presets the data from the “Repeater” field of the current user successfully, and now we can edit this data.
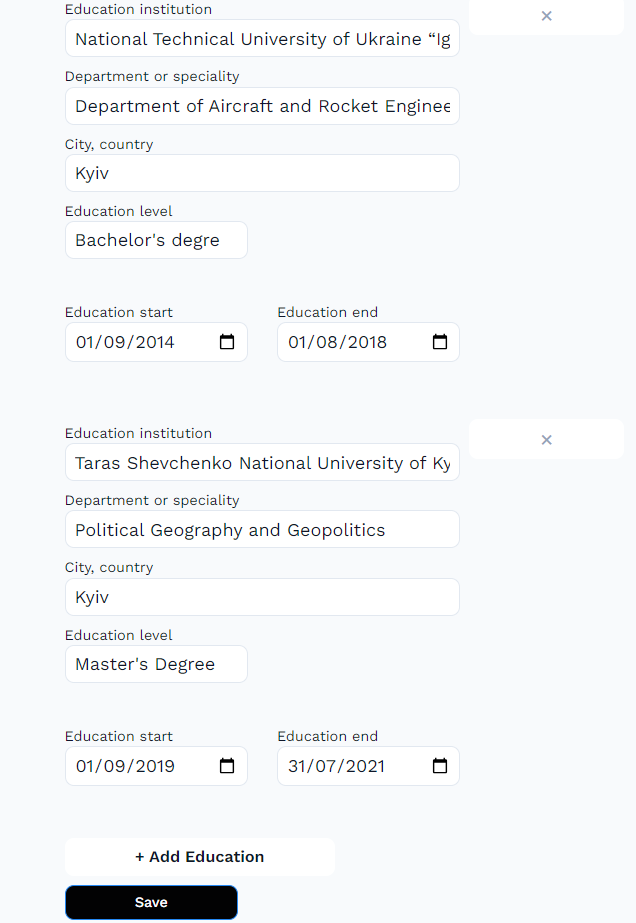
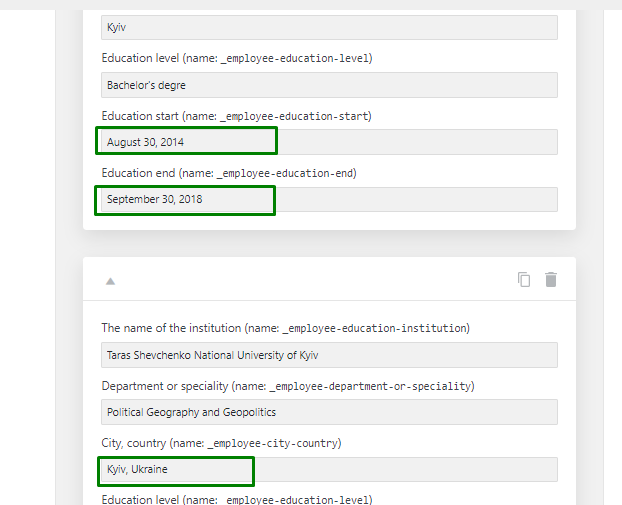
Let us change the dates in the Education start/end “Date” fields and add the country name in the City, country field.
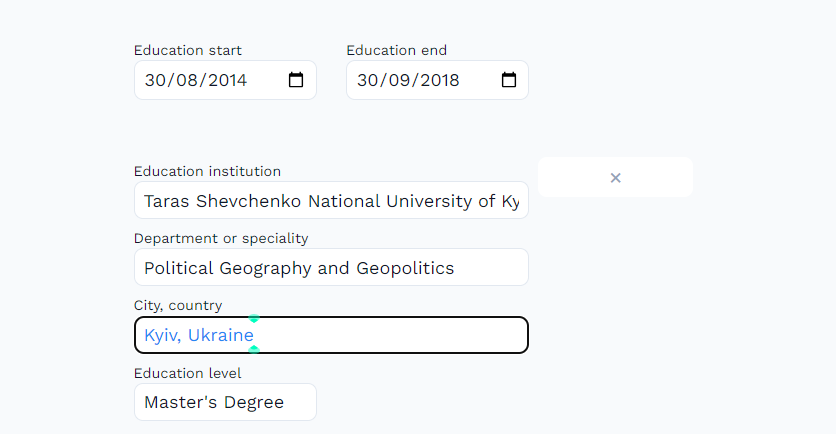
After editing the fields, we can submit the form.
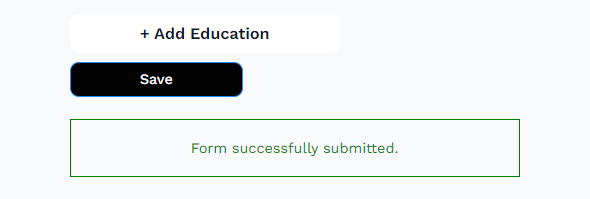
Check the User meta fields now. We can see the values have been updated in the fields that were edited via a front-end form. The form successfully updates the meta fields in the Repeater in the user Meta Box.
That is it; now you know how to update a JetEngine’s “Repeater” meta field values using the front-end form built with the JetFormBuilder plugin.