How to Upload Media Files to Options Pages via a Front-end Form
Table of Contents:
Create an Options Page
You can use the already prepared JetEngine’s Options Page or create a new one. In this case, we add the Media field to the already existing Options Page. For that, proceed to WordPress Dashboard > JetEngine > Options Pages and click the “Edit” button next to the needed Options Pages.
In the Fields tab, click the “New Field” button. Set the Label and the “Media” Field Type. It is essential to select the “Media ID” Value format.
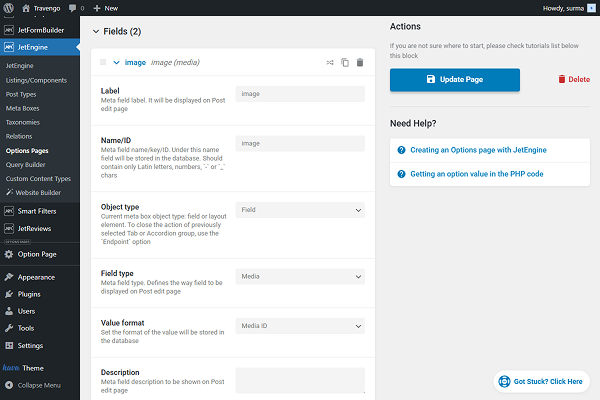
Click the “Update Page” button once you are ready.
Set up a Form
Now, let’s proceed to creating a form. To build a WordPress form, we navigate to WordPress Dashboard > JetFormBuilder > Add New Form.
Enter the form’s title — in this case, it is “Upload Media to Options Pages”.
The Welcome block appears by default. From here, you can select a form pattern or generate a form with OpenAI. Also, you can hit the “Start from scratch” button and use the three fields added by default; otherwise, you can delete them to begin anew.
In this case, we delete the Hidden Field and keep the Text Field to update the Text field of the Options Page, but we will not focus on this in the article.
Add the Media Field to the form. In the right-side column, proceed to the Field tab and enable the Insert attachment toggle. In the FIELD VALUE dropdown, select the “Attachment ID” option. Also, select who can upload images in the USER ACCESS field.

Now, proceed to the JetForm settings section and open the Post Submit Actions tab. Here, press the “+ New Action” button. In the opened pop-up, find and click the “Update Options” action to add it.
In the newly opened pop-up, select the needed option in the OPTIONS PAGE. Set up the OPTIONS MAP to establish compliance between form fields and Options Page fields.
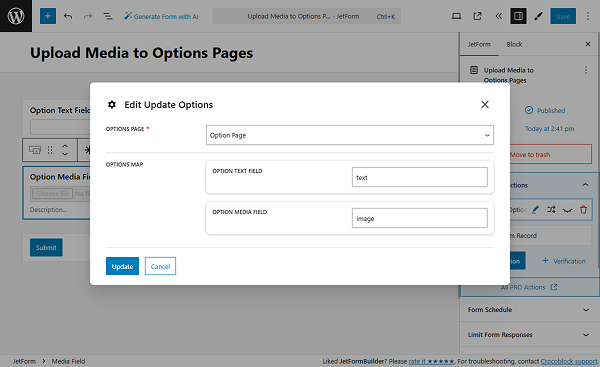
Click the “Update” button in the action settings.
Once you are ready, click the “Publish” button.
Add the Form to the Page
Following the How to Display a Form on the Front End guide, we add the newly created form to the parent template page.
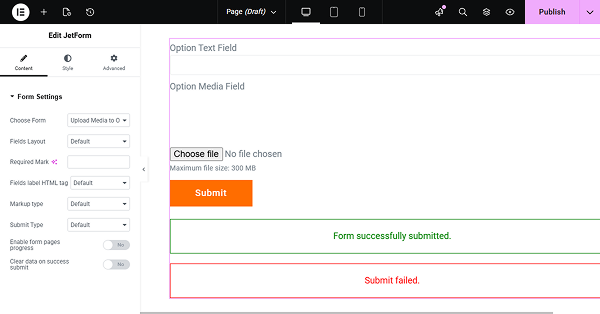
Click the “Publish” button once you are ready with the settings.
Check the Result
Proceed to the front end and submit the form.
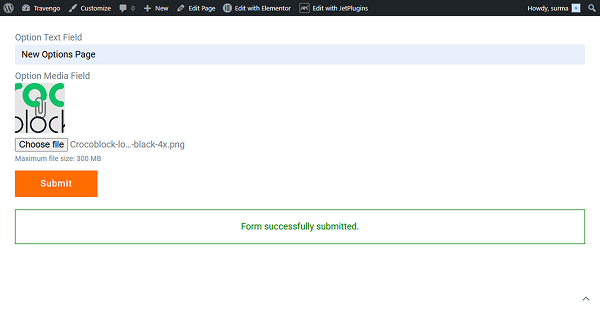
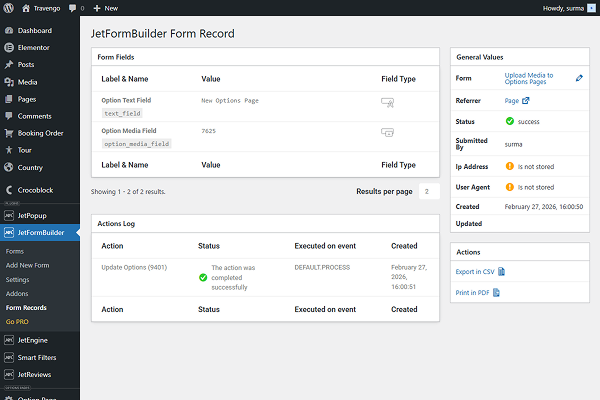
If we check the Form Records, we can see the successful submission.
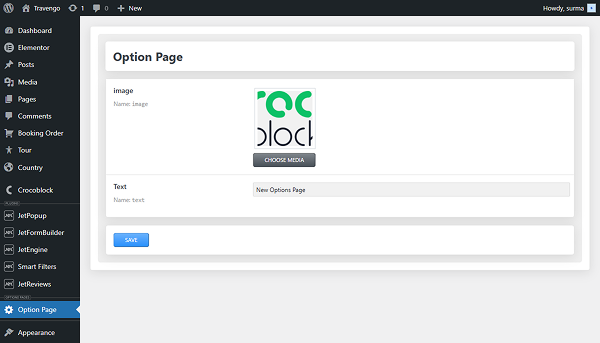
In the Options Page, we also get the uploaded image.
That’s it. Now you know how to create a form for uploading media files to Options Pages using the WordPress JetFormBuilder plugin.