How to Use Update Options Action
In this guide, you will find out how to update the JetEngine’s options page values via form with the help of the “Update Options” post submit action from JetFormBuilder for WordPress.
Table of Contents:
- Build an Option Page
- Create a Form
- Adjust the Post Submit Action
- Add the Form to a Page/Template
- Check the Result
In this guide, we will show how to build a JetFormBuilder form with the help of which you can update the JetEngine’s options page data on the front end.
An example form will be created for updating the site info and placed on the user’s account page. It will be available only for users with the “Administrator” user role.
Build an Option Page
Initially, you should make sure you have created the Options Page with JetEngine.
Find out how to do it in the Options Pages Overview.
For example, we have created the “Site Info” option page with the “Phone Number,” “Email Address,” “Working Hours,” and “Company Address” text meta fields.
Also, we have completed the values by proceeding to the WordPress Dashboard > Your Options Page Name:
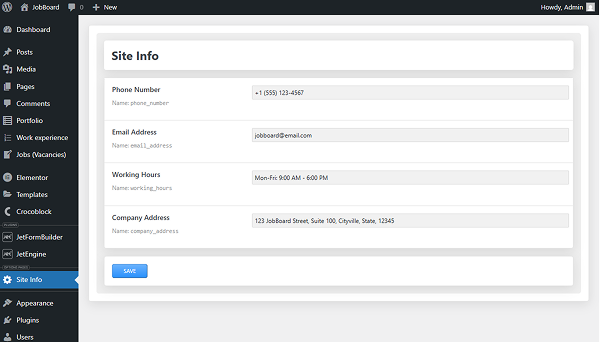
- Phone Number — “+1 (555) 123-4567”;
- Email Address — “jobboard@email.com”;
- Working Hours — “Mon-Fri: 9:00 AM – 6:00 PM”;
- Company Address — “123 JobBoard Street, Suite 100, Cityville, State, 12345”.
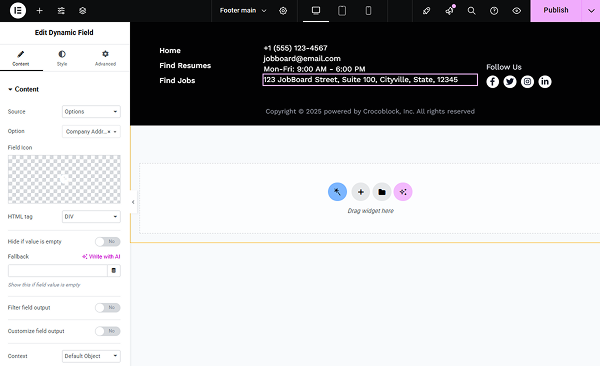
Next, we have also displayed the added options to the JetThemeCore’s footer with the help of the JetEngine’s Dynamic Field widget.
Create a Form
Now, let’s build a form that will let users update options.
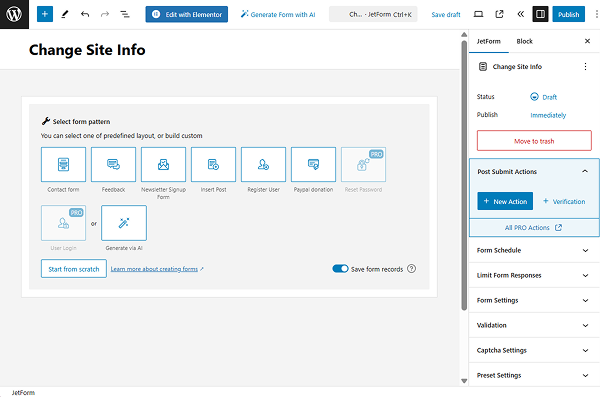
So, let’s proceed to WordPress Dashboard > JetFormBuilder > Add New.
Give a title to the form. In our case, “Change Site Info.”
By default, you will see the Welcome block on the page. You can delete it to build a form from scratch.
Now, we should add fields that will correspond to the previously added options.
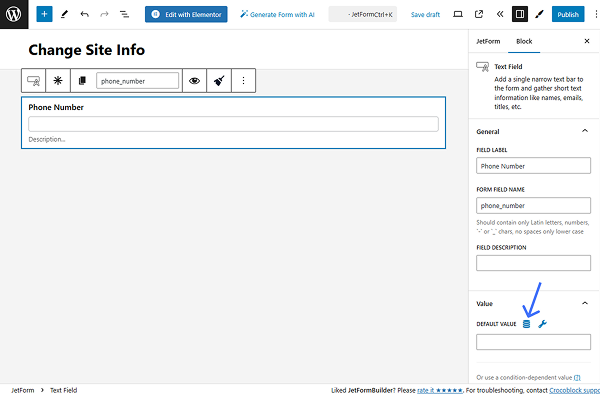
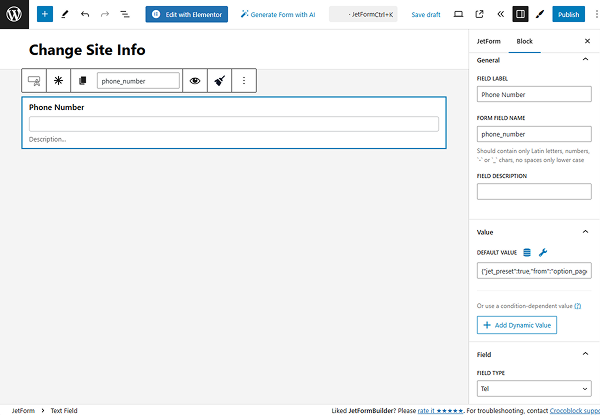
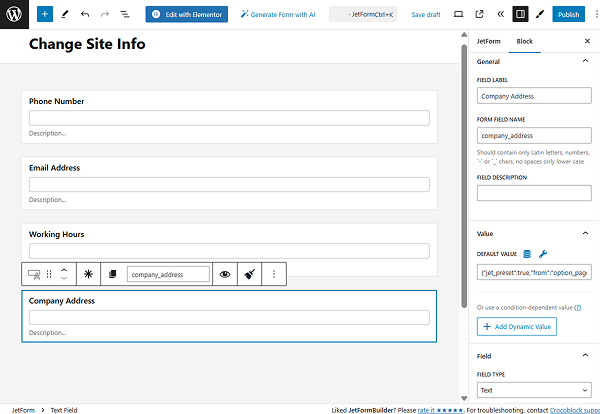
First, we add a “Phone Number” Text Field (the FORM FIELD NAME will be generated automatically) and proceed to the Value section.
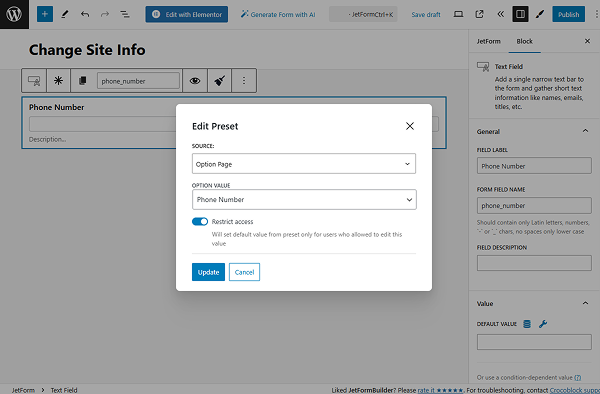
Here, we press the “Dynamic Tag” button next to the DEFAULT VALUE field to adjust the value that will be displayed in the field by default.
In the opened Edit Preset pop-up, set the SOURCE to the “Option Page” and pick the corresponding OPTION VALUE. Now, we select the “Phone Number” option.
Click the “Update” button to save the changes.
Now, the value previously set in the “Phone Number” option field will be displayed inside the form field by default. It can be later changed by the user who completes the field.
When the DEFAULT VALUE field is completed, we head to the Field tab and set the FIELD TYPE to “Tel” so that the value put in the field should be only a phone number.
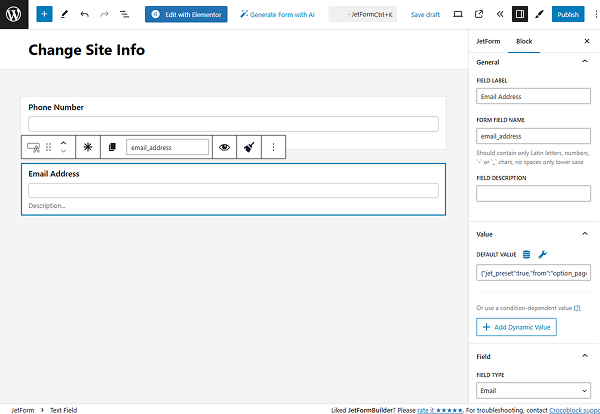
Next, we add one more Text Field, this time named “Email Address.”
This field also has the DEFAULT VALUE preset, but this time the OPTION VALUE is set to the “Email Address” option correspondingly.
In the Field tab, we also change the FIELD TYPE to “Email.”
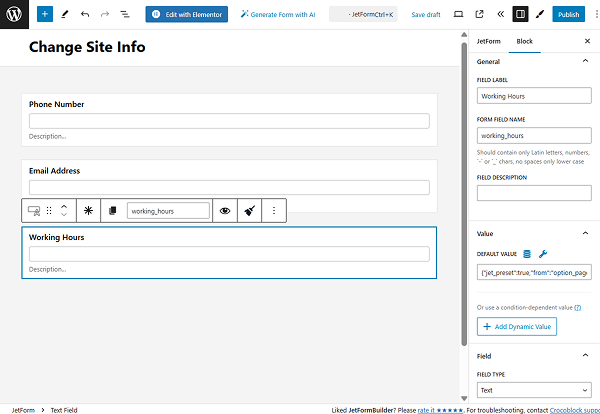
The next field in our form is the “Working Hours” Text Field.
It has the “Working Hours” option connected to be displayed as the DEFAULT VALUE, and the FIELD TYPE is left by default, “Text.”
The last Text Field of our form is called “Company Address”, it has the “Company Address” OPTION VALUE selected as the DEFAULT VALUE correspondingly, and the FIELD TYPE set to “Text.”
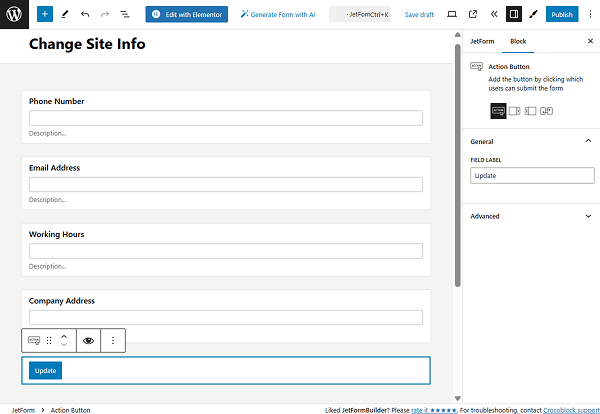
To finalize the form, we add an Action Button field and change the FIELD LABEL to “Update.”
Adjust the Post Submit Action
Next, we should set up the “Update Options” action.
Open the JetForm settings tab and proceed to the Post Submit Actions tab.
Click the “New Action” button to open the Add new action pop-up.
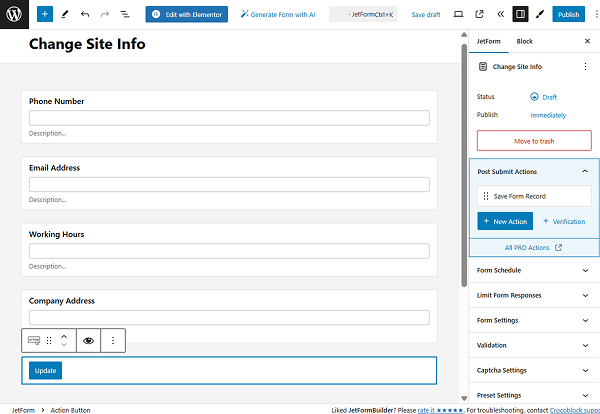
Here, find and click “Update Options” to open its settings.

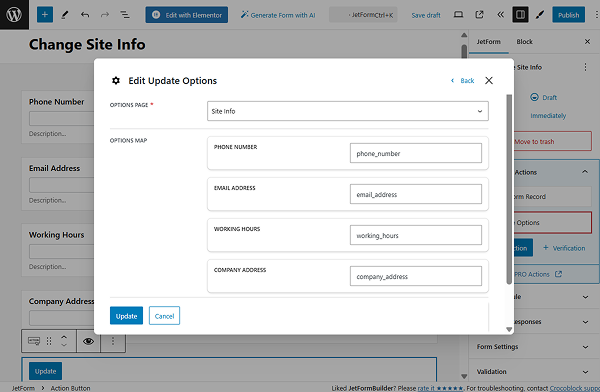
In the opened Edit Update Options pop-up, select the needed OPTIONS PAGE. In our case, it’s “Site Info.”
Now, it’s time to connect the form fields with the options fields. It can be done in the OPTIONS MAP section.
To do so, put the FORM FIELD NAMES into the corresponding fields. In our case, “phone_number” is connected to PHONE NUMBER, “email_address” to EMAIL ADDRESS, and so on.
Save the action by hitting the “Update” button.
Now, you can make other changes to the form if needed and press the “Publish” button.
Add the Form to a Page/Template
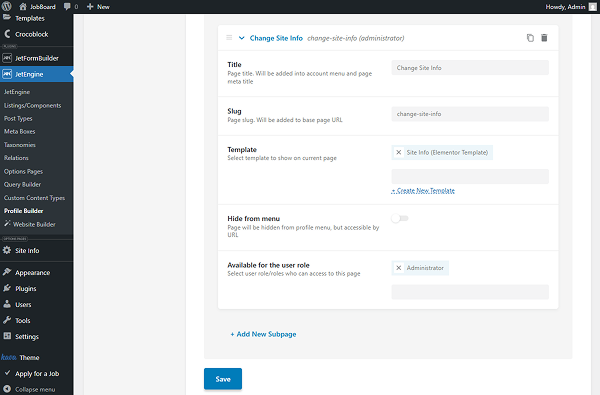
As we want to place our form on the Profile Builder’s Account Page, we head to the WordPress Dashboard > JetEngine > Profile Builder and open the Account Page tab.
Press the “Add New Subpage” button to add a new subpage to the account page.
We set the “Change Site Info” Title; the Slug is generated automatically. The Template in our case is set to the “Site Info (Elementor Template).”
You can click on the “Create New Template” link to build a template from scratch.
Here, we also select the “Administrator” option in the Available for the user role field so the built template will be visible only to the admin.
When the changes are made, don’t forget to press the “Save” button.
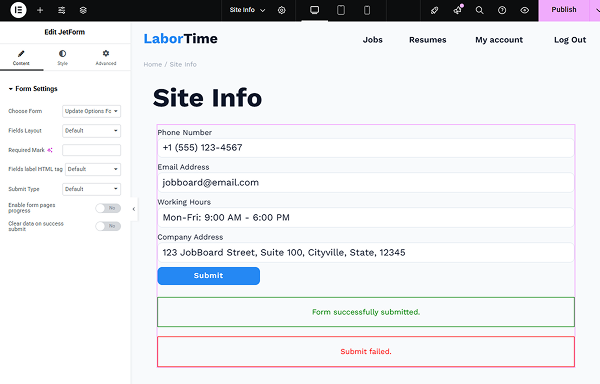
When we open the template assigned to the account page, we add a JetForm widget to it and select the built form in the Choose Form field.
You can adjust the widget settings as desired and press the “Publish” button when ready.
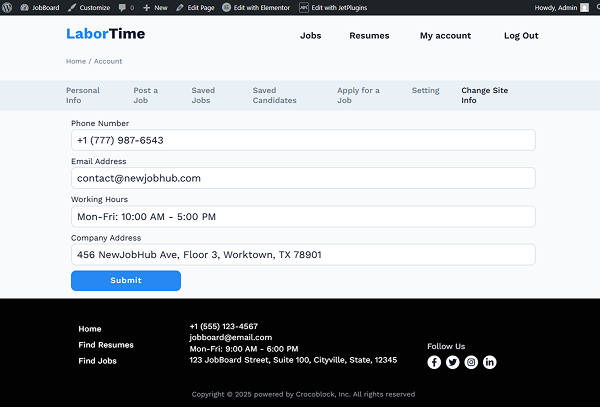
Now, we navigate to the account page on the front end. In our case, the link to the account is located in the header’s menu.
Here, we open the Change Site Info tab and view the form we created.
As we have set the DEFAULT VALUES for all the fields, they are now completed with the values we have previously added in the options fields.
We also see these values in the footer, as we have added option fields to it.
Now, complete the form with different values and click “Update” to see if the data changes in the footer.
The form is now successfully submitted (we can see the notification), and the data in the footer is also changed.
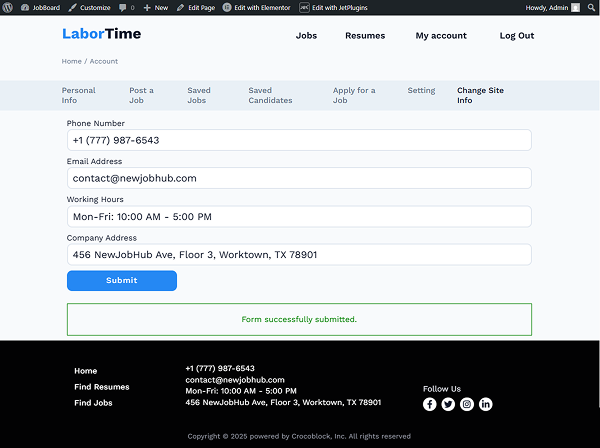
The data in the WordPress Dashboard > Your Options Page Name directory will also be updated.
That’s all about the “Update Options” post submit action available as part of the JetFormBuilder plugin for WordPress.