Repeater Field
The Repeater Field block is intended to contain all types of blocks (so-called “nested fields”) that will be repeated as many times as needed.
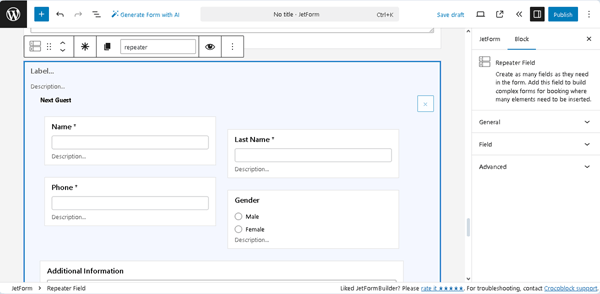
The Repeater Field block is often used in booking forms (for example, if the number of visitors is set manually), T-shirt order forms (to specify needed settings for each T-shirt), Calculators, etc.
For an in-depth understanding of how to configure the Repeater Field’s settings, use it in calculations, specify the number of repetitions in different ways, and more, the How to Add and Use Dynamic Repeater in the JetFormBuilder Forms tutorial should be read.
Also, more details can be found in the How to Create a Form with a Dynamic Repeater in WordPress video.
- Inserting the Repeater Field Block
- Inserting Nested Field into Repeater Fields
- Settings of the Repeater Field
- Usage of the Repeater Field in the Post Submit Actions
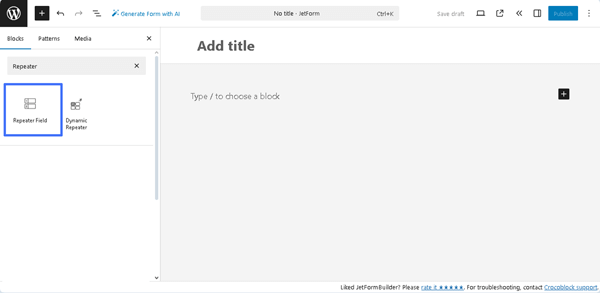
Inserting the Repeater Field Block
This block can be added to any form by finding it in the search bar of the block inserter (the “plus” icon) and placing it where required.
Also, the Repeater Field can be inserted as part of JetFormBuilder’s embedded templates, presented in the Welcome Block, and patterns (for example, the booking form).
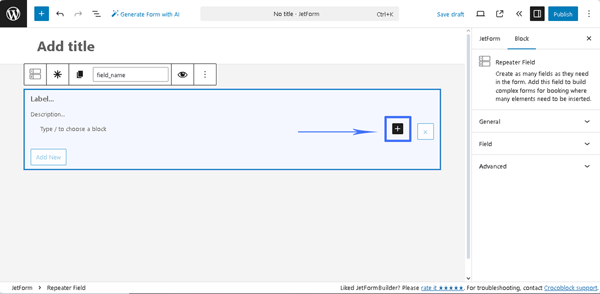
Inserting Nested Field into Repeater Fields
To insert the needed block(s) into the Repeater Field, the “plus” icon (inserter) should be pressed.
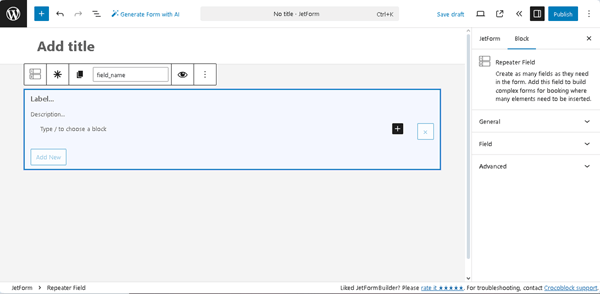
Settings of the Repeater Field
The settings of this field are presented by the General, Field, and Advanced settings.
General
The General settings include the following fields:
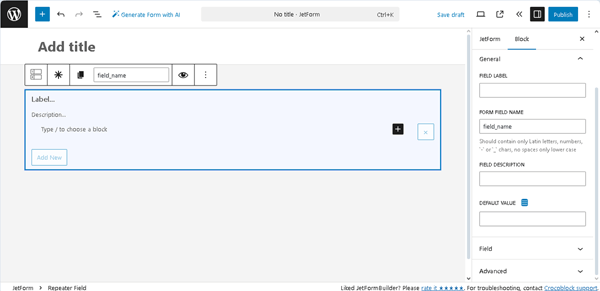
- FIELD LABEL ㅡ a field for inserting the field’s label;
- FORM FIELD NAME ㅡ a field for the field’s name. This field will be filled out automatically after the text is added to the FIELD LABEL field, but it can be corrected according to requirements. However, only Latin letters (lower case), numbers, `-` or `_` chars are allowable;
- FIELD DESCRIPTION ㅡ a non-required field for more information on this field, e.g., the field’s description;
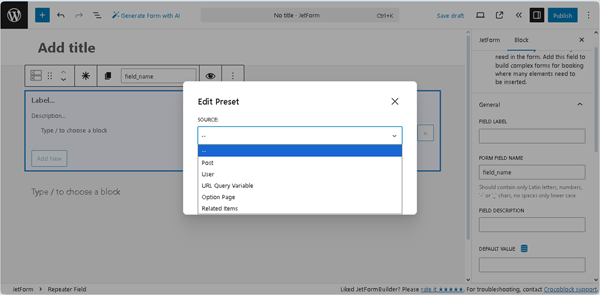
- DEFAULT VALUE ㅡ a field that displays the default value that will be shown in the Repeater Field. After pressing the “Dynamic Tag” icon, the Edit Preset pop-up will be opened. This pop-up includes the SOURCE drop-down list (with the “Post,” “User,” “URL Query Variable,” “Option Page,” and “Related Items” options) that allows selecting the corresponding source for the default value. In turn, each option activates the appropriate field, allowing one to choose the needed data.
Field
The Field settings allow for selecting the way to set the number of repetitions and the way to make calculations. The tab is presented by the following fields:
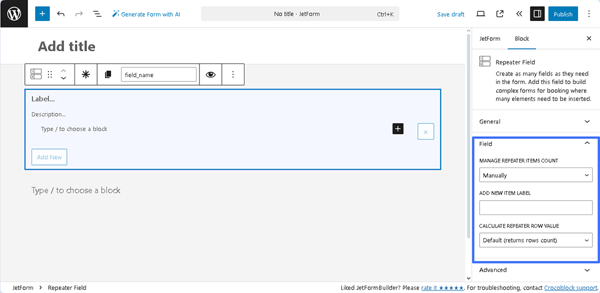
- MANAGE REPEATER ITEM COUNT ㅡ a drop-down list for choosing how the blocks of the repeater will be added to the form. The list has the following options:
- Manually ㅡ an option that, if selected, adds a button to the form and, by clicking that button, users can add as many blocks as needed. The label of the button is defined in the ADD NEW ITEM LABEL bar;Dynamically ㅡ an option that allows taking the number of repetitions from the form’s field. Once selected, it activates the FIELD ITEMS COUNT field that is intended to insert such a field;
- CALCULATE REPEATER ROW VALUE ㅡ a drop-down list for choosing how to count the data from the Repeated Field in the Calculated Field. The list has the following options:
- Default (returns rows count) ㅡ an option that allows a calculation for each row separately;
- Custom (calculate custom value for each row) ㅡ an option that adds a text area for the formula, similar to the one used in the Calculated Field. That formula will be calculated for every repeater block separately, and that value may be used in other fields.
Advanced
The Advanced section includes the following fields:
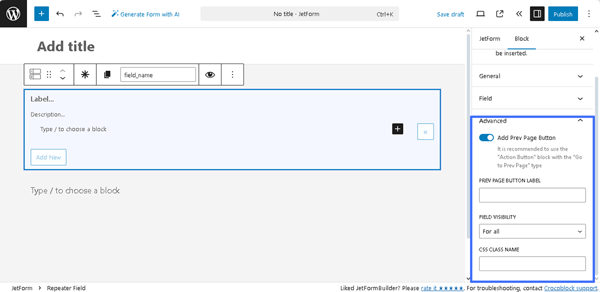
- Add Prev Page Button ㅡ a toggle that enables the PREV PAGE BUTTON LABEL, a field for inserting text that will be displayed on the corresponding button (if added);
- FIELD VISIBILITY 一 a drop-down list that allows selecting who can observe the block. It includes the following options: “For all,” “Only for logged in users,” or “Only for NOT-logged in users”;
- CSS CLASS NAME 一 a text field that allows inserting an additional CSS class to design the block field.
The JetFormBuilder Plugin: Looking Through Advanced Settings tutorial explains how to configure the Advanced settings.
Usage of the Repeater Field in the Post Submit Actions
The “Insert/Update Post” Post Submit Action allows data to be added to Custom Post Types (CPT) posts via the Repeater Fields.
In this case, the Repeater meta field and Repeater Field block in the form should be created.
In turn, the two conditions for correctly adding form data to the CPT should be met:
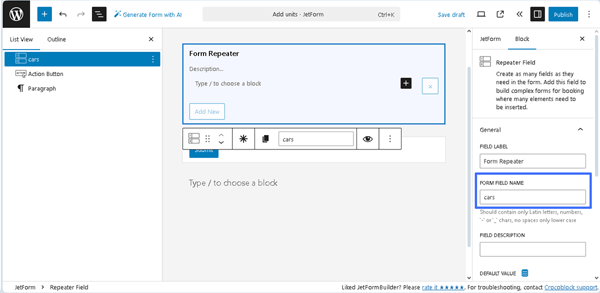
- Both Repeaters should have fully identical Names (not to be confused with Labels); for example, the form’s Repeater Field block has the “cars” Name:
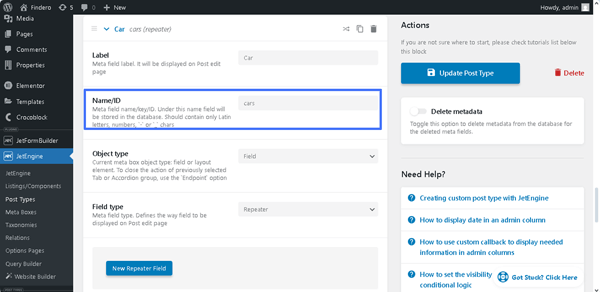
Also, the Repeater meta field (from the associated CPT) has the “cars” name/ID.
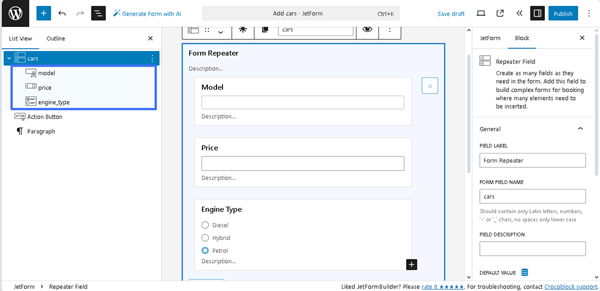
- Meta fields and the form’s fields from the Repeaters should have fully identical Names and Types. For example, the form’s Repeater Field block includes the “model” Text Field, “price” Number Field, and “engine” Radio Field.
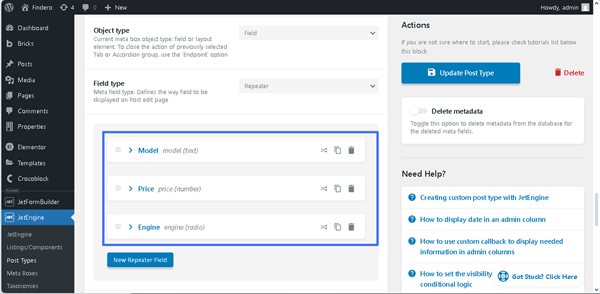
In turn, the Repeater meta field includes the following meta fields: “model” Text field, “price” Number field, and “engine” Radio field.
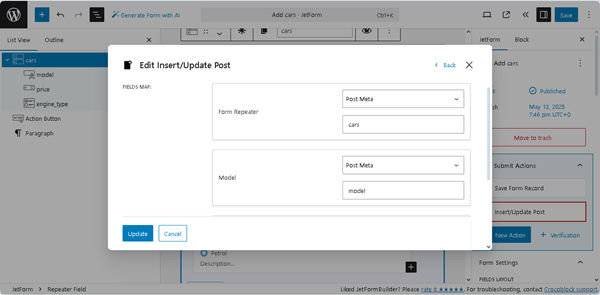
Finally, when configuring the “Insert/Update Post” Post Submit Action, the names of the corresponding meta fields should be entered into the fields of the FIELD MAP.
That’s all about the Repeater Field available with the JetFormBuilder plugin for WordPress forms.