Textarea Field
The Textarea Field gives the user enough space to type in a bigger piece of text. It creates a text area to place the data in several lines.
- General Settings
- Value Settings
- Field Settings
- Validation Settings
- Advanced Settings
- Additional Settings Panel
- Style Settings
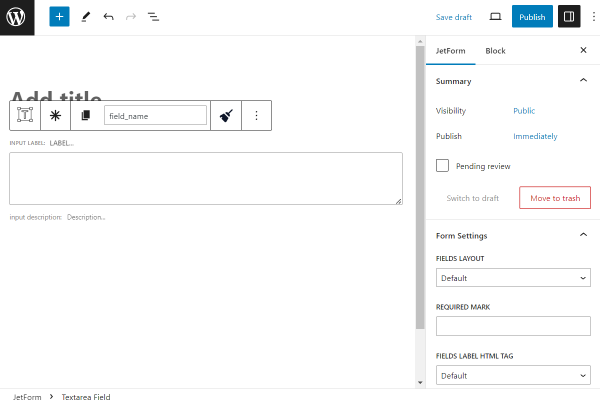
General Settings
The General settings tab includes the most common settings for field customization. Their description can be found in the General settings section overview.
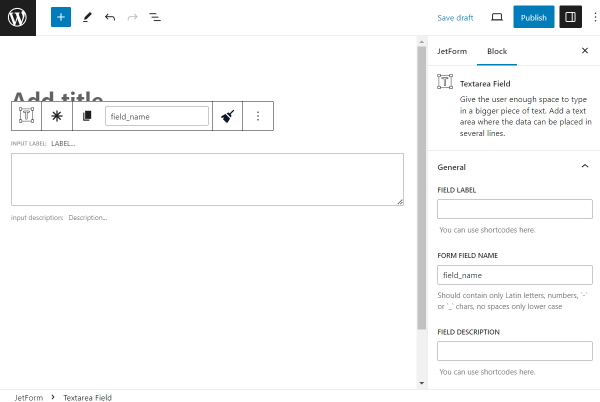
Value Settings
In the Value settings tab, one can adjust default and dynamic values.
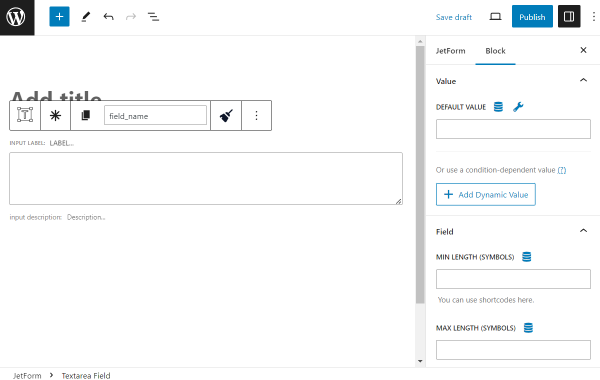
- DEFAULT VALUE — a value that will be placed in the form right away when the user opens the form. It can be completed with macros or dynamic presets to pull specific data. User can still change the value if desired;
- Add Dynamic Value — a button that opens a window to adjust the dynamic value in the Textarea Field.
The Edit Dynamic Value pop-up includes the following customization settings:
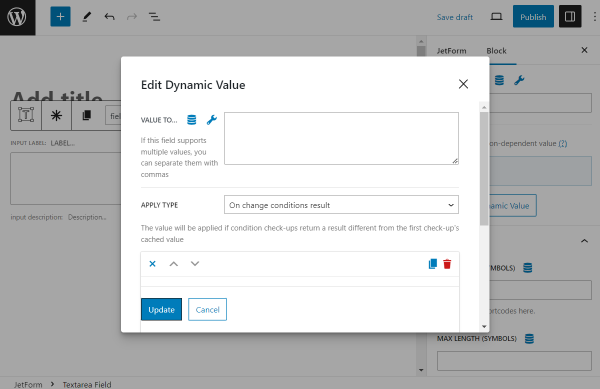
- VALUE TO SET — a value that will be put in the Textarea Field if the conditions are complied with;
- APPLY TYPE— a drop-down menu with the following options: “On change conditions result,” “Once,” and “Always.” These refer to the application trigger.
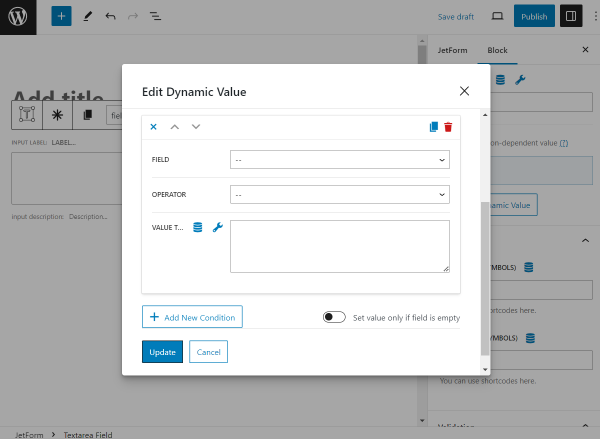
- FIELD — a list of fields from the built form. Here, the field for comparison should be selected;
- OPERATOR — a defining operator that will connect the Field and Value to Compare;
- VALUE TO COMPARE — here, one more value for comparison should be put;
- Add New Condition — a button that allows setting more dynamic value conditions;
- Set value only if field is empty — a switcher that activates the Dynamic Value feature only when the FIELD is empty in the form.
To save the changes, one should press “Update.”
Field Settings
The Field settings tab includes the following customization settings:
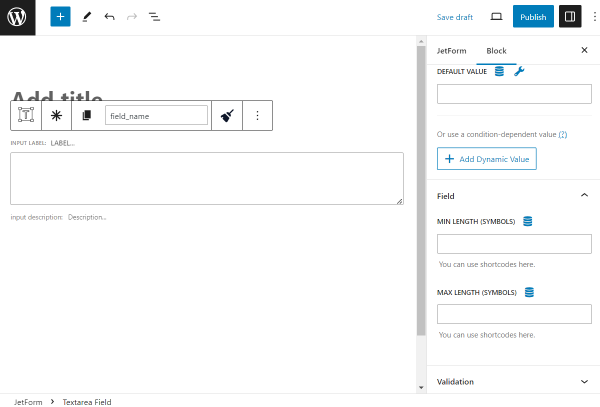
- MIN/MAX LENGTH (SYMBOLS) — fields where a minimal and maximal number of allowed characters should be put.
Validation Settings
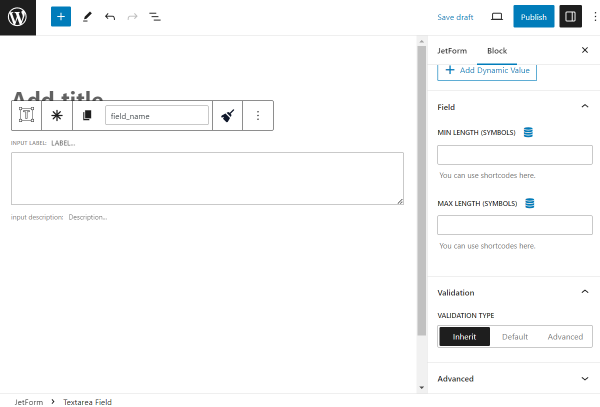
Validation is a process when a browser/web server verifies whether the data in the form has the correct format and works within limits set by the program.
Validation can be set both for the form and for a separate field. In the Textarea Field, there are three types of validation: “Inherit,” “Default,” and “Advanced.” More information about them can be found in the Advanced Form Validation for Separate Blocks article.
Advanced Settings
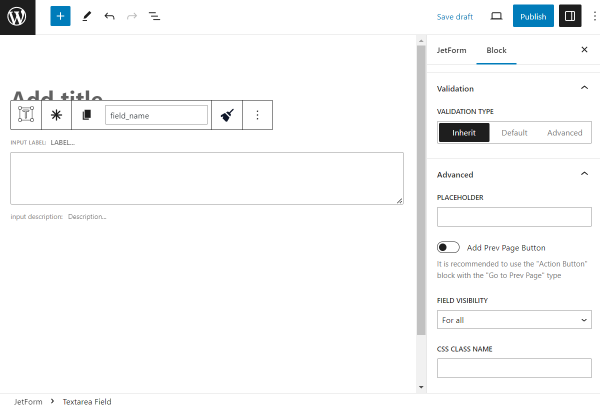
The Advanced tab is described in the Advanced settings section article.
Additional Settings Panel
In addition to the block settings next to the form, a settings panel is displayed above the field once it is pushed.
The panel consists of buttons with icons.
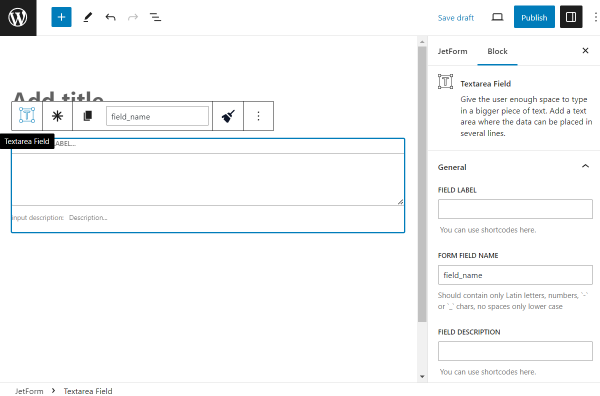
- The “Textarea Field” button can transform this field into a different one. Not all the fields are compatible for the transformation; their list can be found in the How to Use WordPress Blocks Transformation article;
- “Click to make this field required” button makes the field required so a user can’t submit the form without completing this specific field;
- “Copy name” copies the following Form Field Name value into the clipboard;
- Form Field Name is the same field as in the General tab. It can be completed/changed either here or there;
- “Sanitize value” option clears disallowed symbols in the field. This button should be pressed to see the specific list of options:
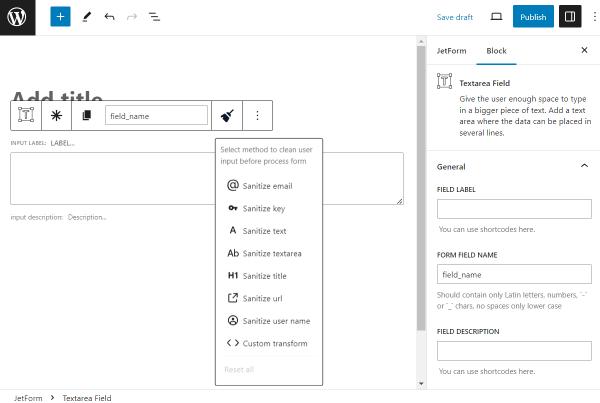
- “Sanitize email” — deletes symbols that are not allowable in an email;
- “Sanitize key” — keys are used as internal identifiers. Lowercase alphanumeric characters, dashes, and underscores are allowed;
- “Sanitize text” — checks for invalid UTF-8, converts single “<” characters to entities; strips all tags; removes line breaks, tabs, and extra whitespace; strips percent-encoded characters;
- “Sanitize textarea” — the option is like “Sanitize text,” but preserves new lines (\n) and other whitespaces, which are legitimate input in textarea elements;
- “Sanitize title” — sanitizes a string into a slug, which can be used in URLs or HTML attributes;
- “Sanitize url” — sanitizes a URL for database or redirect usage;
- “Sanitize user name” — sanitizes a username, stripping out unsafe characters;
- “Custom transform” — specifies the name of the PHP function to process the value.
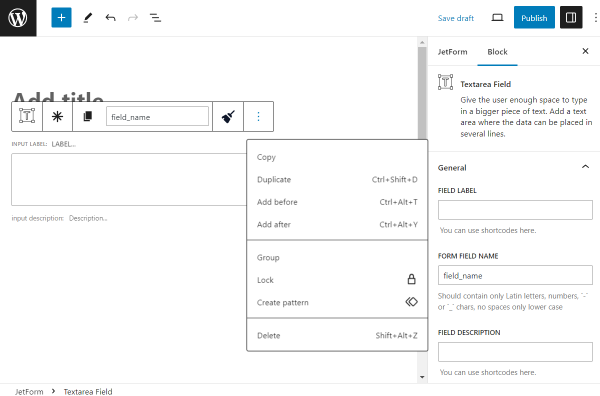
Also, the ”Options” button is available, which shows the window with default settings used in the Block Editor.
Style Settings
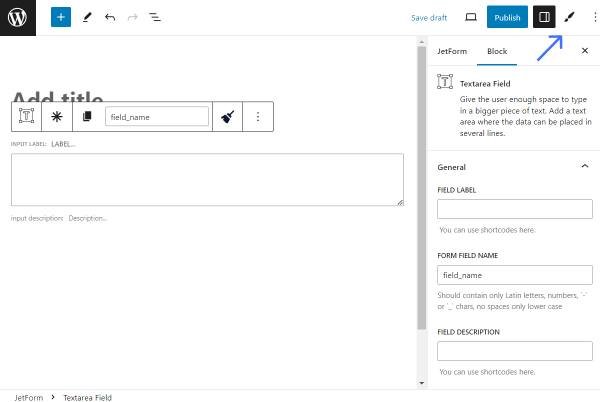
To style the Textarea Field, one can use the JetStyleManager plugin, which is free and can be installed and activated on your WordPress website.
After clicking the “Block Style” button, the following styling settings appear: Alignment, Border, Color, Margin, Padding, and Typography.
That’s all about the Textarea Field available with the JetFormBuilder plugin for your WordPress forms.