How to Use Macros in Email Formatting
Macros in JetFormBuilder let you dynamically insert form data into emails, calculated fields, or confirmation messages, etc. With them, you can display user input, format dates and times, show uploaded media, or include links to newly created posts.
This guide explains how to use these macros when setting up the “Send Email” post-submit action.
Also, check the Macros Guide to learn about all macros available for JetFormBuilder.
Contents
- General Macros
- Macros for Media Fields
- Macros for Post Fields
- Macros for Term Fields
- Macro for Checkbox Fields
- How to Insert a Link to a Newly Created Post
- How to Format Date Fields
- How to Display Repeater In Email
- How to Display Fields Labels Instead of Values
General Macros
- %field-name% — use this macro in the content of the “Send Email” post-submit action to retrieve the form field value. Remember to replace the ‘field-name’ part with the actual name of the form field (e.g., if there is a Text Field with the name ‘text’, the macro will look like this: %text%). The macro also supports multiple optional fields, including Radio, Select, and Checkbox Fields.
- ifEmpty — if the field or macro is empty, returns the value specified in brackets and apostrophes (”).
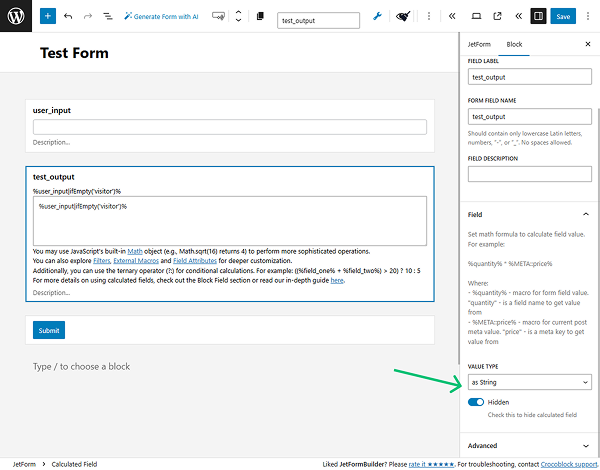
For example, we created a form and added a Text Field for user name input and a Calculated Field with the inserted macro:
%user_input|ifEmpty('visitor')%Where ‘user_input’ is the Text Field name. Also, the VALUE TYPE should be set to “as String,” and the Hidden toggle can be enabled to hide the field in the form on the front end.
Then, we proceed to the JetForm > Post Submit Actions tab and add the “Send Email” action. In the CONTENT textarea, enter the Calculated Field name wrapped in percent signs, for example:
%test_output%You can also combine it with other macros and plain text.

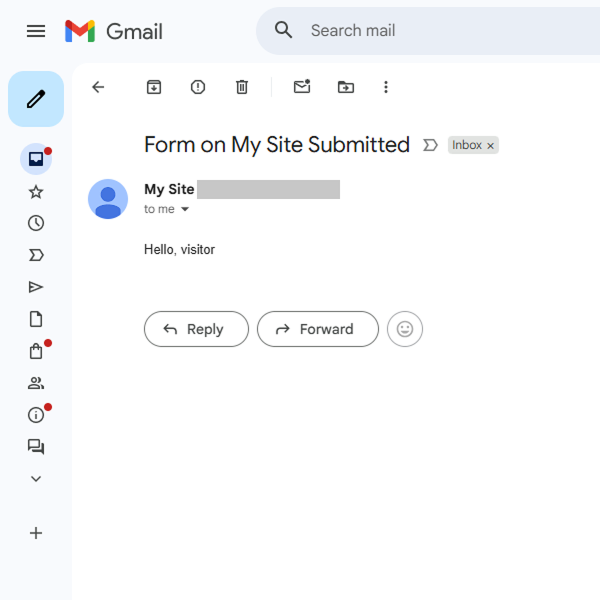
Then we open the form on the front end, submit it with the Text Field empty, and receive an email with the placeholder value.
Macros for Media Fields
- %media-field|img_url_by_id% — retrieves the image URL from the Media Field. Mind using the Media Field name instead of the ‘media-field’ part. If you need to render the actual image in the content of the email, use HTML markup and the <img> tag, for example: <img src=”%media-field|img_url_by_id%”>.
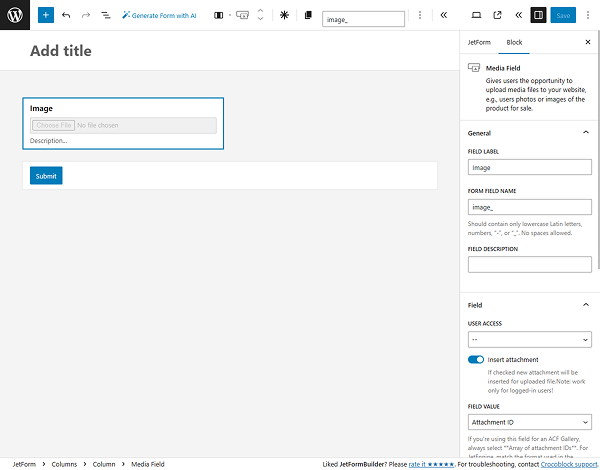
For example, we create a simple form with the Media Field with the “image_” FORM FIELD NAME. In its settings, we set the “Attachment ID” as the FIELD VALUE.
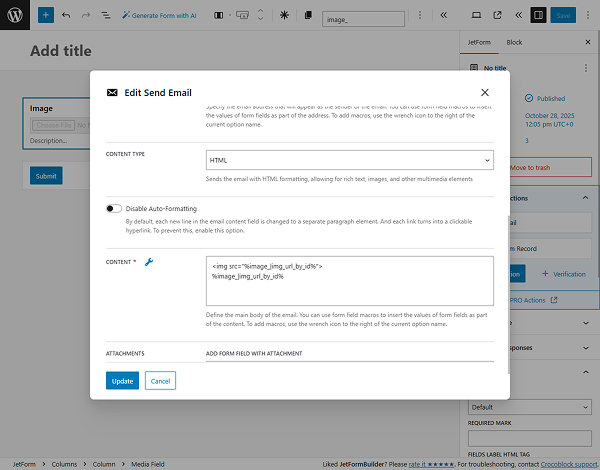
Then, we proceed to the JetForm > Post Submit Actions tab and add the “Send Email” action. In its settings, we select “HTML” as CONTENT TYPE and enter these macros into the CONTENT textarea to display the image and its URL:
<img src="%image_|img_url_by_id%">%image_|img_url_by_id%The “image_” is the name of the Media Field.
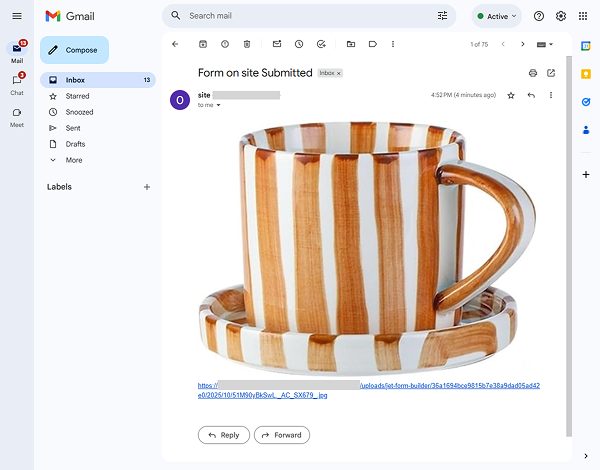
We submitted the form on the front end. The uploaded image and its URL are displayed in the email.
- %media-field|file_url_by_id% — retrieves the attachment URL from the Media Field. The “Attachment ID” should be chosen as the FIELD VALUE.
Macros for Post Fields
- %post-field|post_title_by_id% — gets the post/page title from its ID stored, for example, in a Radio or Select Field with the “Post” source. The ‘post-field’ part should be replaced with the form field name.
- %post-field|post_titles_by_ids% — gets the names of multiple posts from their ID stored, for example, in a Checkbox Field with the “Post” source.
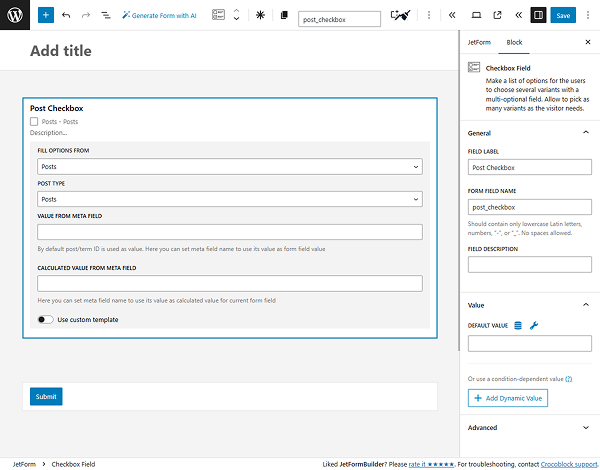
For instance, we add a Checkbox Field with the “post_checkbox” FORM FIELD NAME. In the FILL OPTIONS FROM selector, we set “Posts” and keep the “Posts” POST TYPE.
Then, we proceed to the JetForm > Post Submit Actions > “Send Email” action and enter the macro into the CONTENT textarea:
%post_checkbox|post_titles_by_ids%where the “post_checkbox” is the Checkbox Field name.
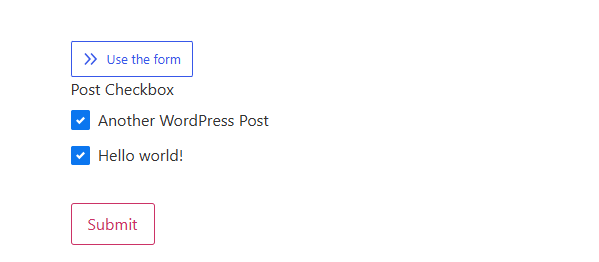
On the front end, we select two posts and submit the form.
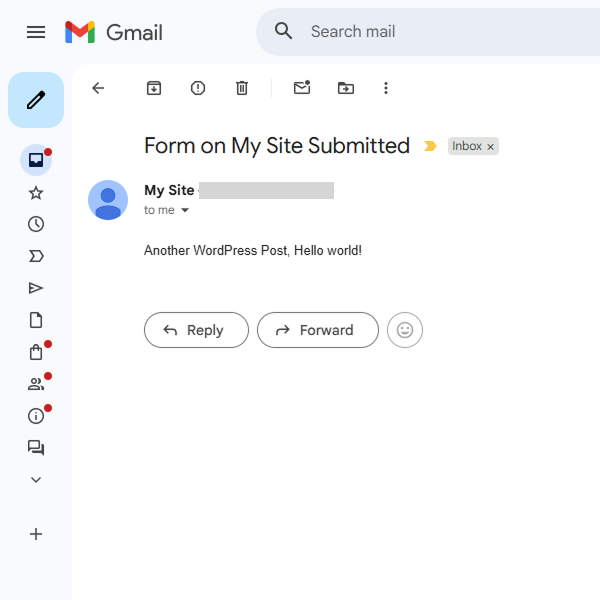
In the email, two selected posts are displayed and separated by a comma.
- %post-field|post_link_by_id% — retrieves the linked title of the post by its ID.
- %post_field|post_url_by_id% — retrieves the URL of the post by its ID.
Macros for Term Fields
- %term-field|term_title_by_id% — displays the term’s name by its ID stored, for example, in a Radio, Select, and Checkbox Field with the “Terms” source. The ‘term-field’ part should be replaced with the form field name.
- %term-field|term_titles_by_ids% — displays the term names by their IDs.
Macro for Checkbox Fields
- %checkbox-field|render_acf_checkbox% — displays values selected in the Checkbox Field created with the ACF plugin. The ‘checkbox-field’ part should be replaced with the form field name.
How to Insert a Link to a Newly Created Post
Craft a form for creating new posts. More information can be found in the How to Create a Post via the Form? chapter of the Insert/Update Post overview or in the Front-End Post Submission Form tutorial.
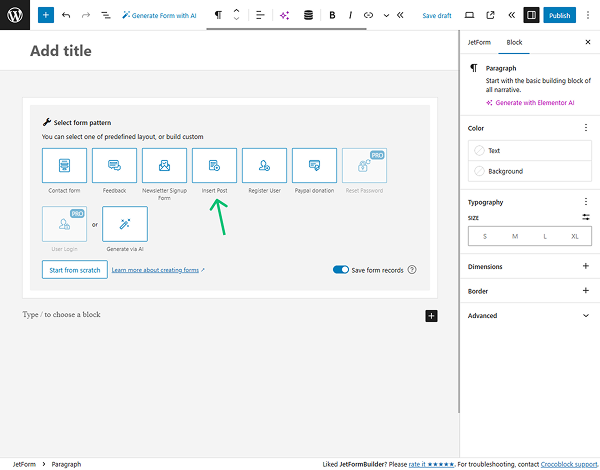
Additionally, in the WordPress Dashboard > JetFormBuilder > Add New Form tab, you can select the “Insert Post” pattern in the Welcome block to insert several form fields and the “Insert/Update Post” action.
In the “Insert/Update Post” action settings, we change the POST STATUS to “Published”. If the status isn’t specified, all posts will be added as “Draft”.
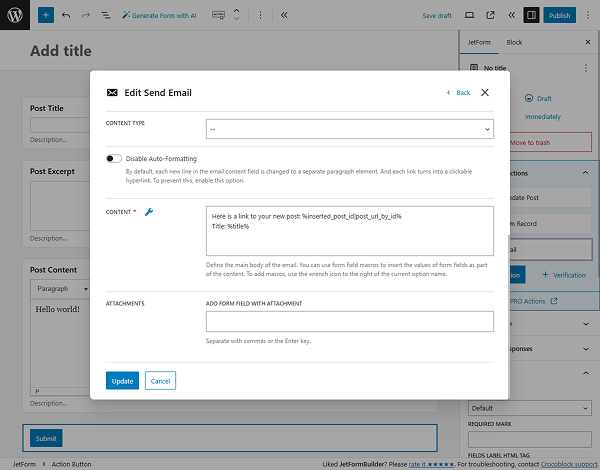
Then, add the “Send Email” action. In its settings, scroll down to the CONTENT textarea and add such a macro:
%inserted_post_id|post_url_by_id%Or use %inserted_post_id|post_link_by_id% to display the post tile with a link.
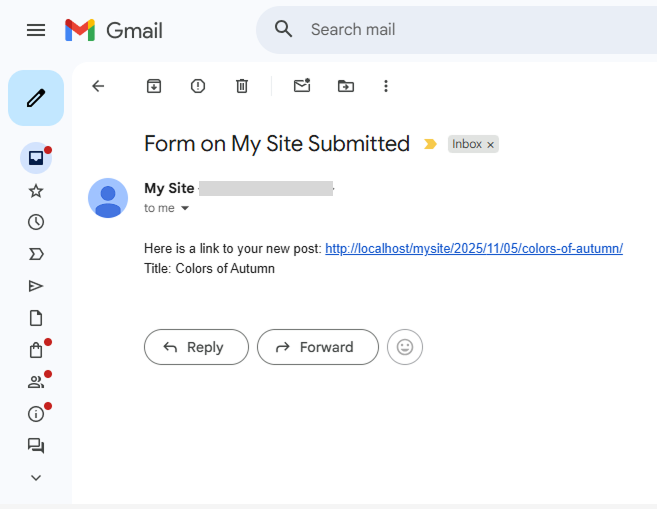
Save the form settings and submit it on the front end.
How to Format Date Fields
- %date-field|format_date% or %date-field|format_date(F j, Y)% — use those macros to change the date/time output of the Date, Time, and Datetime Fields. The ‘date-field’ value corresponds to the name of the Date/Time/Datetime Field, and F j, Y is the date format, which can be changed according to the Customizing date and time format article. Additionally, the macro can appear as follows: %date-field|format_date(d)% or %time-field|format_date(h)%.
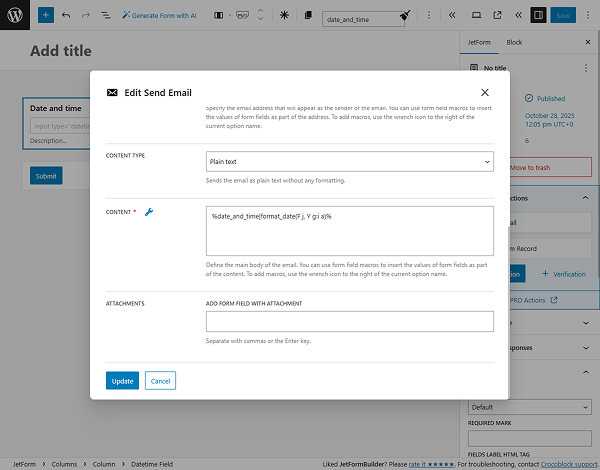
For example, we create a Datetime Field with the “date_and_time” FORM FIELD NAME. In the JetForm > Post Submit Actions > “Send Email” action, we enter the macro into the CONTENT textarea:
%date_and_time|format_date(F j, Y g:i a)%where the “date_and_time” is the Datetime Field name and “(F j, Y g:i a)” is the date and time format (example output: “November 6, 2010 12:50 am”).
We submit the form on the front end and get the email with the date and time in the adjusted format.
- |T (%date_field|T%, %datetime_field|T%, %time_field|T%) — converts date/time to timestamp.
- |toDate, |toDateTime, |toTime — converts timestamp back to date and time format (e.g., 2025-10-21).
- |addDay(N), |addMonth(N), |addYear(N) — adds N days/months/years to a date or timestamp. If N is not specified, it adds 1 day, month, or year. For example, use the %date_field|addDay(1)% macro in the Calculated Field to add 1 day to the date set in the form field, so if you set “10-09-2025”, the Calculated Field will display “10-10-2025”. The “date_field” part should be replaced with the form field name.
- |subDay(N), |subMonth(N), |subYear(N) — subtract N days/months/years from a date or timestamp. If N is not specified, it subtracts 1 day, month, or year.
- |addMin(N), |addHour(N), |subMin(N), |subHour(N) – manipulate hours and minutes, e.g., %time_start|subHour(3)%.
- |setDay(N), |setMonth(N), |setYear(N) — sets a specific month/day/year for a date or timestamp.
For the showcase, we create the Datetime and Calculated Fields. Into the Calculated Field, we enter the macro:
‘%start_date|T|addDay(5)|toDateTime%’which takes the selected date, turns it into a timestamp, adds 5 days, and outputs the new date. The “start_date” is the name of the Datetime Field.

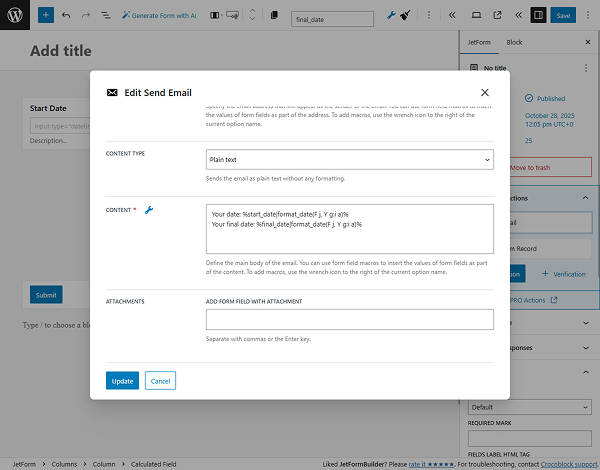
In the JetForm > Post Submit Actions > “Send Email” action, we enter the Datetime and Calculated Field names, wrapped in percent signs, into the CONTENT textarea. Click the “wrench” icon to input the macros in a simple way:
Your date: %start_date|format_date(F j, Y g:i a)%
Your final date: %final_date|format_date(F j, Y g:i a)%
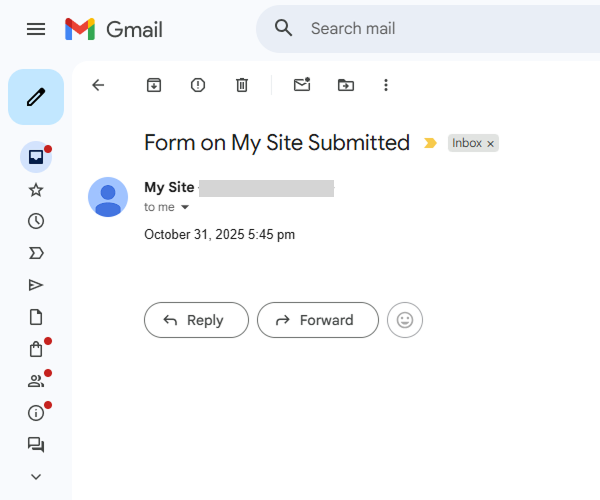
We also add a macro to format the date, as without it, the result will appear as follows: 2025-11-11T12:20.
On the front end, we set the date and time and submit the form. The Calculated Field shows five days after the selected start date.

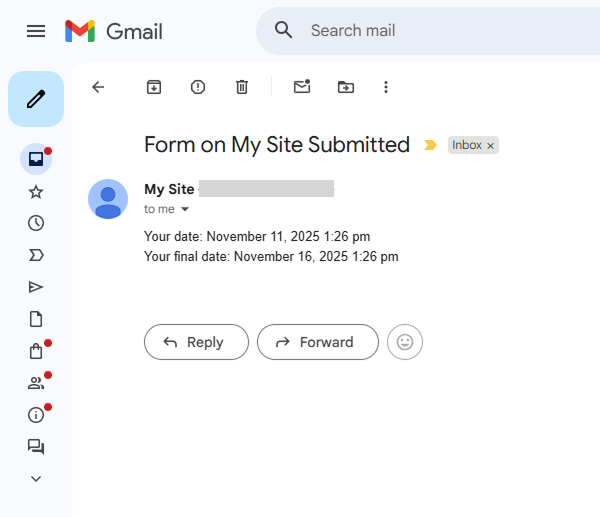
The email displays the start and final dates in the adjusted format.
Also, check the Date and Time Macros chapter of the Macros Guide to learn more.
How to Display Repeater in Email
The process is described in the How to Customize the Output Repeater in the Send Email Action tutorial.
How to Display Fields Labels Instead of Values
If you try to display the options selected in the Select, Radio, and Checkbox Fields in emails, the values will be displayed instead of labels (e.g., “first_option” instead of “First Option”). Labels can be displayed using the JetEngine plugin.
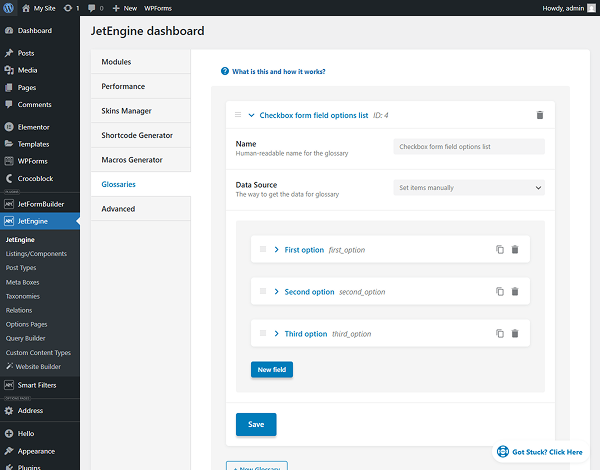
First, proceed to WordPress Dashboard > JetEngine > Glossaries and press the “+ New Glossary” button to set the list of options.
Type the Name and select the Data Source (you can adjust options manually or upload a list from a file). We set three simple options.
When you finish, push the “Save” button.
Second, add a piece of code either via a custom code snippets plugin (like Code Snippets) or directly in your theme’s functions.php file (preferably in a child theme to prevent changes from being overwritten on updates).
For example, we install and activate the Code Snippets plugin, then open the WordPress Dashboard > Snippets > Add New tab.
We type the name into the title bar (e.g., “Glossary labels in Send Email action”) and enter such code into the PHP textarea:
add_filter( 'jet-form-builder/content-filters', function( $filters ) {

	class Get_Labels_By_Glossary extends \Jet_Form_Builder\Classes\Filters\Base_Filter {

		public function get_id(): string {
			return 'get_label_by_glossary';
		}

		public function callback_args(): array {
			return array( ', ' );
		}

		public function apply_macros( $value, ...$args ): string {

			list( $glossary ) = $args;

			if ( ! function_exists( 'jet_engine' ) || ! $glossary ) {
				return $value;
			}

			return jet_engine_label_by_glossary( $value, $glossary );
		}
	}

	array_unshift( $filters, ( new Get_Labels_By_Glossary() ) );

	return $filters;
} );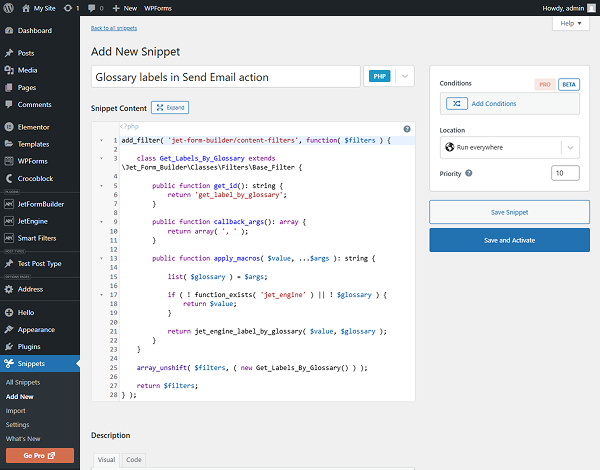
Then, we click the “Save and Activate” button.
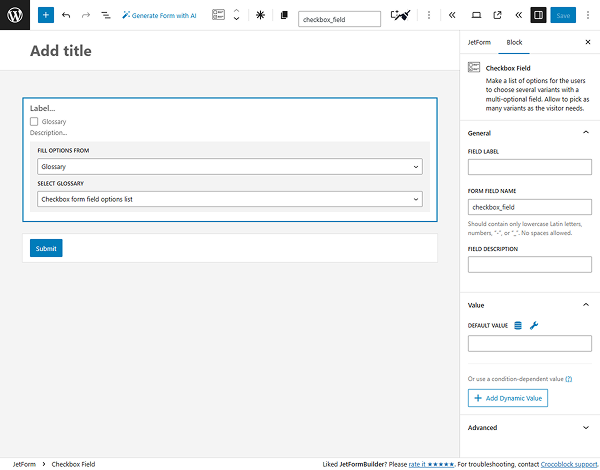
Third, open the JetFormBuilder form and set the required field using the Glossary.
For instance, we add a Checkbox Field with the “checkbox_field” FORM FIELD NAME. In the FILL OPTIONS FROM dropdown, we pick the “Glossary” option and select the created glossary.
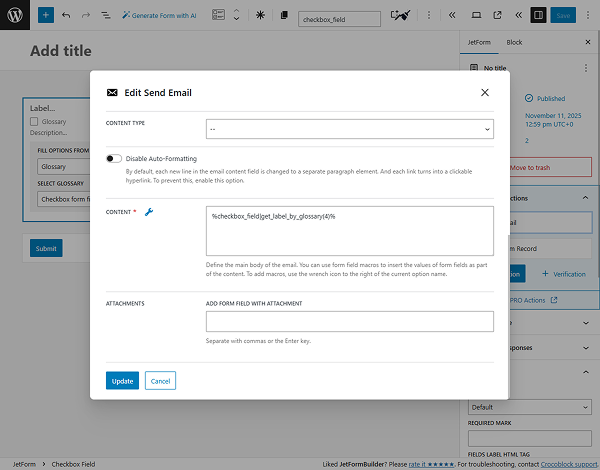
In the JetForm > Post Submit Actions > “Send Email” action settings, enter such a macro into the CONTENT textarea:
%field_name|get_label_by_glossary(N)%where “field_name” is the name of your form field and “N” is the ID of your Glossary.
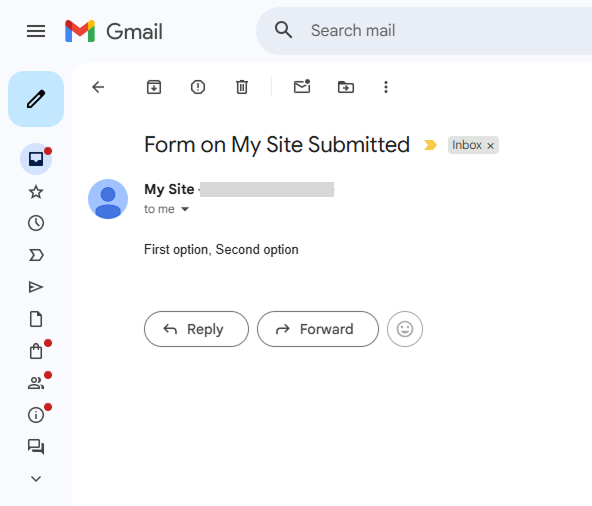
Finally, submit the form on the front end, and selected options will be displayed in the email.
That’s it; now you know how to use JetFormBuilder functionality to display specific form data using available macros in emails sent from your WordPress website. Additionally, you can combine them with the JetEngine macros. For more details, check this guide.