Wysiwyg Field
The Wysiwyg Field block (an acronym for “What You See Is What You Get”) allows users to create and style content, including texts, links, and images.
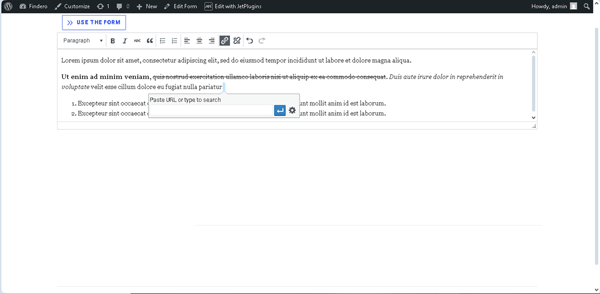
On the front end, this field looks like a common WordPress editing window with a toolbar at the top. Using this window, users can add styled text, HTML coding, or other types of content to the form.
Adding the Wysiwyg Field
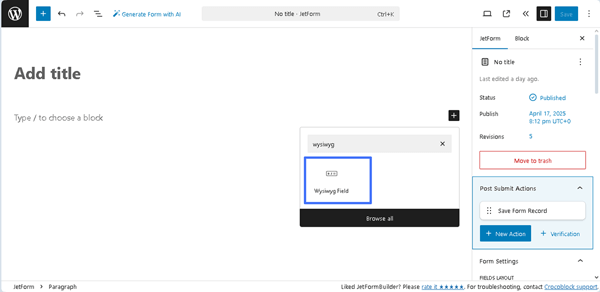
After creating a new form or opening a previously built one, the Wysiwyg Field block can be found in the search bar of the block inserter (the “plus” icon) and then dragged-n-dropped where required.
Settings of the Wysiwyg Field
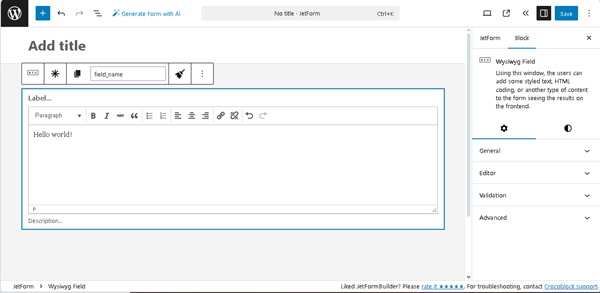
The Wysiwyg Field block settings include two tabs: Settings and Styles. The Settings tab consists of the General, Field, Validation, and Advanced settings. In turn, the Styles tab is intended to specify the Text colour and Background for different field elements.
General
The General settings comprise the FIELD LABEL, FORM FIELD NAME, FORM DESCRIPTION, and DEFAULT VALUE fields:
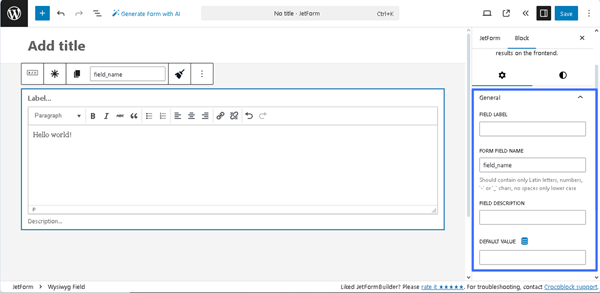
- FIELD LABEL ㅡ a field that allows inserting the field’s label;
- FORM FIELD NAME ㅡ a field designed for the field’s name. This field will be filled out automatically after the text is added to the FIELD LABEL field;
- FIELD DESCRIPTION ㅡ a non-required field intended to insert the field’s description;
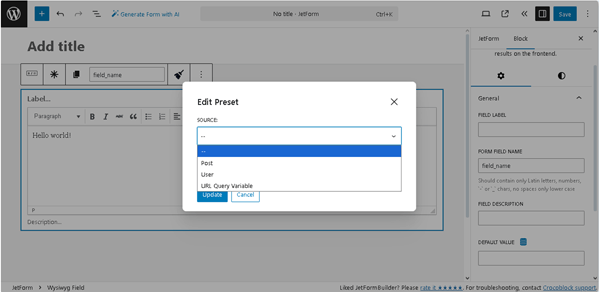
- DEFAULT VALUE ㅡ a text field that allows inserting data that will be automatically shown in the field. However, it can be changed by the user who completes the form. Pressing the “Dynamic Tag” icon opens the Edit Preset pop-up with the SOURCE drop-down list, which has the following options: “Post,” “User,” “URL Query Variable,” “Option Page,” and more. In turn, each selected option activates the appropriate field, allowing one to choose the needed data. Also, this pop-up includes the Restrict access toggle that allows restricting users who are allowed to edit this value. The required settings should be saved by pressing the “Update” button.
Editor
These settings configure the size of the Wysiwyg window. They are presented by the ROWS slider, which allows setting the number of rows needed in the Wysiwyg window. The ROWS field ranges from 4 to 25 rows. Pressing the “Reset” button returns the default value of eight rows.
Also, the Save text styles when pasting slider allows text formatting to be preserved when copying from other text editors.

Validation
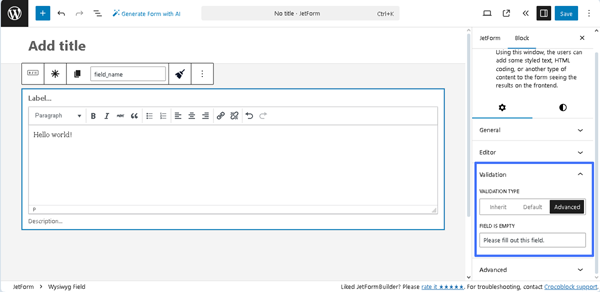
This section is presented by the VALIDATION TYPE field with three buttons:
Inherit ㅡ an option that sets the validation inherited from the form arguments;
Default ㅡ an option that sets the browser’s native validation;
Advanced ㅡ an option that sets the advanced rules for validation. If pressed, the FIELD EMPTY text field will appear, which is intended to insert the corresponding text.
More details can be found in the Advanced Form Validation tutorial. Also, the Advanced Field Validation with JetFormBuilder: Use Cases contains additional information for a better understanding of this feature.
Advanced
This section contains the following fields:
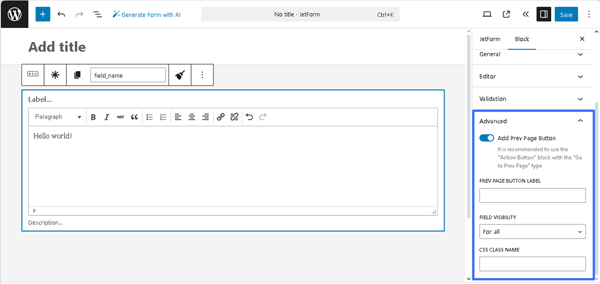
- Add Prev Page Button ㅡ a toggle that enables the PREV PAGE BUTTON LABEL field to add a text that will be displayed on the corresponding button (if the button is added);
- FIELD VISIBILITY 一 a drop-down list that allows specifying what users can observe the block: “For all,” “Only for logged in users,” or “Only for NOT-logged in users”;
- CSS CLASS NAME 一 a text field that allows inserting an additional CSS class to design the block field.
The JetFormBuilder Plugin: Looking Through Advanced Settings tutorial explains how to configure the Advanced settings.
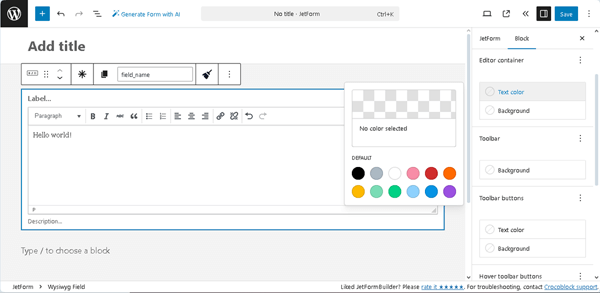
Styles settings
These settings allow for the specification of the Text color and Background color for the Editor container, Toolbar, Toolbar buttons, Hover toolbar buttons, Checked toolbar buttons, and Status bar.
Setting Fonts and Font Size
The font and font sizes configuration is not available via the standard settings, but they can be configured using the following code:
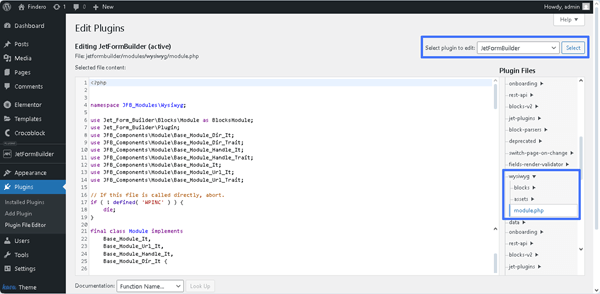
In particular, one should navigate to the WordPress Dashboard > Plugins > Plugin File Editor tab and insert this code into the function.php file of the child theme or into the code snippets plugins.
Here, the “JetFormBuilder plugin“ option should be selected in the Select plugin to edit drop-down list, and wysiwyg > module.php – in the Plugin Files drop-down list.
Then, the initial code of the file should be scrolled, and the code presented above should be pasted.
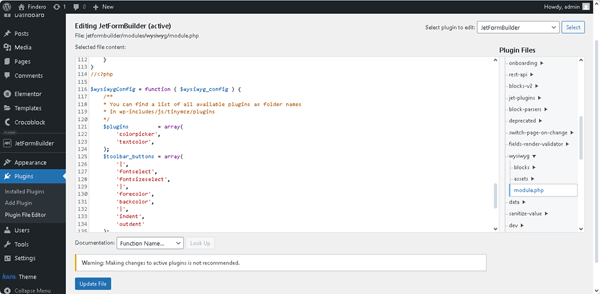
After pressing the “Update File” button below the editor window, one should update the form with the added WYSIWYG block field.
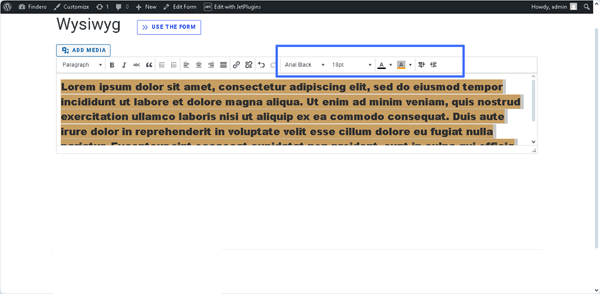
In turn, on the front end, a font configuration panel with menus for fonts, sizes, colors, and backgrounds will be added.
That’s it. Now you know how to use the JetFormBuilder plugin to add the Wysiwyg Field to your form to upload files on WordPress websites.