The post expiration period addon allows you to display a new post for a limited time. You also could set expiration action so that a post would be deleted or changes the status to draft after the date elapses. This feature works if you have limited-time offers for the customers on your site or want clients to publish posts, which would be deleted, like, after a month. The expiration period can be added via the JetFormBuilder form and set in the Insert/Update Post notification settings.

Install the post expiration period

Download the addon from the DevTools page, where this and other features are free. After that, navigate to Plugins on the Dashboard, click on the “Add New” button, then “Upload plugin.” The last step is to activate the plugin.

Create a JetFormBuilder form

Since the expiration period can be set via the WordPress JetFormBuilder form, you should create one.

To find out how to create a form, follow this tutorial.

Get through another guide if you want to know more about form Notifications Settings, especially Insert/Update Post type.

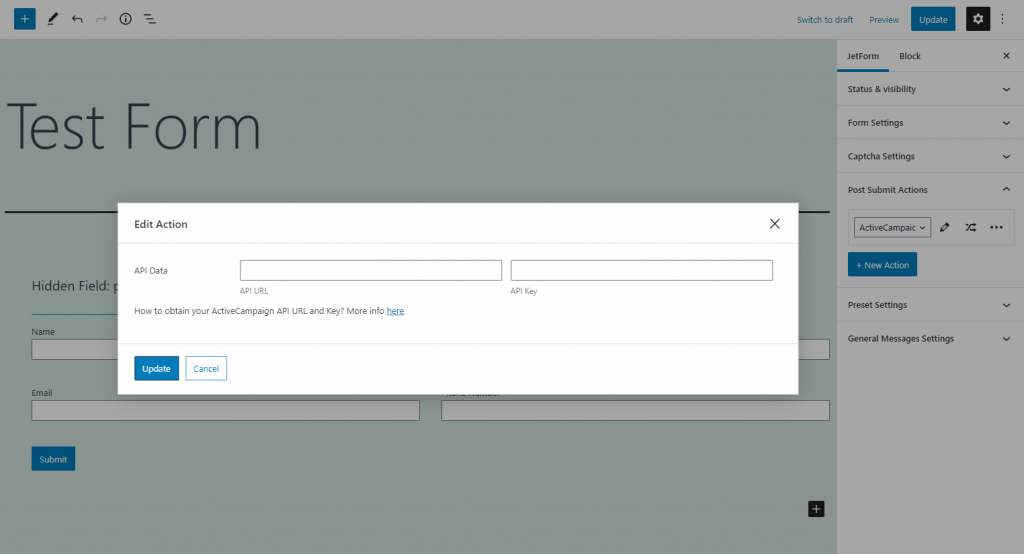
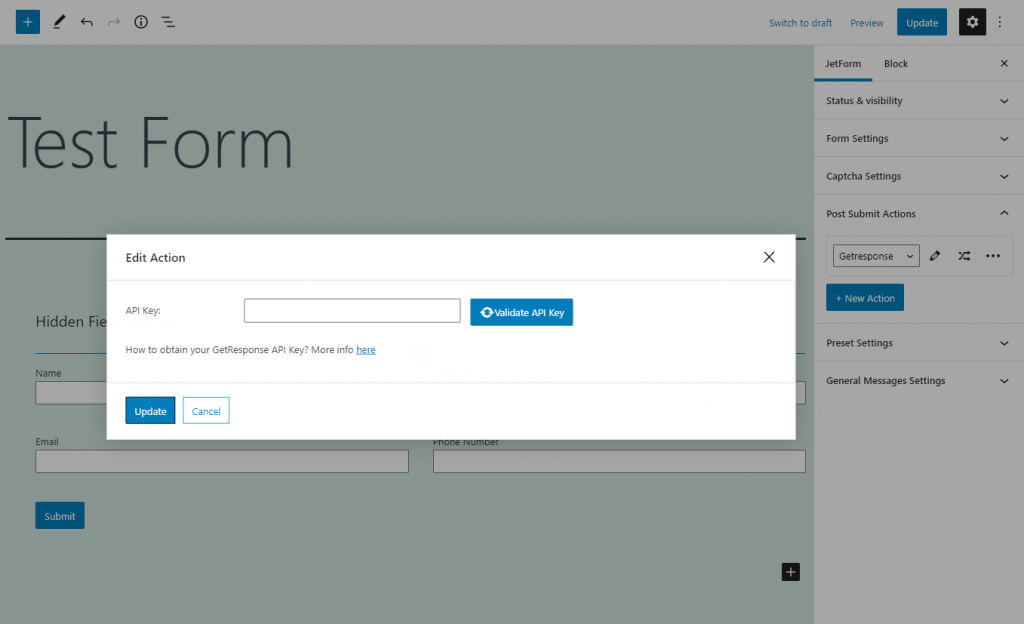
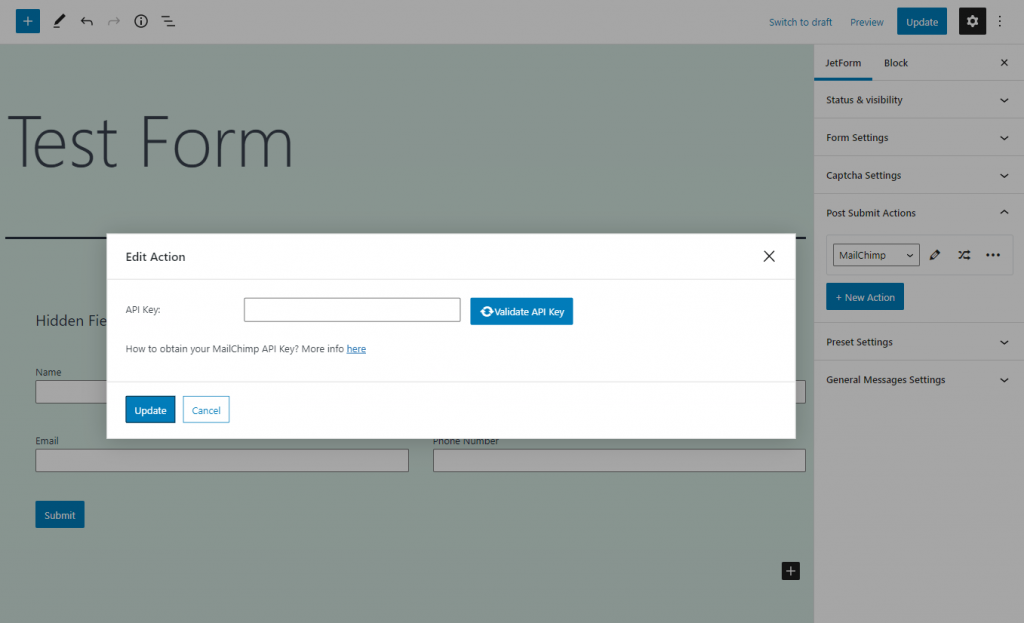
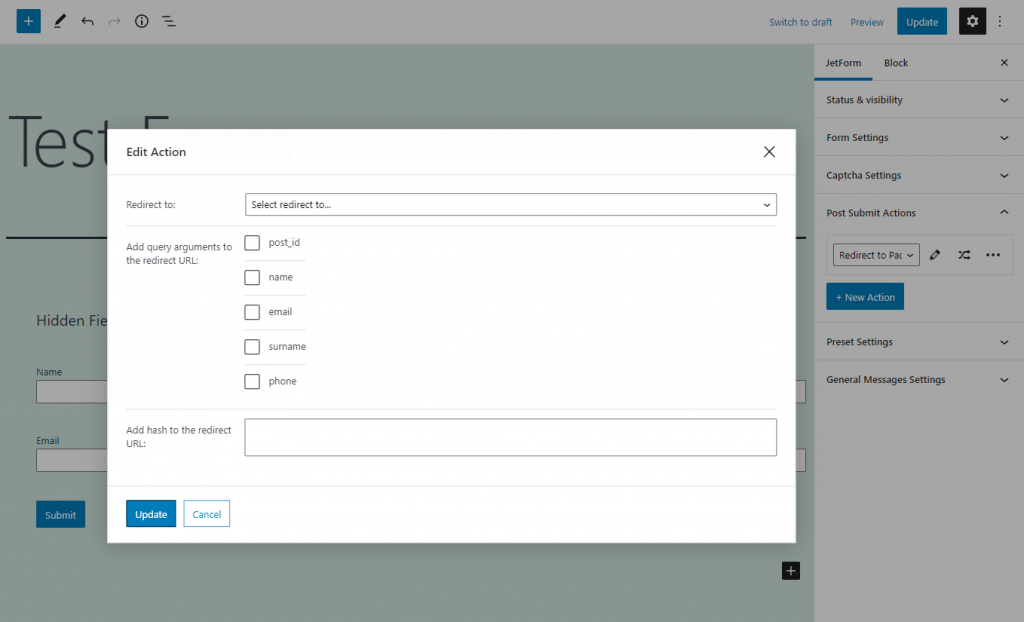
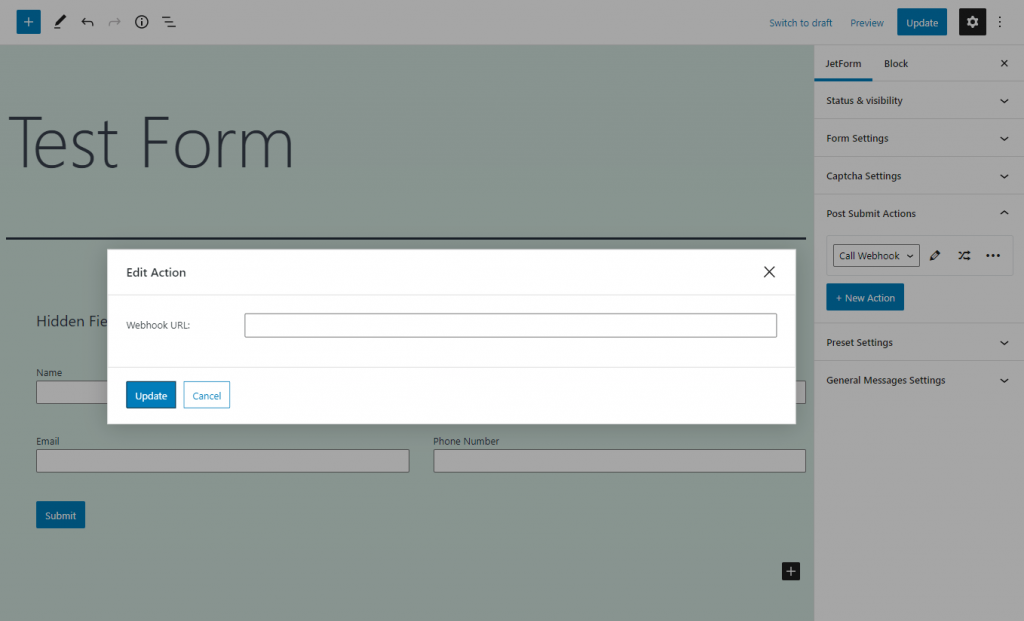
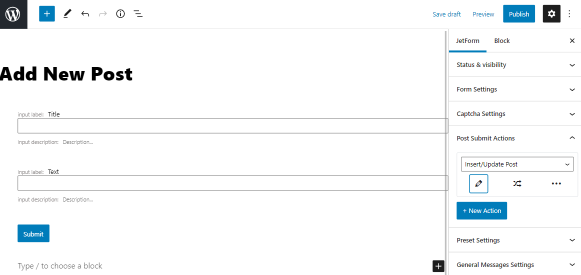
When you set up a form for creating posts, open the JetForm tab and proceed to the Post Submit Actions section. Choose the type to Insert/Update Post and click on the “Edit Action” icon.

insert update post

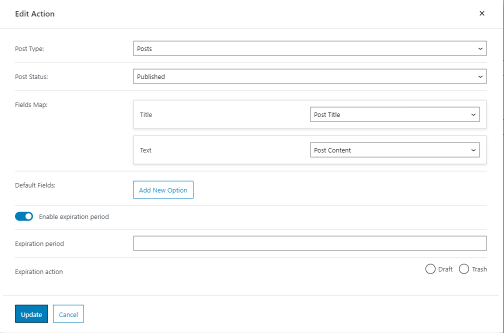
Toggle on the “Enable expiration period” control. In the Expiration period field, enter the required number of days and choose where you want to move posts in the Expiration action radio – to Trash or Draft. Then press the “Update” button.

enable expiration period
NOTE

This option does not work with forms for updating posts, only for creating. Also, the post expiration period feature will work only for the newly-created posts with the form, and the old posts will remain unchanged.

After setting the form up, be sure to “Publish” the form.

Create a new post with the form

Add the form with the post expiration period to the page on the front-end. To find information on how to do that, follow this tutorial.

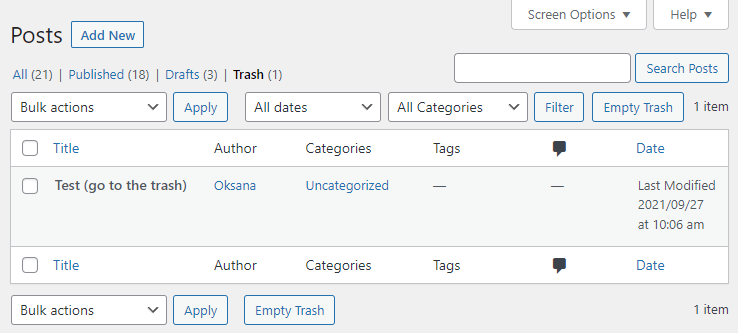
To see the addon in action, we have created a new post with the JetFormBuilder form and set it up to move to Trash with the expiration of one day.

published post

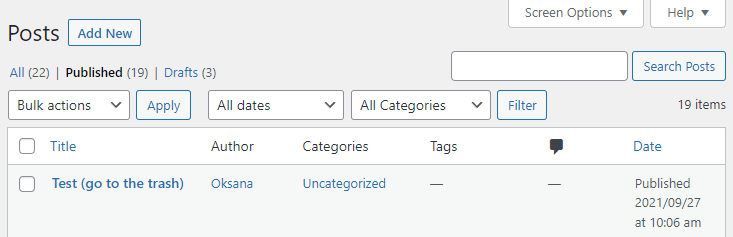
As we can see, the post has been moved to trash within 24 hours after creation.

post in trash

That’s all for the post expiration period. Now you know how to install the addon, set it up in the JetFormBuilder form, and move posts to Trash or Draft automatically after the date elapses.

configuring activecampaign api data

Description

ActiveCampaign is an app that helps you to perform email marketing automation. This action creates a link between this app and your form, allowing you to use the information from the form fields in the ActiveCampaign account. 

Settings

To connect the form and the ActiveCampaign account, you have to generate the API URL and key. Copy those two codes and paste them to the API URL and API Key bars.

To obtain more detailed information about generating the key and URL, follow this link.

configuring getresponse through the api key

Description

GetResponse is an application that makes email marketing easier. This action allows you to create a connection between your form and the GetResponse account. The data from the form can be used through the GetResponse functionalities.

Settings

As for every third-party application of that type, you will need to get the API key to create a connection. When you obtain it, paste it to the API Key bar and press the “Validate API Key” button.

You will be able to read about the process of getting the API key in more detail here. However, be aware that this page is available only to logged-in users.

 inserting api key for mailchimp

Description

MailChimp is an app for email marketing. This action allows you to connect the form with the MailChimp service. The data that users insert into the form will be transferred to the application, and you will be able to use it there.

Settings

To create a connection between the form and the MailChimp app, you will need to get the MailChimp API key. Insert it into the API Key bar and press the “Validate API Key” button.If you need a helping hand, go through this API key obtaining tutorial.

setting up the redirect to page action

Description

When the user clicks on the “Submit” button, this action redirects him/her to another page. Here, in the editing window, you can define the target page.

Settings

  • Redirect to. In this drop-down menu, you can choose the type of page you would like to send the user to:
    • Static Page – here you can choose one of the pages of your website. The Select page drop-down list contains all the pages you’ve created so far;
    • Custom URL – you can type any address to the Redirect URL bar, and this action will redirect the user there;
    • Current Page – the user will be redirected to the same page he/she was on but you can add some query arguments or hashes to it;
  • Add query arguments to the redirect URL. In this section, you can see the list of the fields, added to the form. When you tick the checkbox near one of the fields, its value is used as the query argument and added to the URL;
  • Add hash to the redirect URL. The subject of the letter that the user will receive;
  • From Name. You can add an additional part to the URL by using a hash. Type it into this text area, and it will be added to the redirect URL.
editing call webhook action

Description

This action allows you to connect your form to third-party apps like Zapier or Make.com. Those apps can give you a webhook that can be used to transfer data from the form to some other websites or apps. 

Settings

Insert the obtained webhook to the Webhook URL field and check the connection with the third-party app. Afterward, click the “Update” button.

Tutorials