How to Create AJAX Registration Form
In this tutorial, we exemplify a case of customizing a JetFormBuilder ready-made registration form and managing its submit settings. In particular, we are focusing on setting the “AJAX” Submit Type. Other details about creating the specific features of the AJAX registration forms for WordPress (i.e., building them from scratch, using form fields, setting email verification, and more) can be found in the corresponding tutorials.
- Create a Form and Customize Its Fields
- Adjust the Submit Settings
- Customize the Post Submit Settings
- Add the Form to a Page
- Fill in the Form on the Front-End
- Check the Backend Records
Create a Form and Customize Its Fields
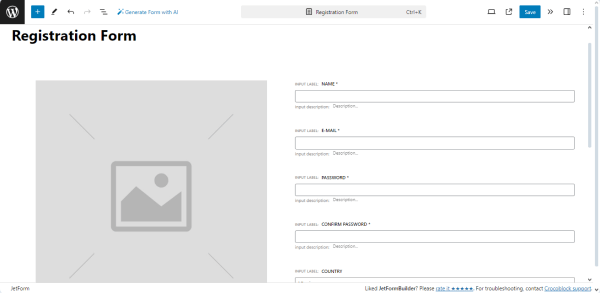
Navigate to WordPress Dashboard > JetFormBuilder > Add New tab to create a new form. The form will be opened in the Gutenberg editor. Initially, the form includes the Welcome block, which allows the application of the pre-created or AI-generated forms.
In this case, we typed the form’s name (the “Register Form” text), deleted the Welcome block, and inserted the premade “Register Form” pattern.
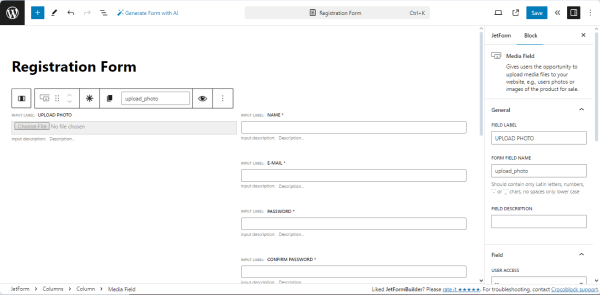
In the next step, we deleted the added Image Field and changed it to the Media Field.
Read the Register Form tutorial to learn how to manage the Register Form pattern’s settings. Also, the Form Creation tutorial details the main fields and settings of the form-building process.
Scroll down the form and type the needed text on the Action Button. In the given case, the applied Register Form pattern adds the Action Button with the “Sign Up” text.
Adjust the Submit Settings
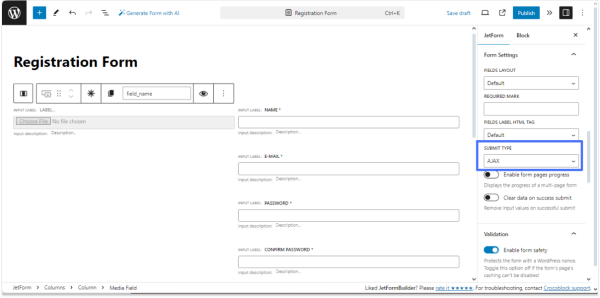
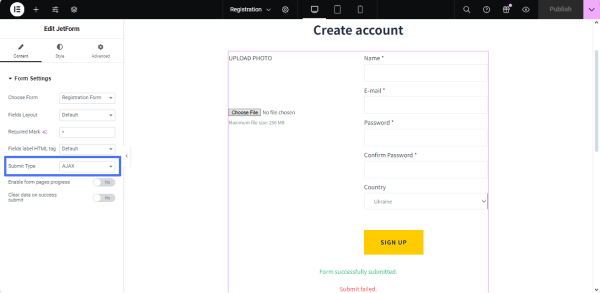
Unroll the JetForm settings block and scroll down to the Form Settings section. Then, set the “AJAX” option in the SUBMIT TYPE drop-down list.
Customize the Post Submit Settings
Scroll up the form’s settings to the Post Submit Actions. The “Save Form Record” Post Submit Action is set by default.
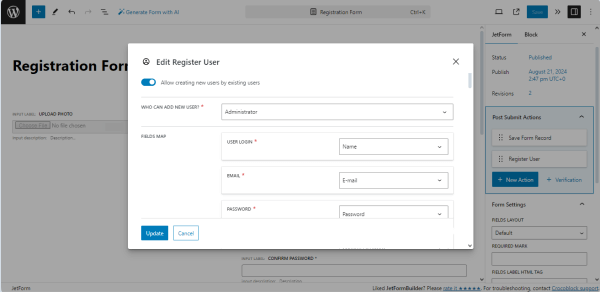
Press the “+ New Action” button and pick the “Register User” Post Submit Action option in the opened pop-up.
Once picked, this action opens the “Edit Register User” window. In this window, we:

- enabled the Allow creating new users by existing users toggle;
- picked the “Administrator” option in the WHO CAN ADD NEW USER drop-down list;
- filled in the FIELDS MAP: selected the form fields in the appropriate drop-down lists near the FIELDS MAP fields;
- chose the “Author” USER ROLE;
- filled in the USER META fields.
Finally, we pressed the “Update” button to save the changes and closed the pop-up.
Read the Register User Action Overview to learn more about managing the “Register User” Post Submit Action (i.e., select roles, add custom meta fields to user accounts, customize messages, and more).
Additionally, you can set other Post Submit Actions, such as adding the email verification. To learn how to manage the email verification settings, read the How to Verify Users by Email Before Registration tutorial.
Also, watch the Post Submit Actions Overview to learn how to apply and manage the Post Submit Actions.
Add the Form to a Page
Create a page or post you want to add this form or open a previously built page/post in the Elementor and Gutenberg editors or the Bricks theme. In this case, we used the Elementor editor.
Find the JetForm widget in the search bar and drag and drop it to the page.
Select the created form in the Choose Form drop-down list and set the “AJAX” option in the Submit Type drop-down list.
For an in-depth understanding of the JetForm widget settings, read the Displaying a JetFormBuilder Form in Any Page Builder tutorial.
Once we completed it, we clicked the “Publish/Update” button.
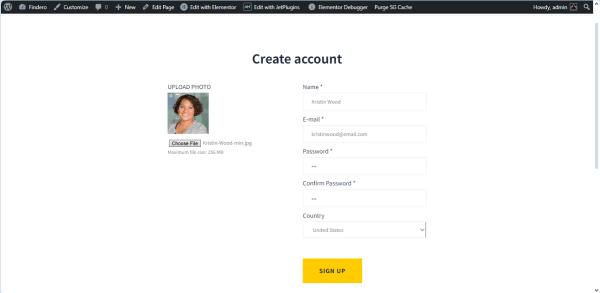
Fill in the Form on the Front End
Move to the front end and fill in the form fields. Press the form’s Action Button (the button with the “SIGN UP” text in our case). If the form was submitted correctly, the “Form successfully submitted.” text will be shown.
Check the Backend Records
Go back to the WordPress Dashboard. Unroll the users’ list in the Users > All Users tab. Here, the user data is added. If needed, hover over the username and press the “Edit” link to modify the user’s data or the “View” link to observe them.

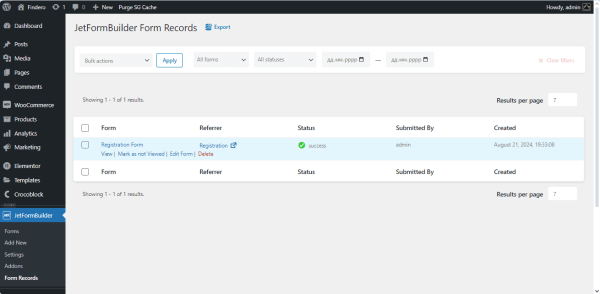
Since we left the default “Save Form Record” Post Submit Action, the JetFormBuilder plugin saves the form data in the WordPress Dashboard > JetFormBuilder > Form Records tab. To view the form record data, hover over the username and press the “View” link to unroll the record.
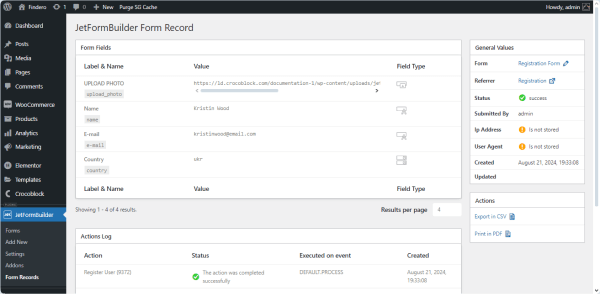
The JetFormBuilder Form Record tab displays the General Values of the form (i.e., name of the form, referrer, status, creation date, and more), Form Fields values that users submitted, Actions Log with the data on executed actions and their status, etc.
More details about managing the form records enlisted in the Form Records tab, as well as the information on the specific form records, can be found in the WordPress Custom Form Records Page Overview.
That’s it. Now you know how to create a registration form with the “AJAX” Submit Type registration forms for WordPress using the JetFormBuilder plugin.