How to Generate PDF on Form Submission
PDF Attachment Addon for JetFormBuilder allows converting a submitted form to a PDF file with a predefined design. The user can then open the PDF file in a browser or receive it in a specific email.
This tutorial exemplifies creating a form with Text, Number, Media, and Textarea Fields, generating a PDF file based on this form, attaching this PDF file to an email, sending it to a pre-specified user, and downloading the PDF file via a browser.
Set Up and Activate the Addon
To install the add-on:
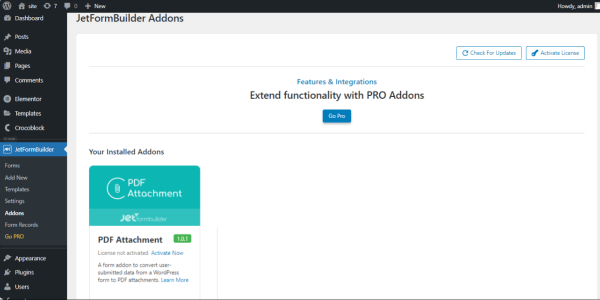
- Go to WordPress Dashboard > JetFormBuilder > Addons tab and find the “PDF Attachment Addon“ in the All Available Addons section.
- Press the “Install Addon” button, and once installed, it will appear in Your Installed Addons section.
- Click the “Activate Addon” button.
Create a Form
Navigate to the WordPress Dashboard > JetFormBuilder > Add New tab to create a new form.
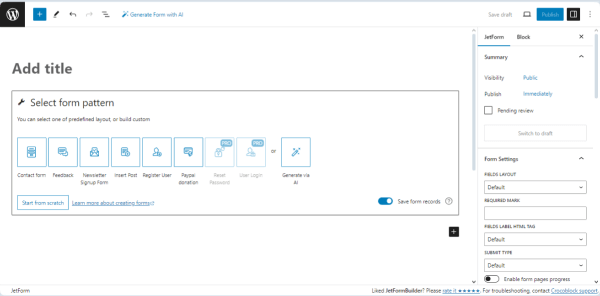
The new form will be opened in the Gutenberg block editor.
Press the “Start from scratch” button in the Welcome block to create your form.
The Welcome block will be closed, and the Hidden Field, the Text Field, and the Action Button will be added by default.
Type the form’s name instead of the “Add title” placeholder.
Learn how to build forms from the form creation tutorial.
In the given case, we deleted the Hidden Field and customized the default Text Field.
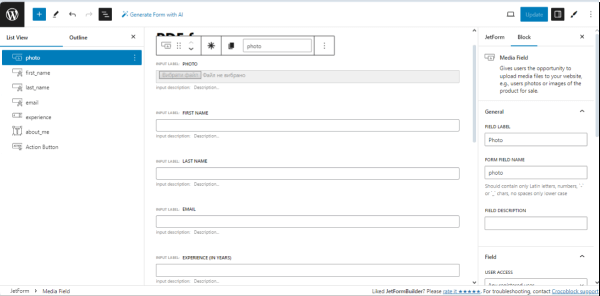
In this case, the form will contain a Media Field for uploading images, Text Fields to enter the first name, last name, and email, a Number Field to input a number value (the users’ experience in years in case they apply for a job) and a Textarea Field to add more information.
Set the Post Submit Actions
Navigate to the JetForm settings tab and open the Post Submit Actions tab.
The “Save Form Record” Post Submit Action is set by default. We did not delete this action to collect and manage data via the JetFormBuilder dashboard. In particular, it allows the upload of the generated PDF file as an attachment to the Media Library and displays the appropriate link on the Form Records Page.
Set the “Generate PDF” Post Submit Action
The next step is setting the “Generate PDF” Post Submit Action.
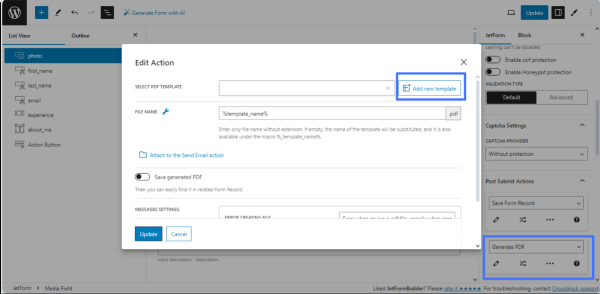
Press the “+ New Action” button to add the “Generate PDF” Post Submit Action. Also, click the “Add new template” button in the opened Edit Action pop-up.
After clicking, you will be redirected to a new template. Type the template’s name instead of the “Sample template [locale time]” name default text.
Customize the template content according to your preferences.
Using the Columns block, we divided the template into two parts, then added the Image block to the first column and the Table block to the second one.
To display the appropriate values in the PDF attachment, we used the “%field name%” macro.
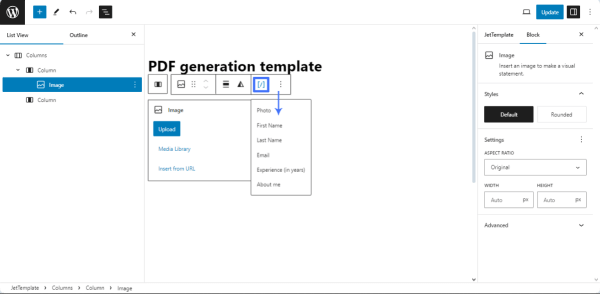
In particular, we placed the cursor in the first Column of the page and pressed the “plus” icon to select the Image block. We also hit the “[/]” button from the block toolbar to select the needed form field from the drop-down list (here, the “Photo” field).
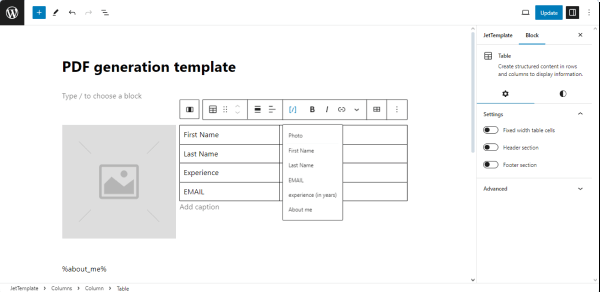
Then, we moved to the second column and added the Table block. Also, we pressed the “plus” icon and hit the “[/]” button from the block toolbar. Finally, we selected the “First Name,” “Last Name,” and “Email” Text Fields, “Experience” Number Field, and placed the “About me” Textarea Field under the Column.
The created templates are collected in the WordPress Dashboard > JetFormBuilder >Templates tab and can be edited as any JetFormBuilder form.
For now, complete the template, press the “Update” button, and return to the form.
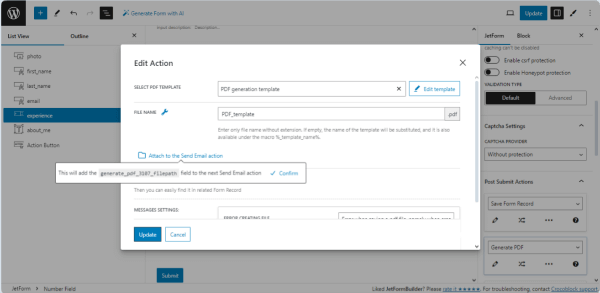
The last step at this stage is setting the “Generate PDF” Post Submit Action in the Edit Action pop-up. Type the required file’s name in the FILE NAME field or press the “wrench” icon to select the form field, whose name will be used as the file name of the submitted form.
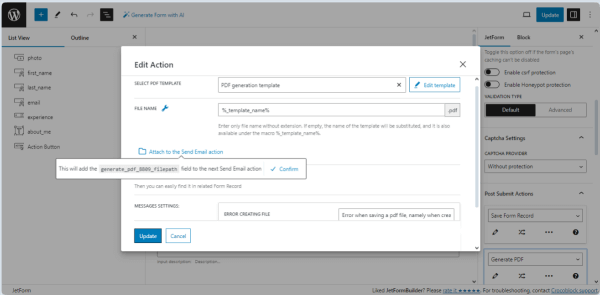
In this case, we used the %_template_name% macro that returns the template’s header.
Also, enable the Save generated PDF toggle.

Finally, scroll down the pop-up and type the texts of the ERROR CREATING FILE and ERROR CREATING ATTACHMENT messages.
Set the “Send Email” Post Submit Action
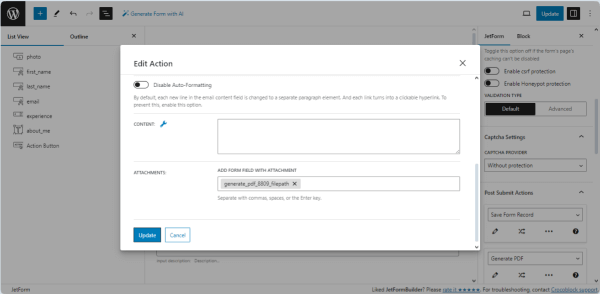
To attach the generated PDF file with the submitted data to the email, click the “Attach to the Send Email action” button in the Edit Action pop-up. While pressed, this button opens a tooltip with a “Confirm” button. Clicking the “Confirm” button adds the “Send Email” action after the “Generate PDF” Post Submit Action is created.
Then, the tooltip will display the text that your file path is added to the attachments option of the next “Send Email,” and the “Go to the action” link.
Pressing this link opens the “Send Email” Edit Action pop-up, scrolls it down to the ATTACHMENTS section, and adds the generated PDF file as the attachment.
We scrolled up this pop-up, then selected the “Email from submitted form field” option from the MAIL TO drop-down list, and chose the form’s “Email” Text Field in the appeared FROM FIELD field. Then, we completed the SUBJECT field, set the “Plain text” CONTENT TYPE, and added the text in the CONTENT text field.
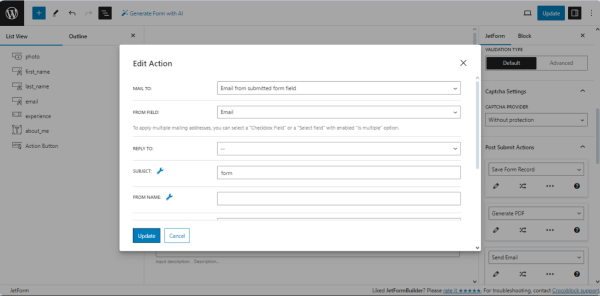
Finally, click the “Update” button to save the settings and close the pop-up.
Set the “Redirect to Page” Post Submit Action
This Post Submit Action allows users to be redirected to a created PDF file with submitted data. Press the “+ New Action” button to add the “Redirect to Page” Post Submit Action. Press the “pencil” icon to edit the action.
Set the “Custom URL” REDIRECT TO option and press the “wrench” icon to choose the REDIRECT URL from the drop-down list of macros.
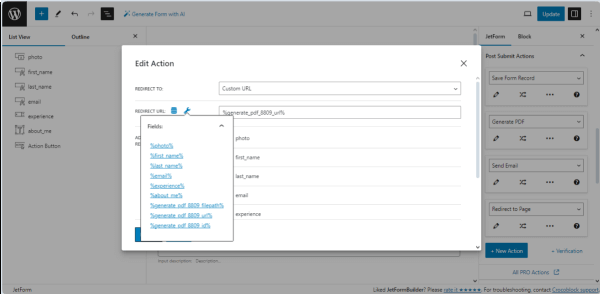
Finally, press the “Update” button to save the “Redirect to Page” Post Submit Action settings and close the pop-up.
Once completed, press the “Update/Publish” button.
Add the Form to a Page
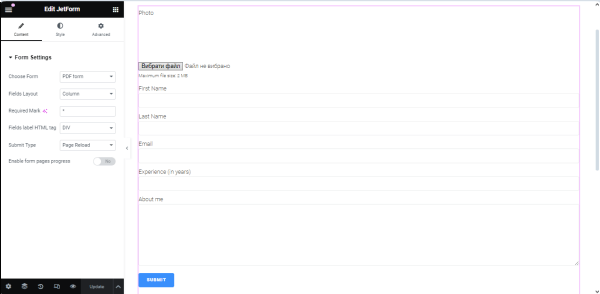
Create a page or open a page/post you need and place the JetForm widget/block/element.
Learn about its settings from the JetForm Overview.
Select the built form in the Choose Form drop-down list.
To display the form in other page builders (i.e., Gutenberg or Bricks), check our guide on How to Display a Form on the Front End.
Check the Results
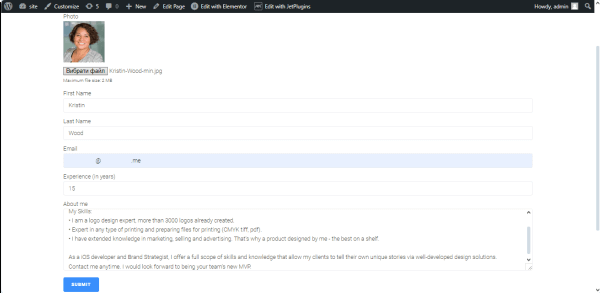
Navigate to the front end, fill in the form’s fields, and submit the form.
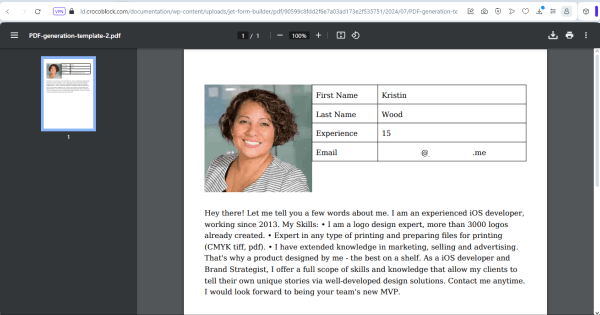
Once the “Redirect to Page” Post Submit Action is performed, the created PDF file will be opened in the browser.
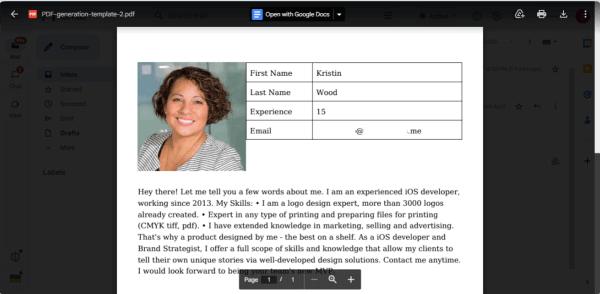
Then, enter your mailbox and check if you received the email with the PDF file attached. Open the attachment to observe the information from the submitted form fields.
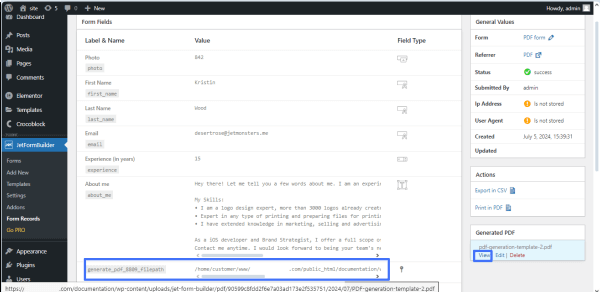
Finally, navigate to the WordPress Dashboard > JetFormBuilder > Form Records tab and unroll the submitted form details.
Scroll the record down and find the Generated PDF section. Press the “View” link to open the attachment in the Media Library. Also, you can copy the file path link under the Label & Name section and paste this link into the browser to observe the created PDF file.
That’s all about creating a JetFormBuilder form for WordPress, generating the PDF file from that form, attaching that PDF to an email, sending it to a pre-specified user, and downloading the PDF file via your browser.