How to Populate a Form Field with a List of Users
In this tutorial, we explain how to establish a backend connection between the users’ data and selected options to display a list of concatenated parameters.
We demonstrate how to enlist the concatenated user’s First and Last Names via a Checkbox Field. Here, logged-in users can select the required option from the list and submit the data via forms on the front end.
Since users can have anonymous names, it is necessary to establish a backend connection between the users’ data (such as their First Name and Last Name, which should be concatenated) and the selected option. To do this, we use a query and Post Submit Actions to connect user data with the Custom Post Types via forms.
In addition, we assume that JetEngine and JetFormBuilder plugins are installed and activated, and WordPress users are created and logged in.
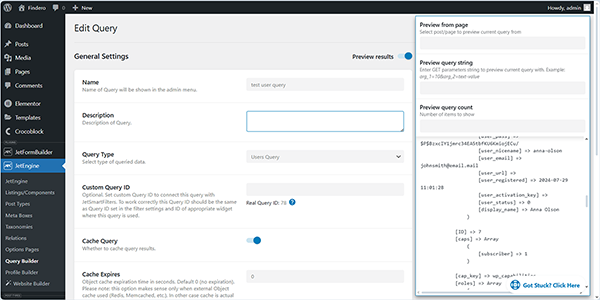
Create a Query
Move to the WordPress Dashboard > JetEngine > Query Builder tab and create a user query. Here, we do not configure any other settings; instead, we copy the query’s ID (“78”, in this case).

Since the generator takes the parameters obtained via the query, they can be viewed while editing the query.
Build and Configure a Form
Next, create a form and add the needed fields. Since we focus only on the usage of the query as a “Generate Dynamically” option, we do not configure other settings. In this case, you can create a login form or combine registration and login in one form.
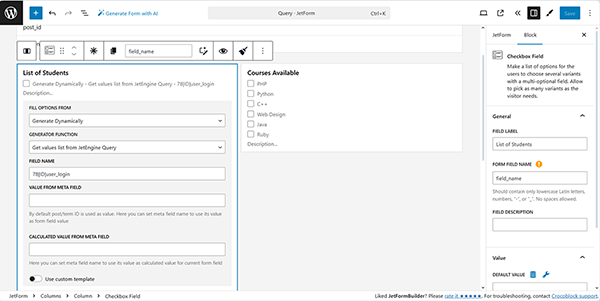
In the developed form, we add two Columns and insert the Checkbox Field into the left one. Then, we configure the following settings: set the “Generate Dynamically” FILL OPTIONS FROM, “Get values list from JetEngine Query” GENERATOR FUNCTION, and type the following text in the FIELD NAME field:
78|ID|user_login
Where “78” 一 the ID of the custom query;
“ID” 一 an option that provides values, in this case, the user ID;
“user_login” 一 an option that provides the user login.
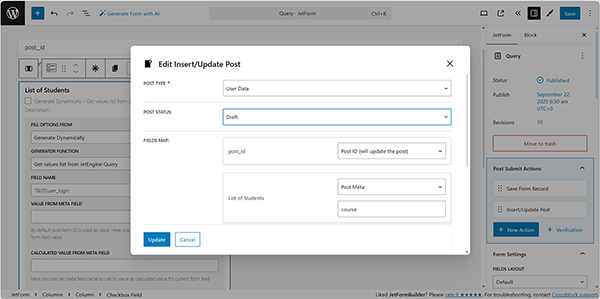
Once completed, adjust the Post Submit Action settings.
Here, we set the “Insert/Update Post” Post Submit Action to capture students’ full names who want to take a specific course and save the corresponding data in the CPT posts.
Additionally, the “Update User” Post Submit Action can be added to the form to populate the selected data into the User Profile.
Finally, save the form.
Test the Flow
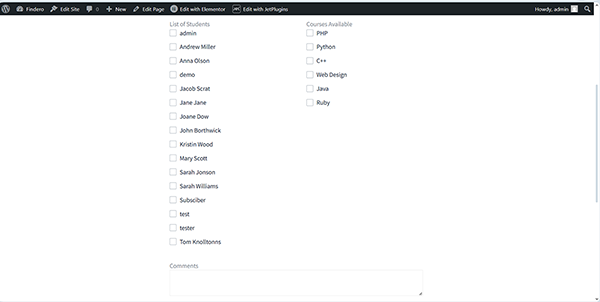
Insert the form into a page using the JetForm widget/block/element. Here, we use Elementor and the JetForm widget, respectively.
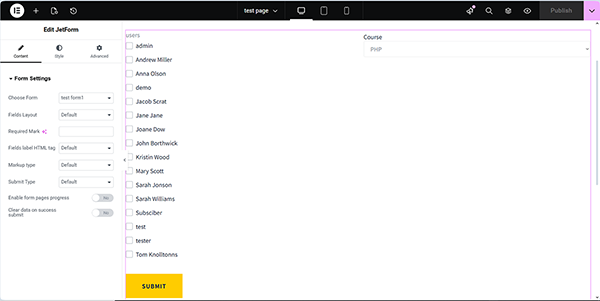
Then, save the page and navigate to the front end to view the list of available students and courses. Here, the logged-in users can select their name and appropriate courses.
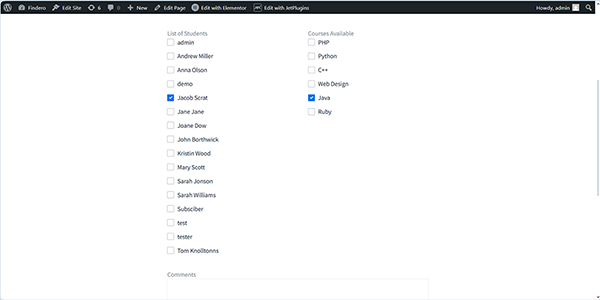
To check the form, tick the user’s full name and the corresponding course to be saved.
Next, navigate to the User Profile and check if the data was added correctly.

That’s it. Now you know how to configure a “User Query” query to establish a backend connection between the users’ data (such as their First Name and Last Name, which should be concatenated) and the selected option, using the JetEngine and JetFormBuilder plugins for WordPress.