How to Set HubSpot: Enable the OAuth 2.0 Option
The HubSpot Pro Addon is a mailing list add-on that extends the HubSpot OAuth 2.0 functionality. The add-on integrates with HubSpot’s free CRM platform and manages user contacts via the Post Submit Actions of JetFormBuilder forms.
Install and Activate the Add-on
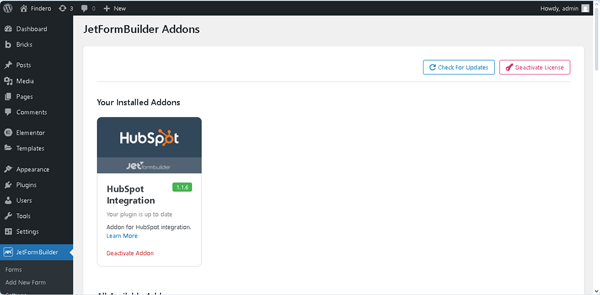
Install and activate the add-on. Navigate to the WordPress Dashboard > JetFormBuilder > Addons tab, select the HubSpot Integration add-on, and activate its license.
Also, you can install and activate this add-on as any WordPress plugin. For more details, read the JetFormBuilder WordPress Plugin Installation tutorial.
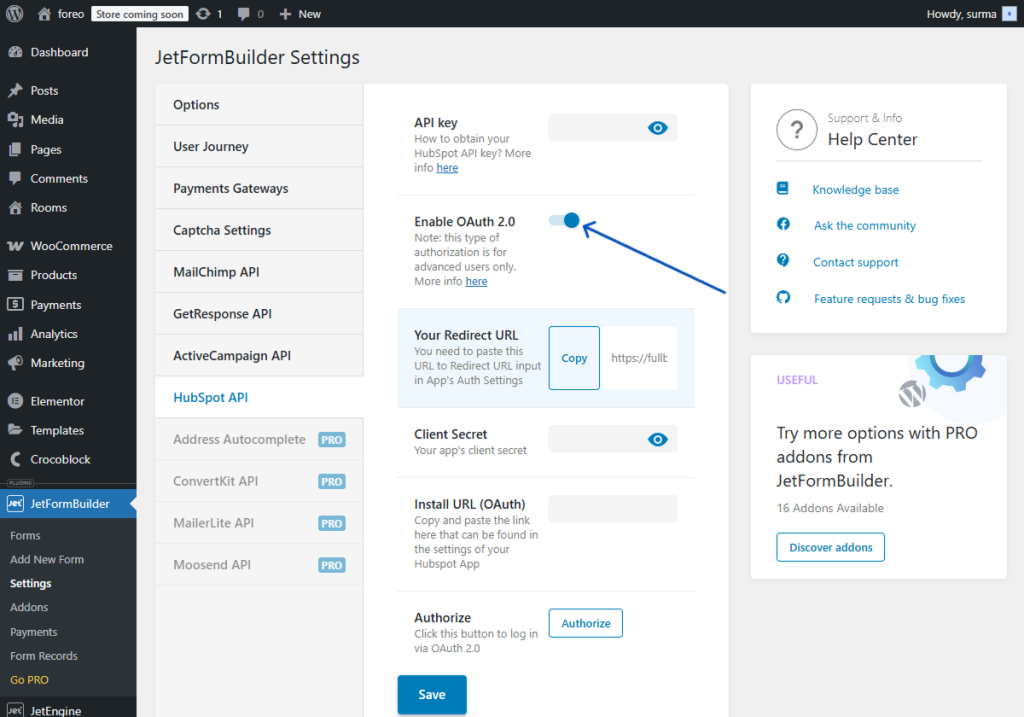
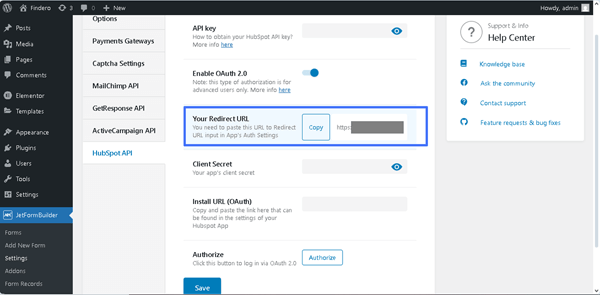
Navigate to the WordPress Dashboard > JetFormBuilder > Settings > HubSpot API tab and activate the Enable OAuth 2.0 toggle.
Create a HubSpot Developer Account
Go to the HubSpot website and press the “Create developer account” button.
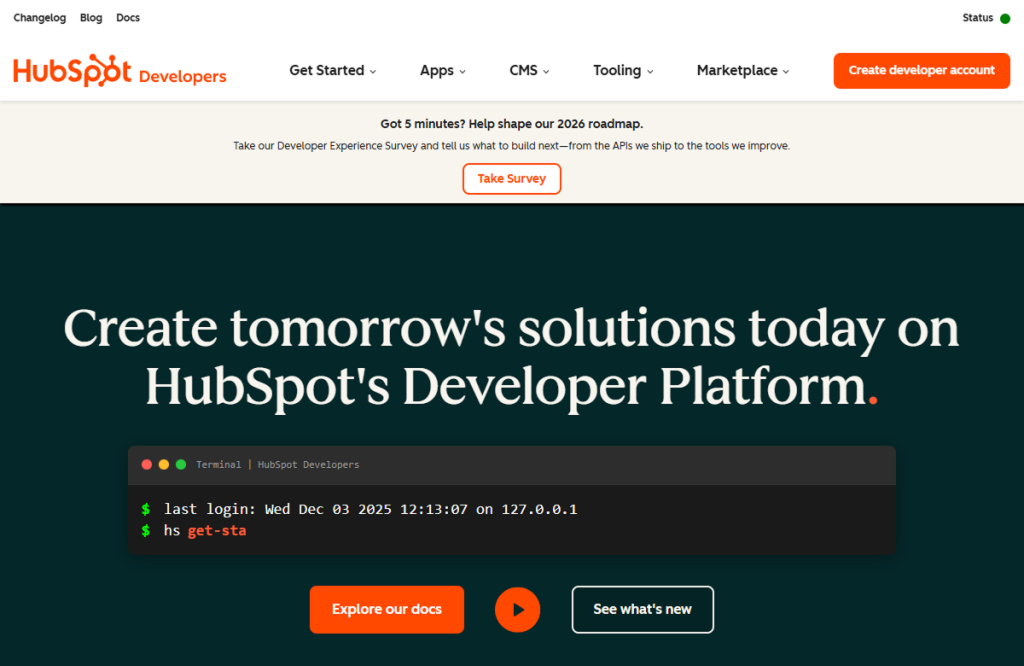
Otherwise, you can log in to the previously created account.
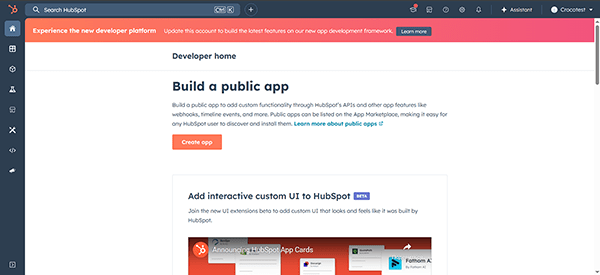
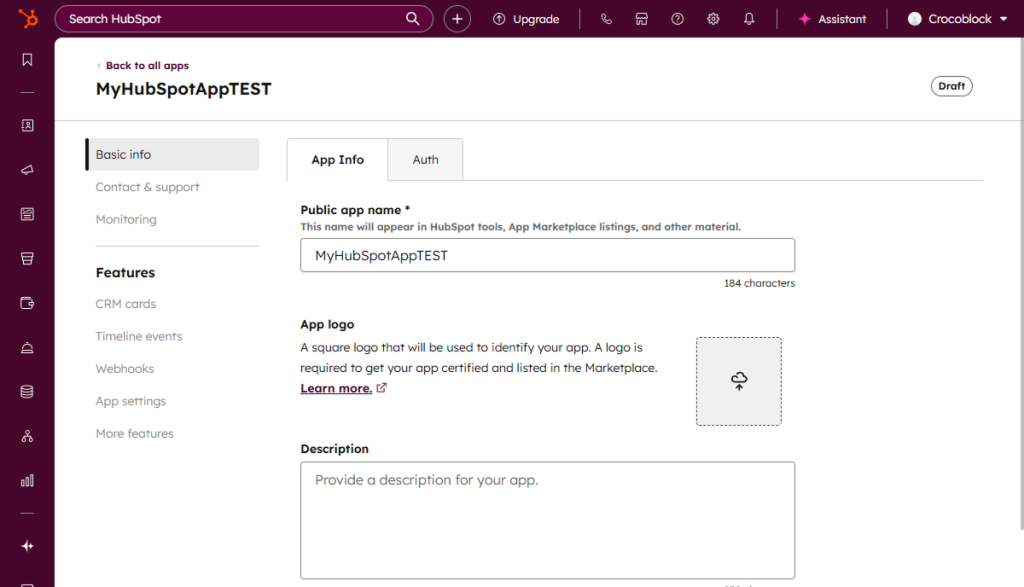
Once logged in, move to the Developer home section and press the “Create app” button.
Next, enter the developer’s account name in the newly appearing Public app name field (here, we type “MyHubSpotAppTEST”). You can also fill out non-required fields.
Link the HubSpot Account with JetFormBuilder
Return to your website dashboard and copy the Your Redirect URL link from the JetFormBuilder > Settings > HubSpot API tab of your site (here, https://*****************************=jet_fb_hubspot_oauth).
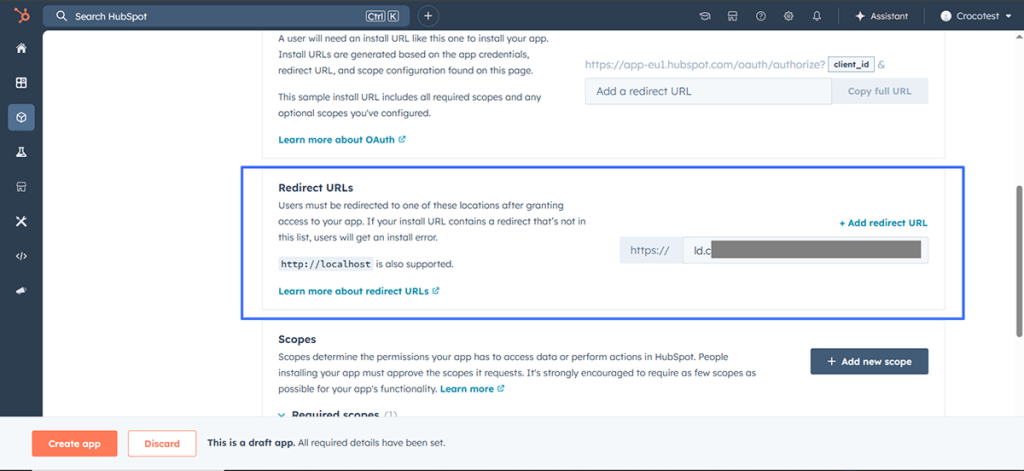
After that, go back to the MyHubSpotApp tab of your HubSpot Developers account and switch to the Auth tab.
Scroll down here and insert the copied link into the Redirect URLs field.
Move to the Scopes section. Here, press the “+ Add new scope” button and select the Required scopes in addition to the “oauth” scope set by default.
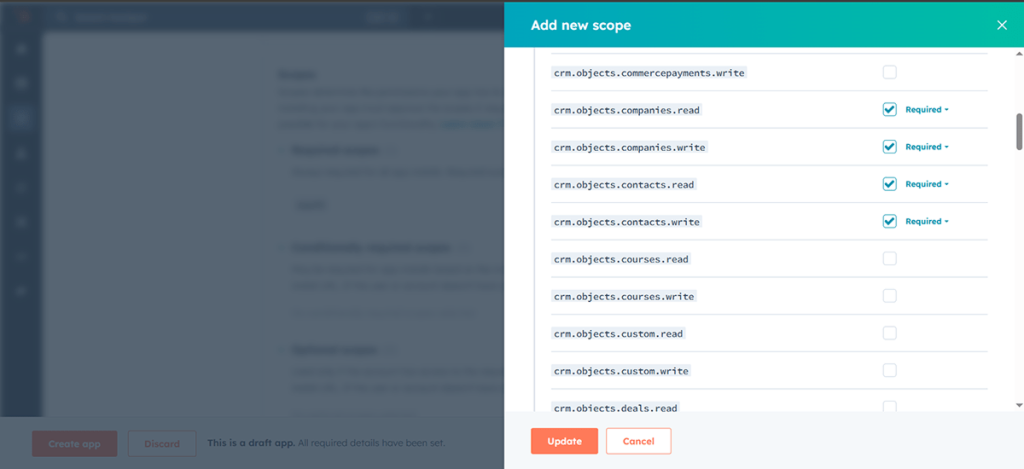
This way, we add the following Required scopes:
crm.objects.companies.read
crm.objects.companies.write
crm.objects.contacts.read
crm.objects.contacts.write
crm.objects.owners.read
oauth
Click the “Update” button.

Click the “Create app” button.
After that, the fields in the Auth tab will be automatically filled in. Now, copy the data from the Client secret and Sample install URL (OAuth) fields.
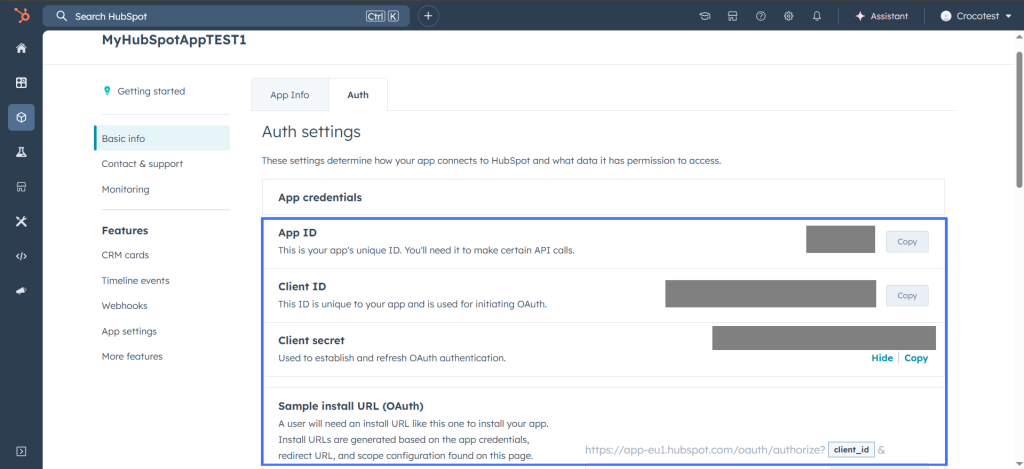
Return to the WordPress Dashboard > JetFormBuilder > Settings > HubSpot API tab and paste this data into the corresponding fields.

Finally, press the “Save” button.
Create a Test Account
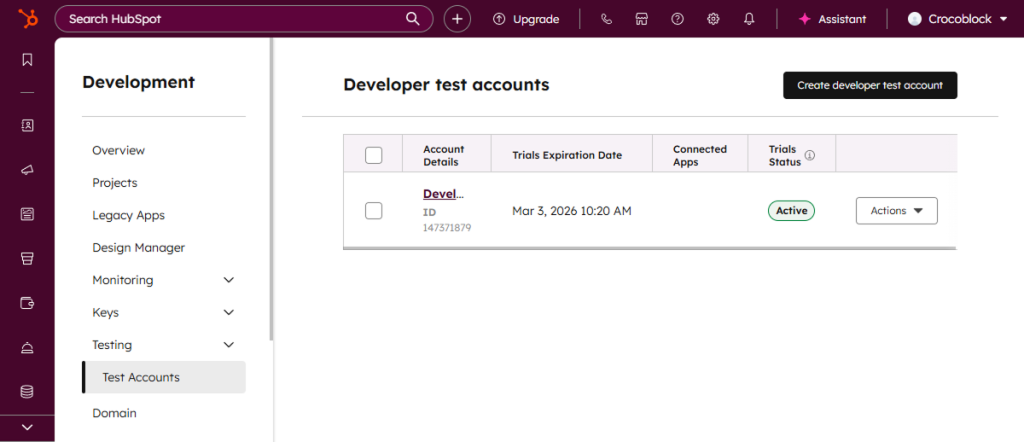
At this stage, return to the Developer account and open the Testing section, and select the Test Accounts tab. Here, click the “Create developer test account” button.

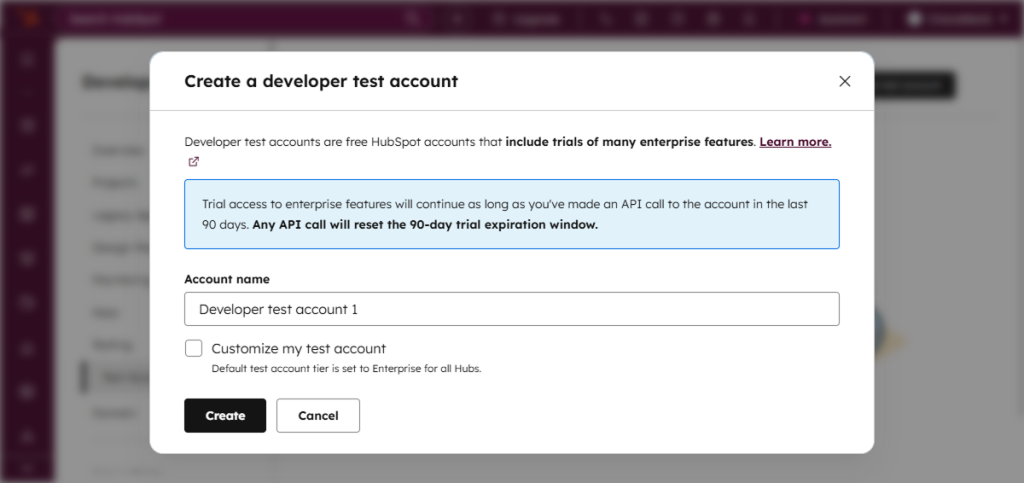
In the newly appearing Create a developer test account pop-up, enter the account name in the Account name field. In this case, we type “Developer test account 1”. Once completed, press the “Create” button.
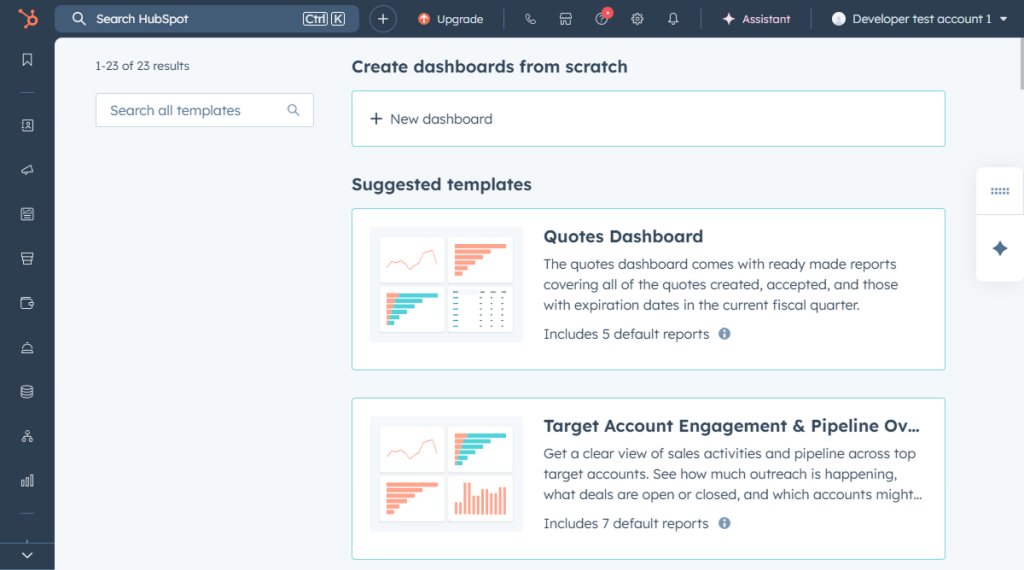
After that, you will be redirected to the Developer test accounts dashboard. Click the created account name.
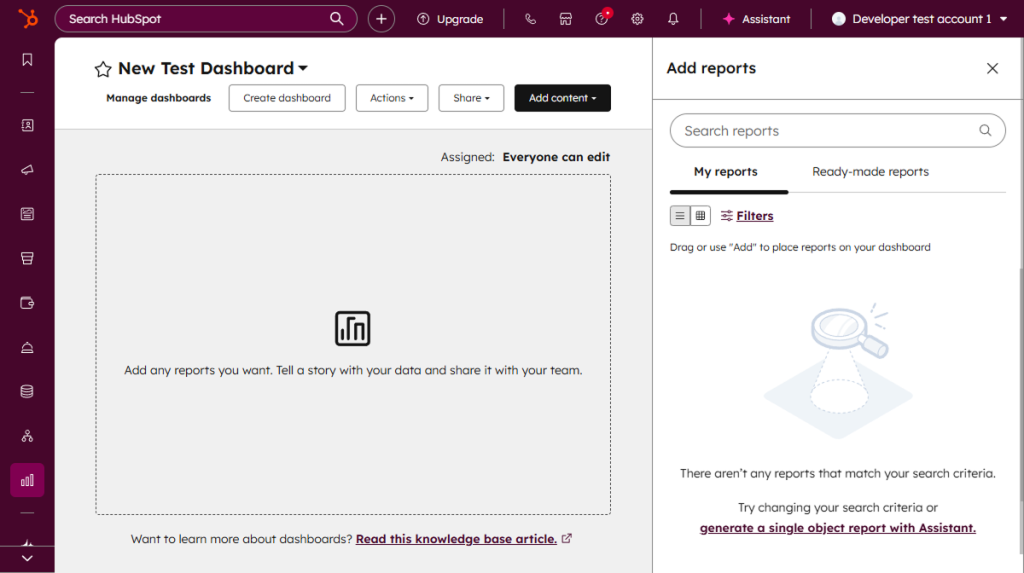
The new Create dashboard from scratch tab will be opened. Here, click the “+ New dashboard” button.
In the newly opened pop-up, insert the dashboard’s name in the corresponding field and leave the “Allow everyone to view and edit” option selected.
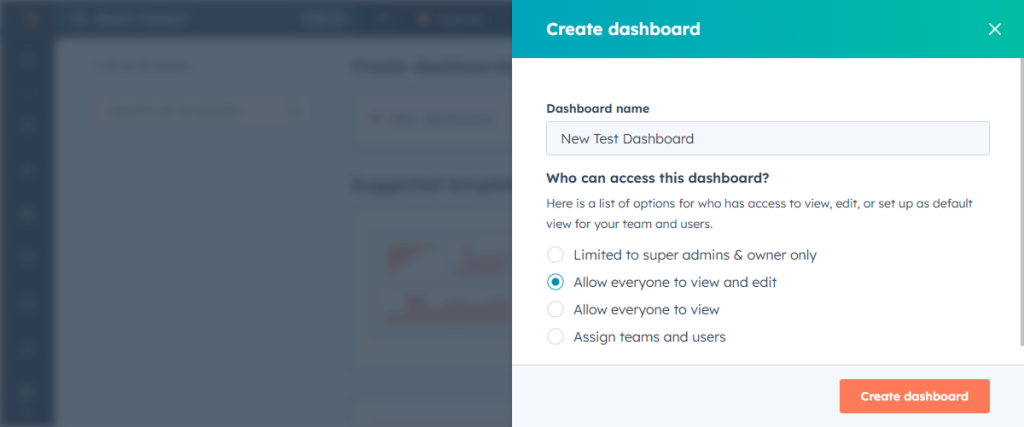
Click the “Create dashboard” button to be redirected to a new page.
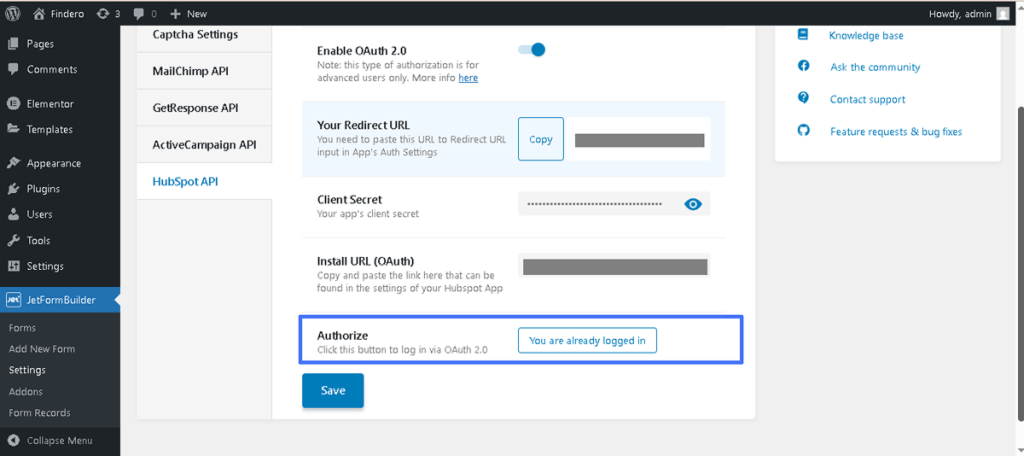
Return to the WordPress Dashboard > JetFormBuilder > Settings > HubSpot API tab. Here, press the “Authorize” button.

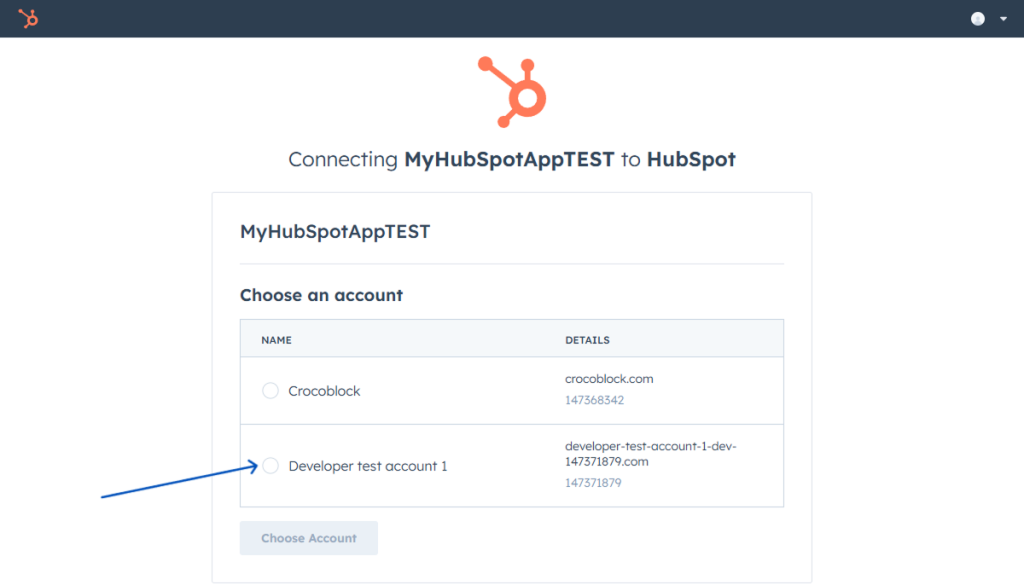
After that, you will be redirected to the Connecting Your Account to HubSpot window.
Choose the needed account. Here, we select the “Developer test account 1”, which works in the “sandbox” mode, but you can choose the required one. Click the “Choose Account” button.
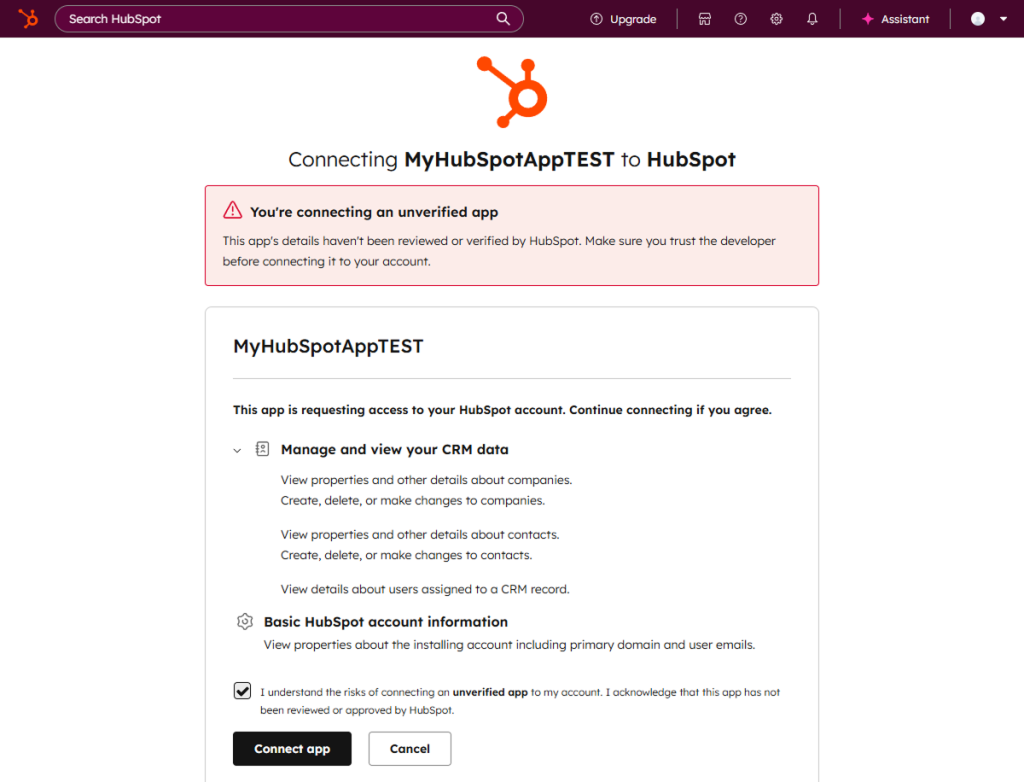
Then, scroll down the page with the listed accounts and press the “Connect app” button.
As a result, the “Authorize” text in the WordPress Dashboard > JetFormBuilder > Settings > HubSpot API tab will be changed to the “You are already logged in” one.
Set HubSpot as the Post Submit Action in Forms
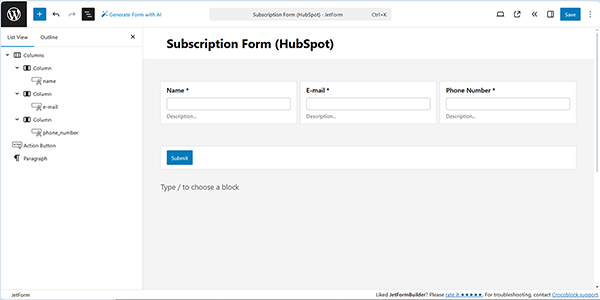
Open the required form or create it from scratch. Insert the needed fields or use a form pattern.
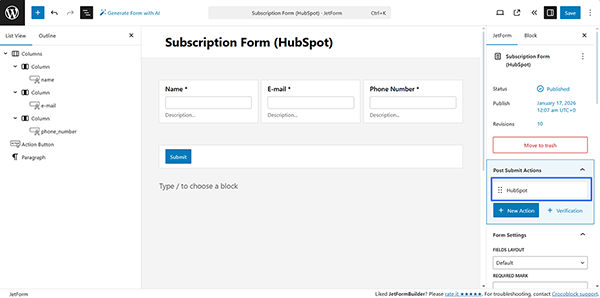
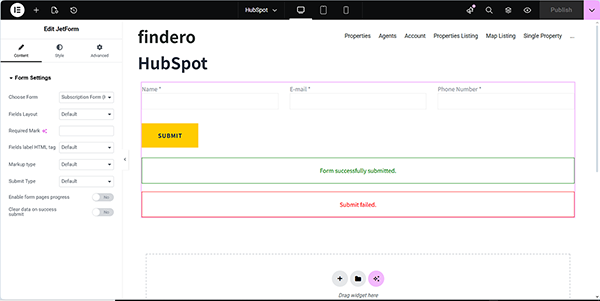
Since the form is intended to transfer data to HubSpot, we add the “Name,” “Email,” and “Phone Number” Text Fields, along with the Action Button.
This form creation tutorial explains how to build forms from scratch.
The next step is inserting the Post Submit Actions. Since we are focusing on the HubSpot-WordPress integration, we insert only the “HubSpot” action. More details can be found in the Post Submit Actions Overview video.
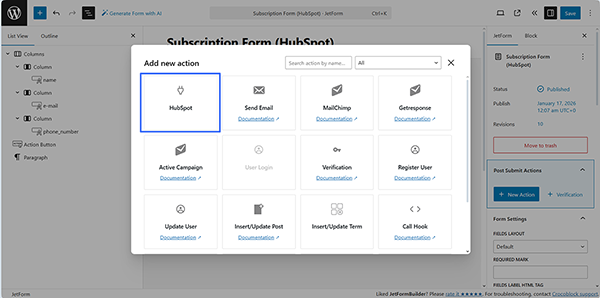
Move to the Post Submit Actions section on the right panel, and click the “+ New Action” button.
Then, in the newly appeared Add new action pop-up, choose the “HubSpot” action and click the corresponding button.
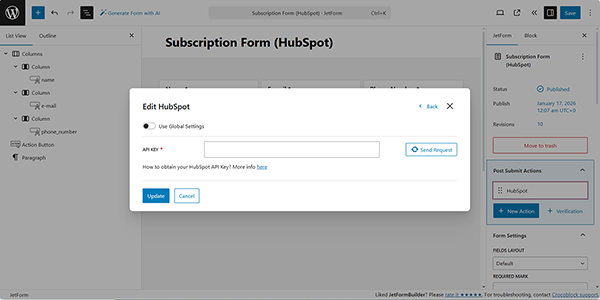
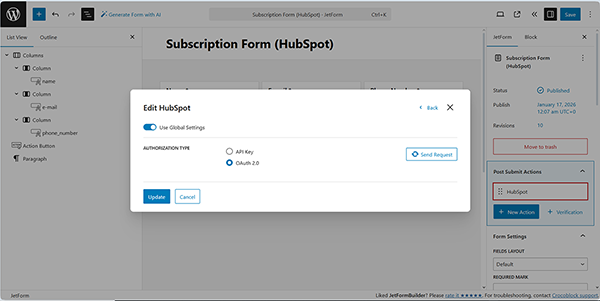
Next, enable the Use Global Settings toggle in the Edit HubSpot pop-up.
t text: the global settings toggle
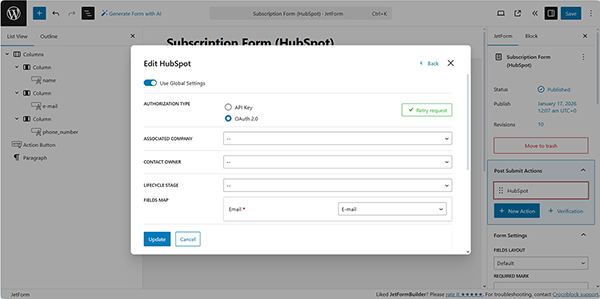
After that, choose the “API Key” or “OAuth 2.0” AUTHORIZATION TYPE (here, we select the “OAuth 2.0” option) and click the “Send Request” button.
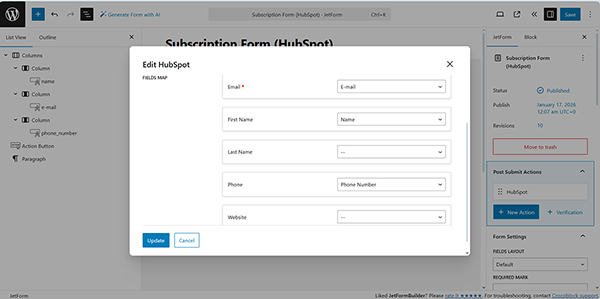
After you’ve selected the type and clicked the “Send Request” button, you will see the complete list of the action settings. Filling in most fields here is optional for the proper functionality. The only required field is the Email of the FIELDS MAP section.
To fill out the HubSpot credential, scroll the pop-up down and select the form fields in the corresponding drop-downs: First Name and Phone.
After setting the “HubSpot” Post Submit Action, press the “Update” button to close the pop-up, and “Save” the form.
After that, place the created form on a page via the JetForm widget/block/element in an editor you prefer. Here we use Elementor. Read the Displaying a JetFormBuilder Form in Any Page Builder tutorial to learn how to add the JetForm widget/block/element in Elementor, Block Editor, and the Bricks theme.
In the last step, go to the front end and complete the form.
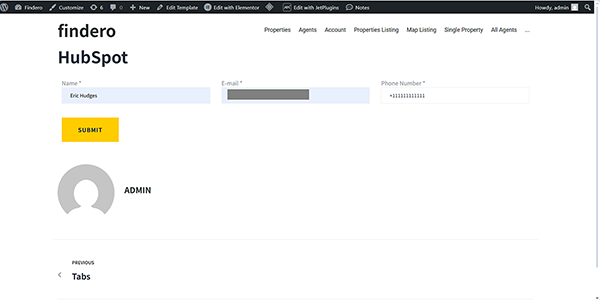
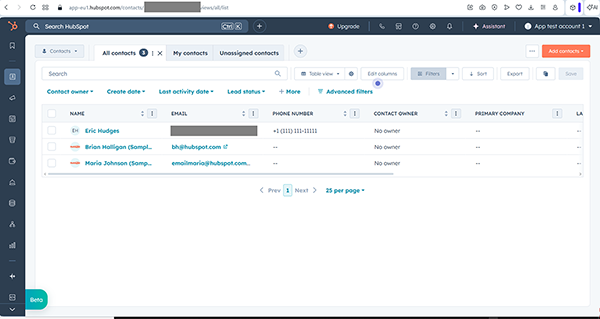
When a user submits the form, the new subscriber will appear in the Contacts list of your HubSpot account.
That’s all about connecting the HubSpot Pro add-on for JetFormBuilder with the free HubSpot CRM platform and managing user contacts via the Post Submit Actions of the JetFormBuilder forms for WordPress.