How to Use Typeform to Build a Form that Creates WordPress Posts
From this tutorial, you will find out how to use a Typeform to build a form that creates WordPress posts with the help of the JetFormBuilder plugin.
Table of Contents:
Build a Form
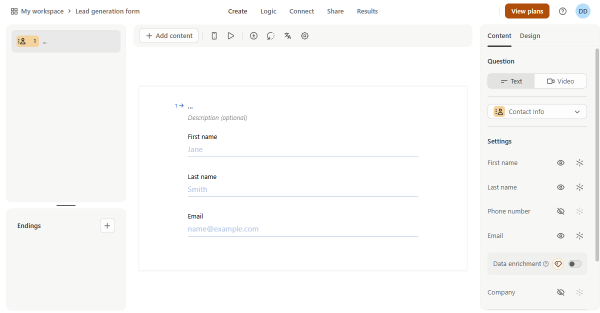
First, build a form on the Typeform website. For instance, we create a lead generation form with the “First name,” “Last name,” and “Email” fields.
Then, proceed to WordPress Dashboard > JetFormBuilder > Add New.
Here, we give a tilt to the form (“New Contact”) and delete the Welcome block added by default to build a form from scratch.
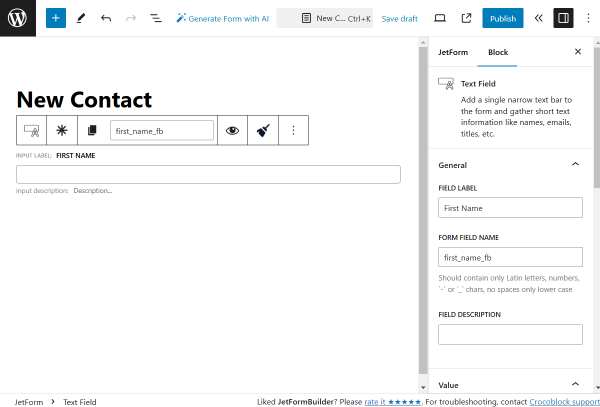
We add a Text Field with the “First Name” FIELD LABEL and the “first_name_fb” FORM FIELD NAME.
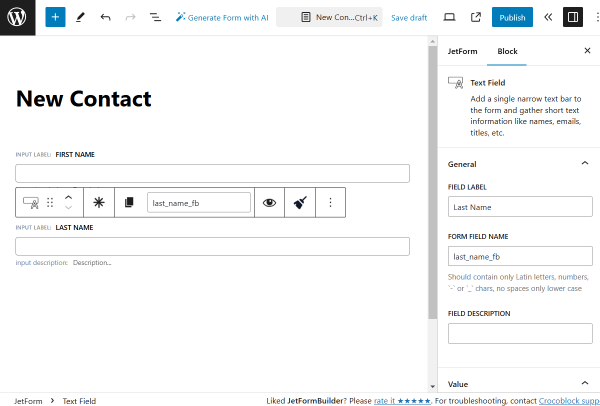
The next field is also a Text Field, this time with the “Last Name” FIELD LABEL and “last_name_fb” FORM FIELD NAME.
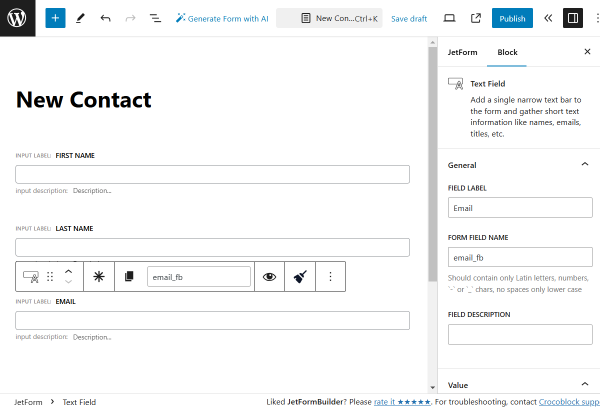
Then, we add one more Text Field with the “Email” FIELD LABEL and “email_fb” FORM FIELD NAME. Also, we change the FIELD TYPE to “Email.”
The last field in the form is the Action Button. For this field, we leave the settings default.
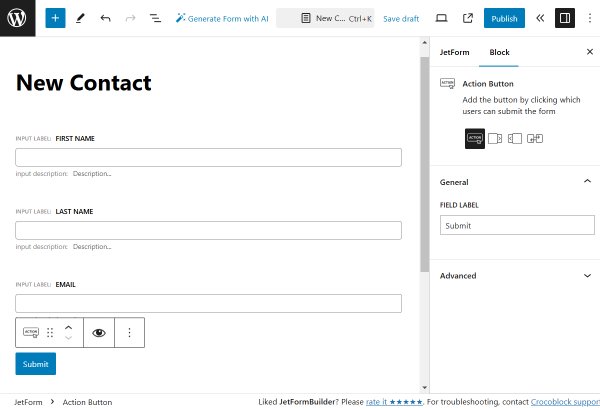
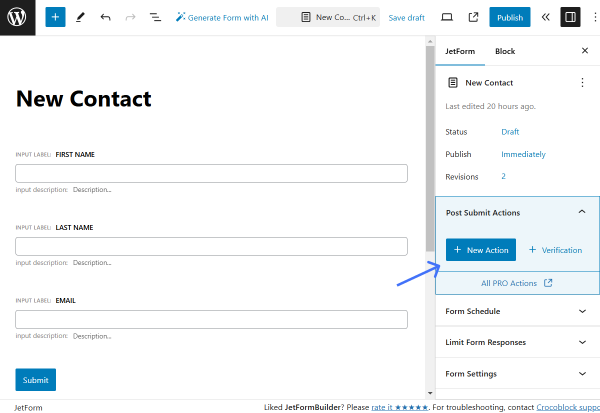
Proceed to the JetForm tab and open the Post Submit Actions section.
Press the “+ New Action” button.
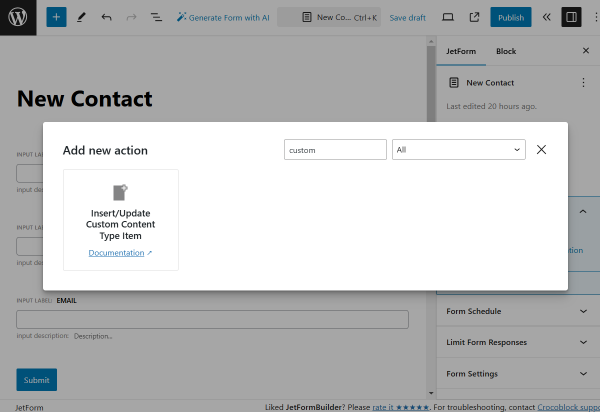
If you want to update the default posts, select the “Insert/Update Post” action.
As we want to update the Custom Content Type items (available with JetEngine,) we find the “Insert/Update Custom Content Type Item” action and click it to open its settings.
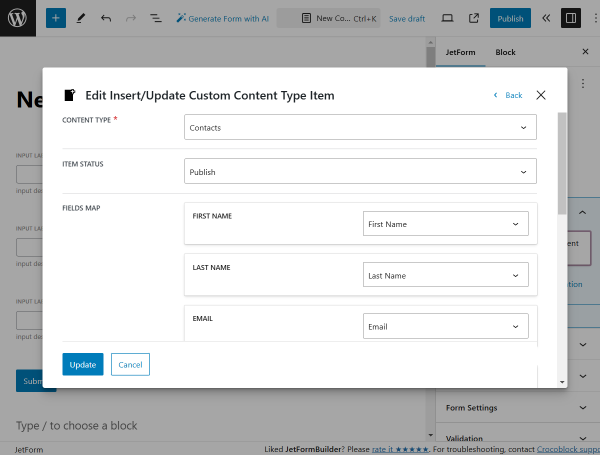
Pick the CONTENT TYPE where the posts should be created and set the ITEM STATUS. For example, we pick the “Publish” status to publish the submitted items right away.
Then, connect the form fields to the CCT fields in the FIELDS MAP.
Press the “Update” button to save the action.
When the form is ready, press the “Publish” button.
Create an Endpoint
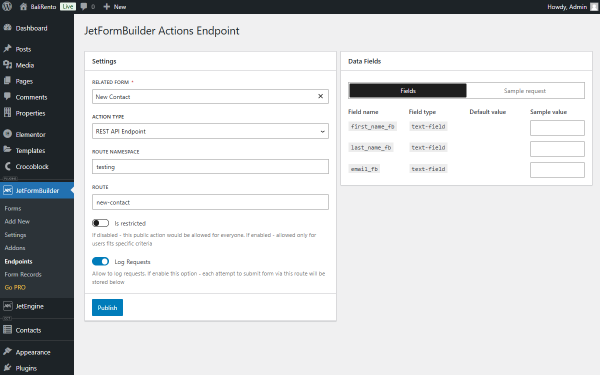
Head to WordPress Dashboard > JetFormBuilder > Endpoints and press the “+ Add new route” button.
Pick the just-built form in the RELATED FORM field and change the ACTION TYPE to “REST API Endpoint.”
Then, complete the ROUTE NAMESPACE and ROUTE fields. In our case, we set the “testing” ROUTE NAMESPACE and “new-contact” ROUTE.
Also, activate the Log Requests toggle to save the form submission attempts into this endpoint’s record stored below the current settings fields.
Hit the “Publish” button.
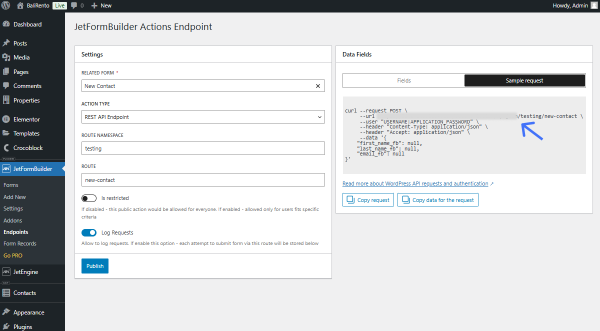
Open the Sample request tab and copy the generated URL.
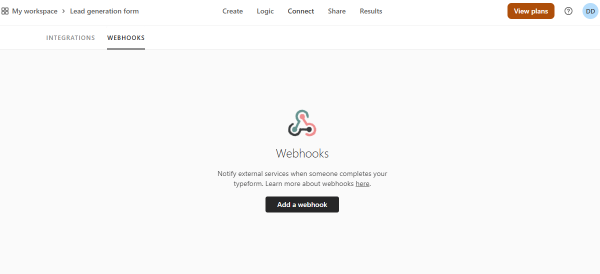
Return to the Typeform website and open the Connect tab.
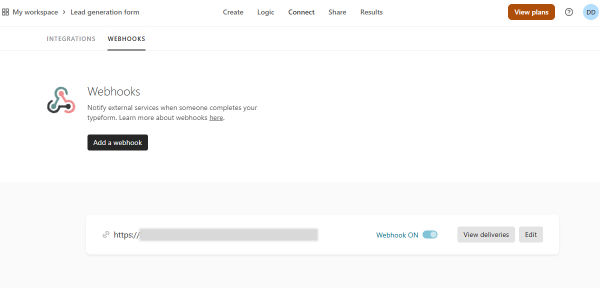
There, open the Webhooks tab and hit the “Add a webhook” button.
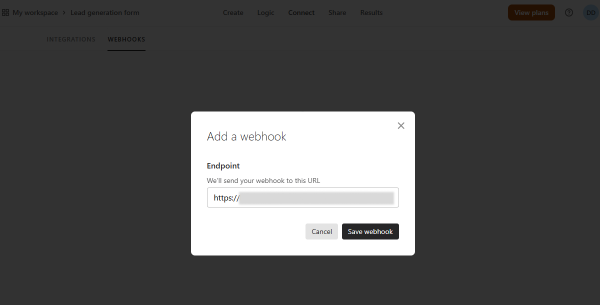
Paste the copied URL in the Endpoint field and click the “Save webhook” button.
Enable the toggle next to the built webhook to activate the webhook and press the “View deliveries” button.
Send a Request
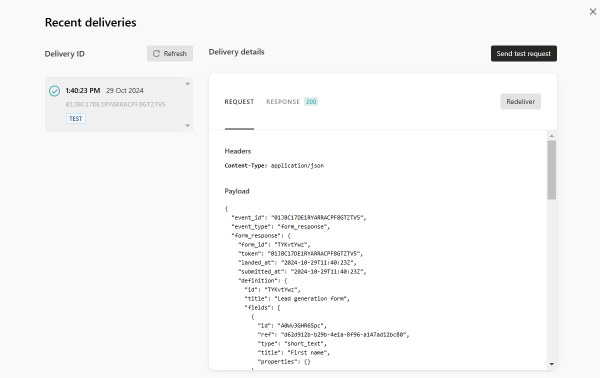
You can now send a test request. To do so, hit the “Send test request” button.

Now, on the same page, you will see if the test form submission is successful.
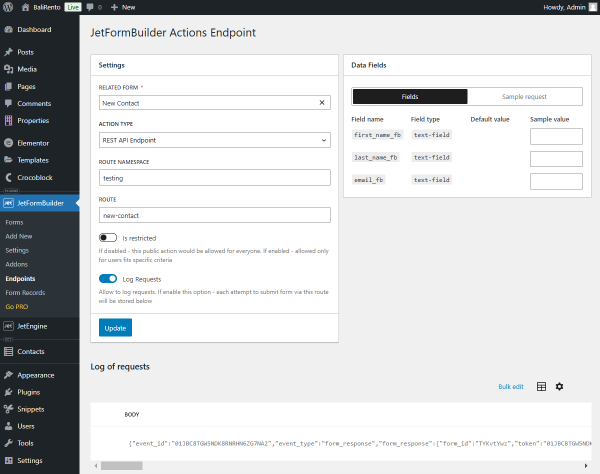
Return to the WordPress Dashboard > JetFormBuilder > Endpoints page to check the Log of requests section.
Here, you will see the form submission data.
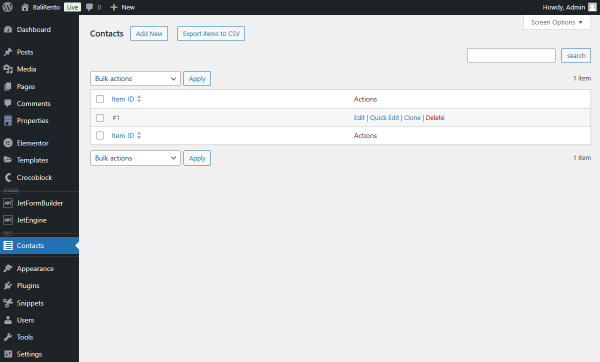
You can also check if a new item was created by opening your CCT page.
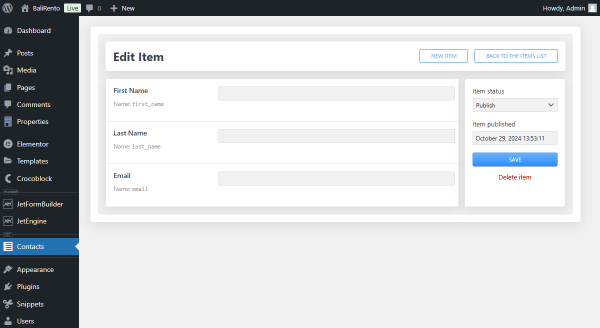
Press the “Edit” button to check the item.
The field data is now empty, as it was the test submission.
You can now delete this test item by pressing the corresponding button.
Add a Code Snippet
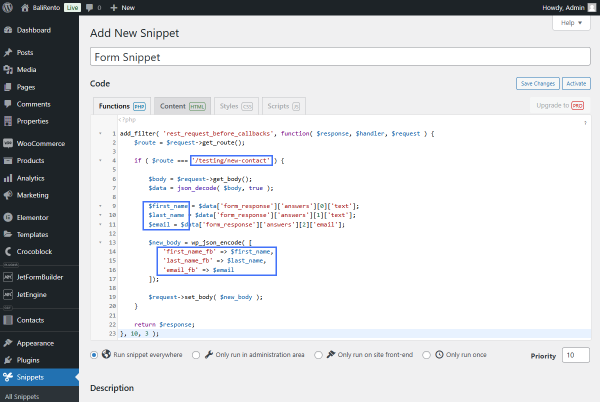
If you also work with the Code Snippets plugin, proceed to WordPress Dashboard > Snippets > Add New.
Name a snippet and paste the code snippet into the empty area.
We paste the following code into the field:
add_filter( 'rest_request_before_callbacks', function( $response, $handler, $request ) {
    $route = $request->get_route();

    if ( $route === '/testing/new-contact' ) {

        $body = $request->get_body();
        $data = json_decode( $body, true );

        $first_name = $data['form_response']['answers'][0]['text'];
        $last_name = $data['form_response']['answers'][1]['text'];
        $email = $data['form_response']['answers'][2]['email'];

        $new_body = wp_json_encode( [
            'first_name_fb' => $first_name,
            'last_name_fb' => $last_name,
            'email_fb' => $email
        ]);

        $request->set_body( $new_body );
    }

    return $response;
}, 10, 3 );
Here, the ‘/testing/new-contact’ is the last part of your endpoint link (ROUTE NAMESPACE and ROUTE values).
The “first_name,” “last_name,” “email,” “first_name_fb,” “last_name_fb,” and “email_fb” should be changed to your form field names correspondingly.
Press the “Save Changes and Activate” button.
Complete the Form
Return to the Typeform website and open the Share tab.
Click the “Copy link” button to copy the link to the page where the form is located.
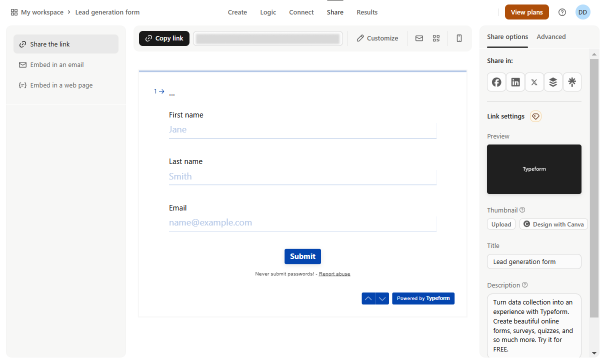
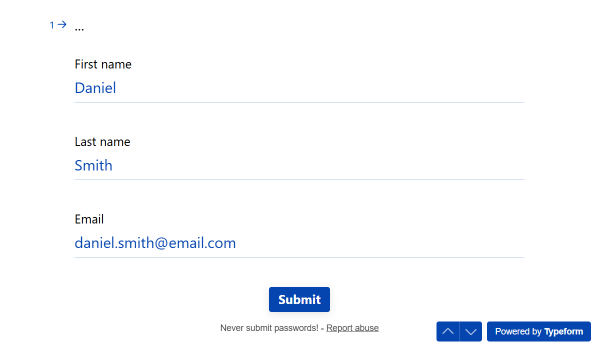
Go by the link and complete the form.
Check the Results
Now, return to the built endpoint in the WordPress Dashboard > JetFormBuilder > Endpoints directory.
Check the Log of requests section to see the request that was just submitted.
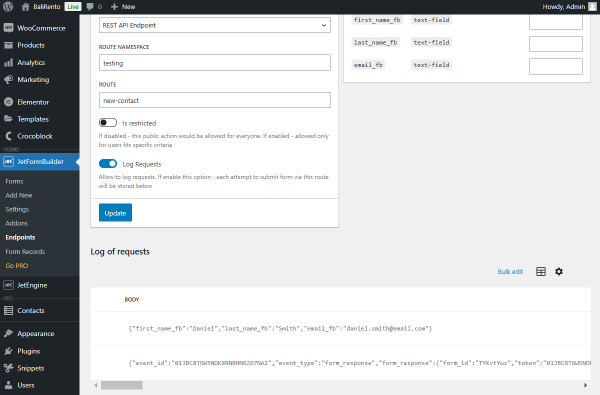
Also, check the CCT items list. Now, the new item is added to the list.
Click the “Edit” button to check if the data was saved in the CCT fields.
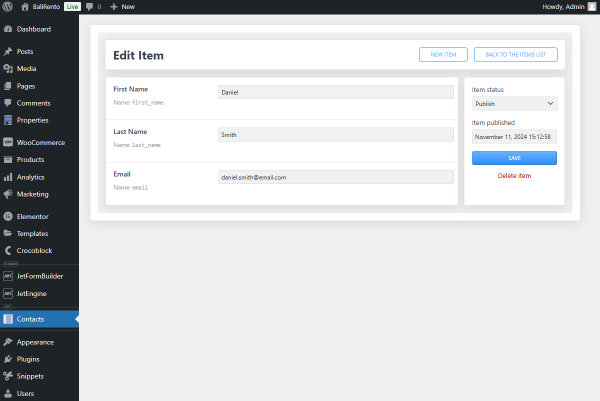
That’s all; now, you know how to turn a Typeform-built form into one that creates WordPress posts with JetFormBuilder.